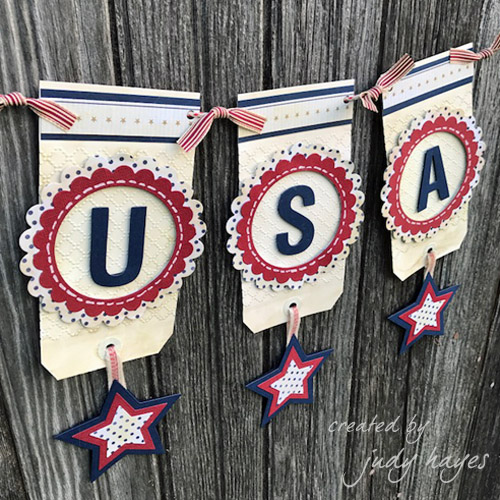
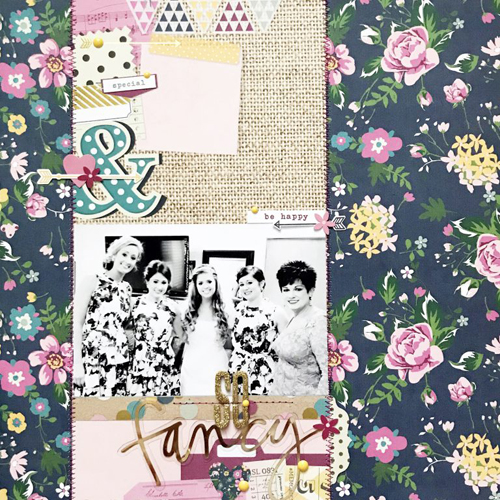
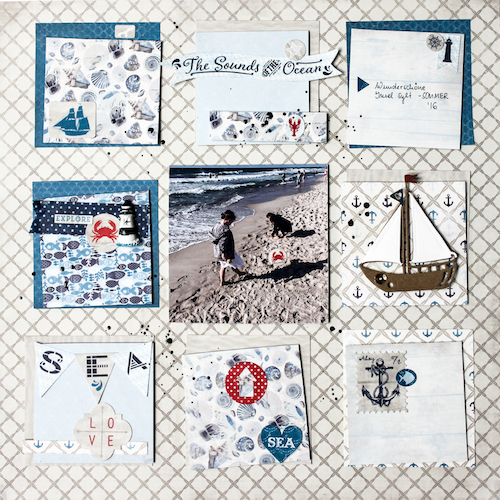
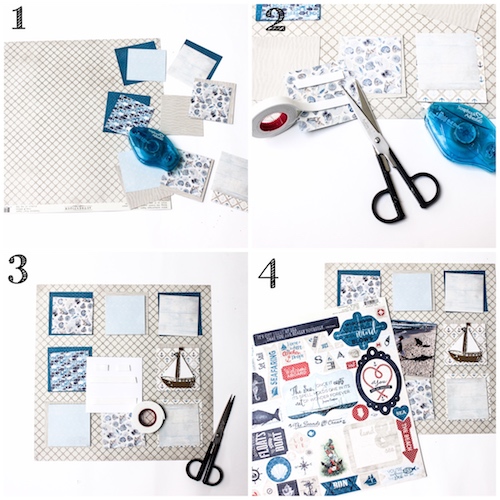
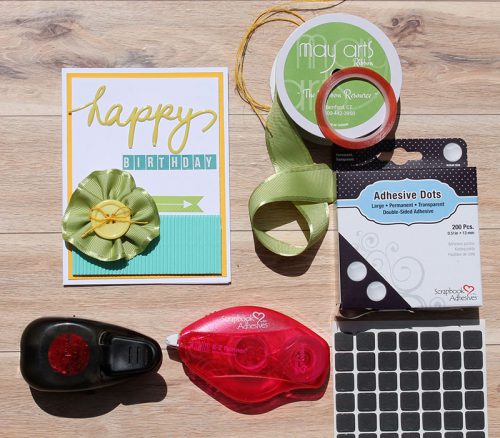
Hi there crafty friends! Have you been doing some traveling this summer (or even spring) Maybe you even have some Disney pictures to capture!?! Christine joining you today with a Disney layout highlighting three of my favorite adhesives: Adhesive Lines, 3D Foam Squares, and E-Z Runner® Micro Refillable Dispenser! So let’s get started!
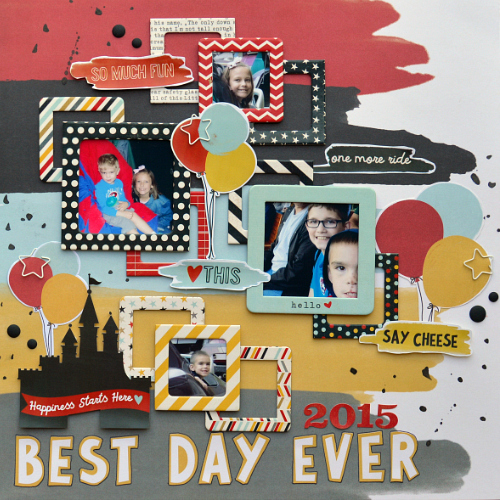
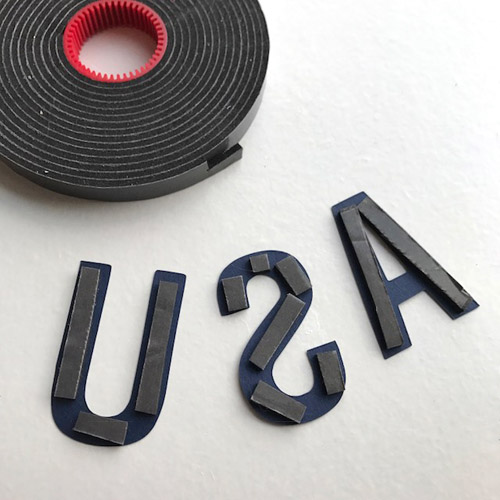
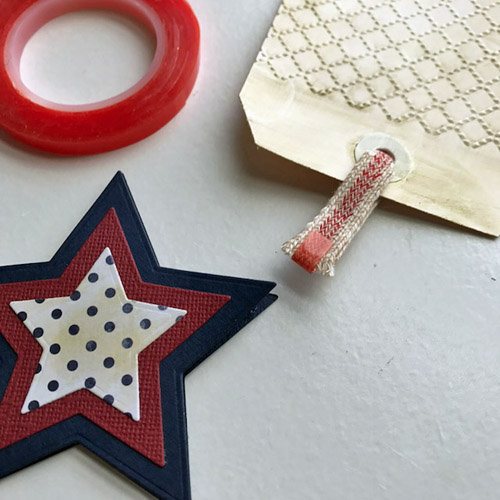
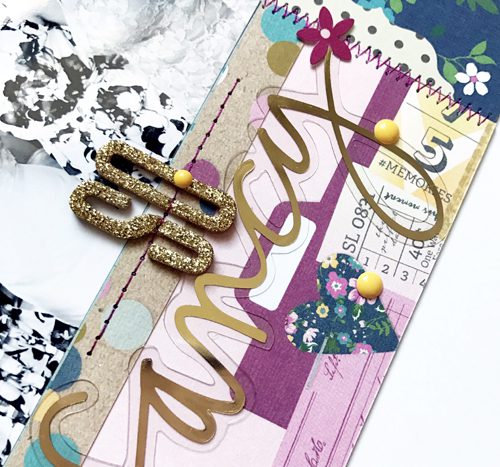
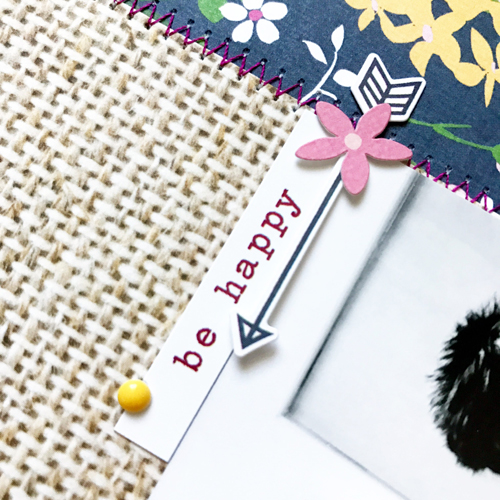
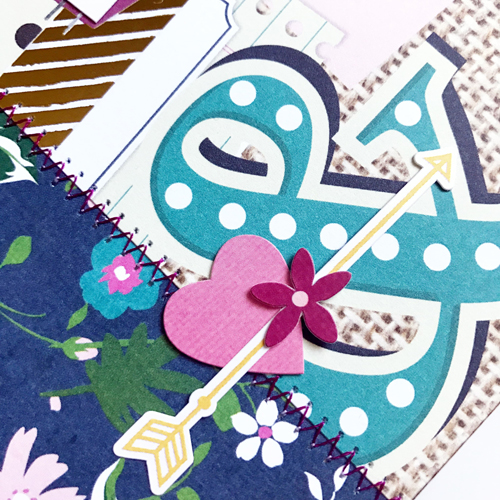
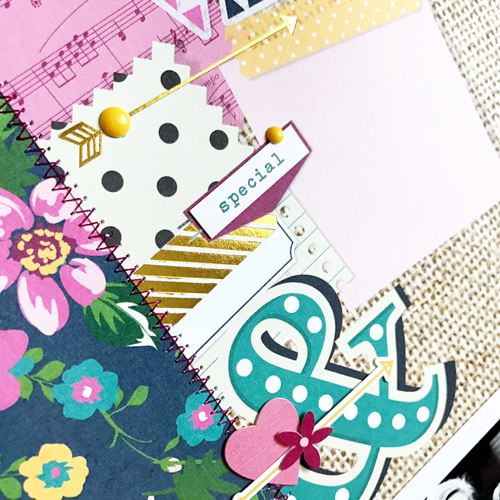
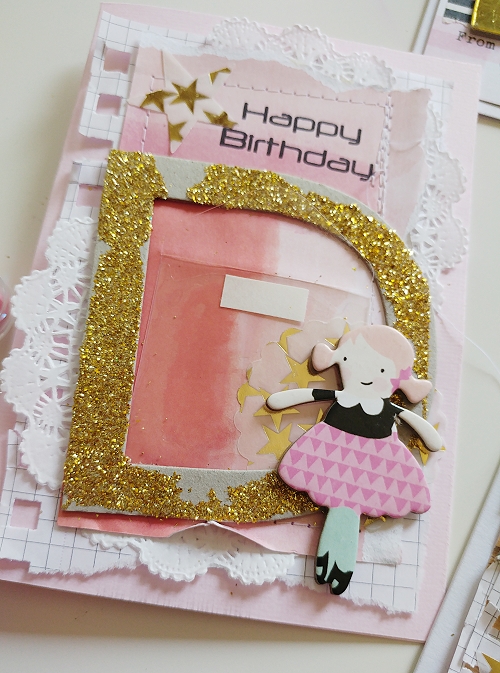
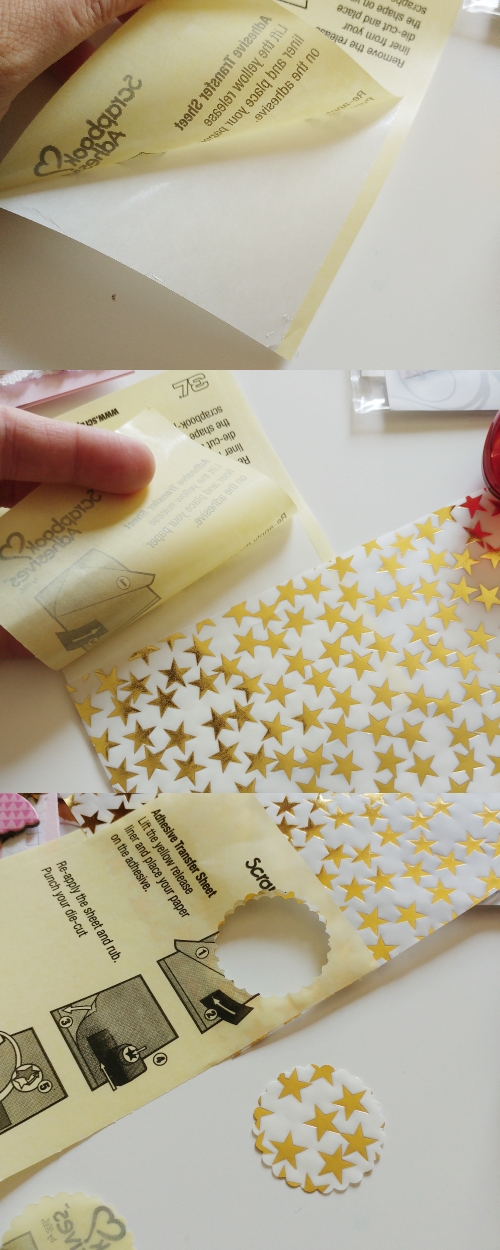
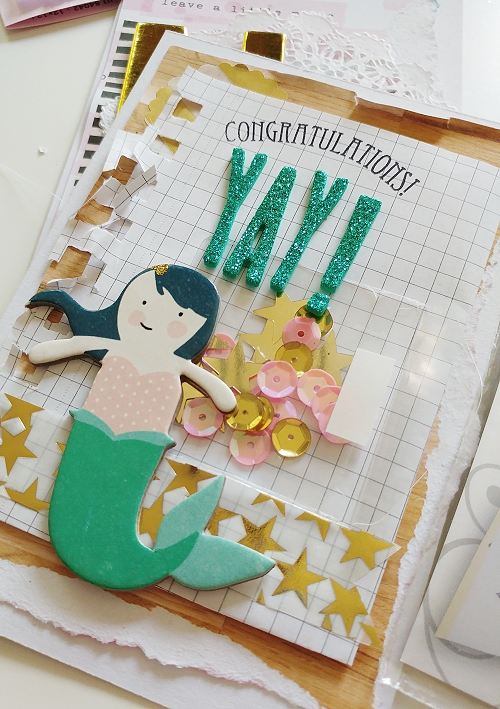
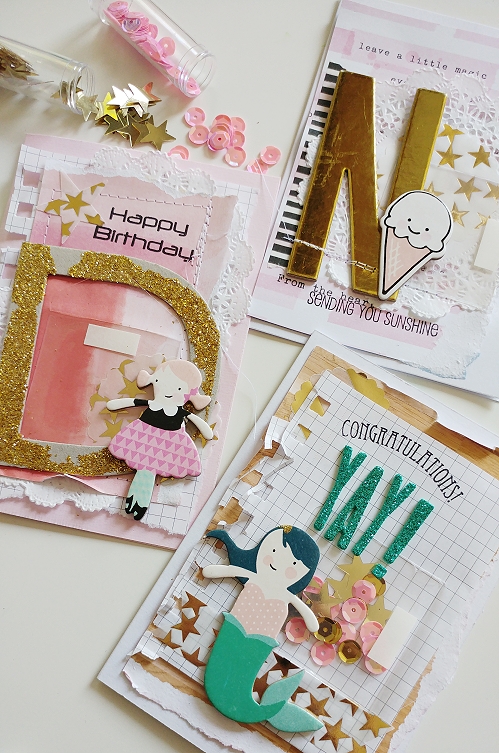
Throughout this layout I consistently used these three adhesives. The Adhesive Lines are amazing for attaching all those chipboard frames to the layout!

I like that these are an inch long and help speed up the process. And of course, you can’t go wrong with how strong they are!
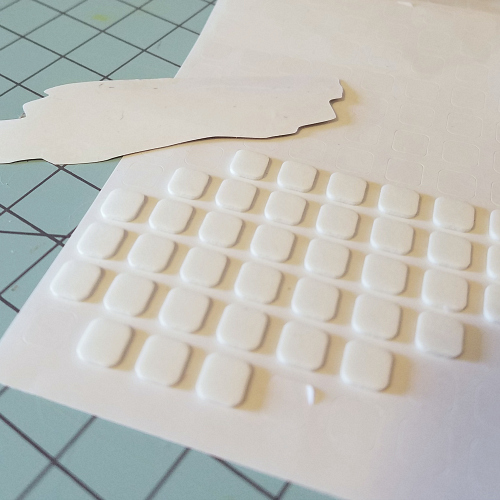
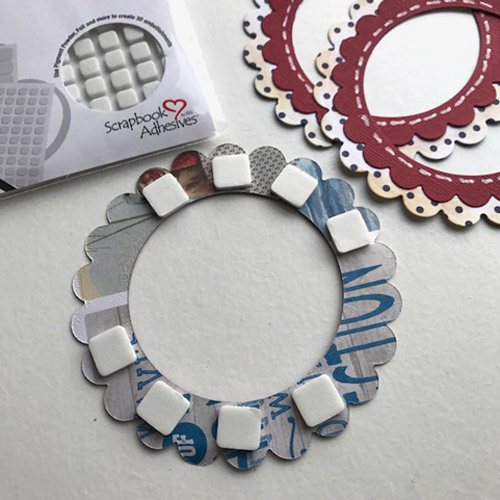
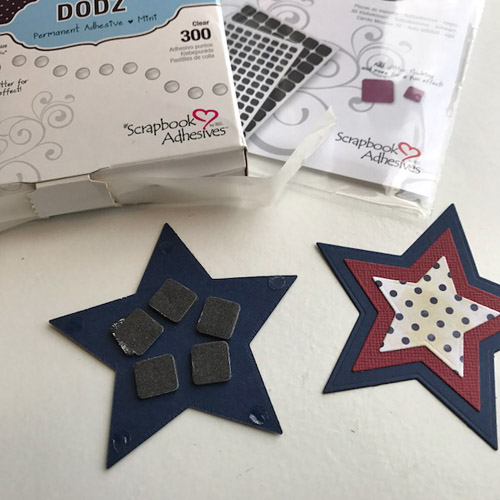
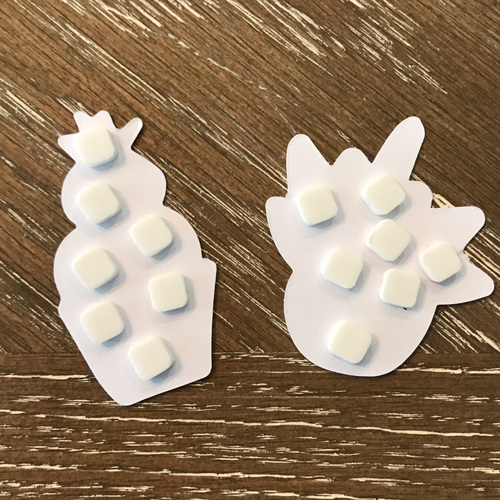
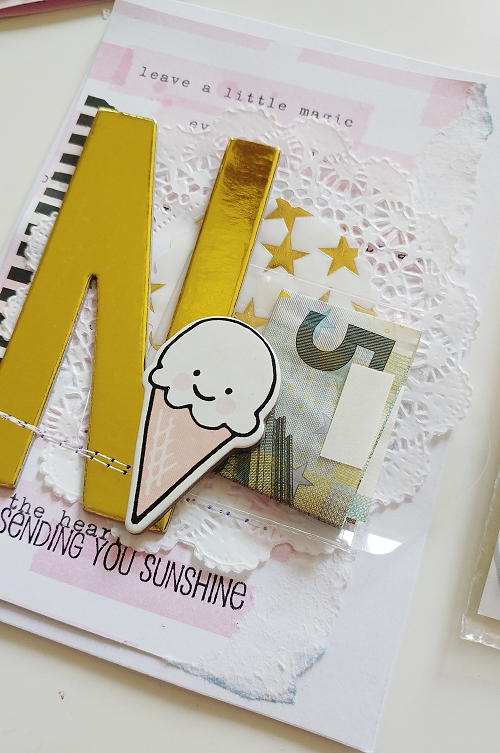
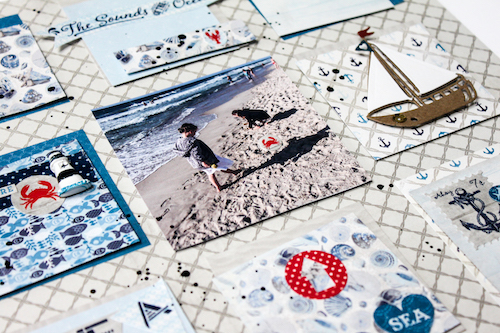
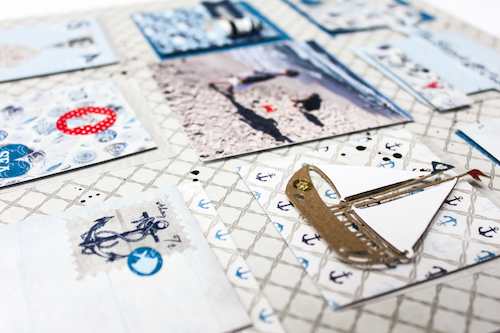
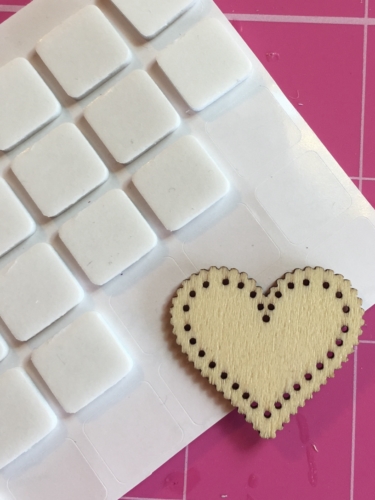
Adding dimension in is always easier with 3D Foam Squares – White Mix. I primarily used the small ones because of the size of elements I was working with. Sometimes I needed even more height and in that case – I stacked two of the squares on each other.
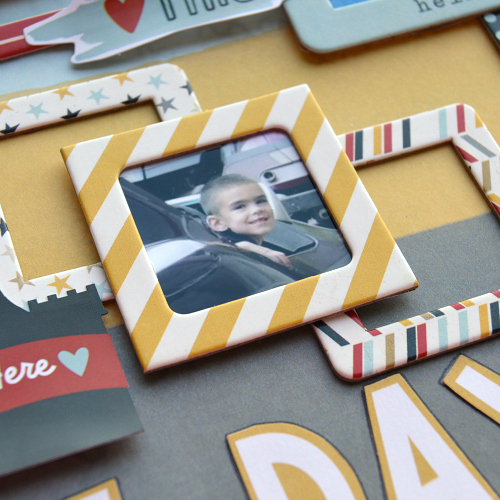
Look at all that dimension!!! The E-Z Runner® Micro Refillable Dispenser also came into play as I used it to add my title onto the layout. I created a process video to walk you thru how I used all of these adhesives so visit my blog, CLICK: Magical Memories Day 5 Giveaway to check it out and giveaway details too!
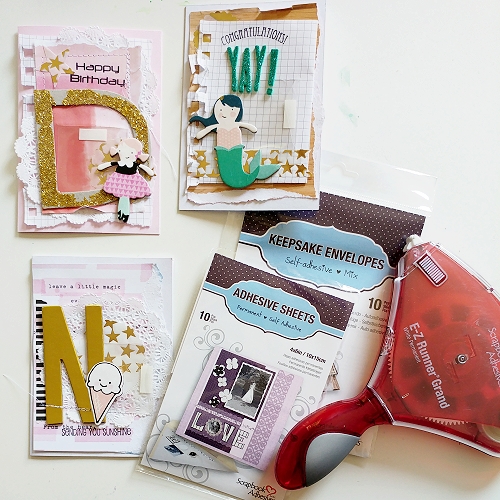
Scrapbook Adhesives by 3L® Supplies:
Adhesive Lines
3D Foam Adhesive Squares – White Mix
E-Z Runner® Micro Refillable Dispenser
Other:
Patterned Paper, Stickers, Chipboard and Die Cuts: Simple Stories; Enamel Dots: Doodlebug Design