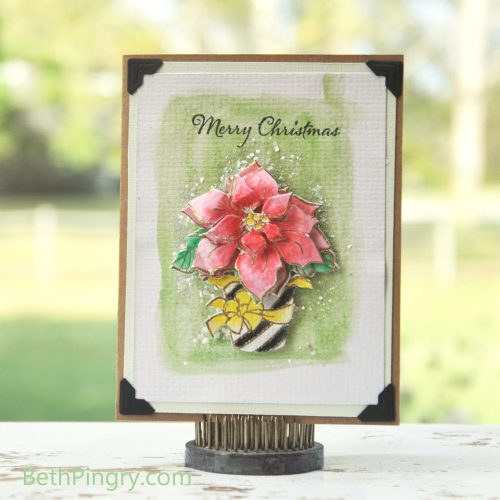
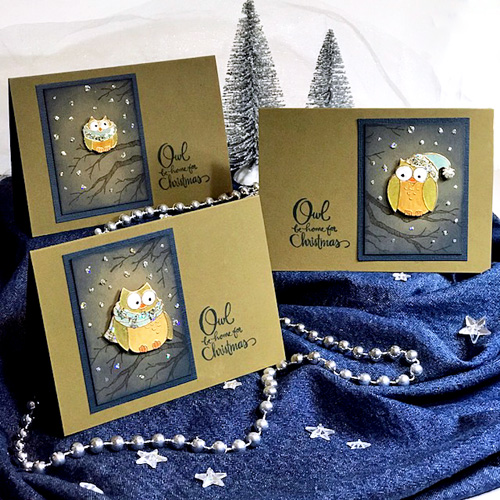
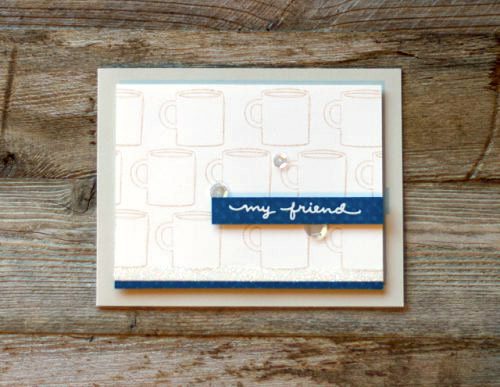
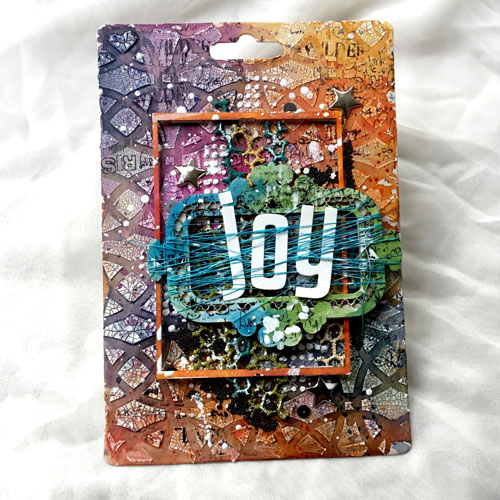
Creating art using recycled packaging is simpler than you think. It brings interest and dimension to your projects. Let me show how I created my recycled panel for my card today.
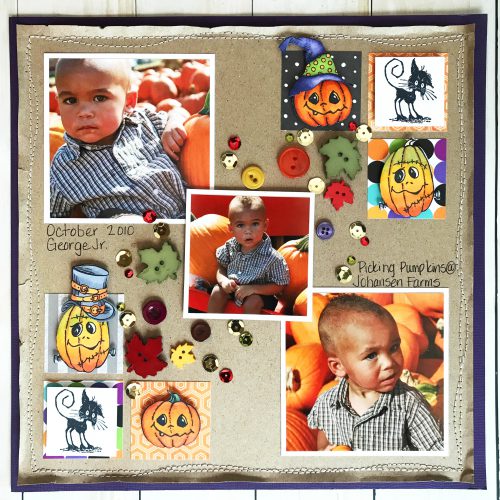
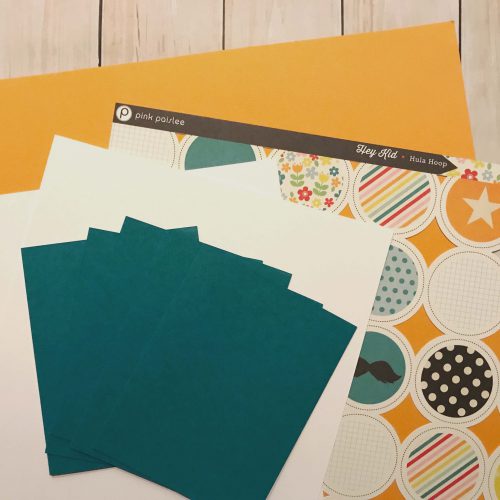
Create the recycled package background
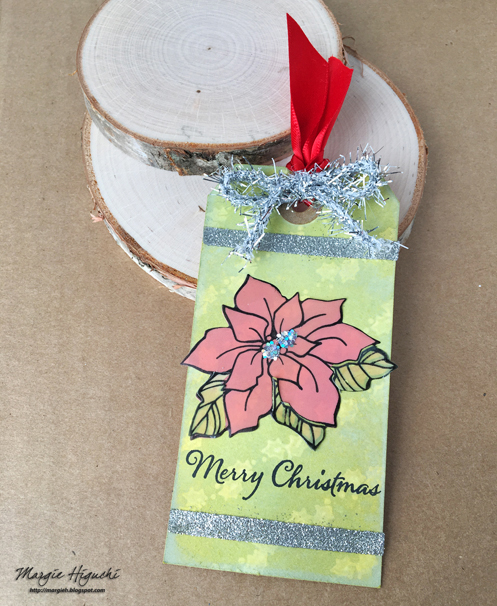
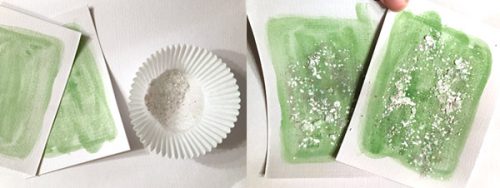
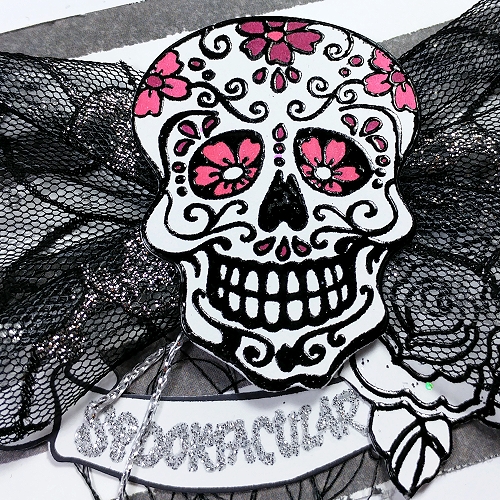
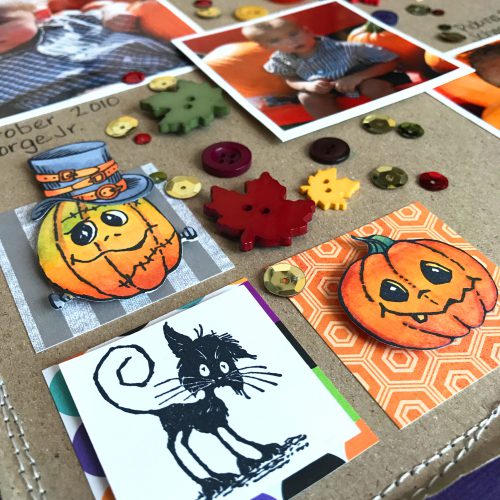
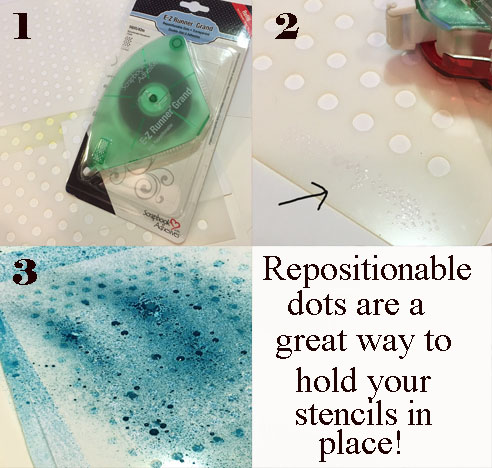
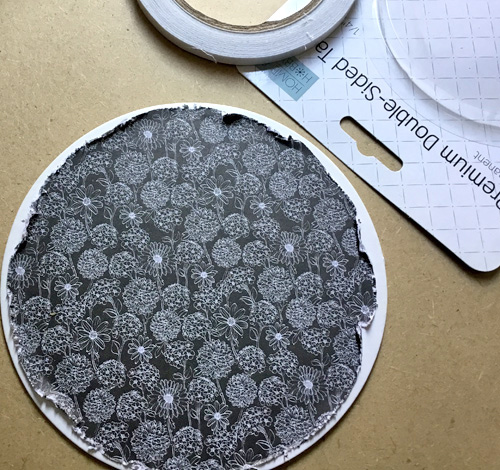
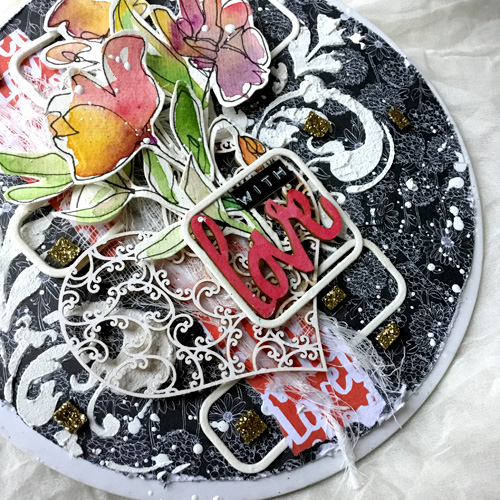
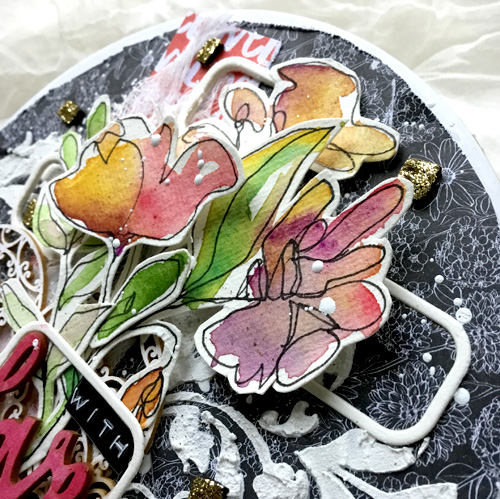
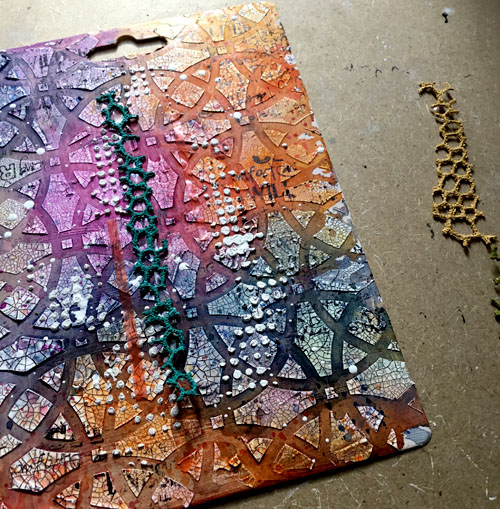
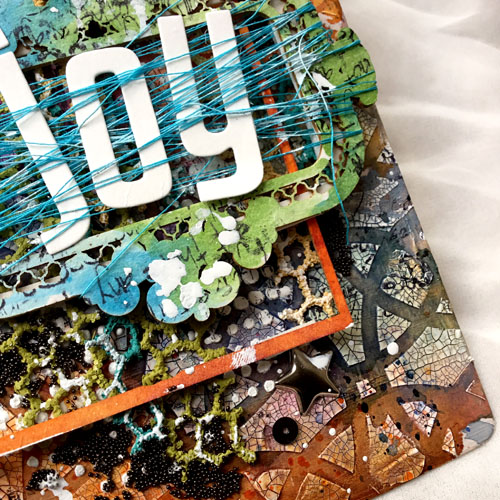
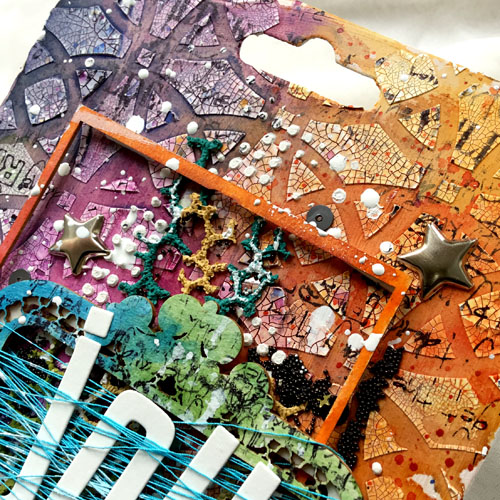
Paint the chipboard package base with white chalk. Once dry, use a stencil with white crackle paste and let dry. Then color with watercolors. Next, stamp randomly with black archival ink and accent with some liquid gesso splashes.
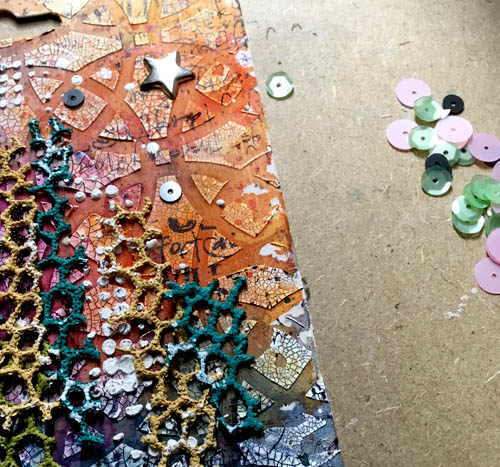
Using Extreme Double-Sided Tape 1/8″, attach lace that was colored with acrylic paint.
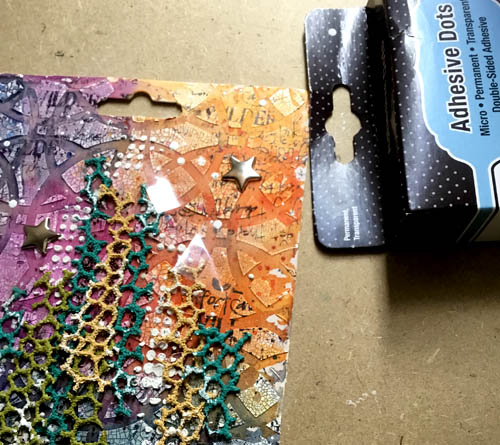
Then attach small gray sequins and gold stars with Adhesive Dots Micro.
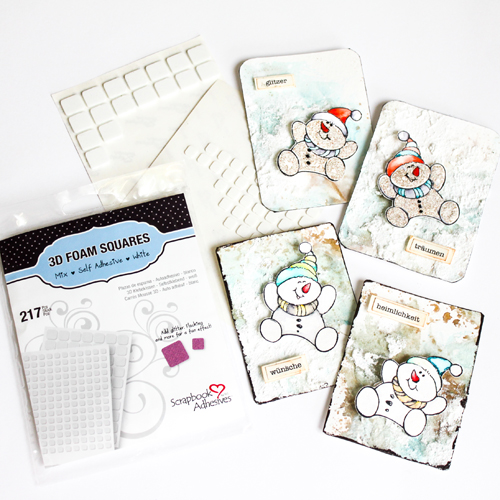
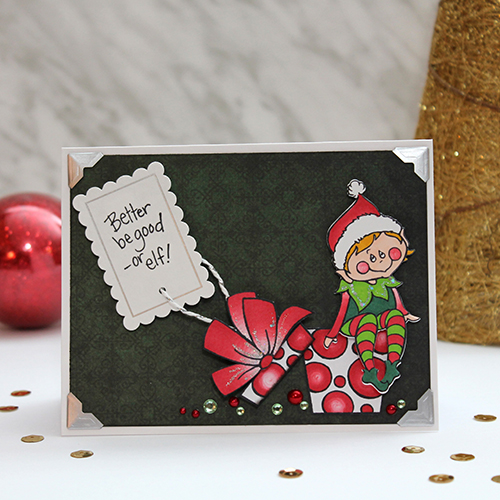
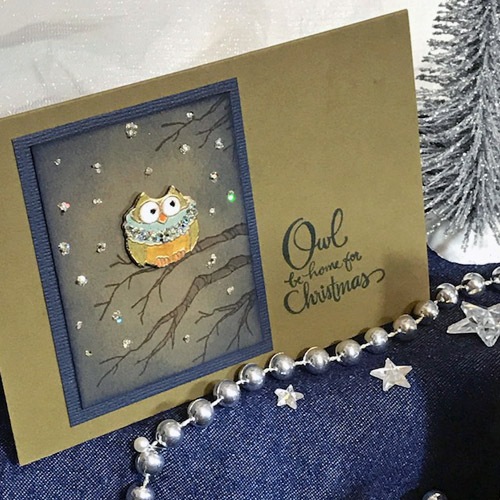
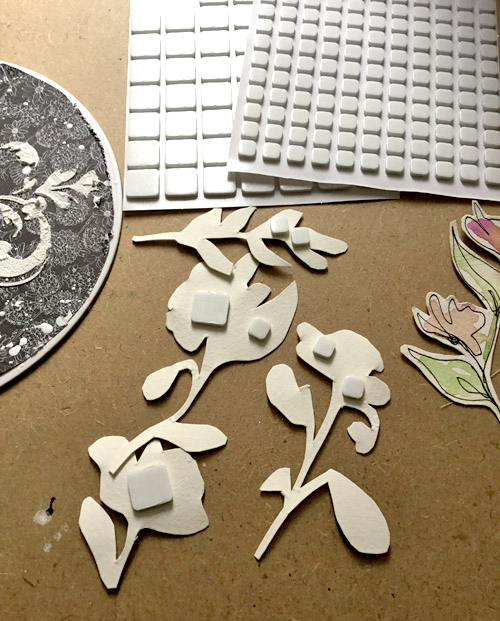
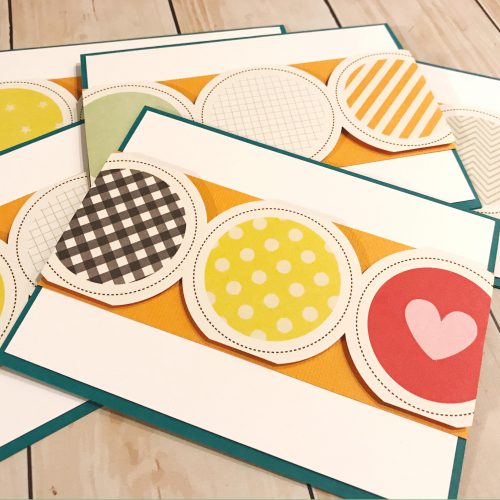
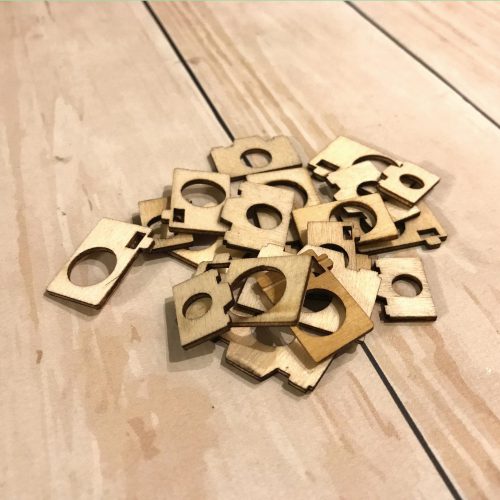
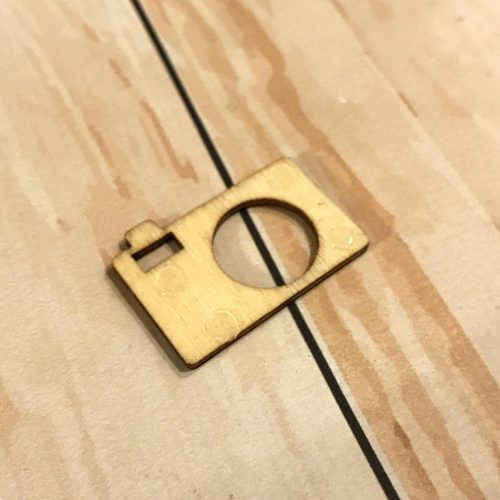
To embellish the top of my panel, add painted chipboards in the following ways:
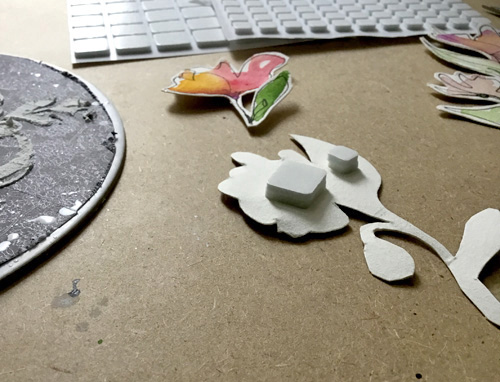
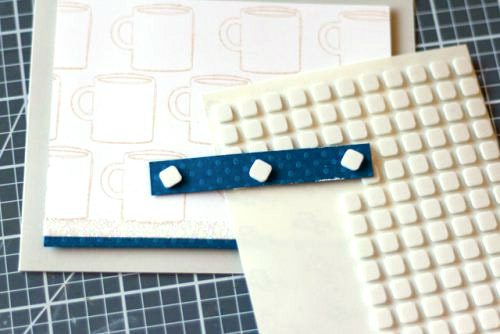
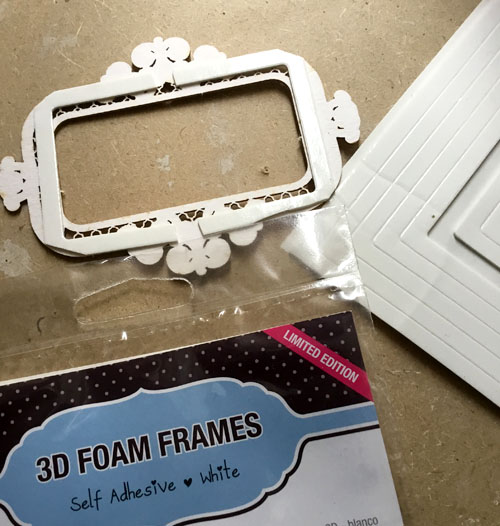
3D Foam Frame trimmed to fit the small but wide frame.
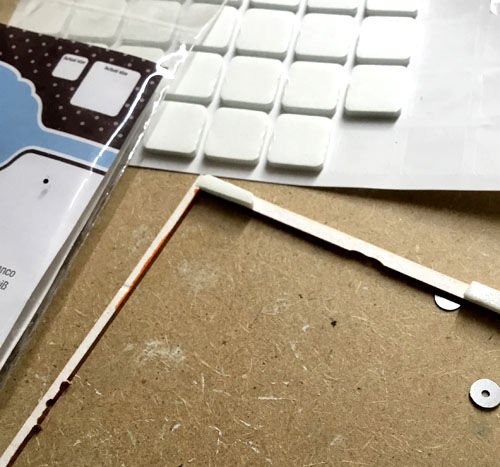
Add 3D Foam Squares cut to fit the large but thin rectangular frame.
Now for the details!
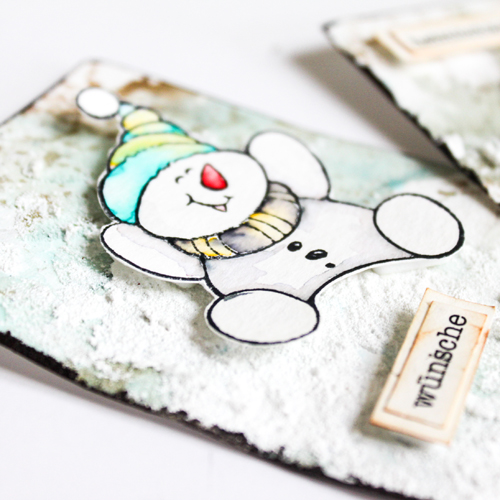
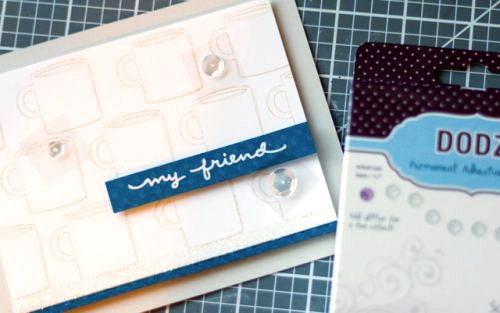
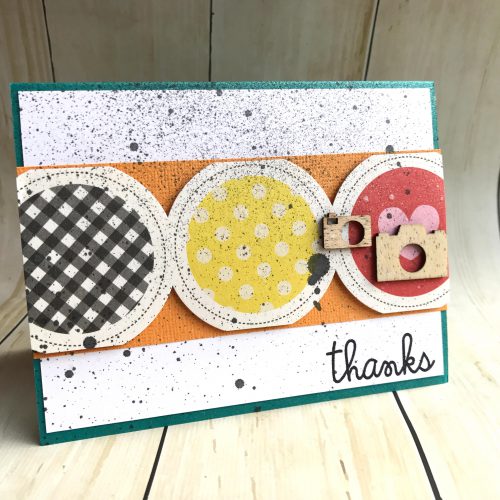
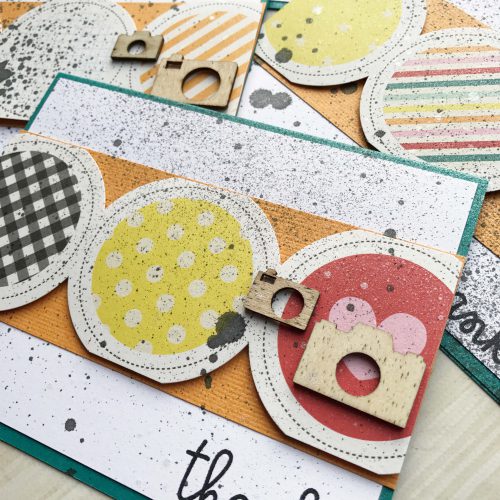
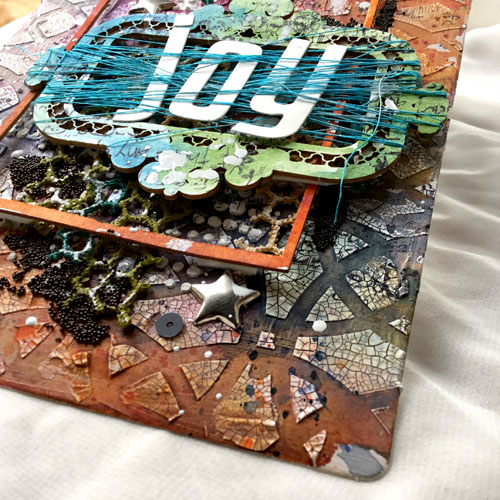
First, remove the liners from the 3D Foam Squares and adhere the larger frame on top of the panel. Remove liners from the smaller frame and wrap the thread around it.
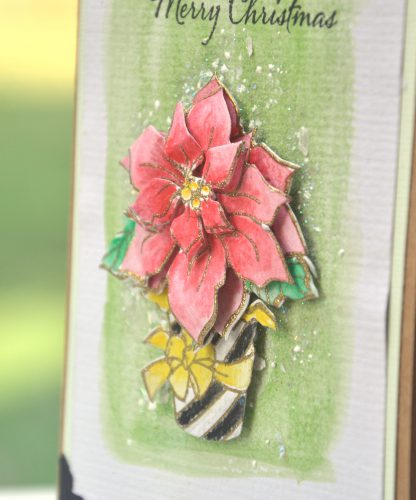
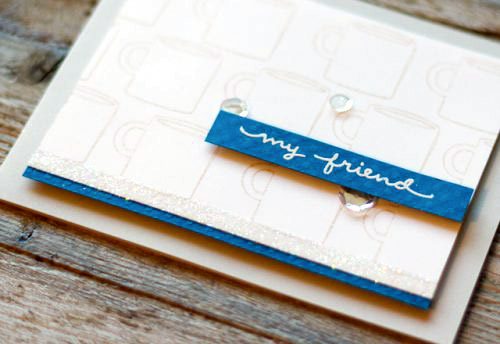
Using the fine tip of the Dual Tip Glue Pen, apply the glue in back of the painted chipboard title and carefully place into the wrapped threads. While the title is drying, I used the Dual Tip Glue Pen to randomly attach the microbeads. The Glue Pen’s fine tip allowed me to be more precise with the placement. Lastly, adhere the small frame on top of the large frame. It’s done!
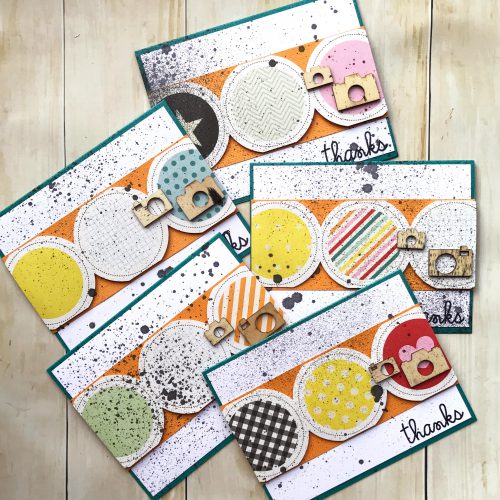
I hope you liked my recycled panel. This technique can be used not only on cards but on most any project that needs a little bit of interest. My suggestion is to…create, create, create!
Thank you for supporting my time as Guest Designer at Scrapbook Adhesives by 3L®! This is my last post with you. If you like what you see, please join me on my Instagram account by clicking: Sunnyflou Instagram.
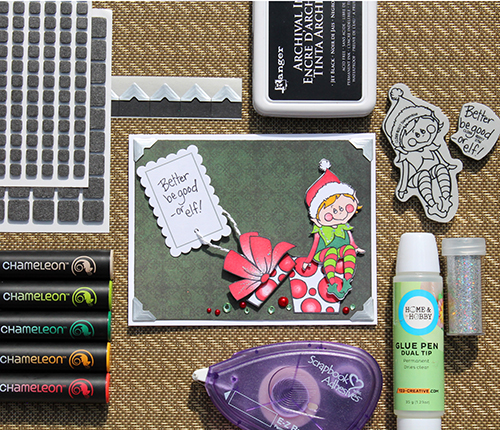
Scrapbook Adhesives by 3L®:
Adhesive Dots Micro
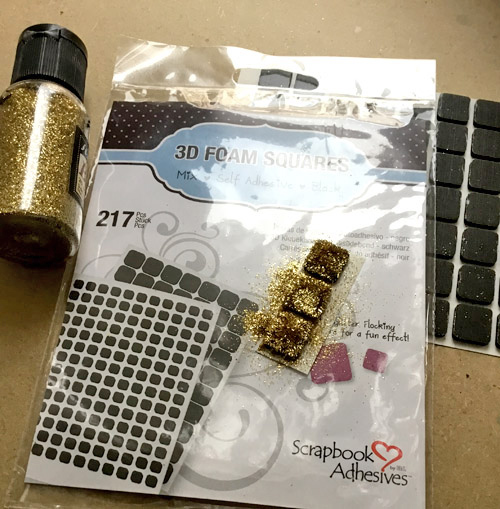
3D Foam Squares White Mix
3D Foam Frames
HomeHobby Extreme Double-Sided Tape 1/8″
HomeHobby Dual Tip Glue Pen