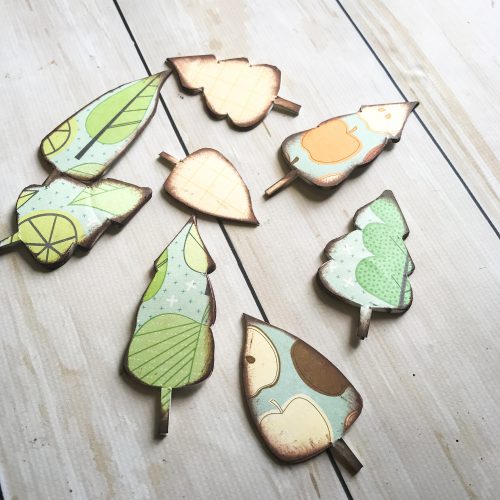
When going through my stash of adhesives from Scrapbook Adhesive by 3L I try to think of other ways to use them on a project. Today I can across 3D Foam Trees – “those could totally be leaves!” The weather has been a bit cooler here in the Chicago area and it’s feeling like Fall I figured let’s put together a fun Fall layout with my “leaves.”
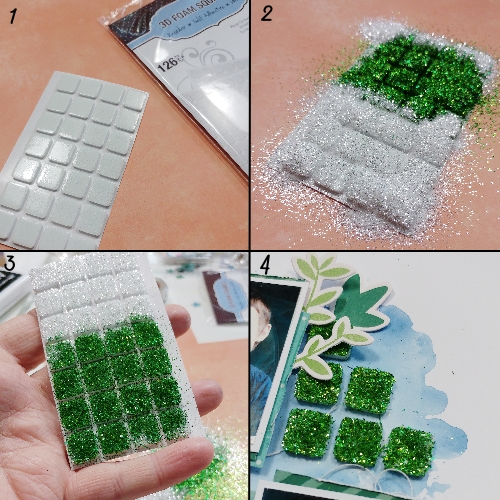
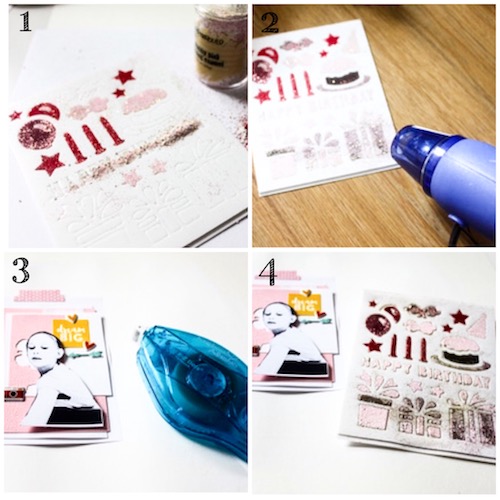
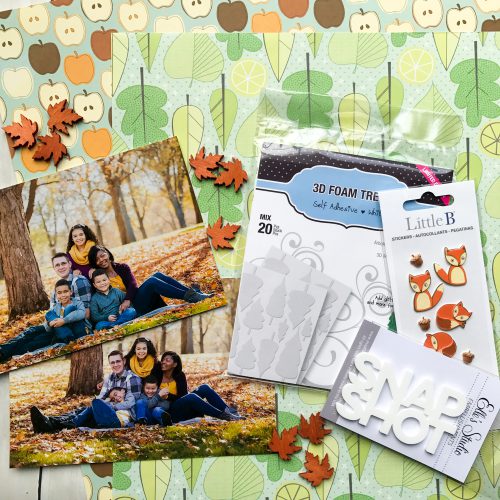
Grabbed a few supplies to start with here…
Peel those 3D Foam Trees off the liner and place them on the pieces of patterned paper. I then trimmed those out. You can see that a few I didn’t trim out completely, just to mix the style of leaf I was creating. Add some ink to the edges and you’re ready to move on.
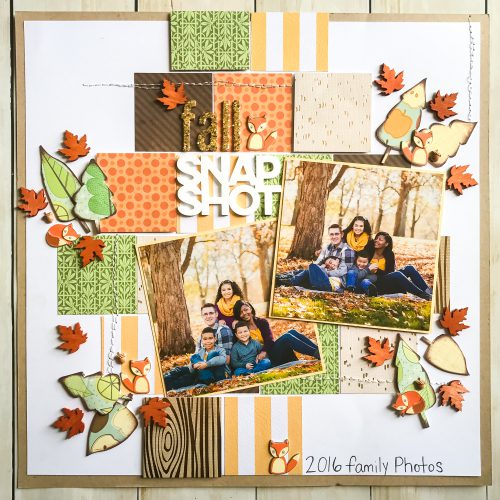
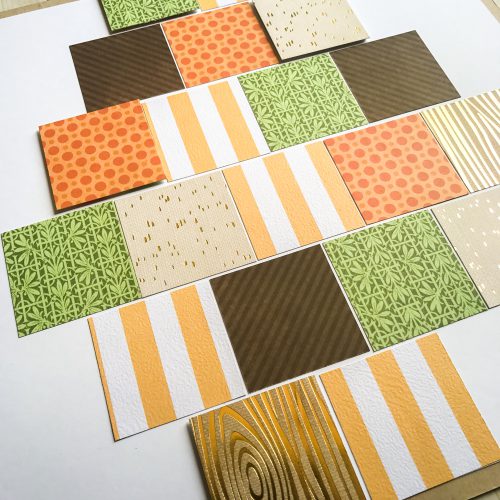
The background on this Fall layout is kept simple with white cardstock layered onto some kraft. In keeping with the warm colors from our family photos being used on this page, I pulled out gold, orange, green and brown tones of patterned paper. Each piece was cut into 2″x 2″ squares.
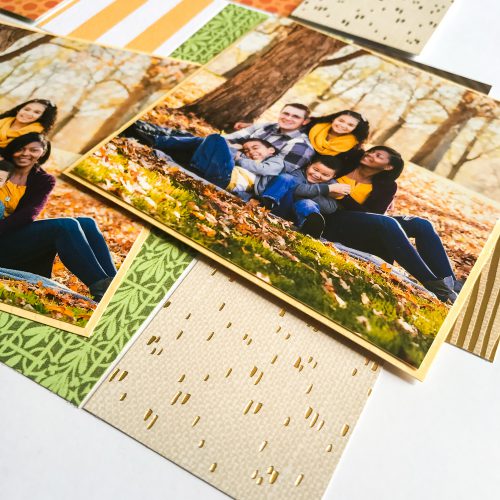
Place the squares on the page and on a few used my favorite adhesive 3D Foam Squares White Regular Size as seen pictured above. I also raised one of the photos with the same adhesive. Other squares and photos were placed on the page using the E-Z Runner® Permanent Strips Refillable Dispenser.
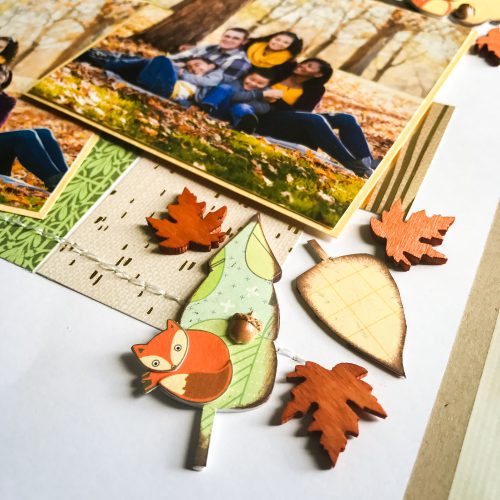
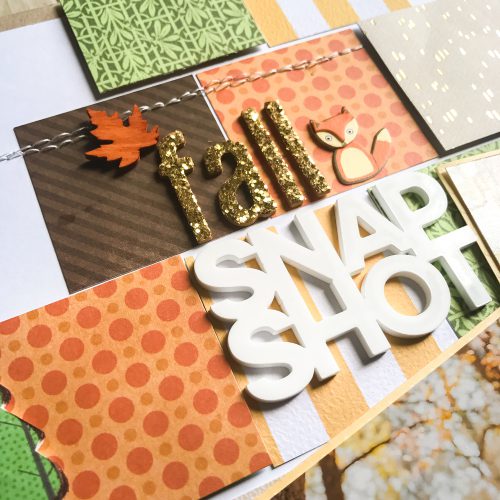
To finish the page off, I added some smaller wooden leaves I had on hand, a few sweet little foxes and some machine stitching around. The large letter stickers were perfect to create the FALL title as well. Here are a few details of the page close up. To adhere the wooden leaves and the acrylic title I used the HomeHobby Dual Tip Glue Pen.
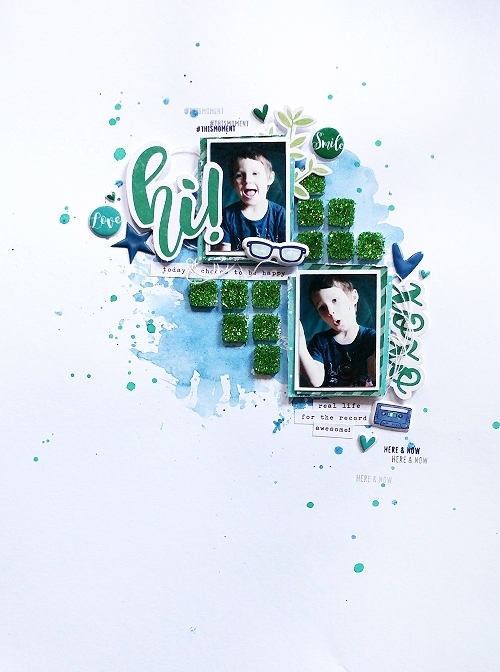
One last look at the full page.
Scrapbook Adhesives by 3L® Supplies:
3D Foam Trees
3D Foam Squares White Regular
E-Z Runner® Permanent Strips Refillable Dispenser
HomeHobby Dual Tip Glue Pen
Other Supplies:
American Crafts Patterned Paper
Little B Fox Brads
Elle’s Studio Acrylic Embellishments
Paper Source Wooden Leaves