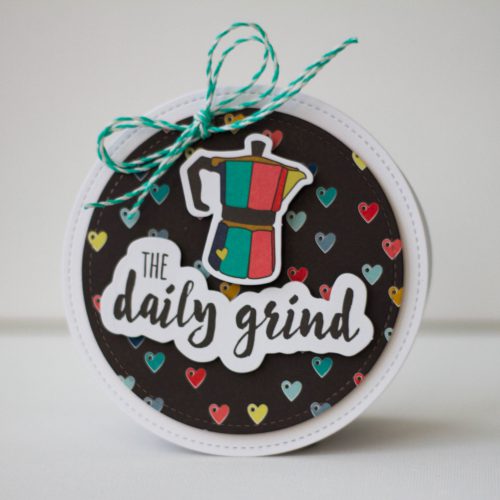
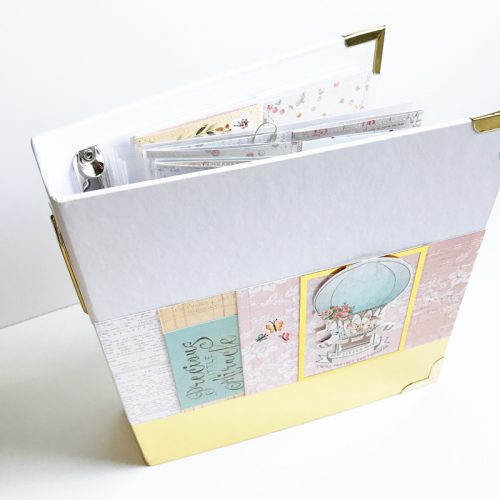
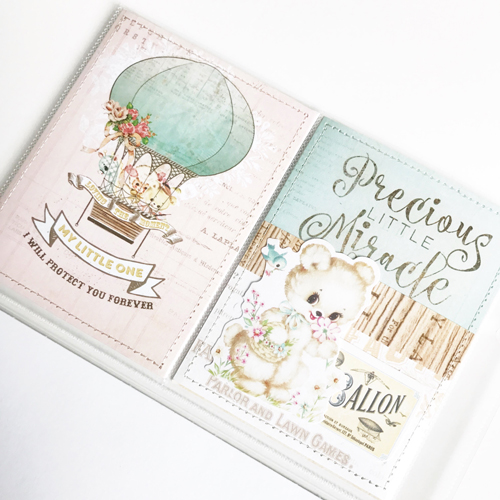
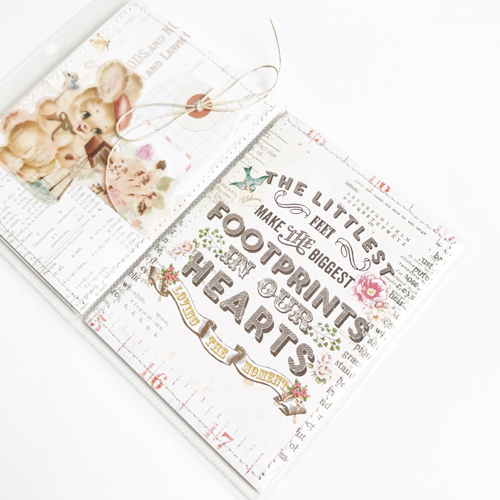
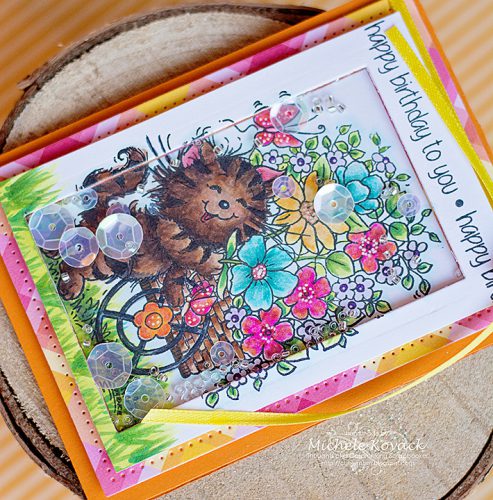
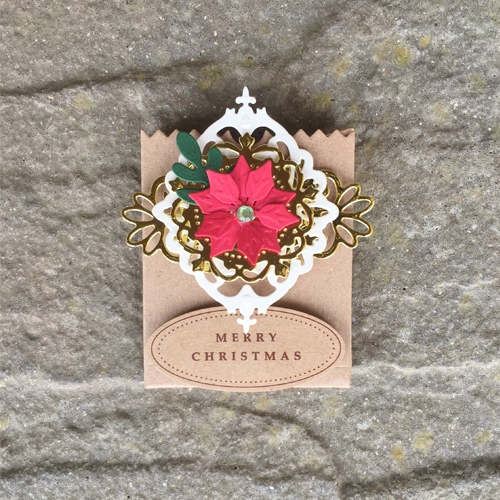
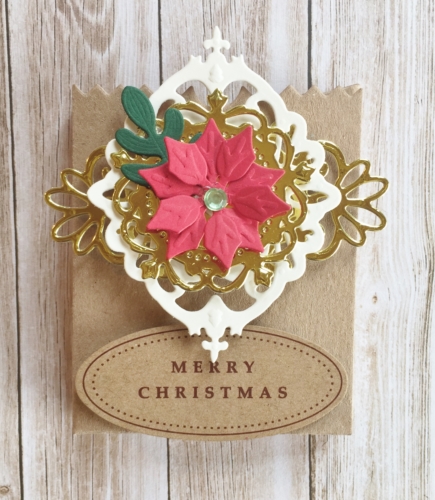
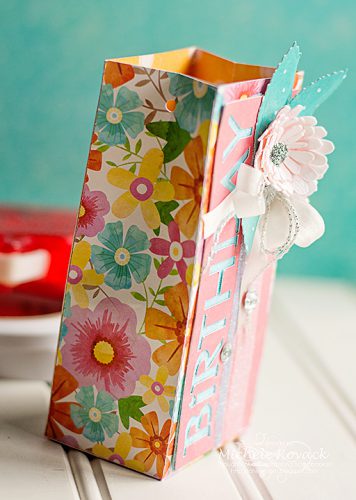
Hello Everyone! Today I thought I’d show you how I put together this special baby card that I created for my new great niece.
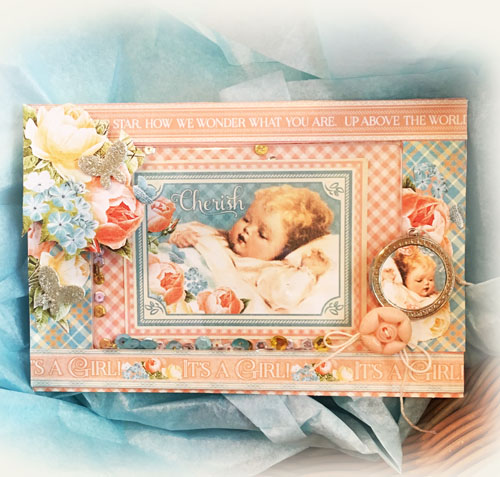
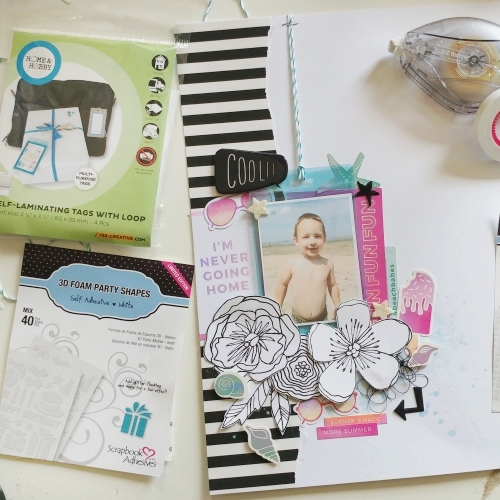
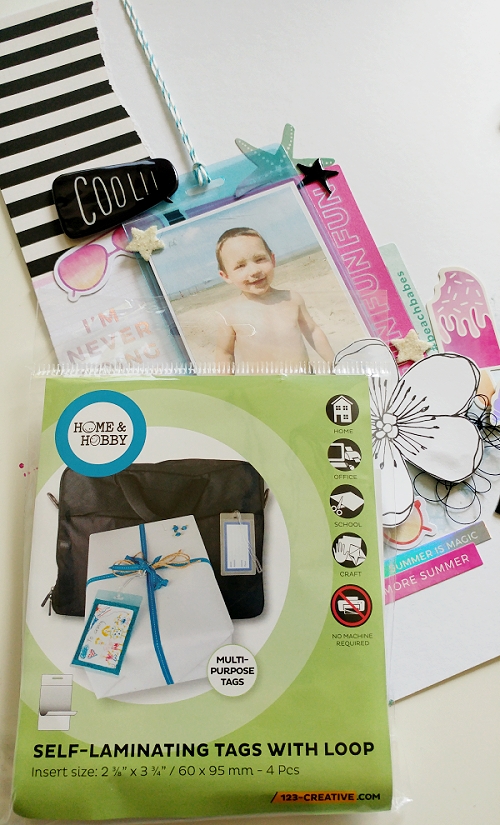
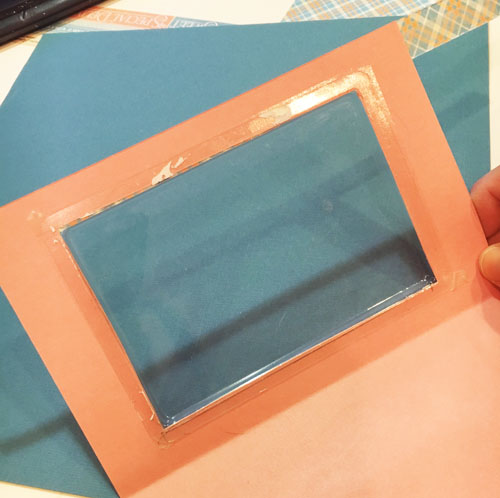
There are many different ways to go about making a shaker card, but I’m going to show you how I made this one with the protective covering dis-guarded from some other craft product packaging. I’m sure if you look thru your craft supplies you might find these in many different sizes. I wanted one that was fairly large to fit my entire image inside.
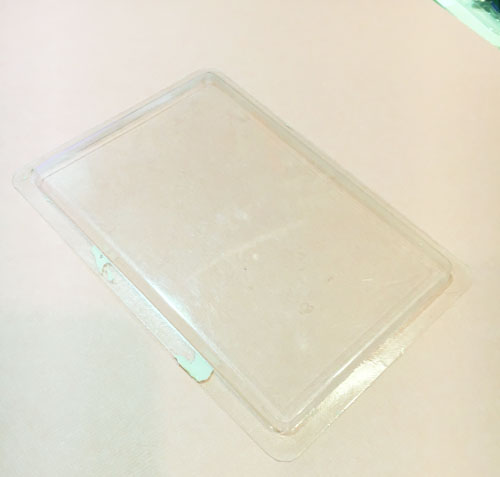
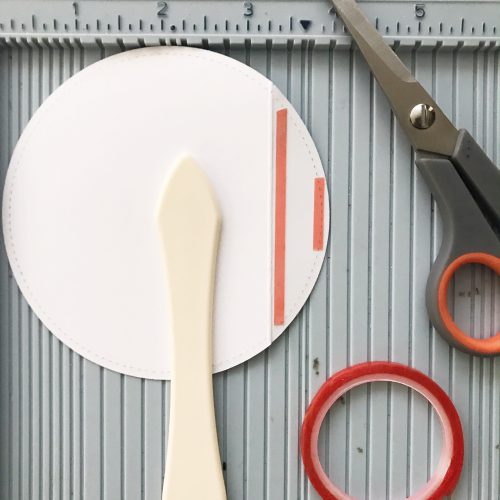
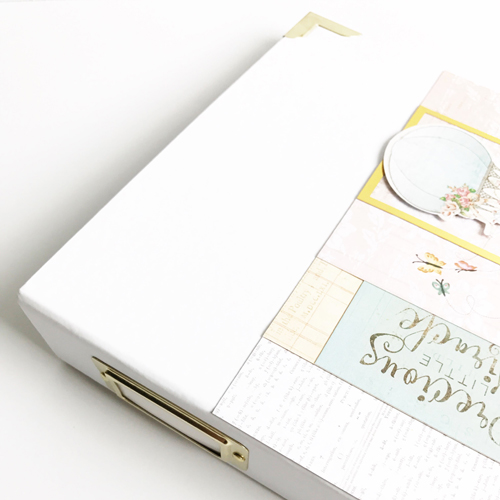
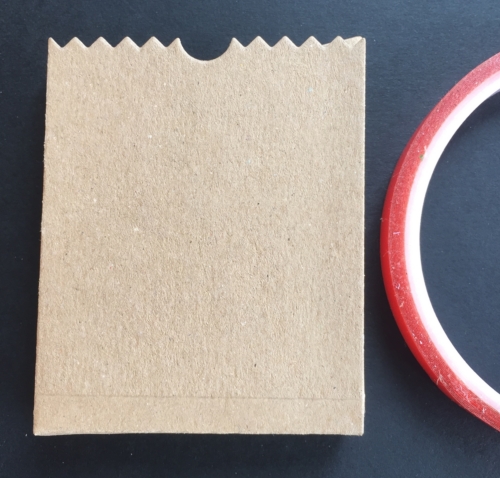
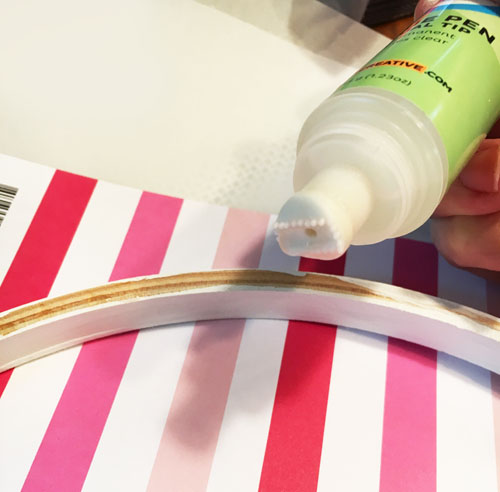
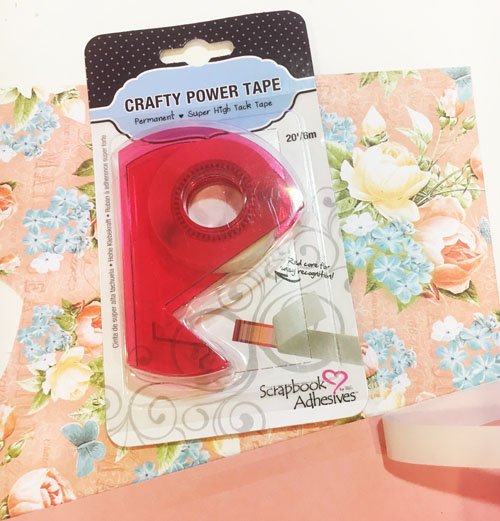
I traced the size of the plastic onto the front of my card, making sure it was centered. I then cut it out from the front of the card with my craft knife. I lined the inside of the front of the card with Crafty Power Tape.
The lip of the plastic then set inside. The tape holding it tight in place.
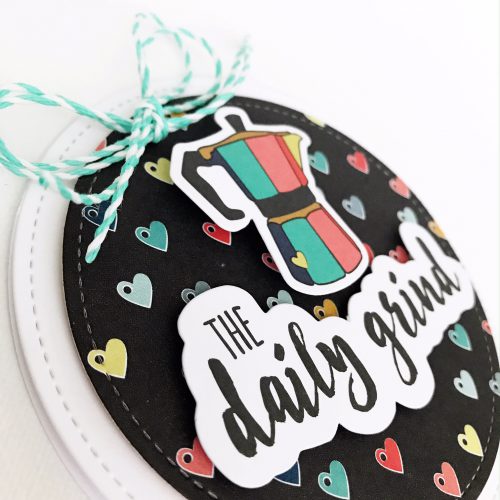
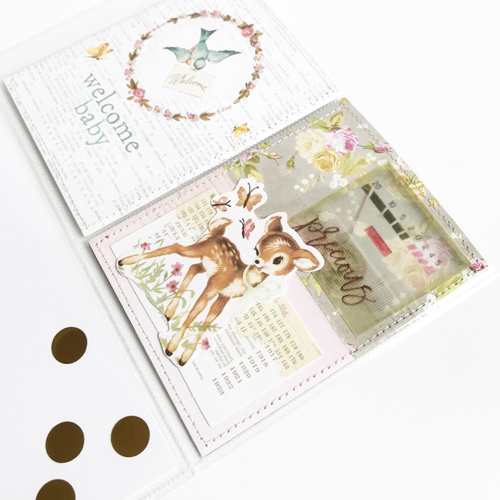
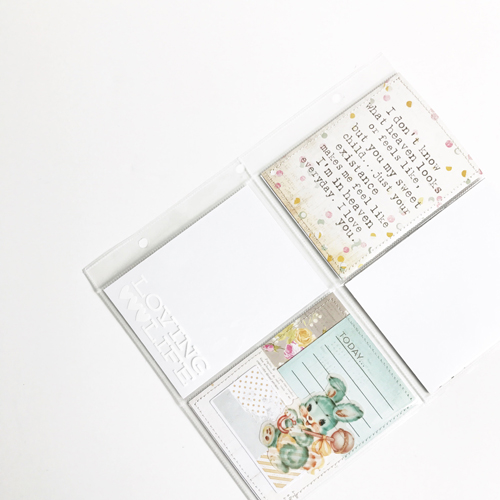
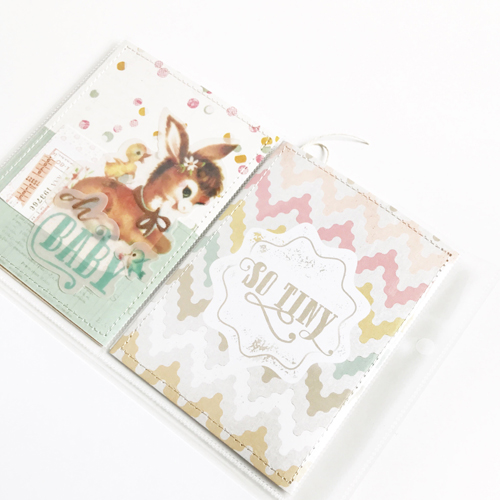
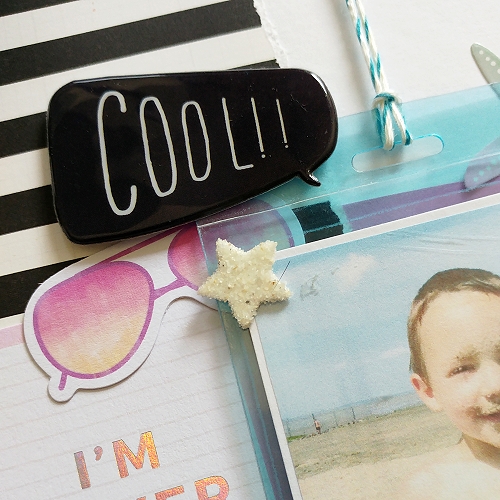
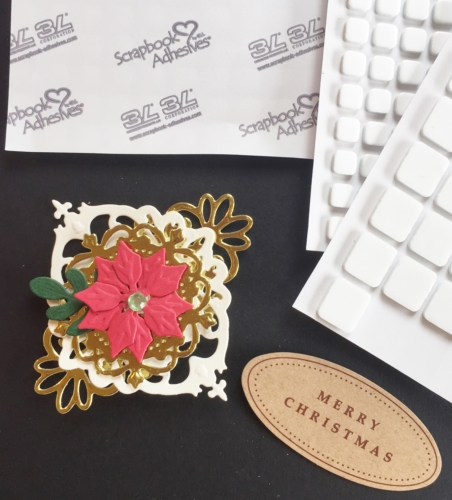
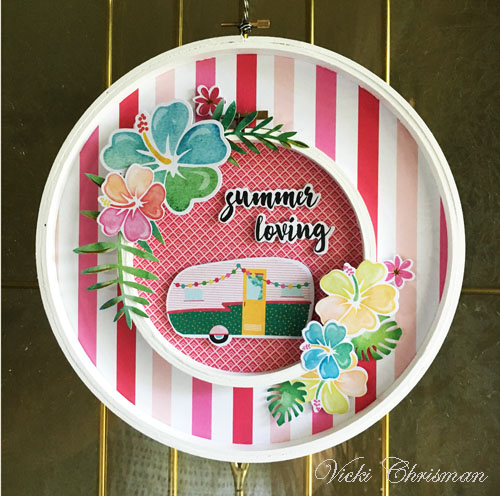
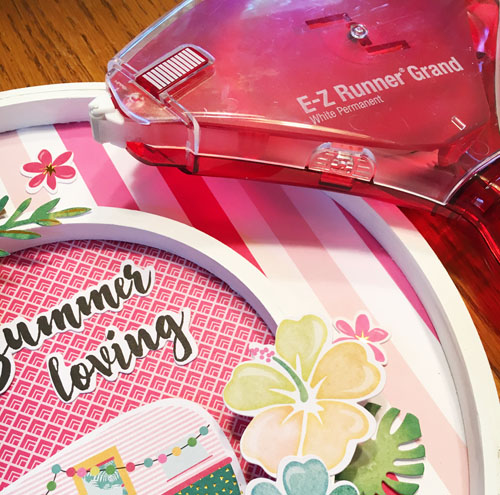
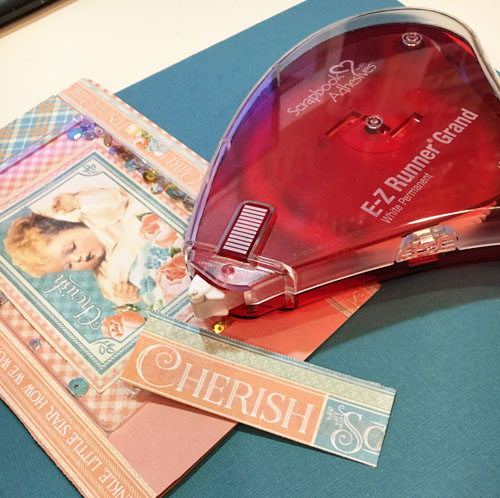
I cut a back for the inside of the front of the card centering my image on it. I made this the same size as the front of the card. I sprinkled some sequins into the clear piece and then covered it with the piece with the image by using my E-Z Runner® Grand (making sure I added the adhesive close to the edge of the plastic piece to hold the sequins inside).
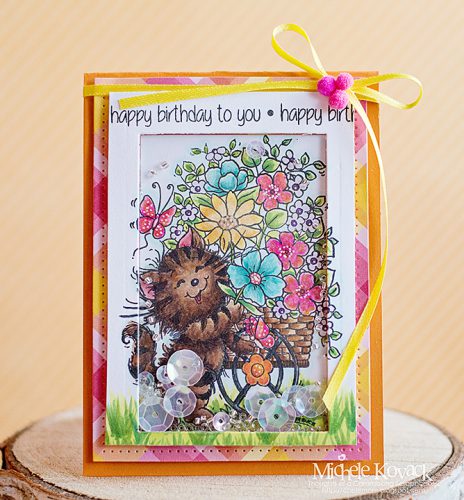
I also used my E-Z Runner® Grand for all the rest of my pieces to create my card.
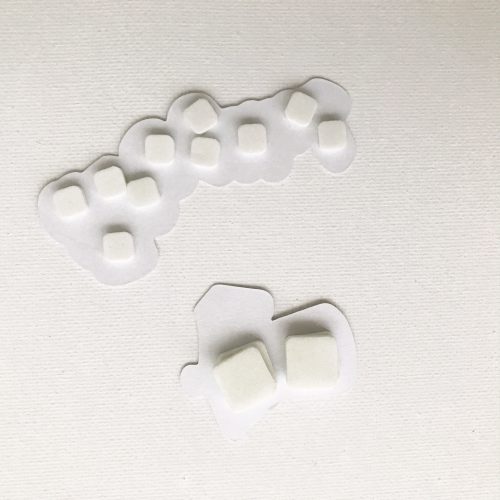
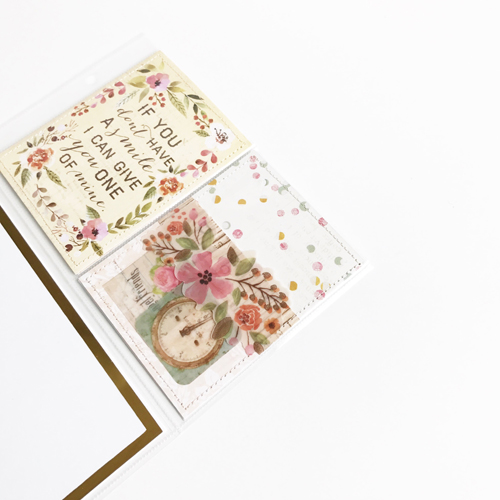
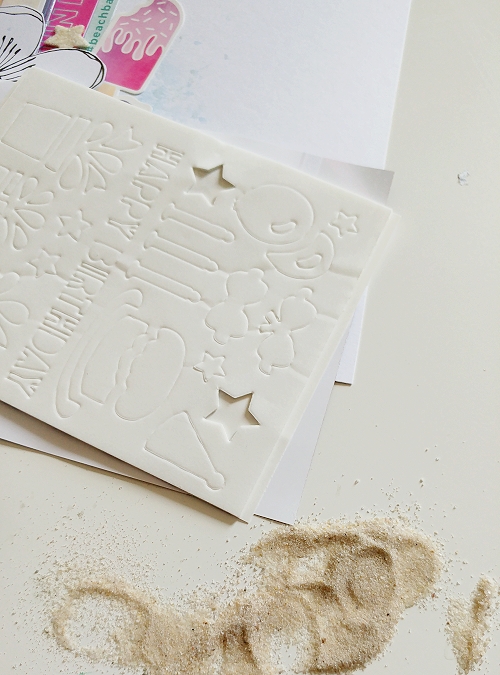
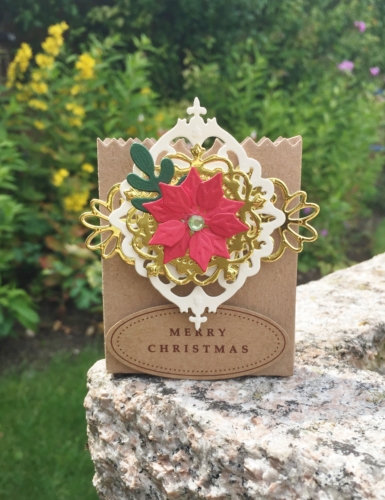
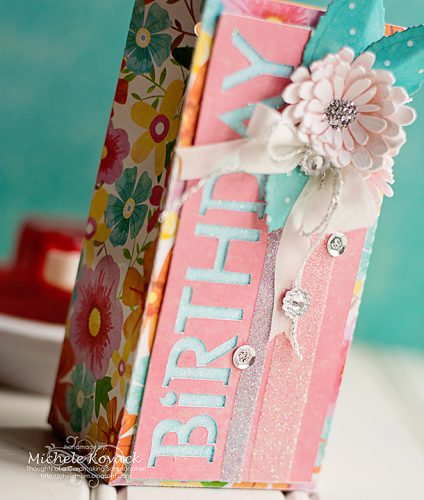
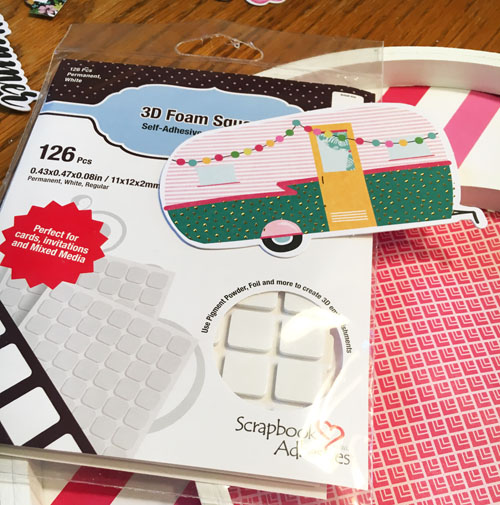
To give dimension to the cut out flower pieces I used Thin 3D Foam Squares. I wanted to add some of these cute butterflies from the 3D Foam Garden Shapes, so I added some gold glitter to pull in the gold from the sequins.
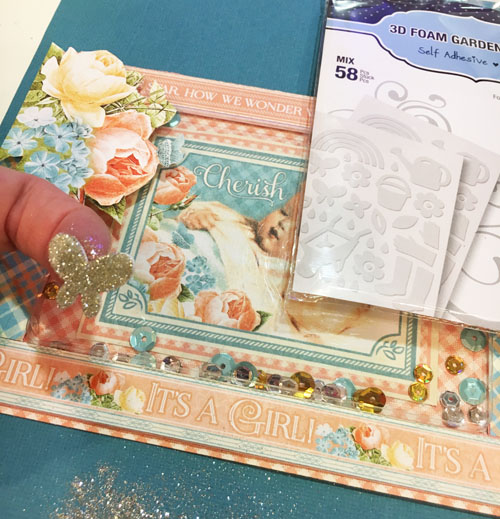
I then dressed it up with a vintage button and a charm by added them with Dodz Adhesive Dots Medium
I’m so excited to meet my new Great Niece!
Scrapbook Adhesives by 3L®:
- Crafty Power Tape
- E-Z Runner® Grand
- 3D Foam Garden Shapes
- Thin 3D Foam Squares White
- Dodz Adhesive Dots Medium
Other:
- Graphic 45: Patterned Papers
- Fancy Pants Designs: Silver Charm and Sequins