Need help to organize your craft space? Hi everyone, it’s Christine here today with an idea to help organize your crafting space with a little help from Adhesive Dots Large Repositionable.
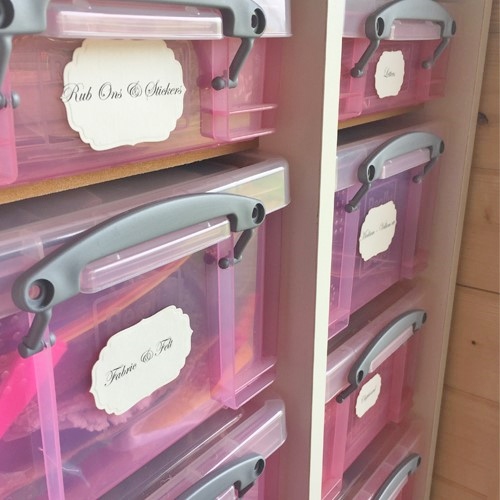
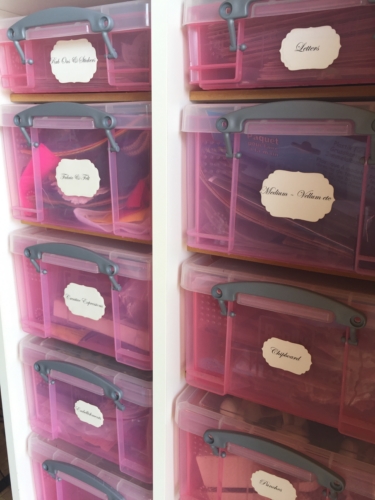
It doesn’t take long to amass lots of craft items and we all look to different ideas for storage. Clip boxes are ideal but I often forget as to what was inside each box. I definitely need a combination of Adhesive Dots Large Repositionable and labeling!
Let’s Organize!
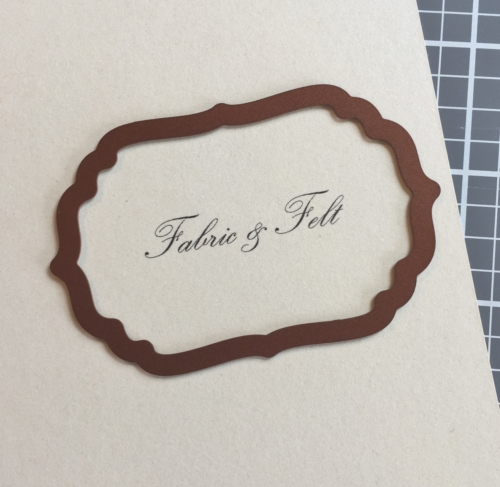
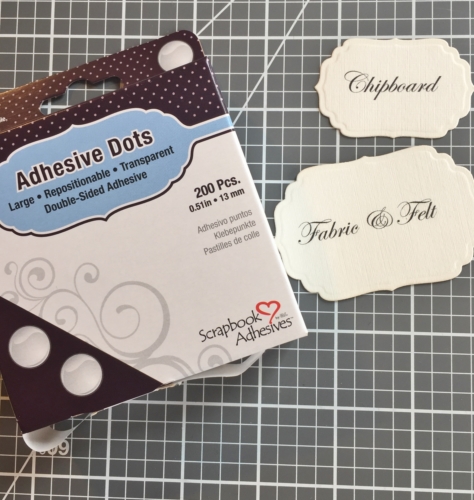
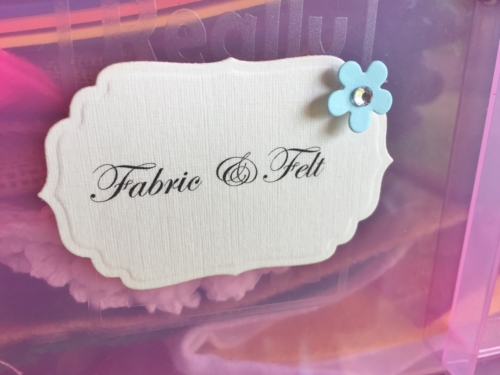
First I typed out the contents of each box on my computer and printed it out onto cardstock. Then I die cut each label.
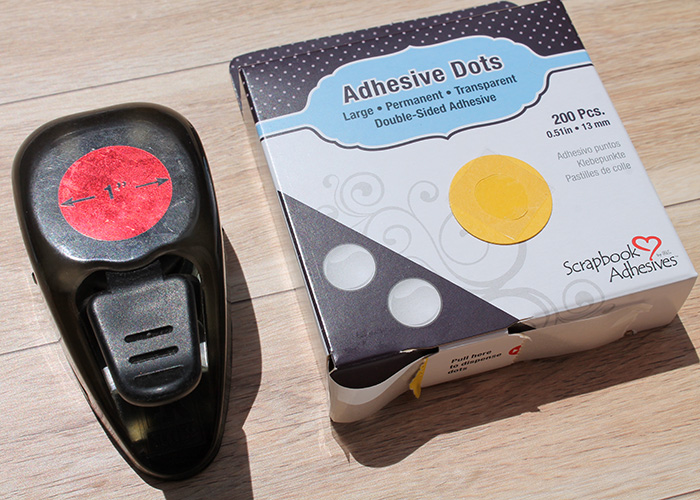
The labels are affixed with the Adhesive Dots Large Repositionable. This means I can move and re-stick my labels whenever I need. But don’t be fooled, these labels stay in place firmly until you want to move them, and then re-stick without additional adhesive.
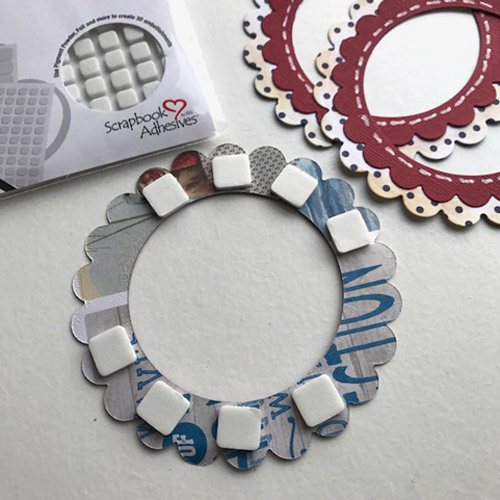
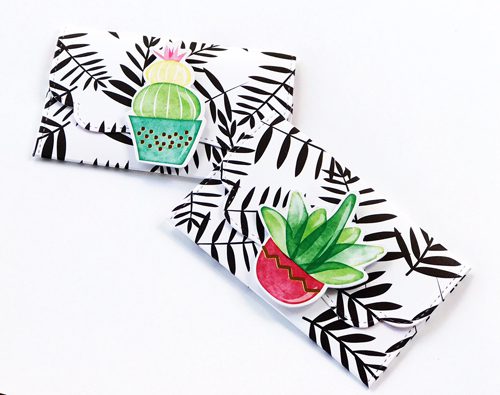
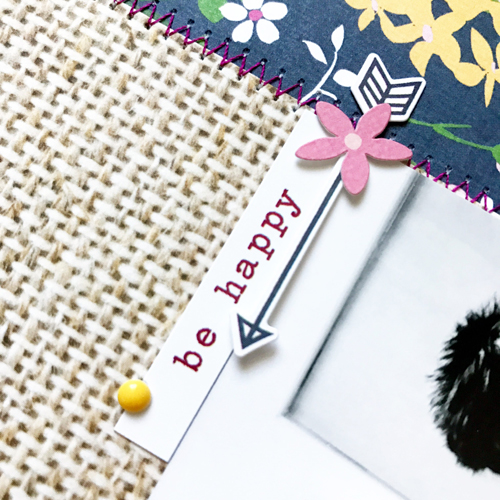
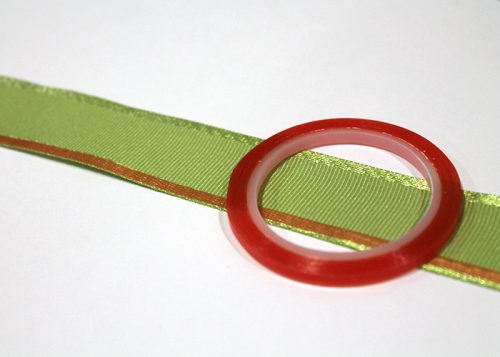
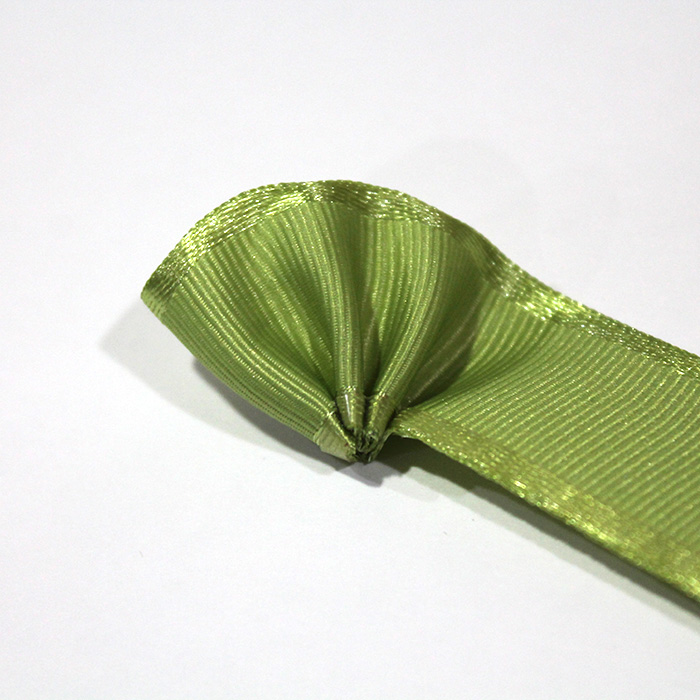
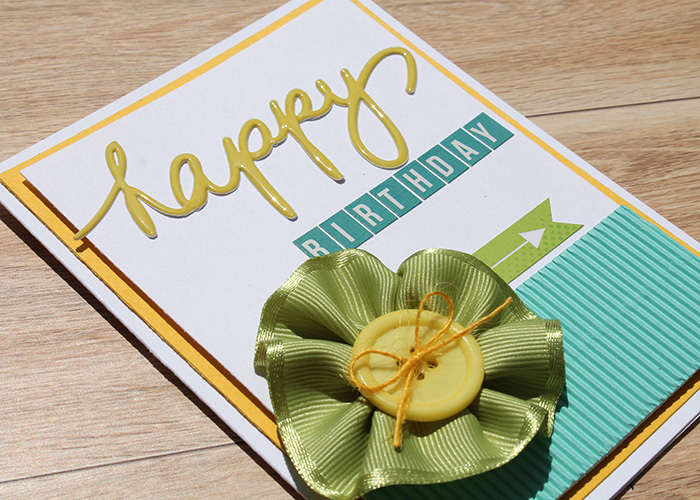
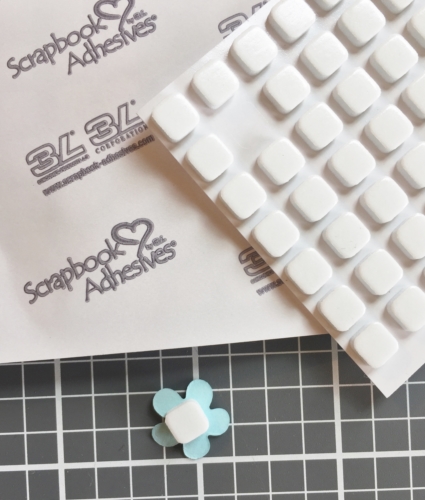
How about embellishing your labels with cute little flowers? You can easily affix them with 3D Foam Squares White Small Size. Customize your craft space decor and stay organized – that’s the beauty of this idea 🙂
Now that all my boxes are labeled, it will definitely save me some time when crafting. Perhaps I should label my kids’ cupboards and they might put their stuff away! One can always wish! LOL!!
Thank you for stopping by today and don’t forget to check out the brilliant products on the website.
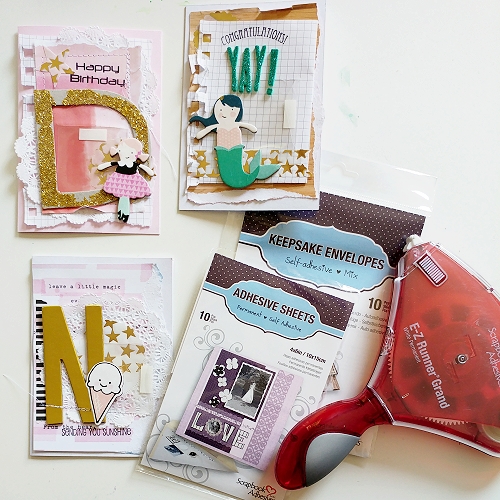
Products used:
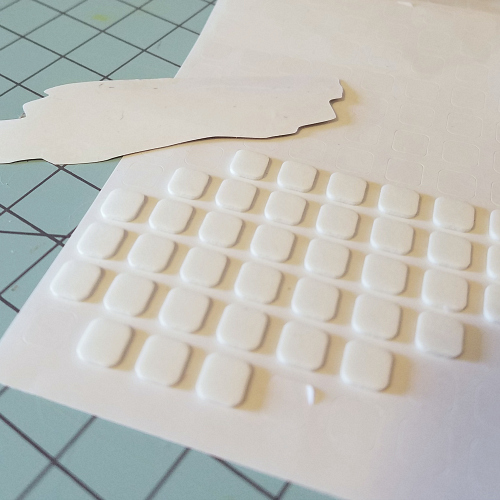
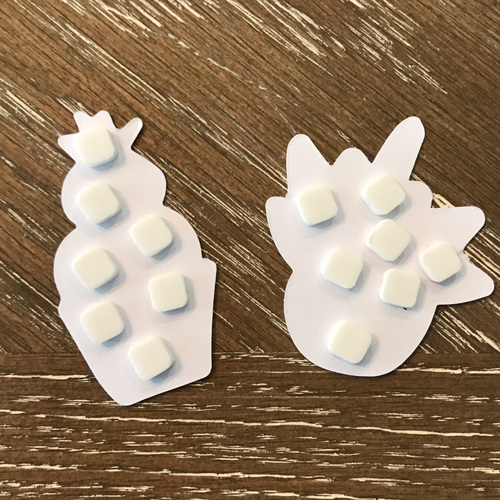
3D Foam Squares, White Small
Adhesive Dots Large Repositionable
Others:
Dies: Spellbinders Paper Arts (Labels Four)
Ivory and Blue Cardstock; Printer; Gemstone.