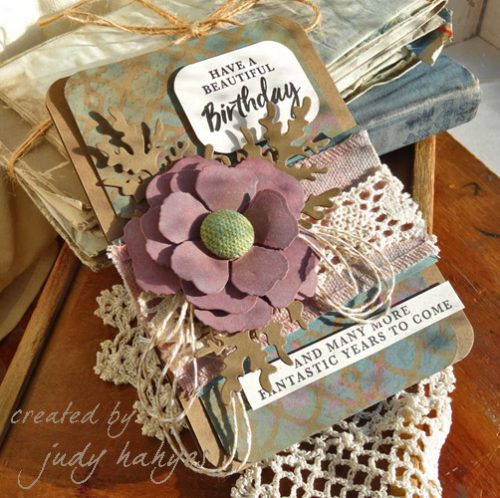
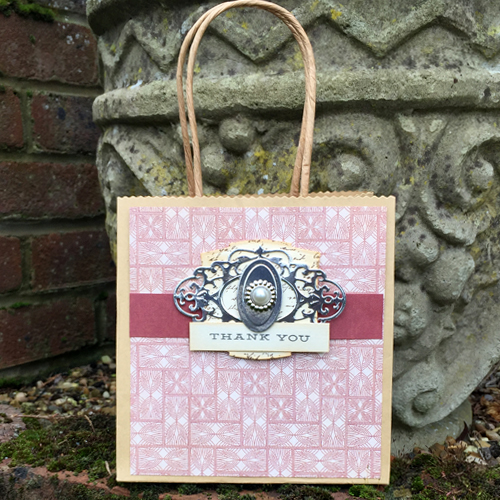
Hi everyone, Christine here today with a decorated gift bag. A regular Kraft sandwich bag it is so easy to embellish with layers using Scrapbook Adhesives products.
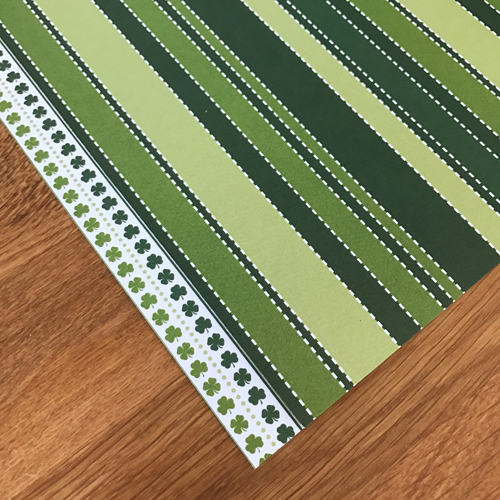
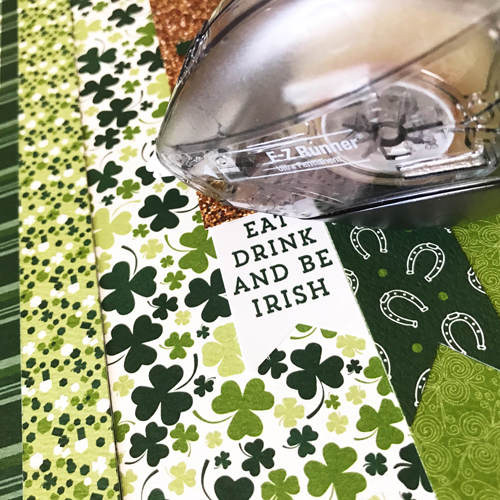
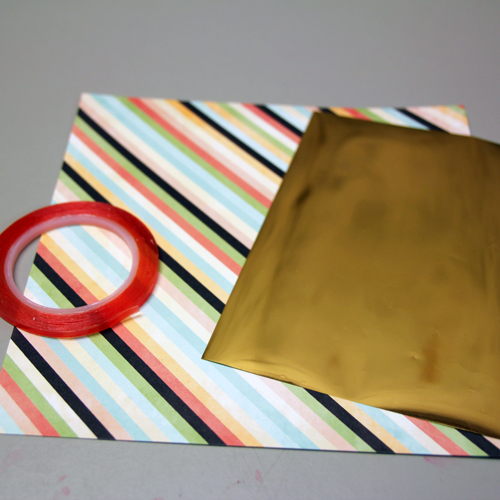
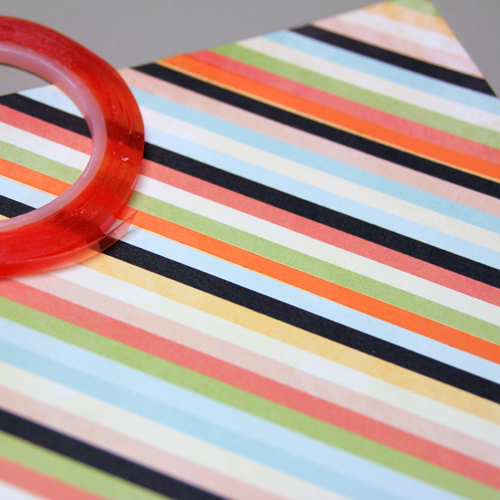
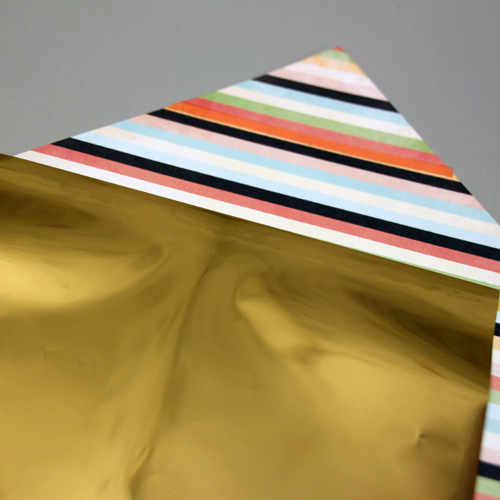
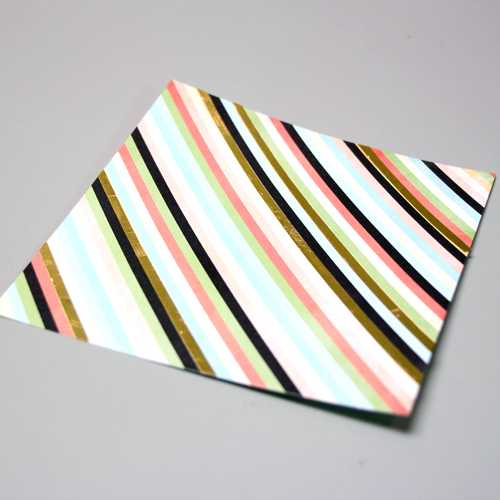
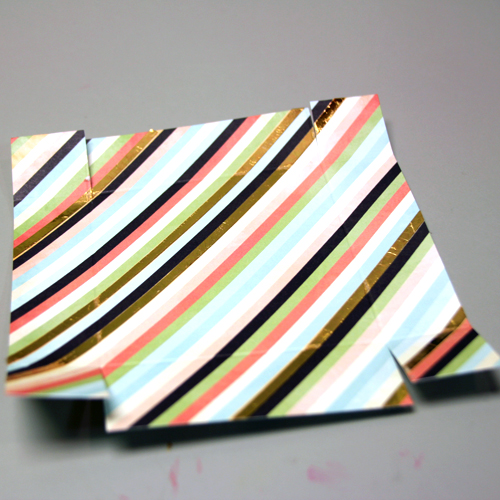
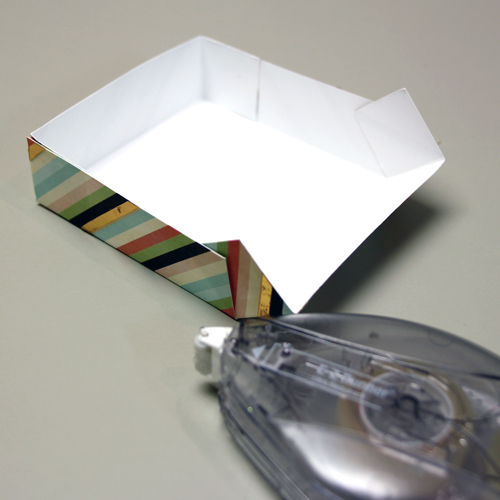
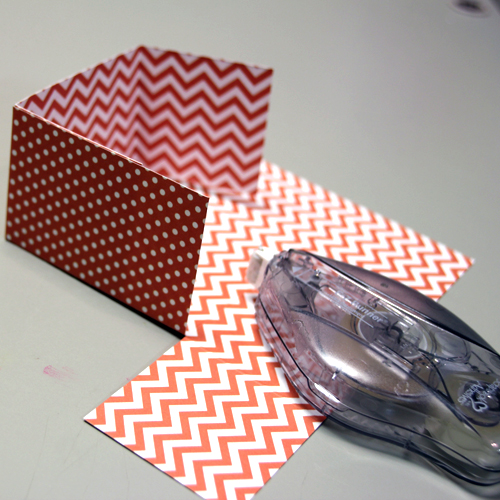
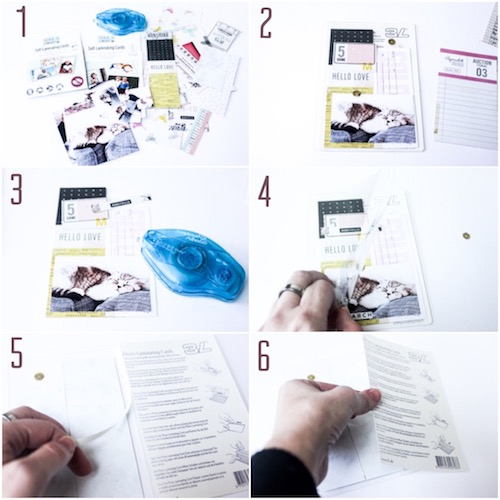
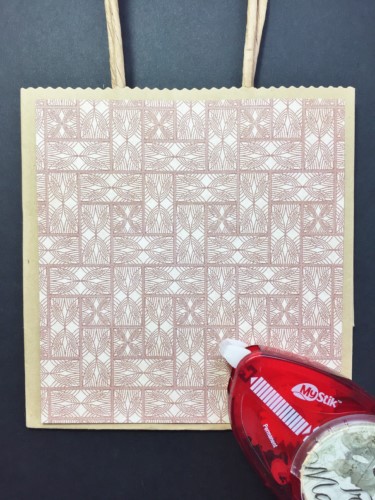
I firstly cut a square of patterned paper and affixed it using MyStik® Permanent Strips.
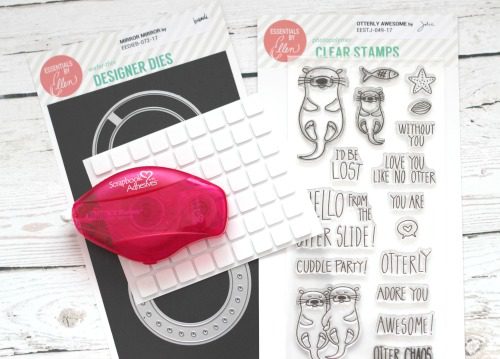
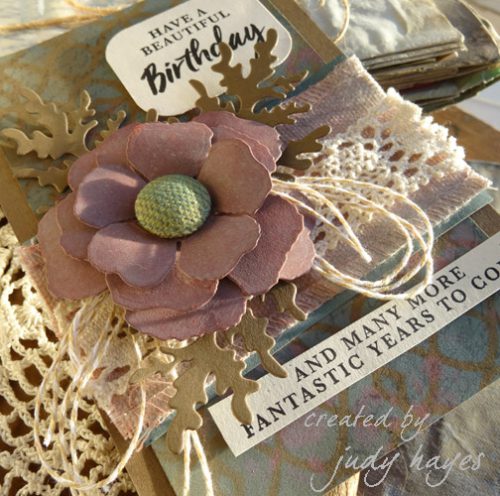
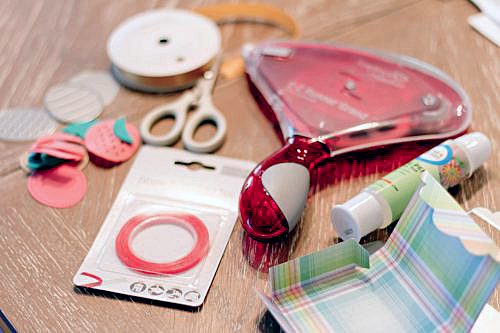
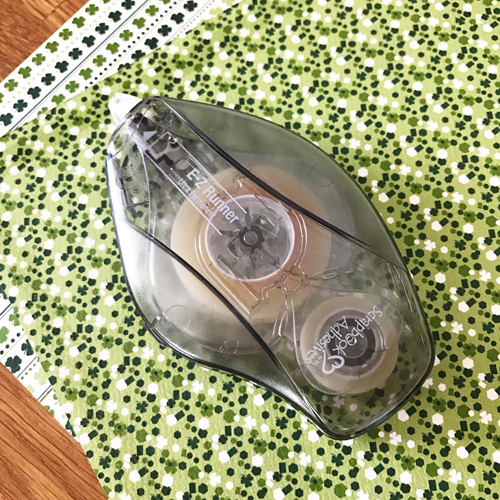
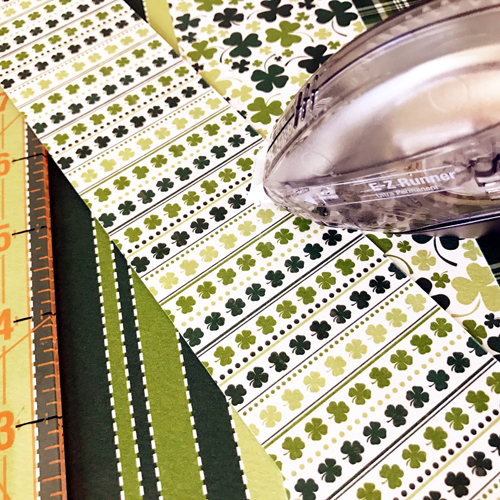
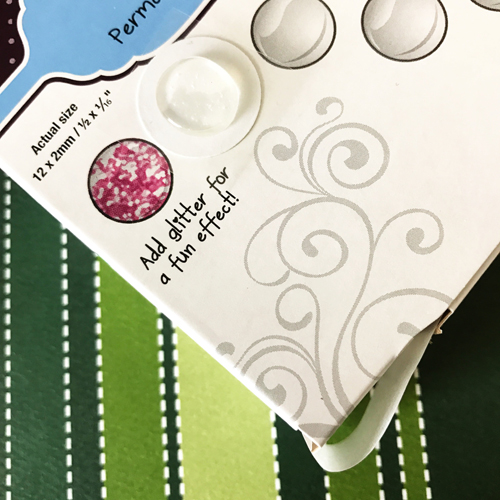
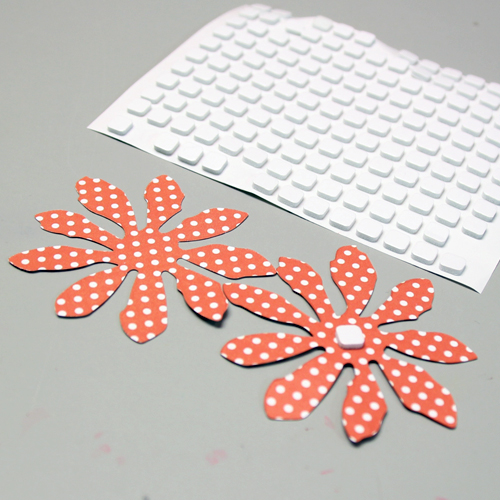
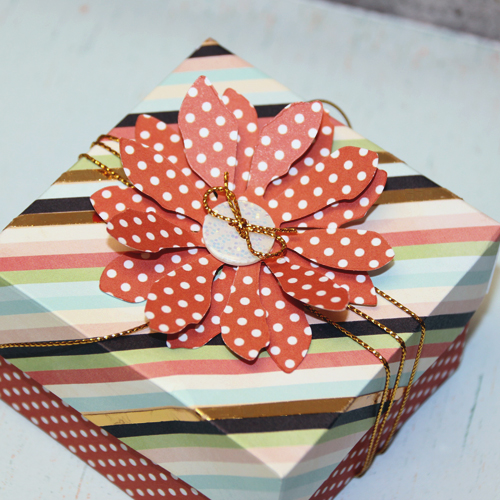
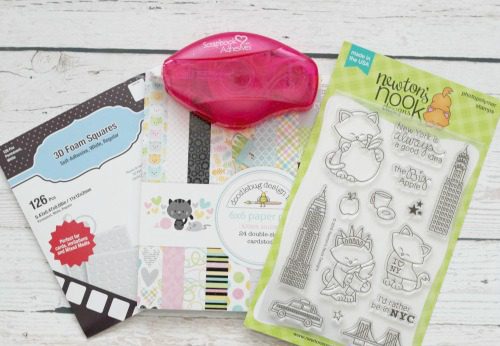
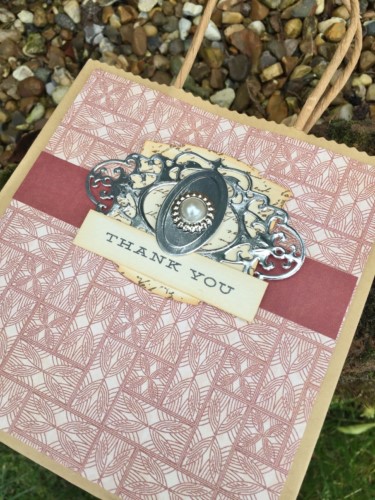
I gathered together embellishments and die cuts. My chosen adhesives to affix these is Crafty Power Tape and 3D Foam Squares – White, Regular.
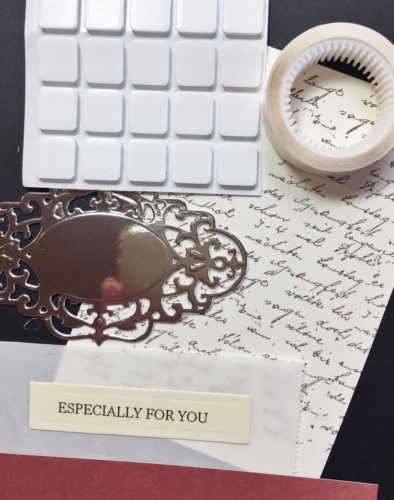
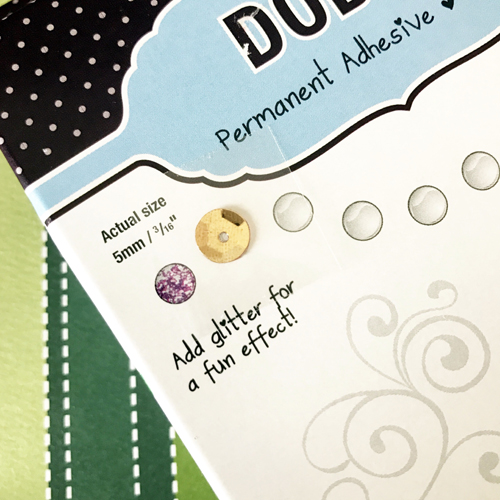
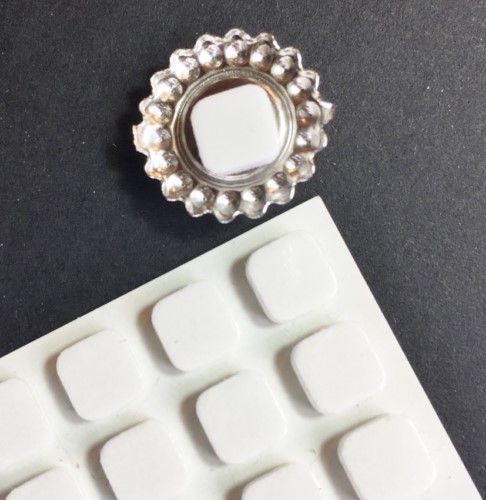
3D Foam Squares – White, Small are perfect for attaching smaller items such as this button embellishment.
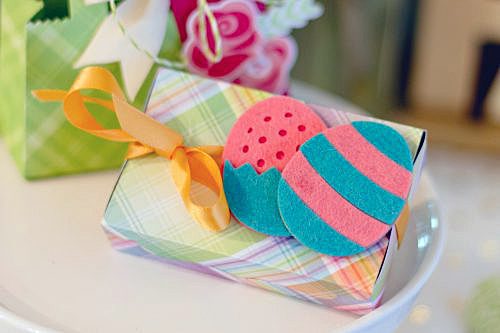
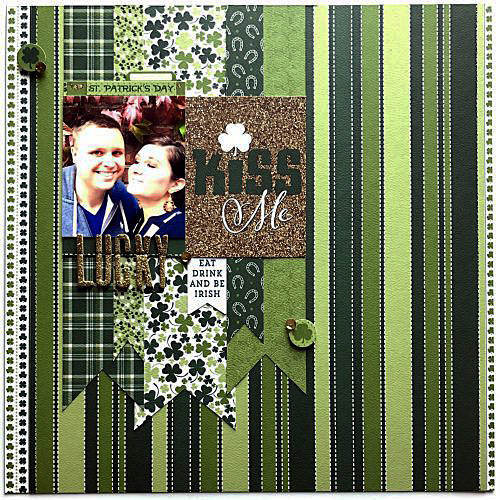
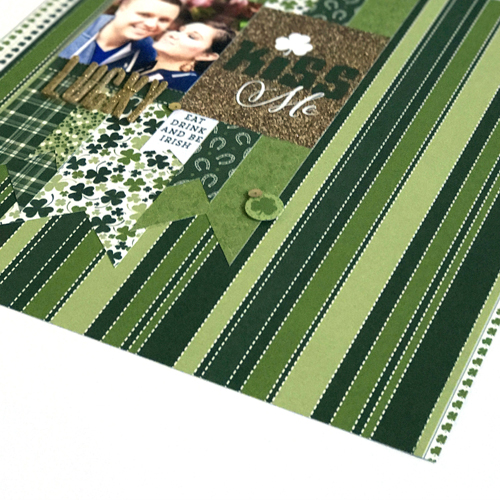
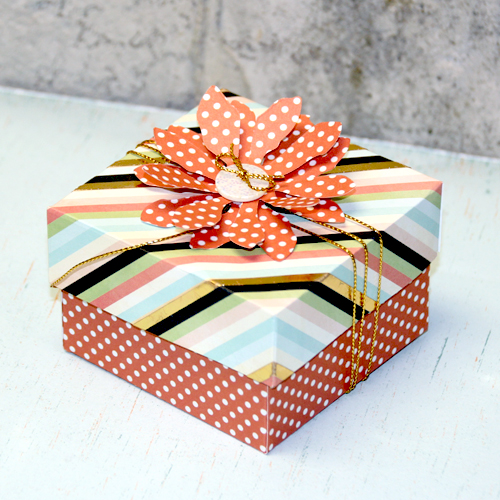
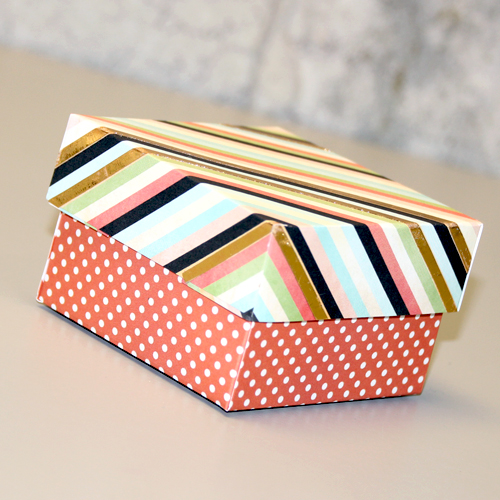
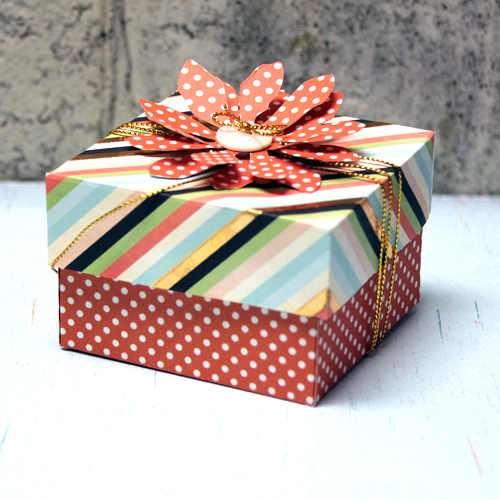
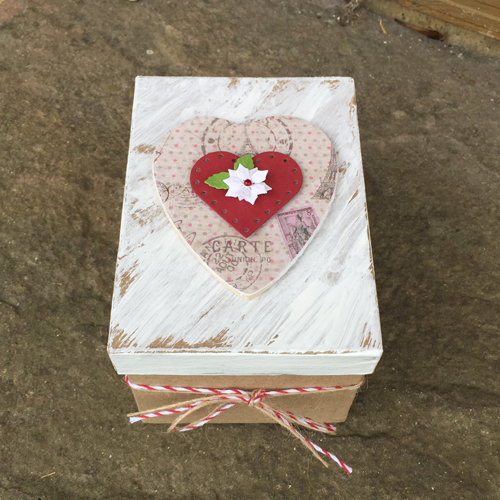
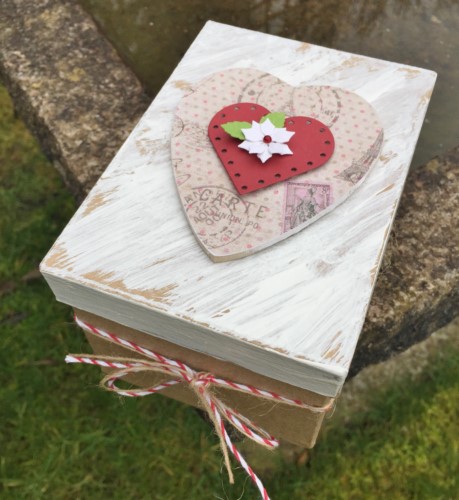
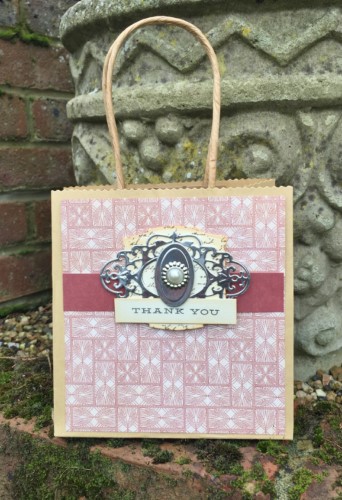
The finished gift bag, just waiting for something exciting to be placed inside.
Thanks for stopping by today and don’t forget to check out all the great products on the website.

Products used:
3D Foam Squares White, Small
3D Foam Squares White, Regular
Crafty Power Tape
MyStik® Permanent Strips
Others:
Dies: Spellbinders Paper Arts (Oval Tag and Decorative Label 1 Plus)
Paper: Graphic 45 (Safari Adventures Collection)
Silver Foil Card; Distress Ink; Button