You are in our US store • Switch to Europe store

Tag Card With 3D Foam Squares

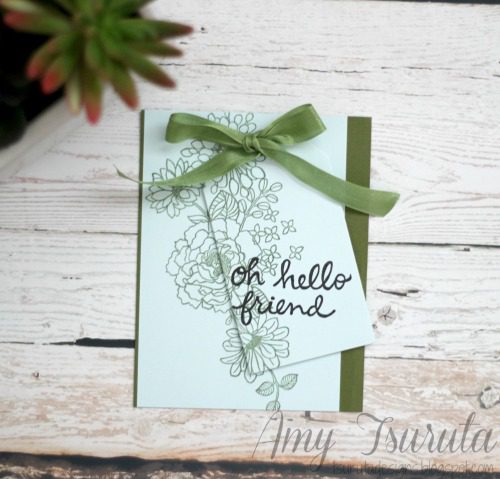
Hi all, it’s Amy here with a Spring themed, tag embellished card.  I was at my local stamp shop this weekend and was reminded how much I love pale blue and green teamed up.
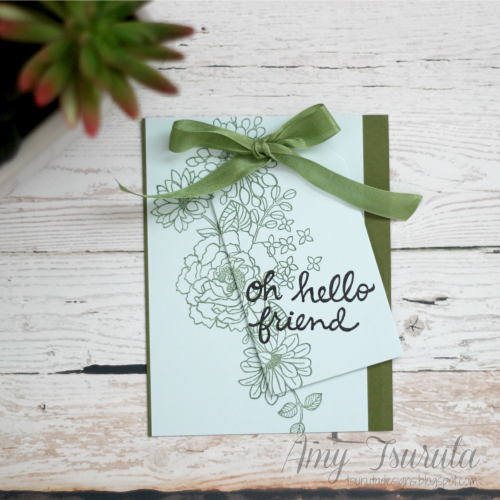
AmyTsuruta-OhHelloFriend tag card

Here’s a peek at some of my supplies:
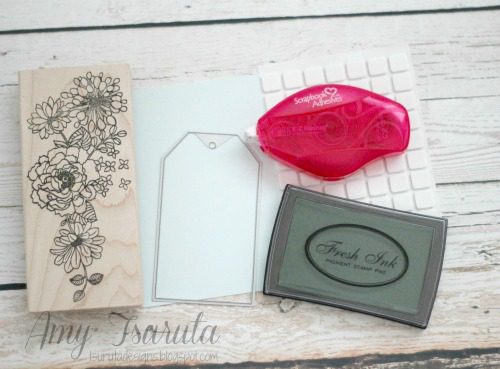
AmyTsuruta-OhHelloFriend2

I’m a big fan of buying pre-scored note cards.  Sometimes with the colored cards,  I cut them in half so I have 2 panels to work with.
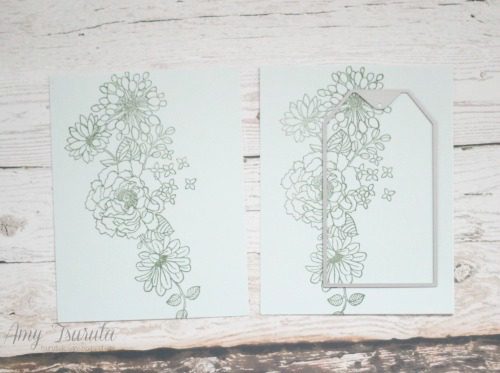
AmyTsuruta-OhHelloFriend3

I ended up trimming down one of the panels and mounted it on a green panel with my E-Z Runner® Permanent.
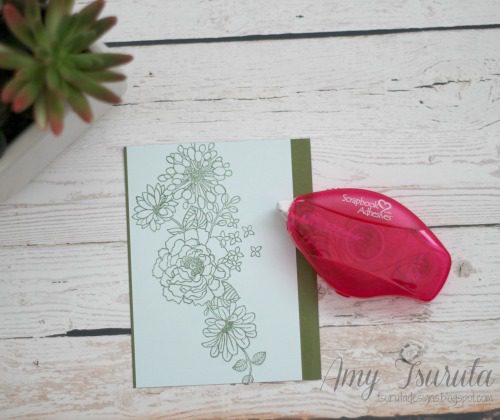
AmyTsuruta-OhHelloFriend4

I stamped my sentiment on the die cut tag.
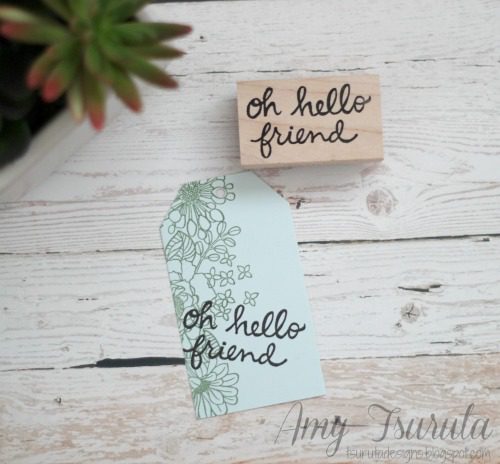
AmyTsuruta-OhHelloFriend5

Then I added the tag to the card base, lining up the images.  For visual interest I adhered it with 3D Foam Squares and finished it off with coordinating ribbon.
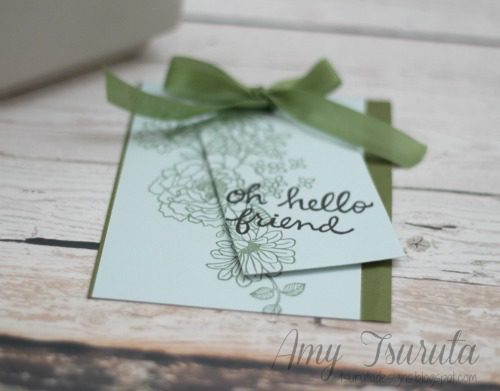
AmyTsuruta-OhHelloFriend6

The tilted tag adds more detail to the overall card design.
AmyTsuruta-OhHelloFriend7

I wanted to thank you all for the awesome comments on my projects.  Today is my last post with Scrapbook Adhesives by 3L.  I’ve had such a wonderful time being on the team! I’m constantly amazed by the fabulous design team.

Here are a couple of my favorite projects that I’ve posted:
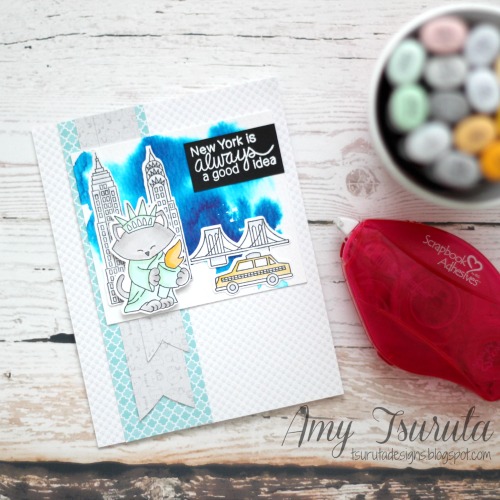
New York State of Mind

AmyTsuruta_New York card

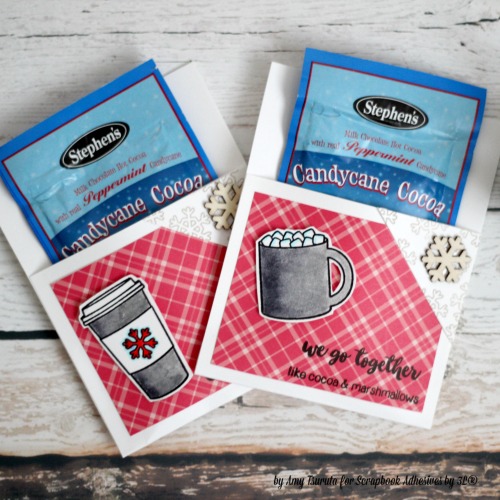
Christmas Treats

Cocoa Gift Treat Envelopes by Amy Tsuruta

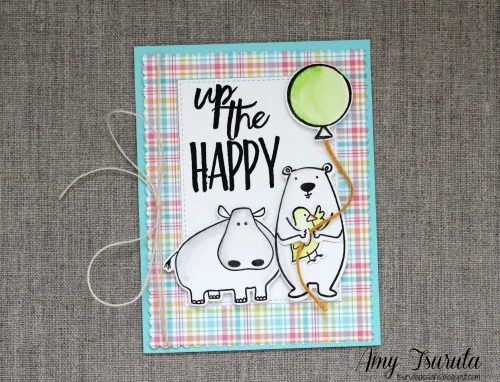
Up The Happy

AmyTsuruta - Up the Happy3

Thanks so much for stopping by!
Amy

SUPPLIES
Scrapbook Adhesives by 3L®:
E-Z Runner® Permanent Strips Refillable Dispenser
3D Foam Squares White Regular
Other:
Note card:  Memory Box
Cardstock:  My Favorite Things
Stamps:  Impress + Savvy Stamps
Ink:  Versafine Onyx, Fresh Ink Spruce
Ribbon:  Stampin’ Up
Save

Creating a Wine Bottle Layered Gift Tag

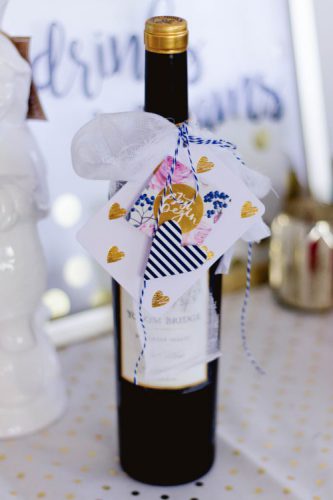
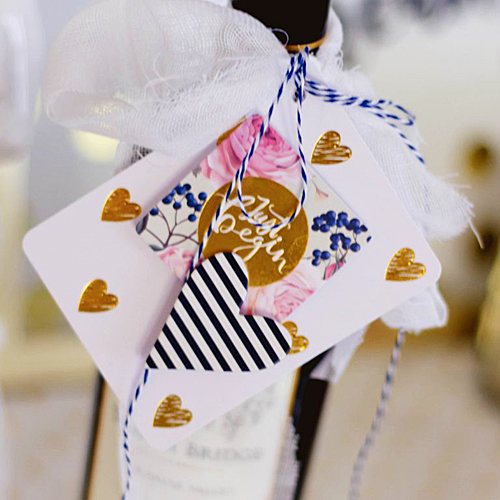
Hello Friends!! Latisha here with you today, sharing a fun way to gift a bottle of wine with a tag created with 3D Foam Squares, Gauze and Twine.

Wine Bottle Tag by Latisha Yoast for Scrapbook Adhesives by 3L

The  Gauze was the perfect medium to create a textured bow, so i wrapped it around the neck of the wine bottle and created a bow.

0317LYwinebottle2

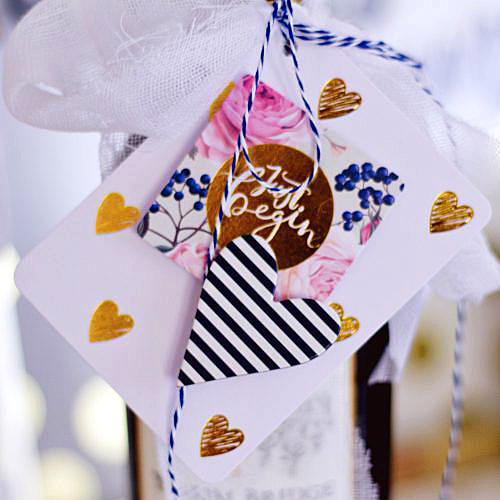
Next I created a tag with Webster Pages die cuts and project life pieces. Layer the tag and die cuts with 3D Foam Squares White, Regular, and then tie to the gauze using the Twine.

Wine Bottle Tag 2 by Latisha Yoast for Scrapbook Adhesives by 3L


With a few simple materials, it really can take a gift from blah to wow!  The Gauze really is so pretty and takes gift wrapping to the next level.

Materials Used:
3D Foam Squares White, Regular
Gauze
Twine

Using Adhesive to Keep it All in Place!
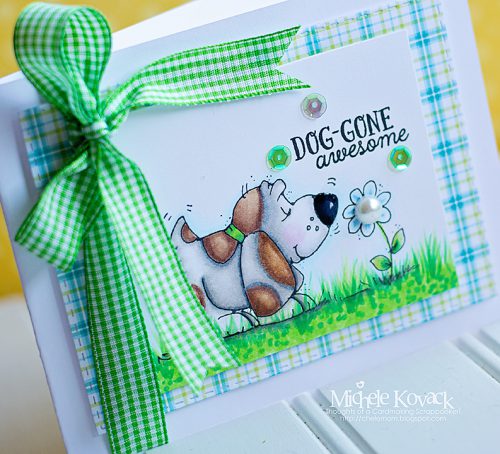
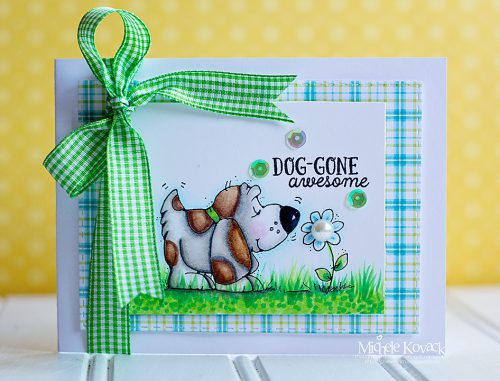
Hey there friends! Michele here with a fun, springy card!  I’ve been on a coloring kick lately and couldn’t resist this image. In addition, I added sequins, held in place with Adhesive Dots Mini. They are PERFECT for keeping ’em right where you want them!

The layers were put together using Crafty Foam Tape White. This is definitely one of my “go-to” products!  It adds nice dimension without making the card too bulky.

doggone awesome4

I tied green ribbon vertically and used a Adhesive Dots Medium to hold the knot in place. The top of the ribbon kept flopping down, so I used a Adhesive Dots Mini to keep it up.  🙂

doggone awesome3

Thank you so much for stopping by!

Scrapbook Adhesives by 3L® Supplies:
Crafty Foam Tape White
Adhesives Dots Medium
Adhesive Dots Mini
Others:
Copic Markers; Whipper Snapper Stamp; Patterned Paper (Lawn Fawn); Ribbon (Michaels); Sequins (Lucy)

Doily + Butterfly Tag with Favorite Scrapbook Adhesives by 3L

Good morning! Guest designer Tami Mayberry here with you today to share another new project using what I would say are my top three favorite Scrapbook Adhesives by 3L® products: Adhesive Sheets, 3D Foam Squares Mix White and Dodz Adhesive Dots 3D.

Doily + Butterfly Tag by Tami Mayberry for Scrapbook Adhesives by 3L

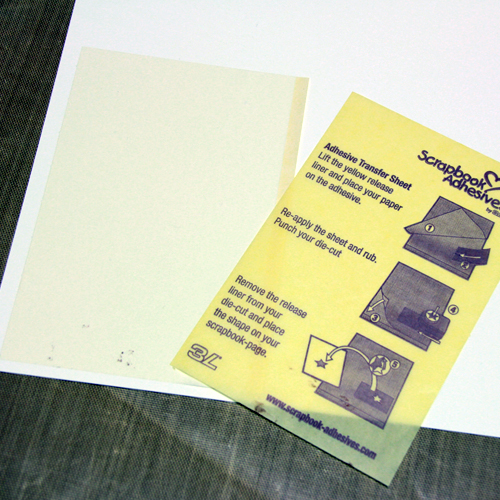
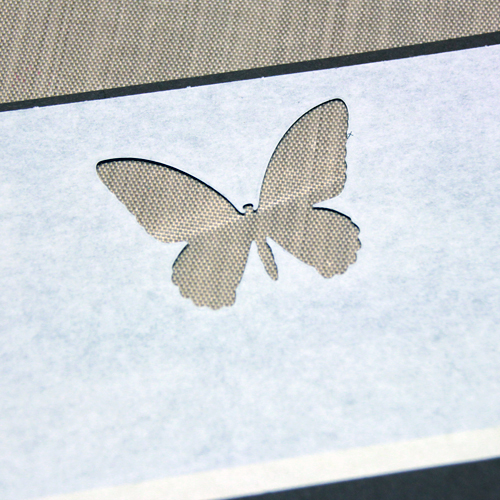
As I mentioned in past posts, I love to use Adhesive Sheets for intricate dies. This makes materials with fine details quick, easy and mess-free. Before die-cutting the shape remove the yellow backing and attach the adhesive to the back of the paper you want to die-cut.

Then, simply run through your die-cutting machine and remove the paper backing. On today’s design,  I used this process for both the doily die-cut and the brown layer of the butterfly.

TamiMayberry DoilyButterflyTag 030917 Step1

View How to Use Adhesive Sheets for Die Cutting and More video below.

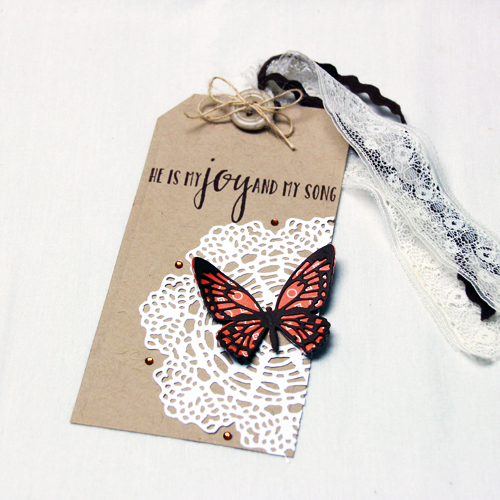
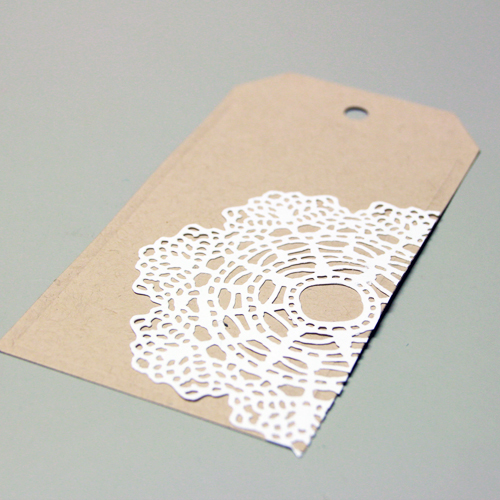
Once the doily was die-cut I attached it to a kraft die-cut tag and trimmed the edges as shown below.

TamiMayberry DoilyButterflyTag 030917 Step2

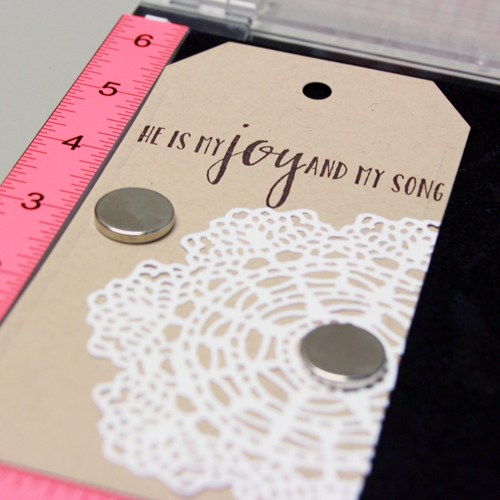
Next, I stamped the sentiment onto the tag.

TamiMayberry DoilyButterflyTag 030917 Step3

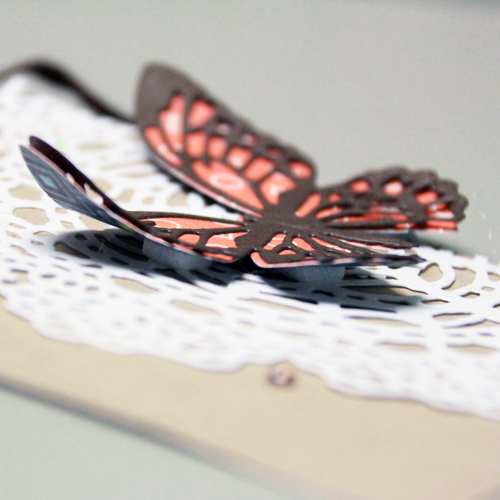
I die-cut the bottom butterfly layer from orange patterned paper and the top layer from brown cardstock. For the top layer, I once again attached Adhesive Sheets to the back before die-cutting then simply peeled the backing off and attached to the orange layer.

TamiMayberry DoilyButterflyTag 030917 Step4

I then attached the layered butterfly to the tag using Foam Squares Mix White. This is the second of my favorite products because it adds just the right amount of interest to projects by enhancing the 3D look of the layers.

TamiMayberry DoilyButterflyTag 030917 Step5

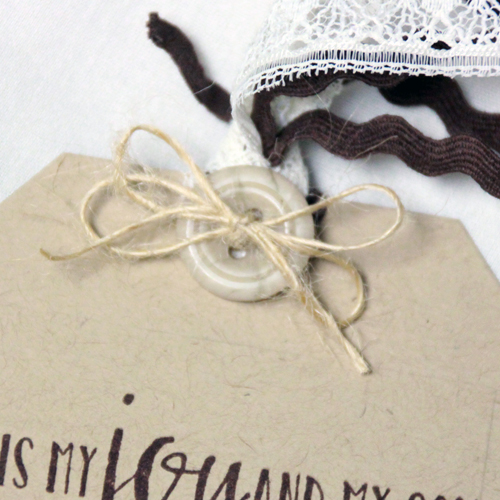
I ran lace and ric-rac through the hole of the tag. I then threaded the button with twine and attached it over the hole using Adhesive Dots 3D.

The thing I love about these adhesive dots is their ability to hold thick or heavy items firmly to a project. The round shape and size variety is also a plus for attaching buttons, sequins, flat-backed pearls and rhinestones.

TamiMayberry DoilyButterflyTag 030917 Step6

Finally, I embellished the tag with rhinestones and there you have it — Quick, easy and filled with little details thanks to the help of the great line of Scrapbook Adhesives by 3L® products.

Doily + Butterfly Tag by Tami Mayberry for Scrapbook Adhesives by 3L

Scrapbook Adhesives by 3L® products
Adhesive Sheets 4 x 6″
3D Foam Squares Mix White
Adhesive Dots 3D

Other
Cardstock: Kraft, Brown and White
Orange Patterned Paper
Reverse Confetti My Heart Trusts stamp set
Clearsnap Chocolate Ink
Trim: White Lace, Brown Ric-Rac and Jute Twine
Light Brown Button
Orange Rhinestones
Dies:  Doily, Tag, Detailed Butterflies, Mini
My Sweet Petunia: MISTI Stamp Position Tool

Four Ways To Decorate Your 3D Foam Shapes

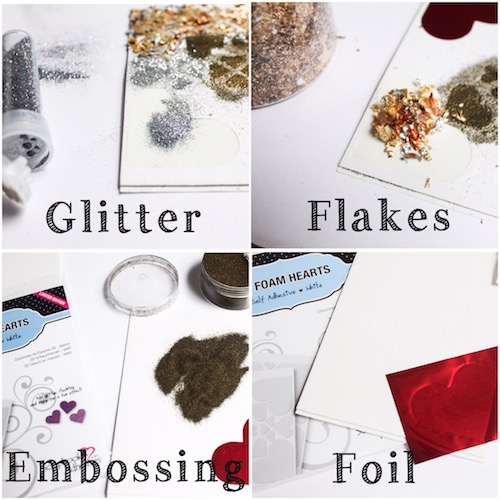
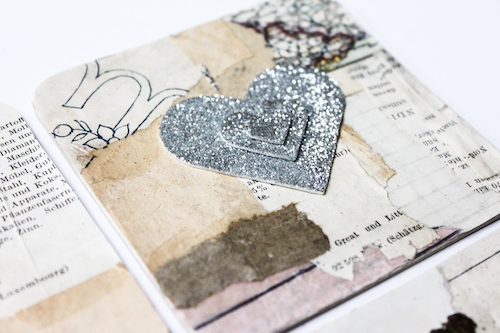
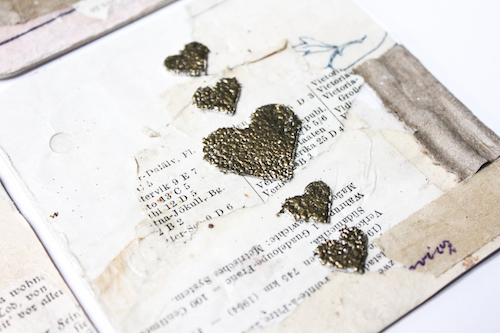
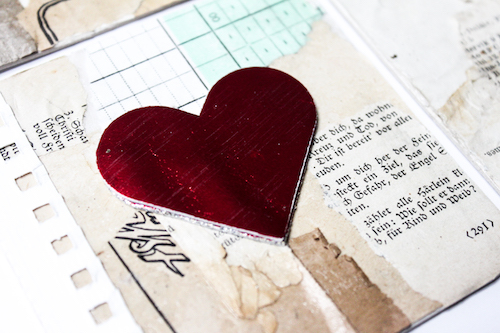
Hi there, it’s Stephanie here today. I am showing you four favorite ways to decorate our 3D Foam Shapes. I will use 3D Foam Hearts to demonstrate the use of foil, embossing powder, glitter and gilding flakes.

Stephanie_cards_1

Let’s get started…
Glitter: Spread the glitter over the heart and press. Remove excess.
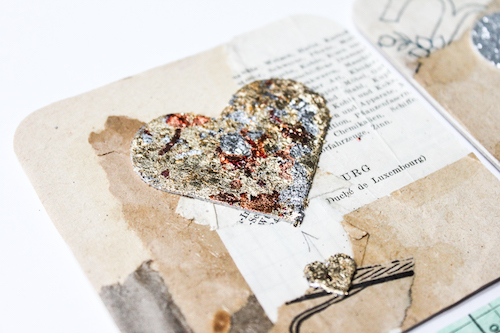
Flakes: Take the flakes and press them down onto the 3D Foam Heart. Remove excess.
Heat Embossing: Sprinkle embossing powder (I used gold – so pretty!) over the heart, remove excess and heat it directly. Did you know our foam is heat resistant?
Foil: Apply foil sheet over the heart and peel off. (I used our red foil – coming soon!)

Stephanie_cards_2

View How to Use 3D Foam Hearts and Other Shapes video below…

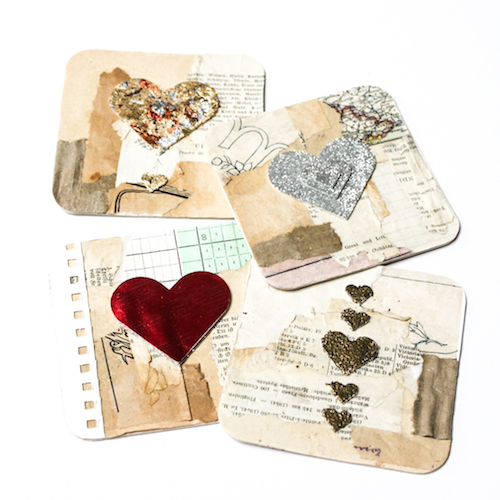
With different square cards, I adhered vintage and text paper with Art Medium. Then I added just my embellished 3D Foam Hearts…that’s all it needs.

Stephanie_cards_3 Stephanie_cards_4 Stephanie_cards_5 Stephanie_cards_6

I love the vintage look. Those little panels are perfect for greetings, accents or anything else for your next project.

Supplies from Scrapbook Adhesives by 3L®
3D Foam Hearts
Art Medium
3D Foam Holiday Embellishment Kit with Foil

Have a great day!

Good Friends Mini Canvas with Lace Ribbons + Adhesive Dots

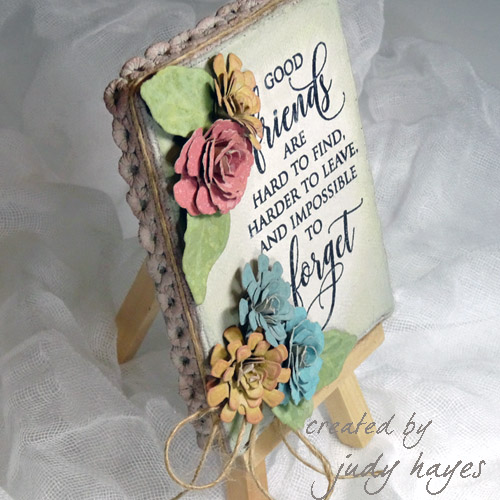
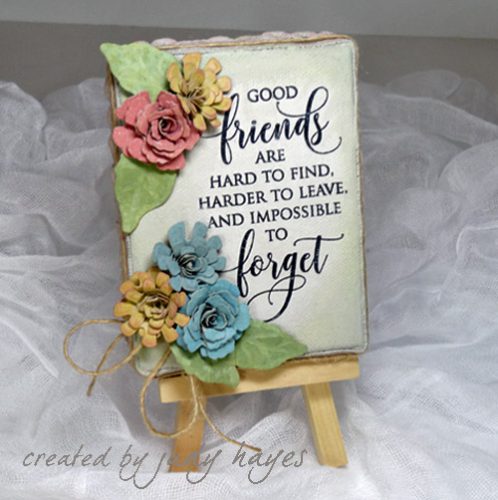
Hello Good Friends!  It’s Judy here today.  I’m sharing a Good Friends Mini Canvas created just for you withArt Medium, Lace Ribbons and Adhesive Dots 3D and Adhesive Dots Medium.  I enjoy making little canvases like this for special friends.  It’s tiny yet says a lot!

judy_hayes-Good_Friends_1

I started this Good Friends canvas by attaching the Lace Ribbons around the edge of a 3 x 4ʺ canvas using Art Medium.  It works really well as a glue!

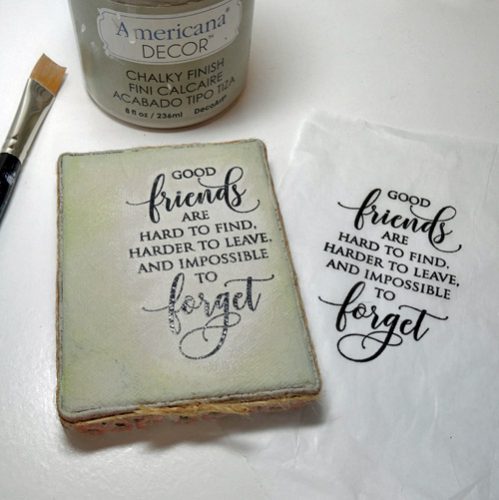
Next, I stamped the verse on white tissue paper with black ink and clear heat embossed it.  I painted the canvas including Lace Ribbon with chalk paint.  I brushed on another layer of paint on front and placed the tissue paper with verse over the wet paint.  I smoothed in place and then carefully tore off the excess at the edges.  I lightly brushed paint over the tissue and around the verse, even lightly brushing over it.  A very light rubbing with a damp paper towel removed any paint that covered the verse.

judy_hayes-Good_Friends_4

I sponged on a bit of Distress Oxide inks around the verse.  I also sponged on Fired Brick Oxide ink lightly over the Lace Ribbon.   Then I fastened twine around the Lace Ribbon using Art Medium to fasten it.

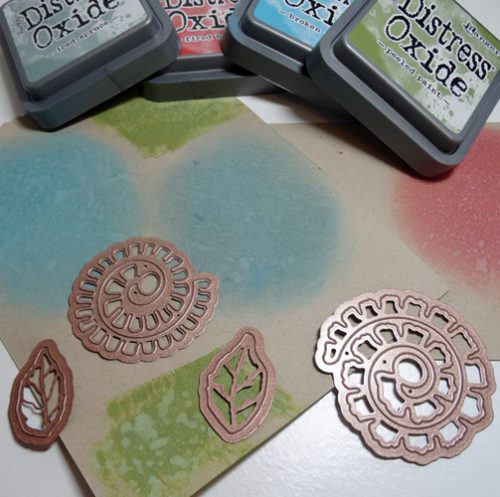
The flowers were cut from Kraft cardstock sponged with Distress Oxide inks: Broken China, Iced Spruce, Fired Brick, Fossilized Amber, and Peeled Paint.  (Fossilized Amber not shown in the photo)

judy_hayes-Good_Friends_5

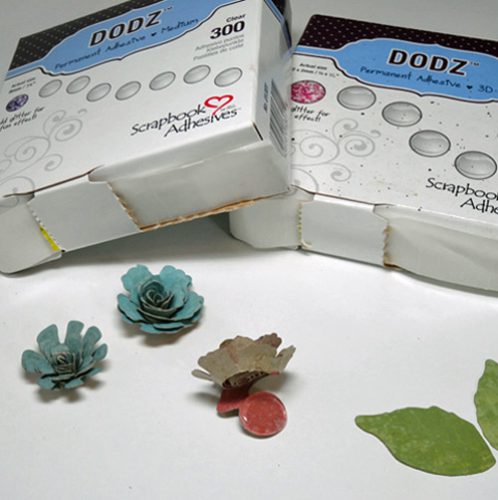
Once the flowers were rolled, I used Adhesive Dots 3D to fasten the bigger flowers together and Adhesive Dots Medium for the smaller ones. The Adhesive Dots make it so easy to put together these little flowers!

judy_hayes-Good_Friends_6

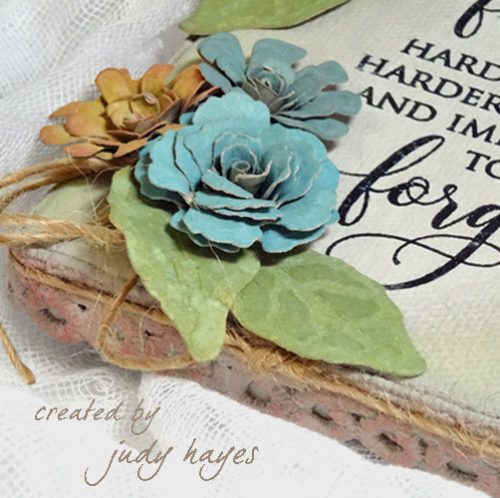
I fastened the flowers and leaves to the canvas with Adhesive Dots Medium.  I tucked a twine bow under the flowers, also fastened with Adhesive Dots Medium.

judy_hayes-Good_Friends_7

This canvas is for you my Good Friends!  So happy you visited today!
Judy

judy_hayes-Good_Friends_2

Scrapbook Adhesives by 3L®:
Adhesive Dots Medium
Adhesive Dots 3D

Art Medium
Lace Ribbons

Other Supplies: DecoArt® Americana® Decor™ Chalky Finish “Primitive”; Penny Black® “Happy Wishes”; Ranger Distress® Oxide inks; Spellbinders “Bitty Blossoms” dies; Imagine Crafts/ Tsukineko Versafine Onyx Black ink; 3 x 4ʺ Canvas; Clear Embossing Powder; Kraft cardstock; Tissue Paper; Twine

Save

These are the Moments Card with Adhesive Dots

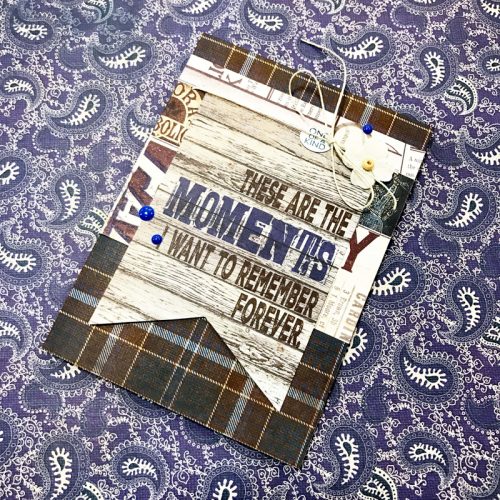
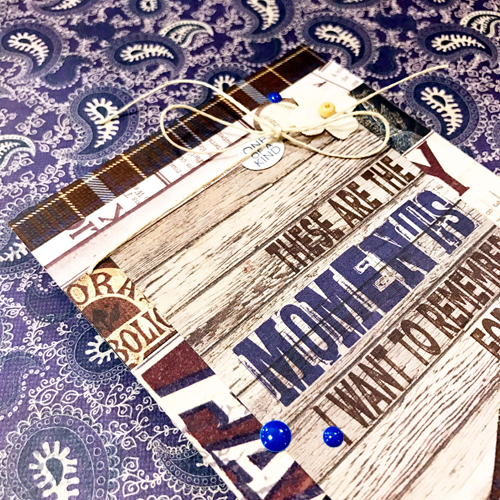
Hi! It’s Erica and today I’m sharing a card using the E-Z Runner® Grand Permanent Strips and Adhesive Dots Mini.

These are the Moments Card by Erica Houghton for Scrapbook Adhesives by 3L

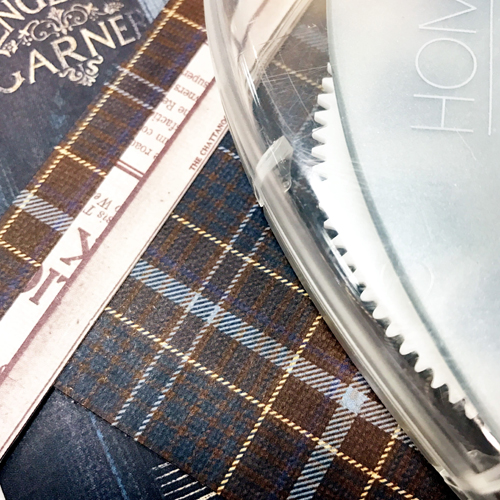
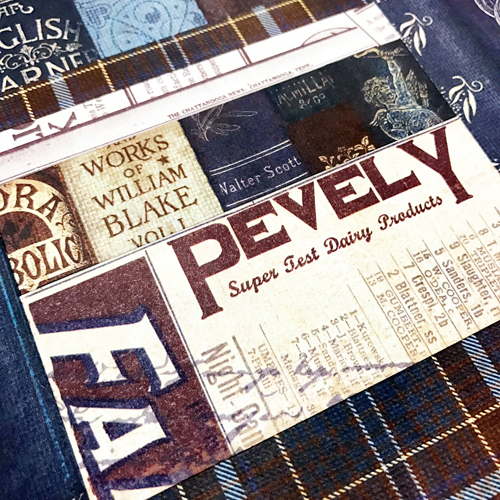
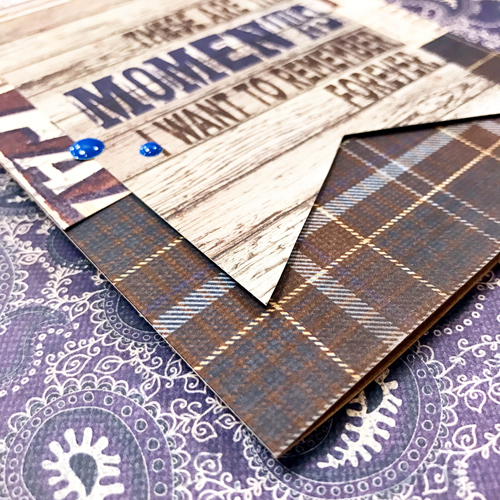
I started by cutting a 4.25″ x 5.25″ rectangle from pattern paper and adhered it using the E-Z Runner® Grand Permanent Strips to my card base. I then cut three strips of patterned paper of various sizes and adhered those horizontally using the E-Z Runner® Grand Permanent Strips to my base piece of patterned paper.

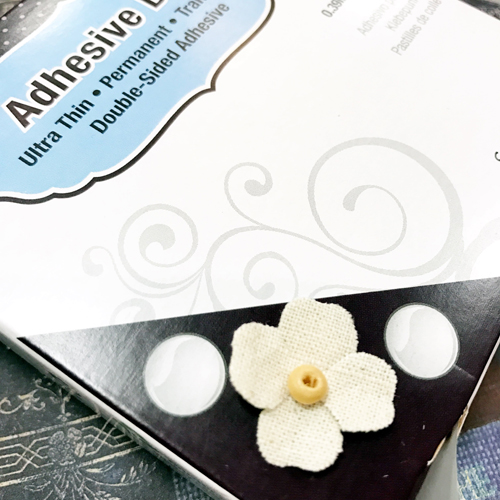
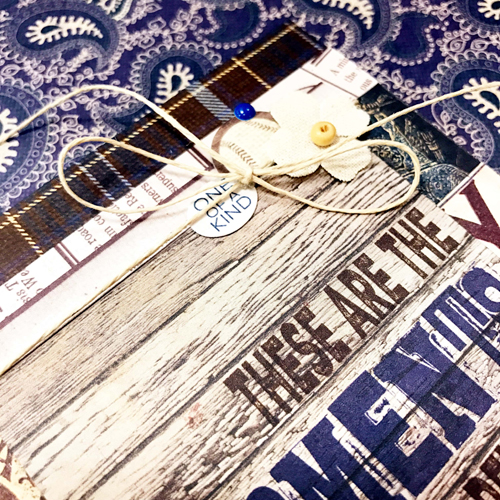
Next, I adhered my sentiment using the E-Z Runner® Grand Permanent Strips. I finished my card with a flower, ribbon, enamel dots and a few small embellishments, I adhered each with a combination of Adhesive Dots Mini and Adhesive Dots Ultra Thin (coming soon!).

These are the Moments Card by Erica Houghton for Scrapbook Adhesives by 3L

Scrapbook Adhesives by 3L®:
E-Z Runner® Grand Permanent Strips
Adhesive Dots Mini
Adhesive Dots Ultra Thin (coming soon!)
Other:
Paper & Stickers (Authentique Paper); Flower (The Paper Studio); Enamel Dots (My Mind’s Eye)

Thanks for joining me today!
Erica Houghton

Happy Birthday Card with Adhesive Dots Flower Centers

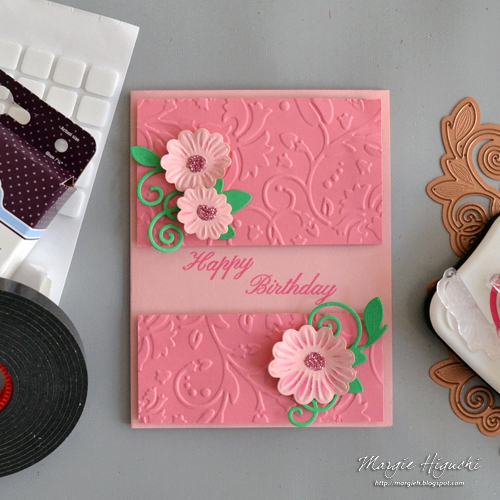
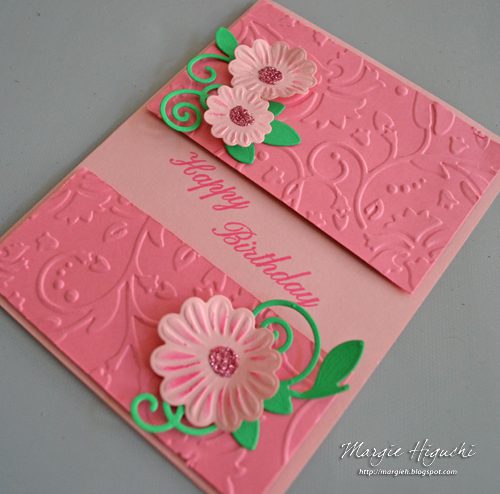
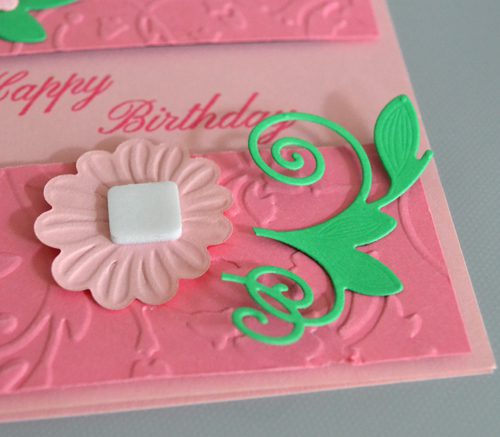
Today I made a very special card for a special lady – my mom! Happy Birthday!! Along with loads of dimension, I used Adhesive Dots Small and glitter to create a sparkly flower center. Would you use this technique? Give it a try!

Happy Birthday Card w Glitterly Adhesive Dot Flower Center by Margie Higuchi for Scrapbook Adhesives by 3L

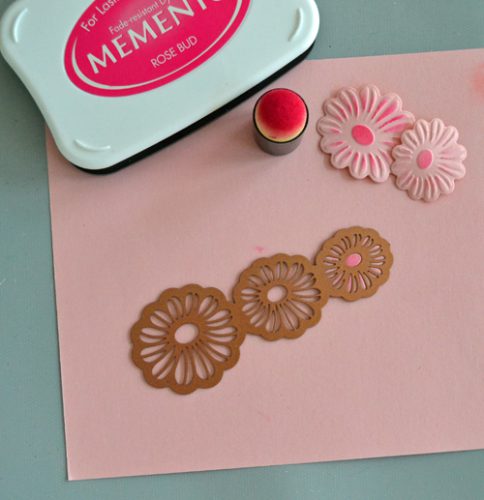
Let’s start with the flower die cuts. I die-cut, embossed and then stencil through the die with ink to highlight its embossed design.

MargieHiguchi 500 HappyBirthdayMomCd 030417 Step1

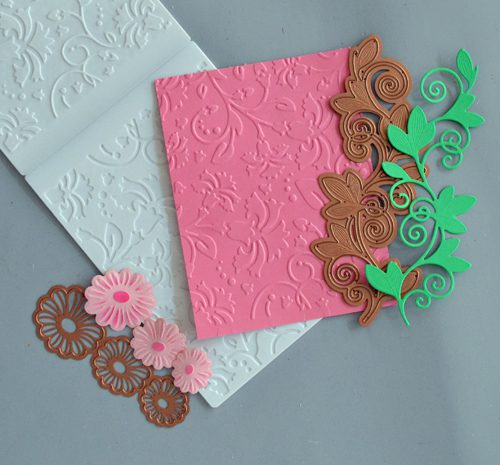
Next I embossed a 4.0 x 5.25 inch piece of dark pink cardstock with an embossing folder to make my A2-sized (4.25 x 5.50 inch) card panel. Cut and embossed a leafy vine in green cardstock.

MargieHiguchi 500 HappyBirthdayMomCd 030417 Step2

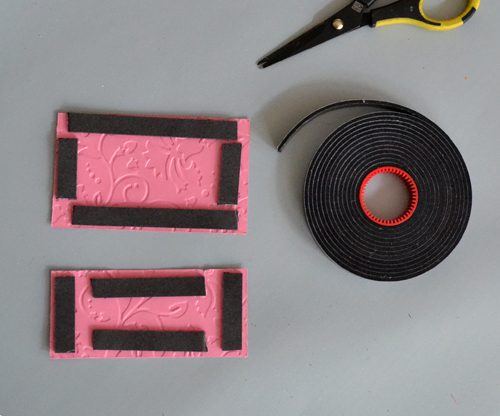
I wanted a different kind of dimension so I cut the dark pink card panel one third from the bottom to leave space in between to stamp my sentiment. Using Crafty Foam Tape – Black, it give the panels a lift.

MargieHiguchi 500 HappyBirthdayMomCd 030417 Step3

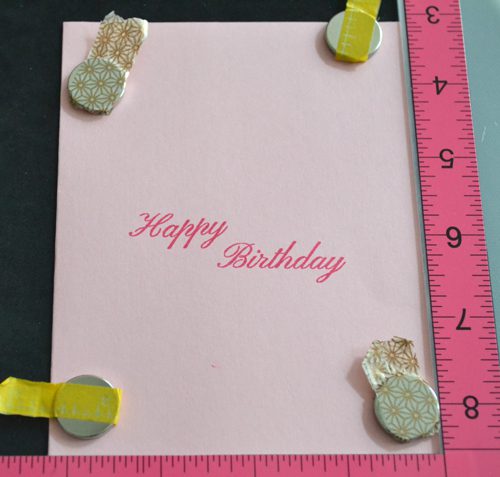
Using the two piece card panel as my guide, I lined up the sentiment in my stamp placement tool for a perfect imprint.

MargieHiguchi 500 HappyBirthdayMomCd 030417 Step4

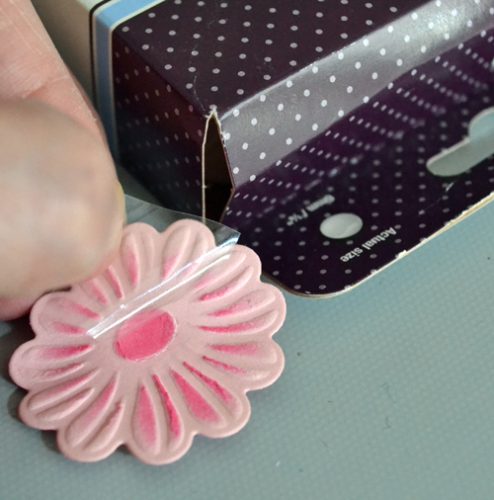
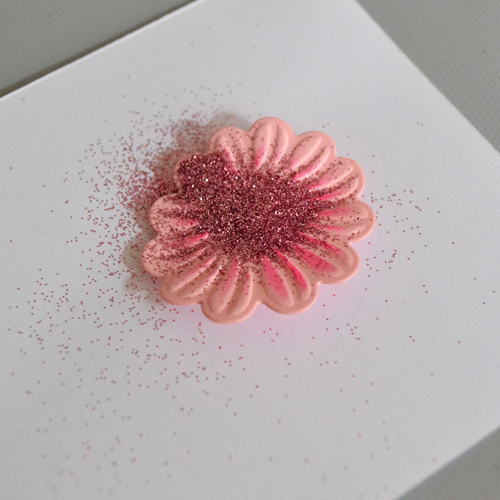
Now my favorite part! Making those glittery flower centers 🙂 I placed an Adhesive Dots Small in the center, rub and lift off liner gently. Then pour on the glitter over the adhesive dot, press and shake off excess. SUPER EASY + FAST!

MargieHiguchi 500 HappyBirthdayMomCd 030417 Step5

MargieHiguchi 500 HappyBirthdayMomCd 030417 Step6

Next I trimmed the leafy vine and adhered with the Adhesive Dots Small (behind the leaves), then adhered flowers with 3D Foam Squares Regular White on top for extra dimension.

MargieHiguchi 500 HappyBirthdayMomCd 030417 Step7

Here’s another look…

MargieHiguchi 500WM HappyBirthdayMomCd CLOSEUP 030417

Happy Birthday Card w Glitterly Adhesive Dot Flower Center by Margie Higuchi for Scrapbook Adhesives by 3L

Thanks for stopping by!
Margie Higuchi

Supplies:
Scrapbook Adhesives by 3L®
Crafty Foam Tape – Black
Adhesive Dots Small
3D Foam Squares Regular, White
Others:
Die Templates and Embossing Folder: Spellbinders® Paper Arts
Stamp: Flourishes LLC
Ink and Dauber Applicator: Tsukineko/IMAGINE Crafts
Glitter: Stampendous
Stamp Tool: MISTI by My Sweet Petunia
Pink, Dark Pink and Green Cardstock

Easily Embellished Gift Bag

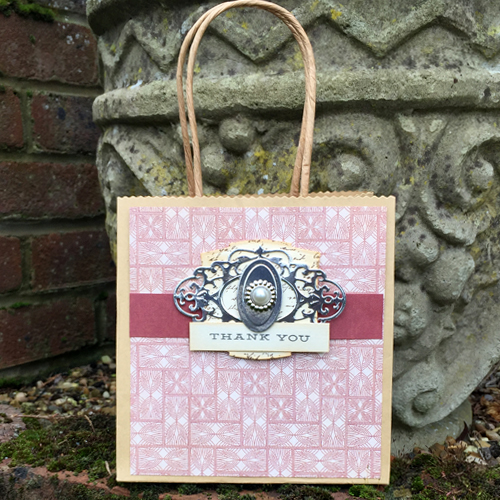
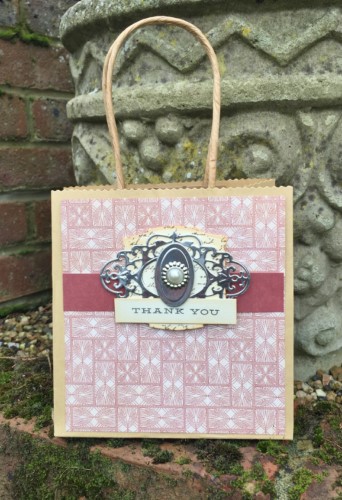
Hi everyone, Christine here today with a decorated gift bag.  A regular Kraft sandwich bag it is so easy to embellish with layers using Scrapbook Adhesives products.

Easily Embellished Gift Bag by Christine Emberson for Scrapbook Adhesives by 3L

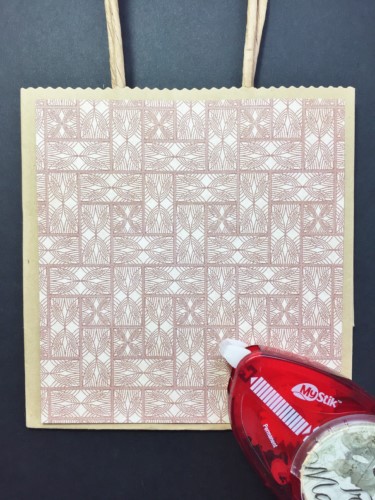
I firstly cut a square of patterned paper and affixed it using MyStik® Permanent Strips.

CEmberson - Gift Bag 2

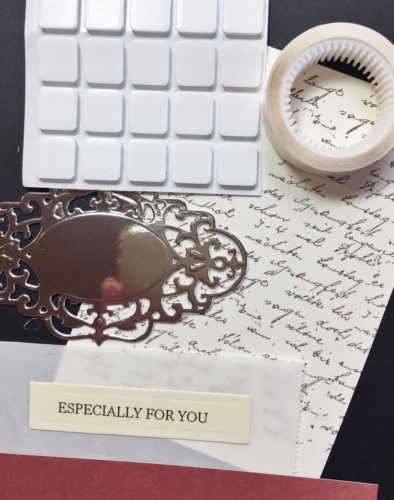
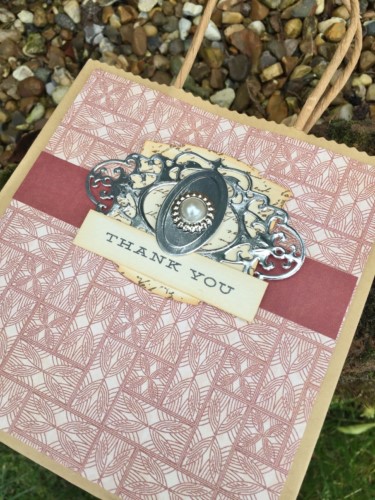
I gathered together embellishments and die cuts.  My chosen adhesives to affix these is Crafty Power Tape and 3D Foam Squares – White, Regular.

CEmberson - Gift Bag 3

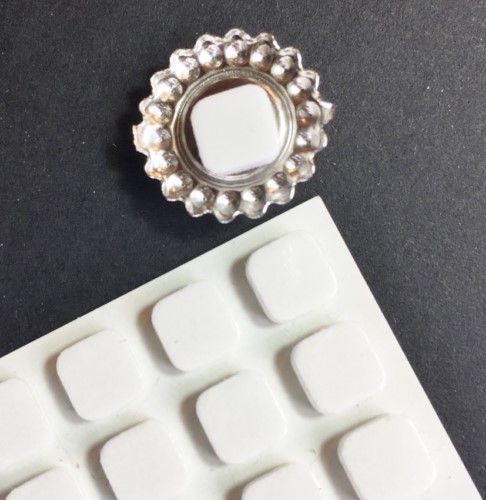
3D Foam Squares – White, Small are perfect for attaching smaller items such as this button embellishment.

CEmberson - Gift Bag 4

The finished gift bag, just waiting for something exciting to be placed inside.

CEmberson - Gift Bag 5

CEmberson - Gift Bag 6

Thanks for stopping by today and don’t forget to check out all the great products on the website.

Christine

Products used:
3D Foam Squares White, Small
3D Foam Squares White, Regular
Crafty Power Tape
MyStik® Permanent Strips
Others:
Dies: Spellbinders Paper Arts (Oval Tag and Decorative Label 1 Plus)
Paper: Graphic 45 (Safari Adventures Collection)
Silver Foil Card; Distress Ink; Button

Multilayered Card with E-Z Runner

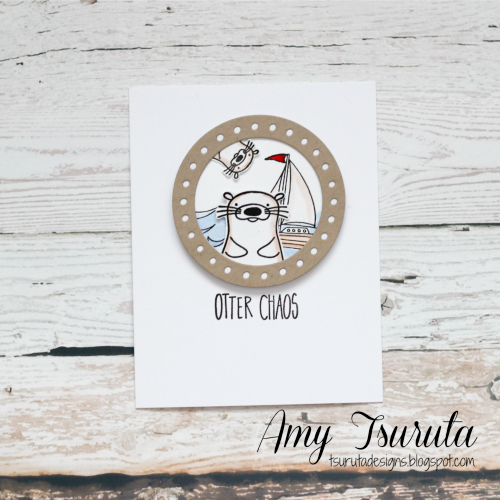
Hello, it’s Amy here, Happy March!  Whether you like to design clean and simple or multilayers, a combination of E-Z Runner Permanent and 3D Foam Squares will work for you.

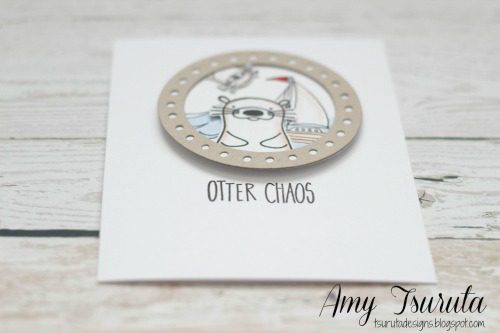
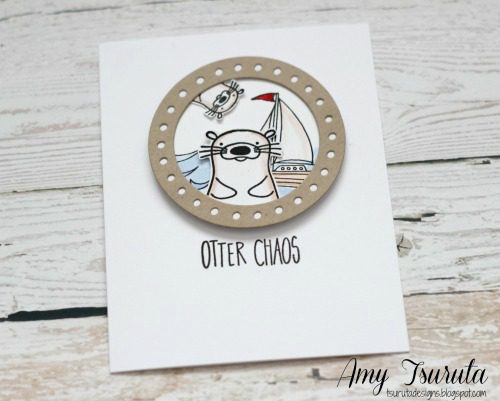
Amy Tsuruta-Otter Chaos

This looks like a relatively clean and simple design but the portal window actually consists of 4 layers.  The E-Z Runner Permanent is easy to control in small spaces, like the rim of the window.

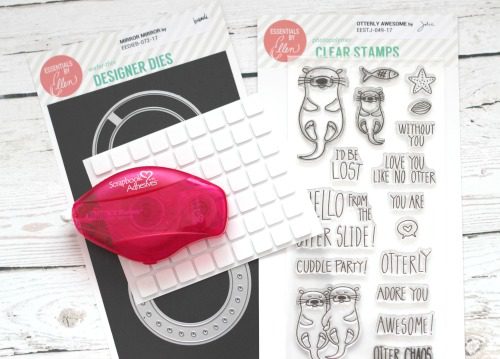
Here’s a peek at my supplies:

Amy Tsuruta-Otter Chaos2

The base of my window is the panel with the sailboat and waves.  I started with that first and then die cut it into a circle.  My second layer are the otters.  I adhered them with the E-Z Runner Permanent onto the sailboat layer.

I used the E-Z Runner Permanent to adhere the front of the portal window (the one with the circles) to the back of the portal window which is a white panel to coordinate with my card base.  When those were attached to each other I used the E-Z Runner Permanent to adhere it to the stamped panels

Amy Tsuruta-Otter Chaos3

The window was then adhered to the cardbase with 3D Foam Squares.

Amy Tsuruta-Otter Chaos4

That’s it for me today.  I hope you have a great rest of the week!

Amy

SUPPLIES
Scrapbook Adhesives by 3L®:
E-Z Runner Permanent Strips Refillable Dispenser
3D Foam Squares White Regular
Other:
Notecard:  Memory Box
Stamps:  Ellen Hutson LLC – Essentials by Ellen – Stay Salty & Otterly Awesome
Ink:  Versafine Onyx, Zig Clean Color Markers
other:  Ellen Hutson LLC – Essentials by Ellen – Mirror Mirror Designer Dies

Save