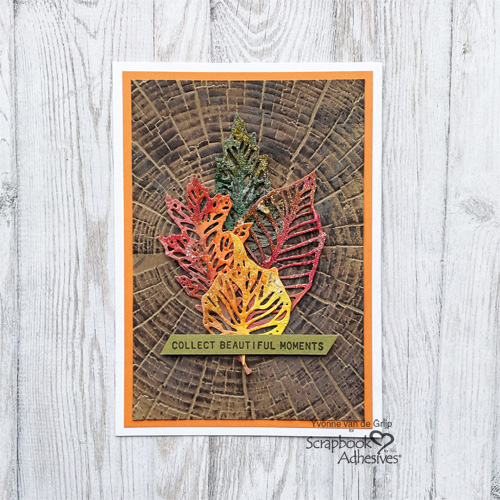
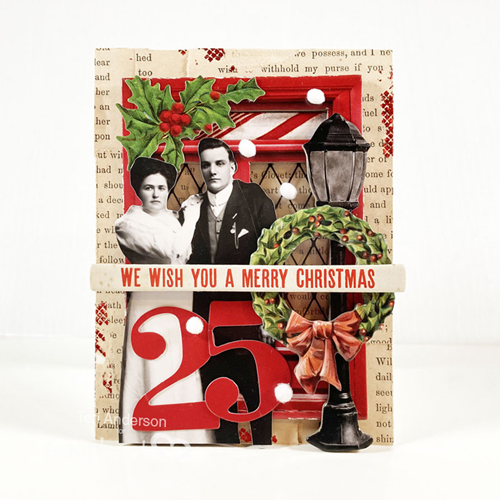
Hi friends! Can’t believe Christmas is next month! Teri here to show you a Vintage Christmas Card. I will share some adhesive tips on how to make the elements stand out!
Vintage Christmas Card Base
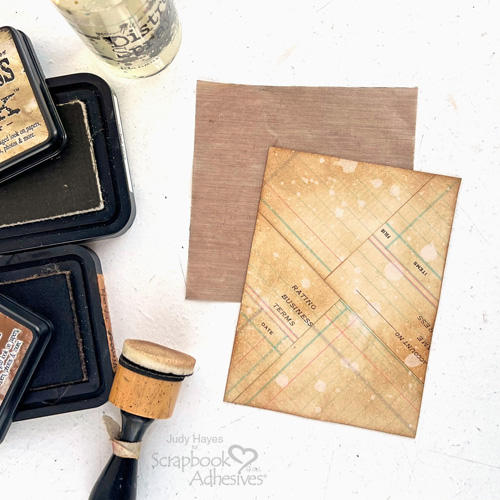
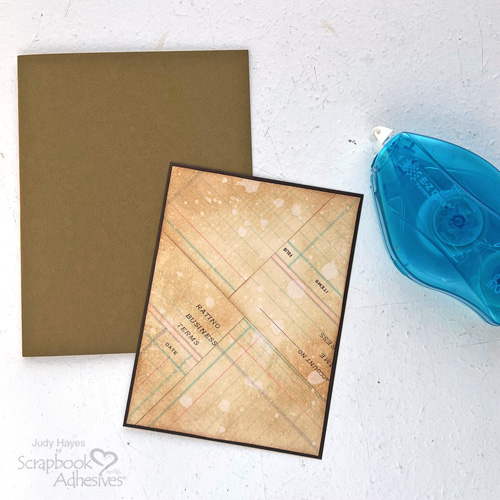
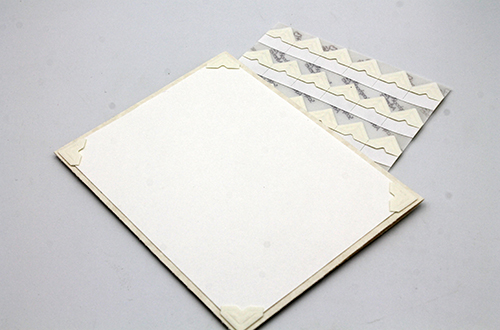
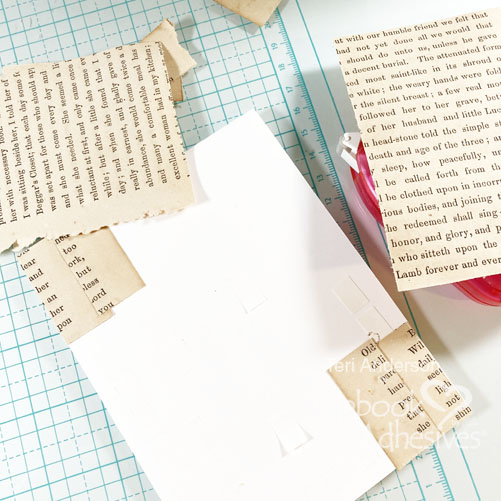
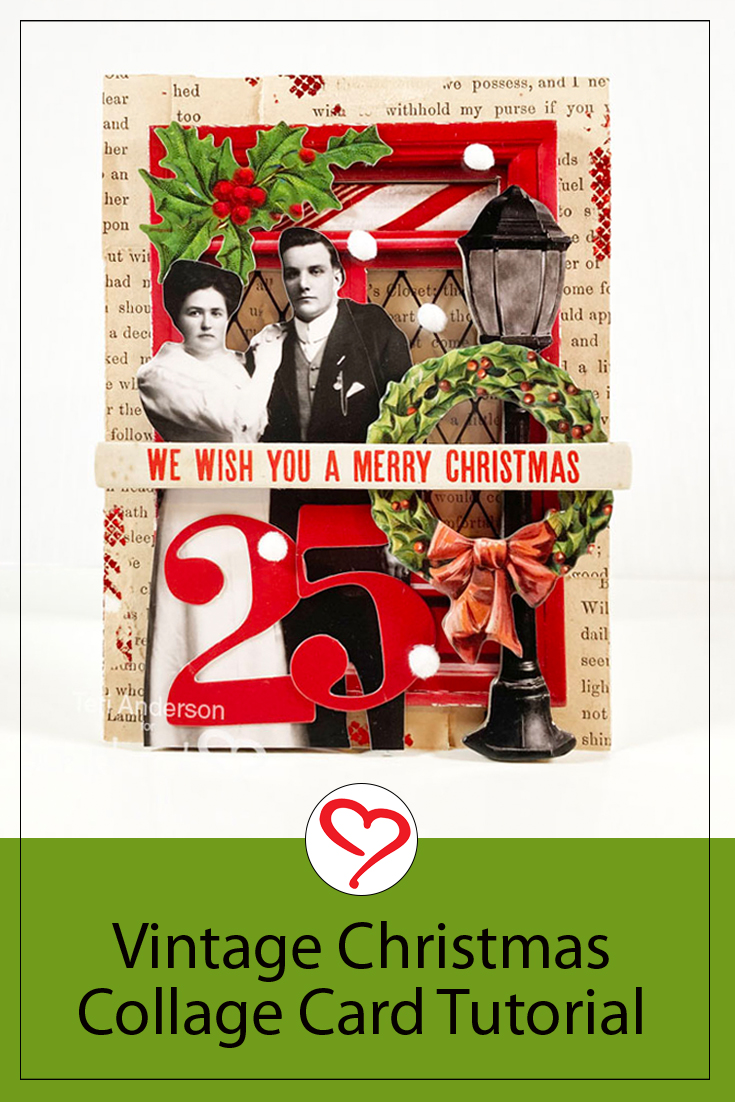
Start by creating a card base from white cardstock. Roll the E-Z Squares® Refillable Dispenser onto the card front. Next, add page pieces from an old book to it. Note: Make sure to put the adhesive on the card front first. Old book pages are sometimes delicate and will tear when you roll the adhesive directly onto them.
Adding Layers
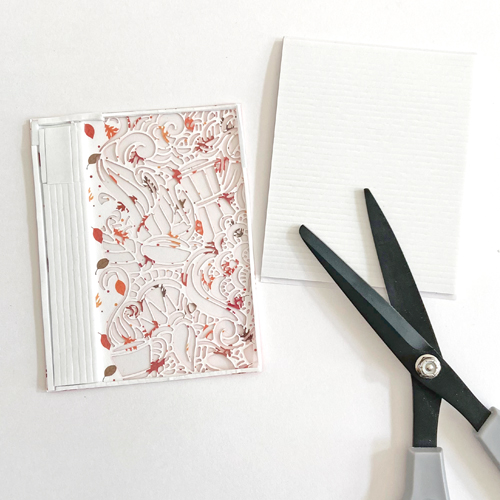
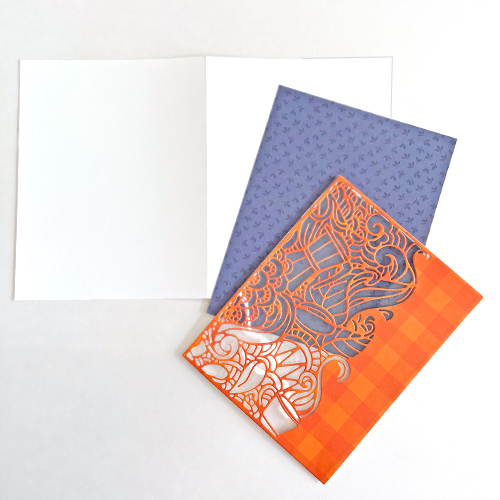
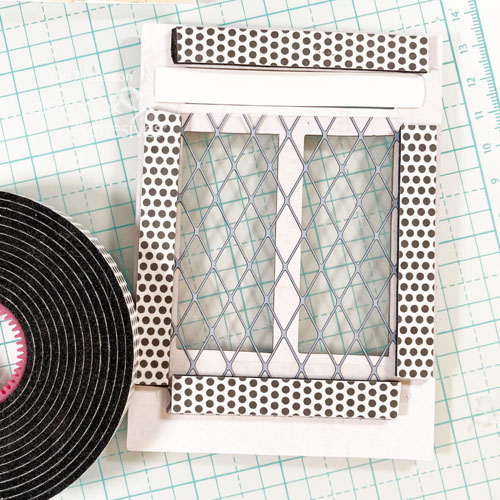
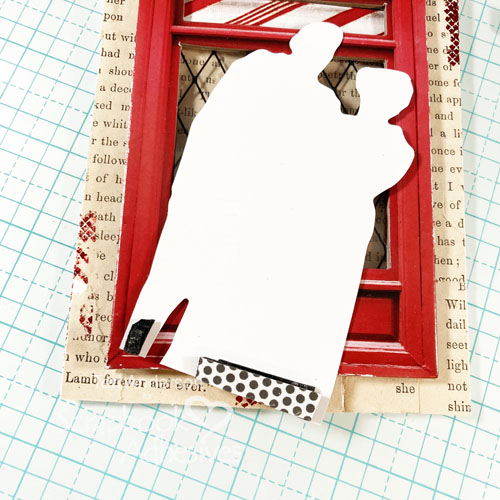
Gather an assortment of printed and vintage-inspired die-cut elements. I picked out a window as a focal point, along with some various Christmas items.
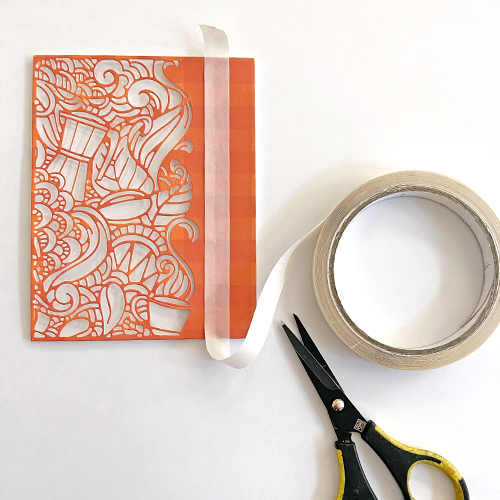
Apply the E-Z Runner® Permanent Strips Refillable Dispenser to the back of the window and cover the openings with a combination of transparency and patterned papers. Next, add Crafty Foam Tape Black on the sides of the window and set it aside.
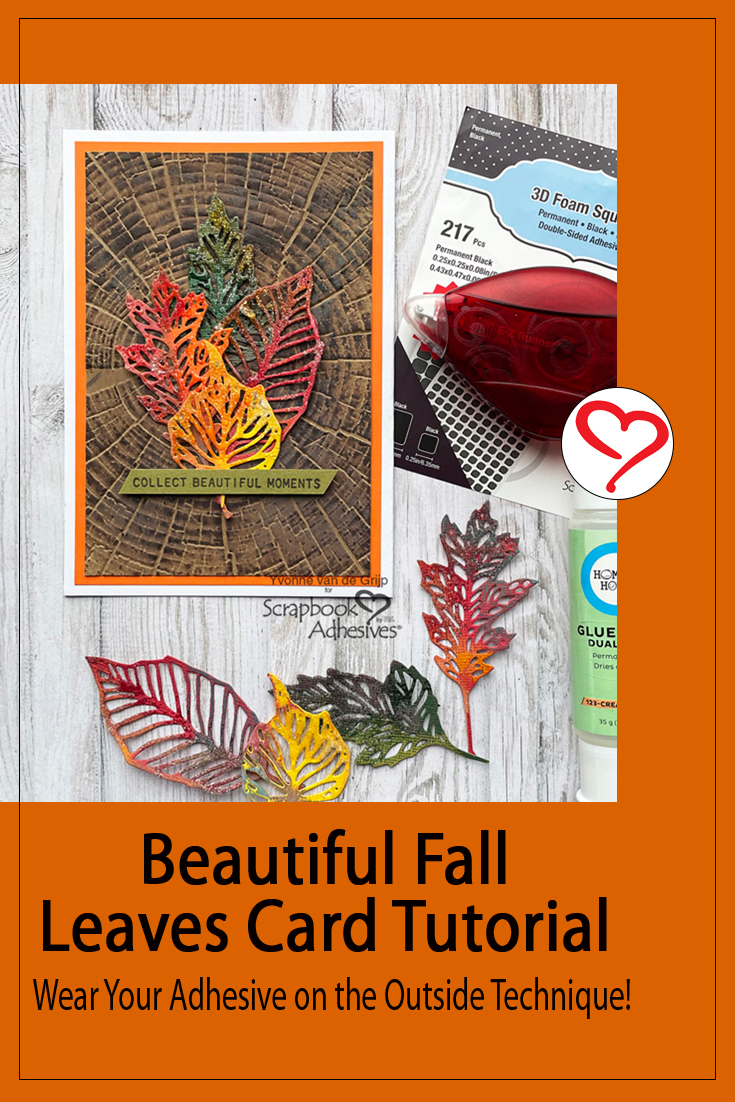
Wear Your Adhesive on the Outside with the E-Z Runner Petite
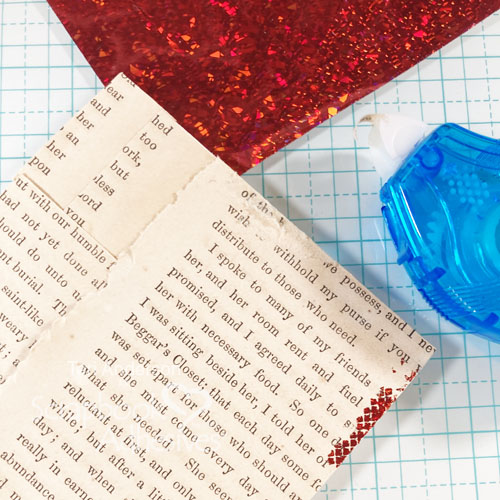
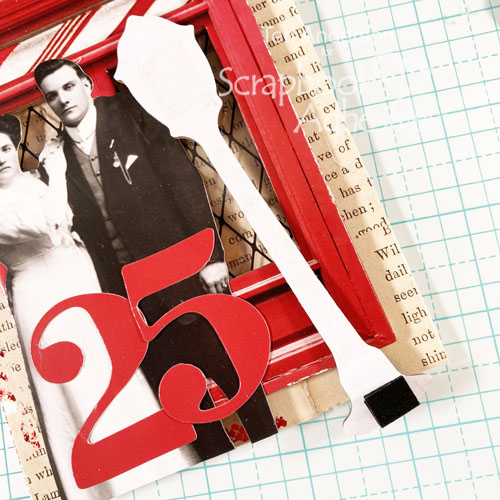
Roll the E-Z Runner® Petite Permanent Dots Refillable along some of the edges of the card. Be random and messy for a grungy, vintage look. Gently burnish a piece of red foil from the Metallic Transfer Foil Sheets Celebrate on top of the exposed adhesive. Remember to face the foil color towards you. Use as much or as little as you’d like.
Pop Up the Christmas Scene
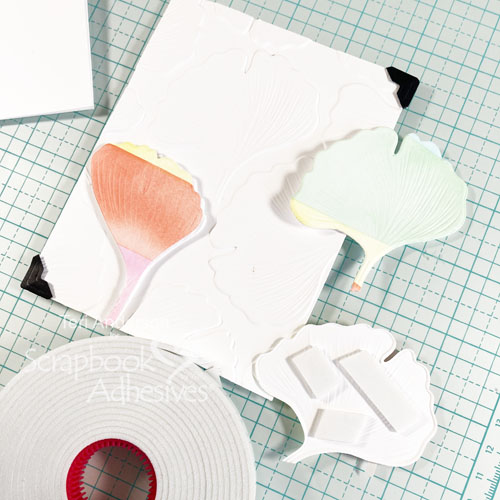
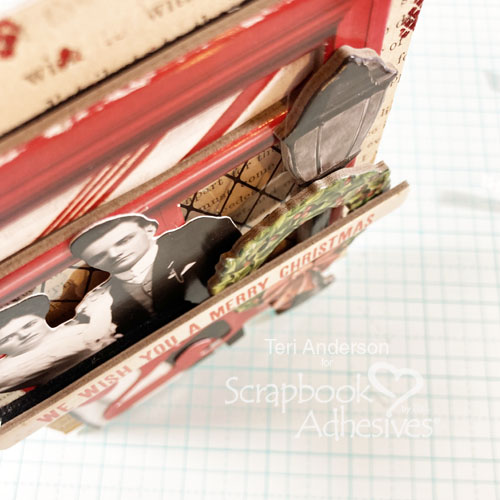
Grab your window and remove the liners to secure it to the card front. Determine your design with the other elements. To create a dimensional scene, I used a combination of flat and 3D Foam adhesives. I layered pieces of 3D Foam Tape and Thin 3D Foam Squares to make different depths. Note: This helps steady the elements so nothing wobbles.
Finishing Touches
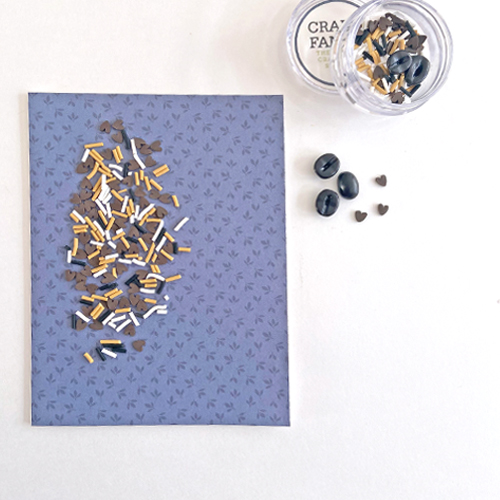
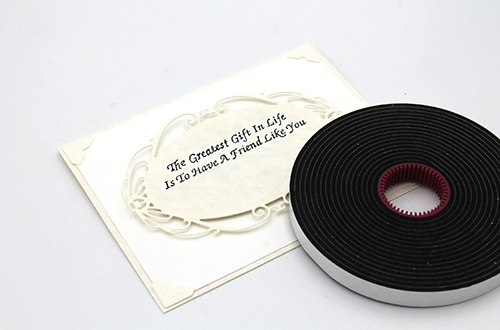
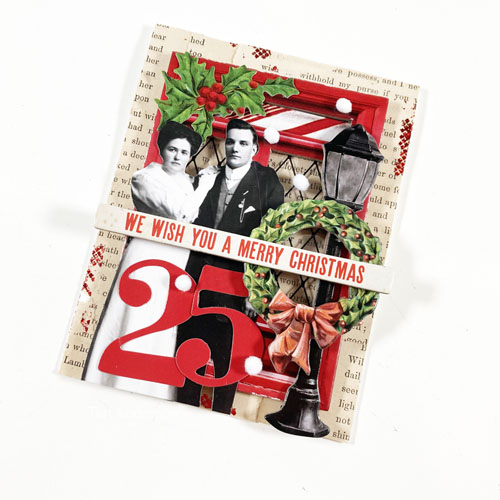
Finish your card by adding a sentiment and a few embellishments. Pompoms are great for mimicking the look of snow. Simply place an Adhesive Dot with it and adhere them to your card! Use as many (or as little) as you want!
I hope you were inspired by today’s Vintage Christmas Card tutorial. Try out some of my tips for making your own.
Happy Creating!
Creative Time: 60 minutes
Skill Level: Intermediate
Materials needed:
Scrapbook Adhesives by 3L®:
E-Z Runner® Permanent Strips Refillable Dispenser, E-Z Squares® Refillable Dispenser, and E-Z Runner® Petite Permanent Dots Refillable Dispenser
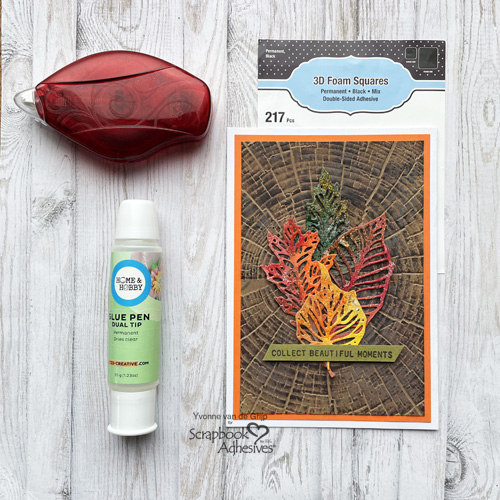
Thin 3D Foam Squares Black Mix
Metallic Transfer Foil Sheets Celebrate Colors
HomeHobby™ by 3L:
Premium Double-Sided Tape 1/2in
Other:
White Cardstock: Neenah Paper; Christmas Die-cuts and Chipboard Elements: Tim Holtz; Pompoms: Darice; Old Book Pages
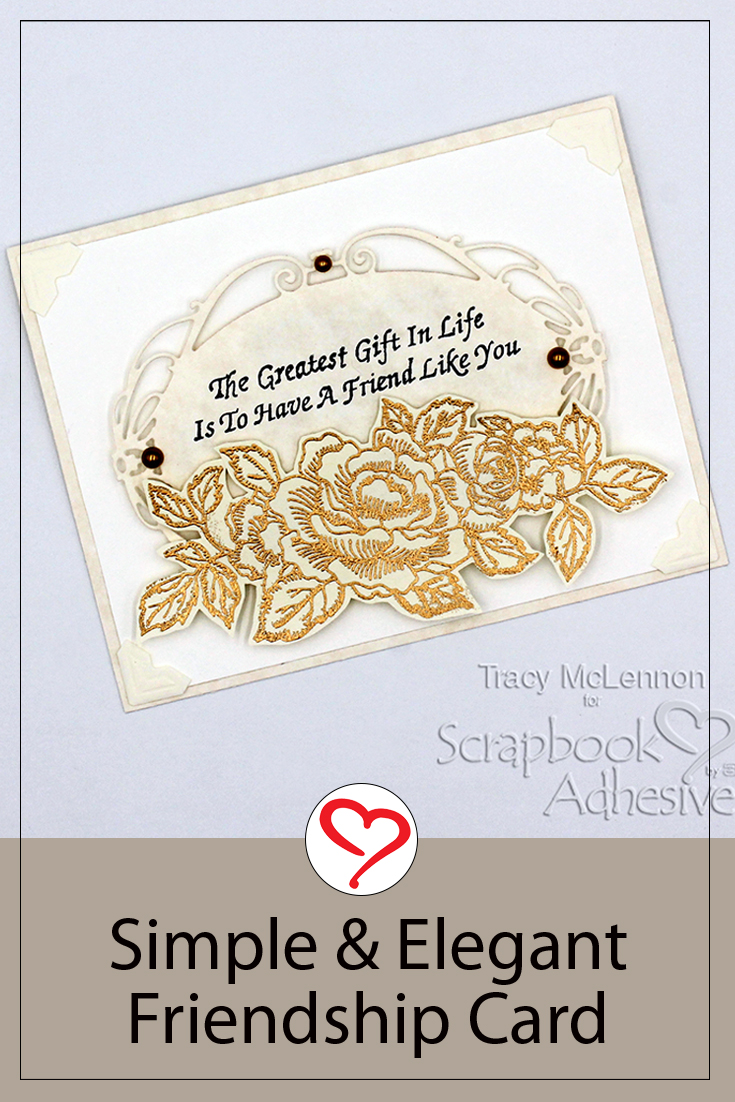
Save to Pinterest!
Visit our Website and Blog!
Sign up for our Newsletter so you never miss a contest or giveaway!