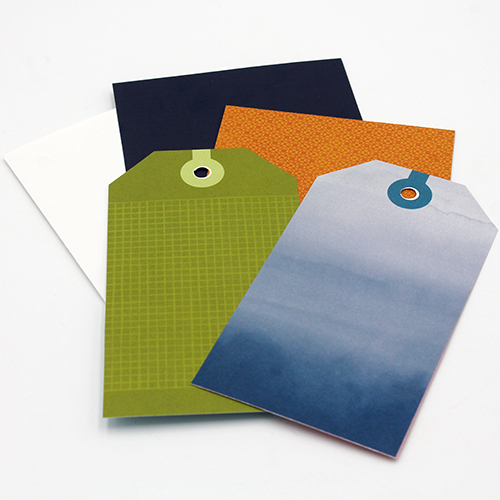
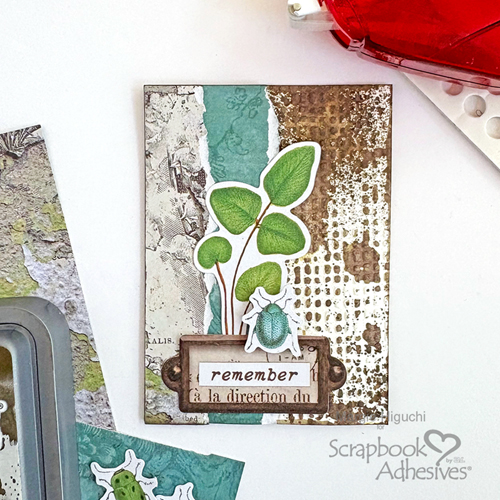
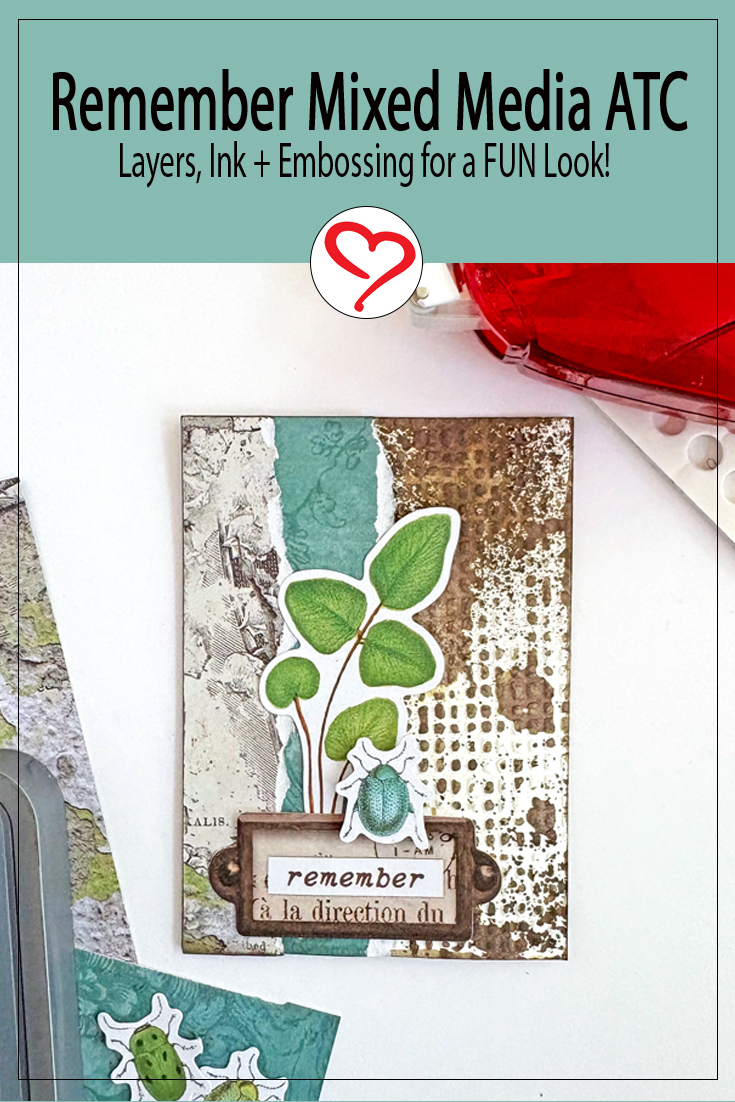
Do you have a pile of leftover patterned papers and elements? Well, I did so I decided to do an ATC (Artist Trading Card) project. They are quick, depending on design, and have a cute size of 2.5 x 3.5-inch. Hi, Margie here today and I like to show you my Remember Mixed Media ATC!
Remember ATC Card Base
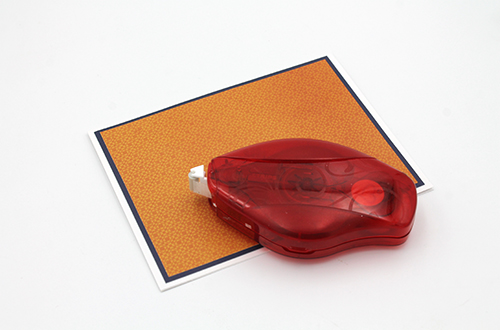
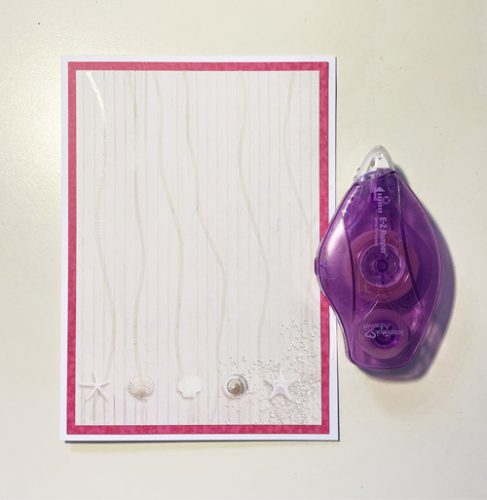
Cut a piece of 2.5 x 3.5-inch white cardstock base and create a texture by using an embossing folder with a die-cutting machine.

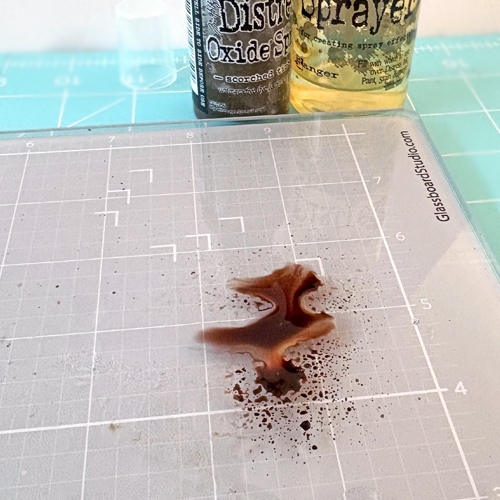
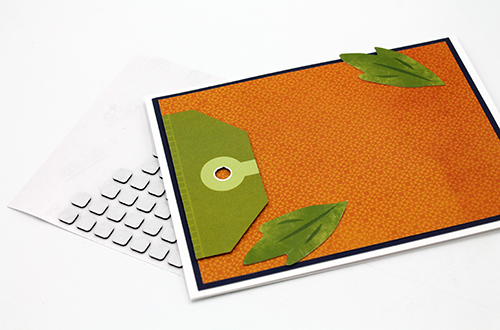
To highlight the embossed design, I sprayed Distress Oxide Ink Spray and misted with water to dilute the intense color on a glass mat. Randomly press the ATC base with the ink. Dab off excess with a paper towel. Set aside to dry.
Paper Tearing Layers
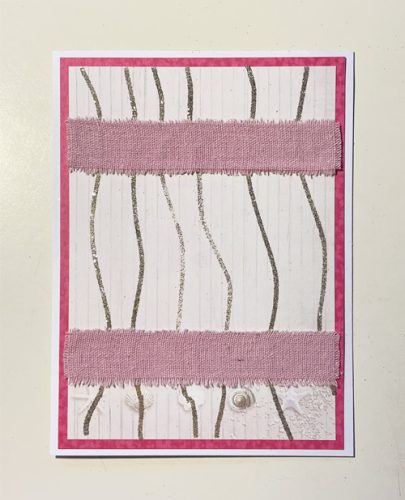
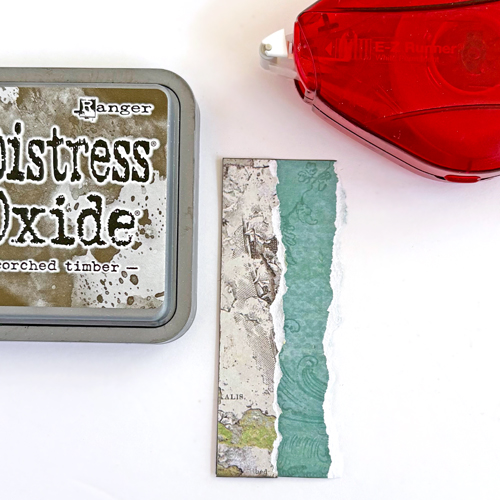
Tear one edge of two patterned paper strips and ink the straight edges with the Distress Oxide Ink. Adhere the strips together with the E-Z Runner® Permanent Strips Refillable Dispenser. Set it aside.

Adding Elements
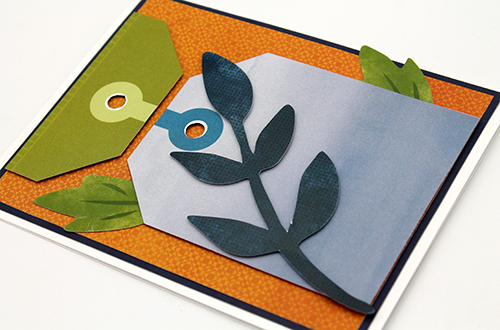
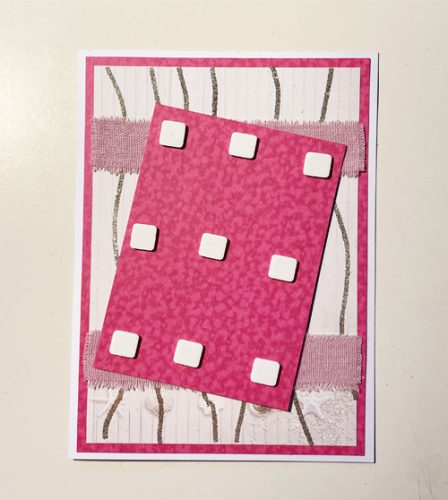
Determine your cluster design from the ephemera pack. Adhere the torn layered strip to the left-side of the ATC with the E-Z Runner® Permanent Strips Refillable Dispenser. Using the same adhesive, secure the plant and label elements. Designer’s Note: Use the bone folder to burnish the adhesive into the textured surface for a stronger bond.
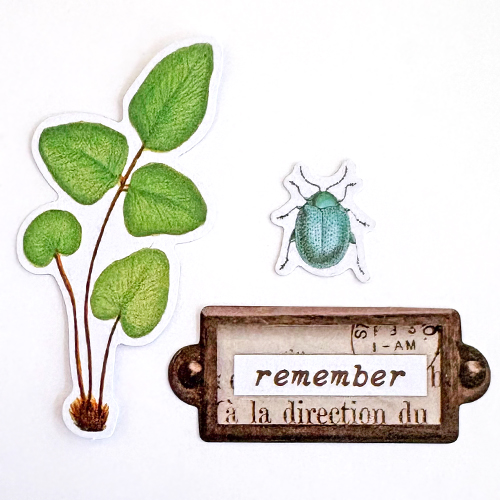
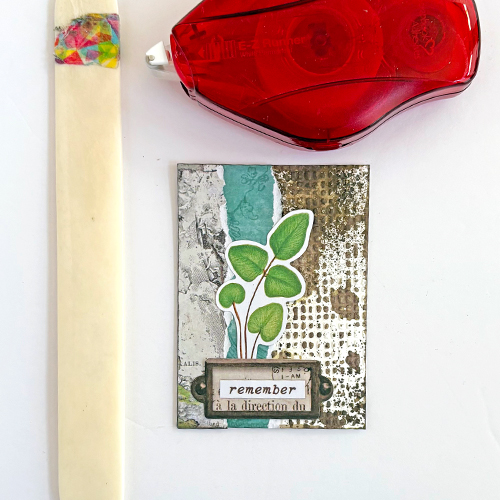
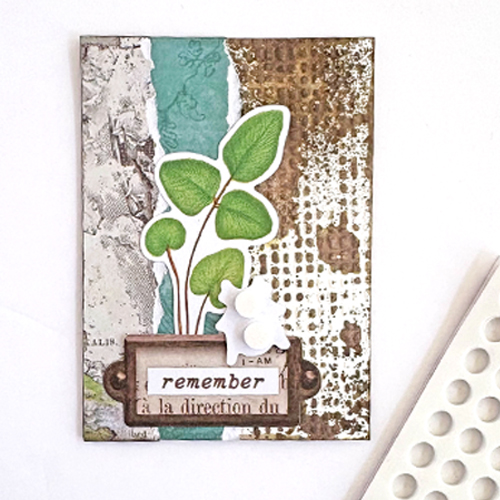
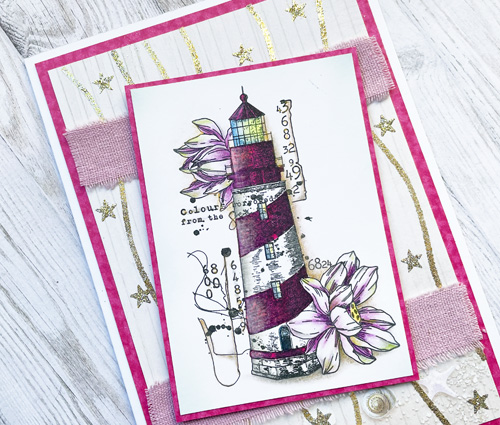
Lastly, pop up the blue bug with two small circles from the 3D Foam Circles White Mix to place it on top of the label. It’s done to be swapped out or make a wonderful addition to my scrapbook layout. Lots of ideas!
Thanks for stopping in!
Margie Higuchi
Creative Time: 20 mins
Skill Level: Intermediate
Materials Needed:
Scrapbook Adhesives by 3L®
E-Z Runner® Permanent Strips Refillable Dispenser
Other: Patterned Papers + Ephemera: Arden Creative Studio (Hidden Creek Collection); Embossing Folder and Die-Cutting Machine: Spellbinders Paper Arts; Ink + Water Mister: Ranger Ink (Distress Oxide Ink + Distress Oxide Spray in Scorched Timber); Glass Mat: Glassboard Studio; White Cardstock; Bone Folder
Click Preferred Retailers List
Save to Pinterest!
Visit our Website and Blog!
Sign up for our Newsletter so you never miss a contest or giveaway!