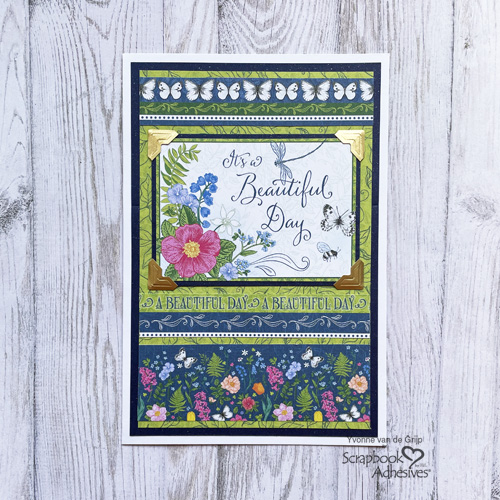
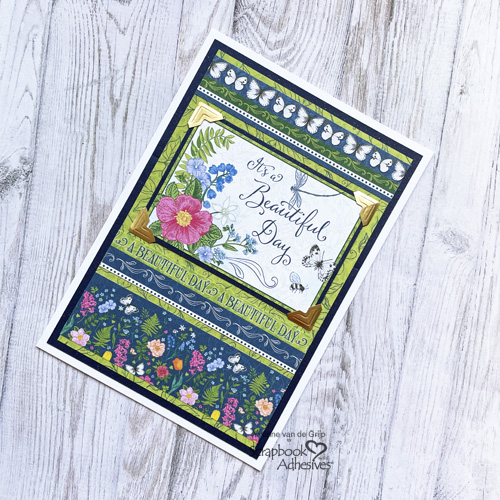
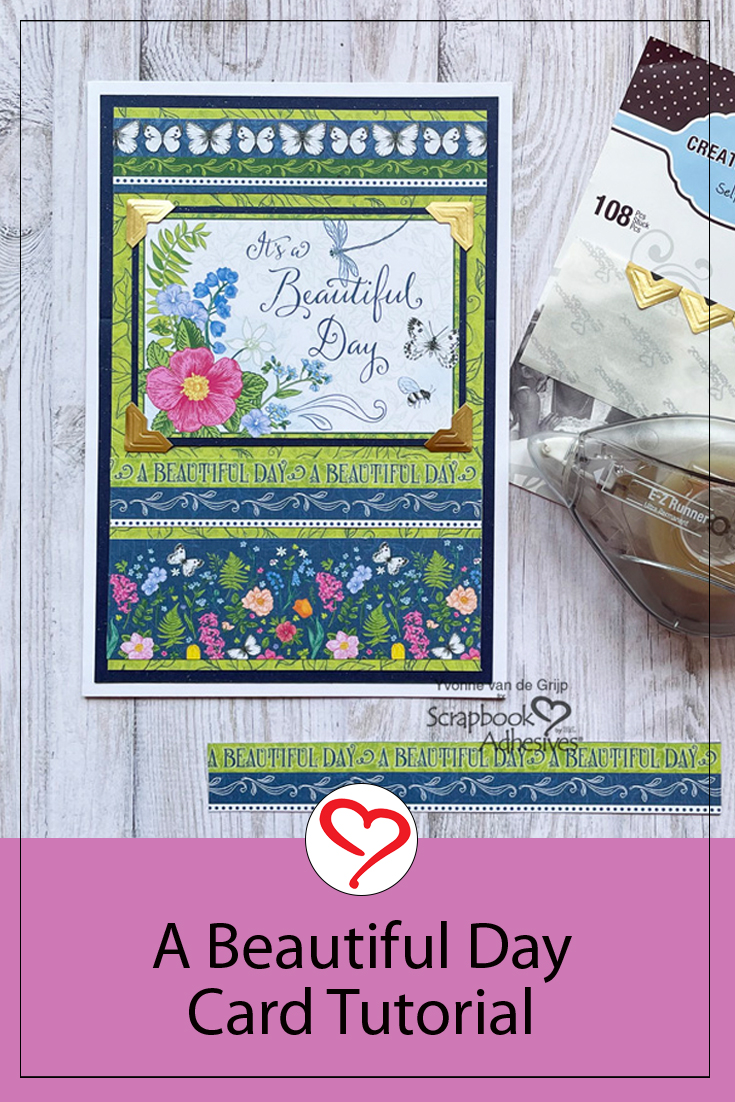
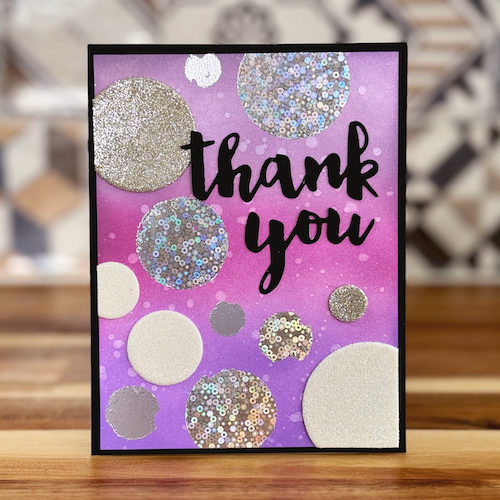
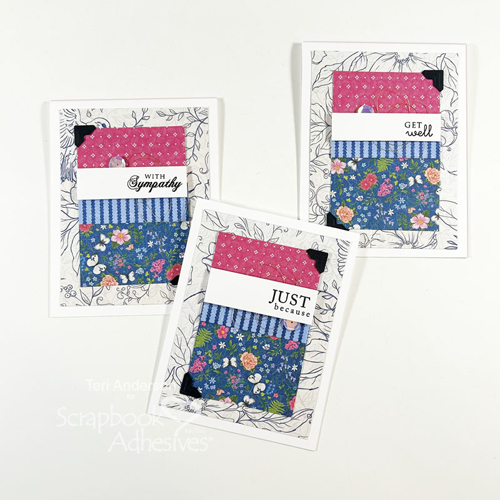
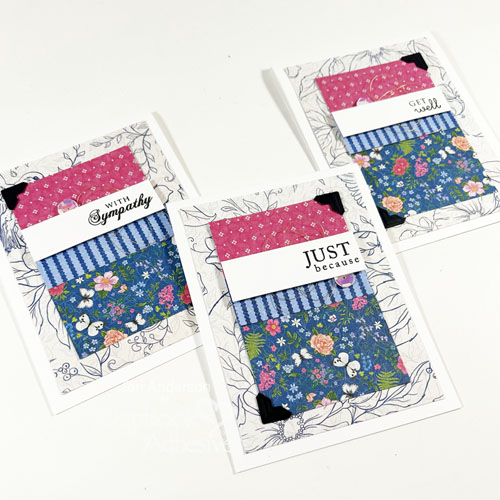
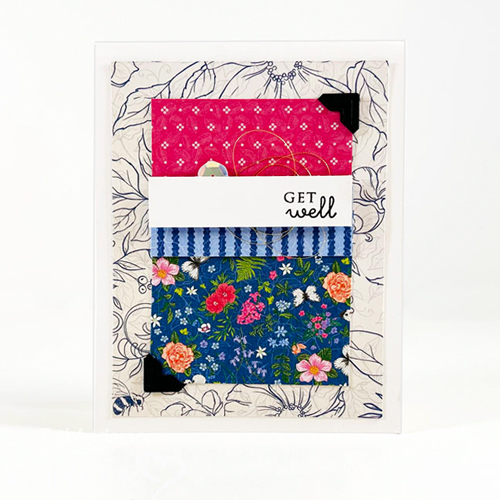
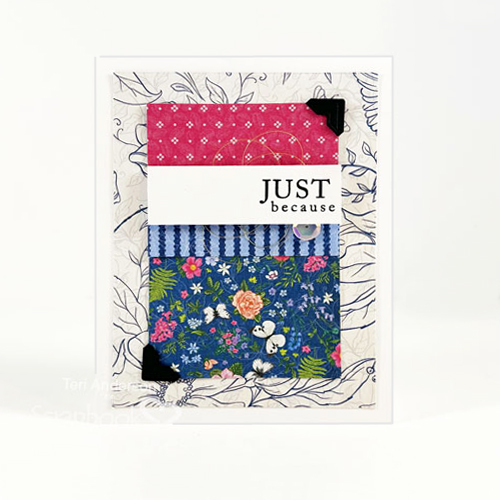
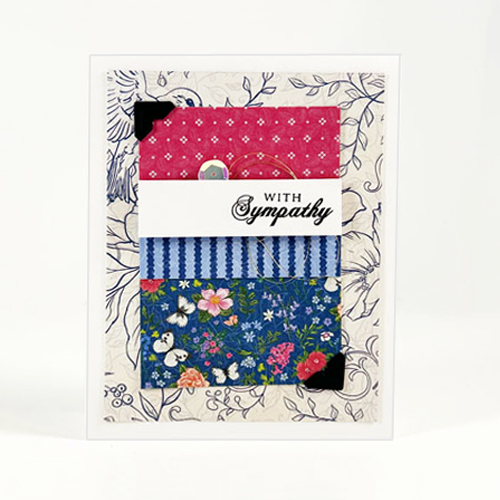
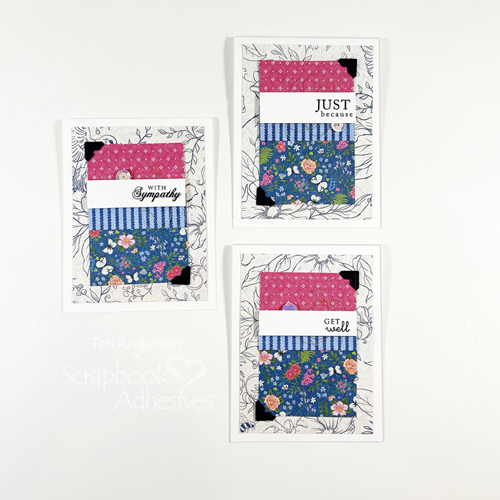
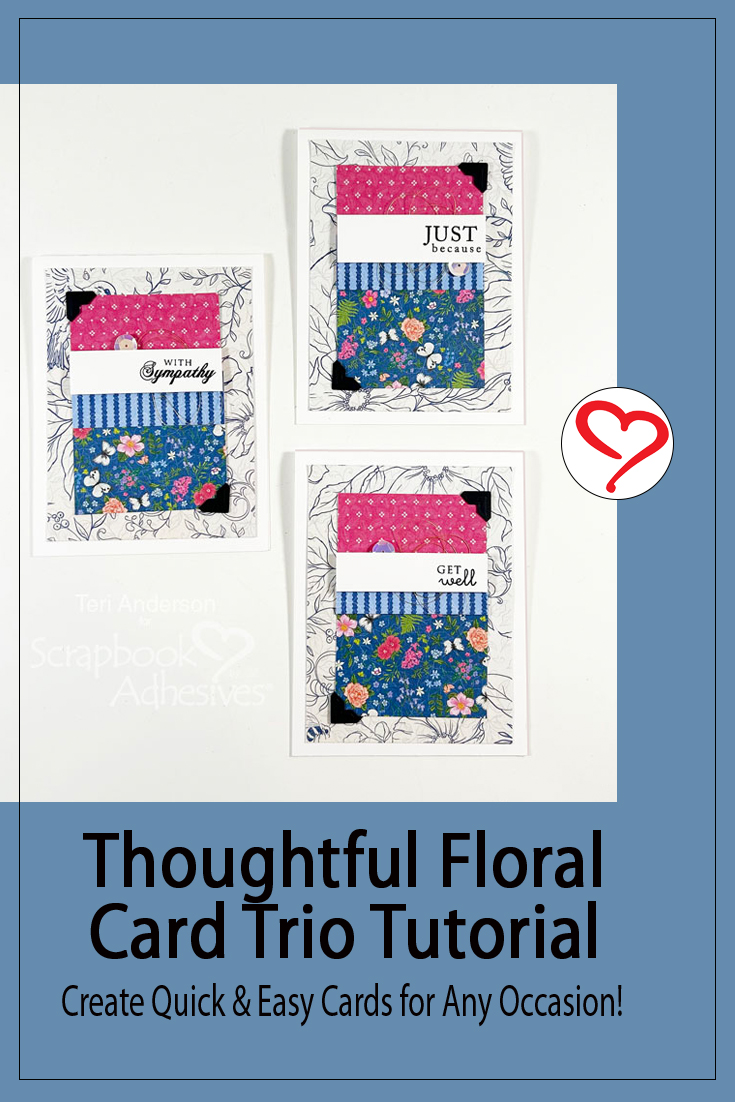
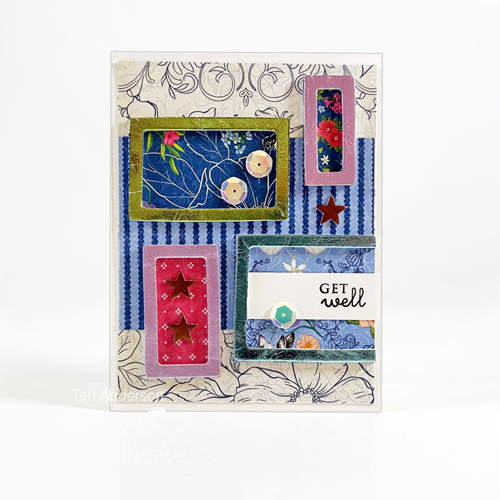
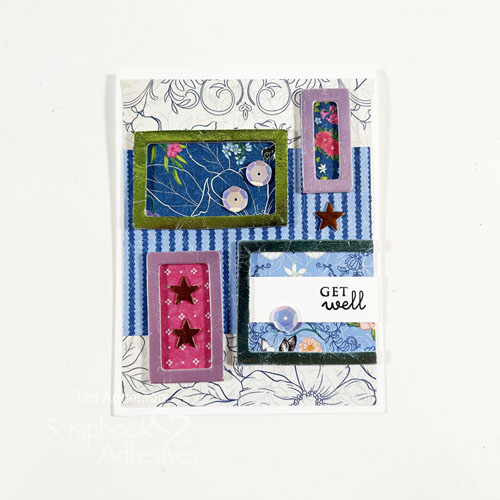
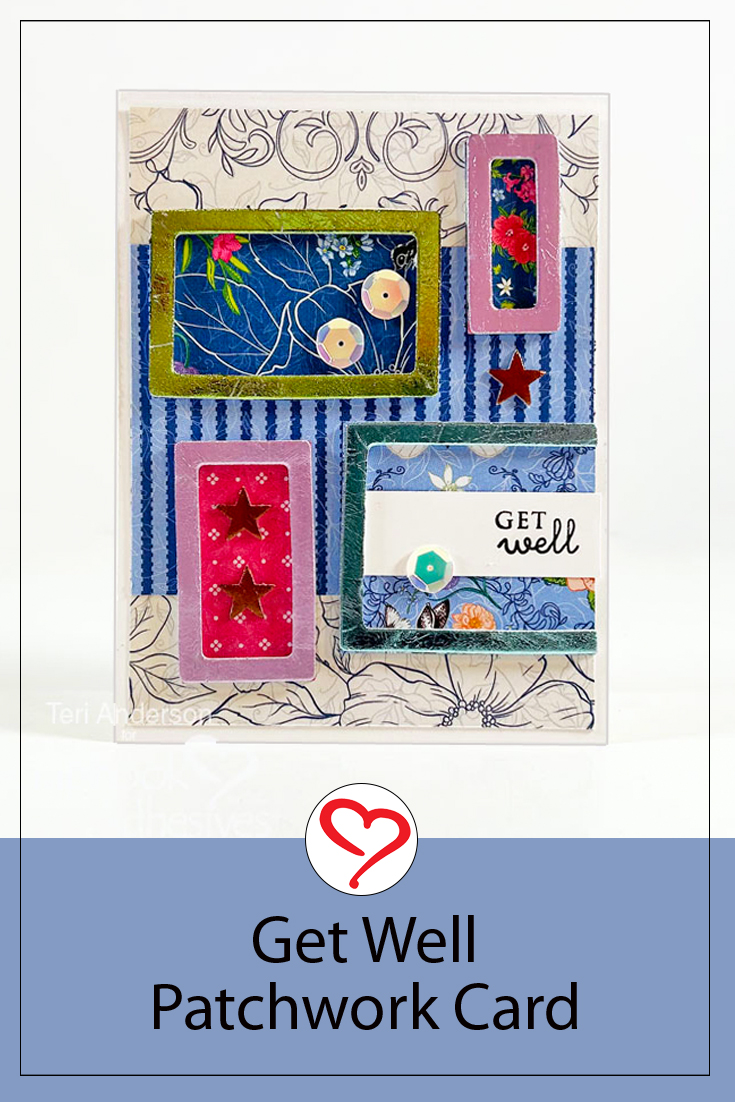
Hi, everyone! Do you love using patterned paper on your handmade cards? Teri here to show you a fun way to add a little glitz to your next card by using patterned papers with Metallic Transfer Foil! I like to share how with my Get Well Patchwork Card!
Make the Patchwork Card Panel
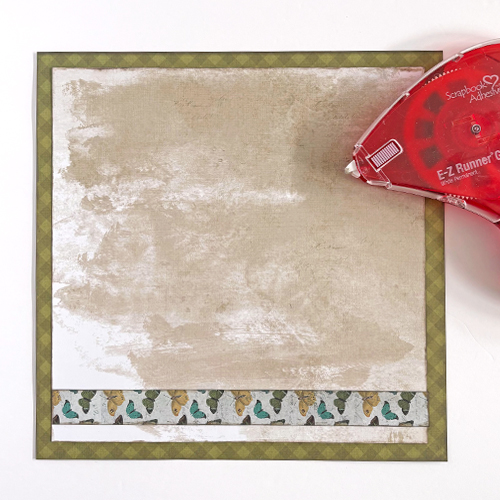
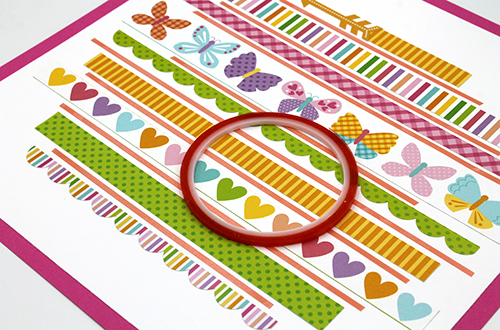
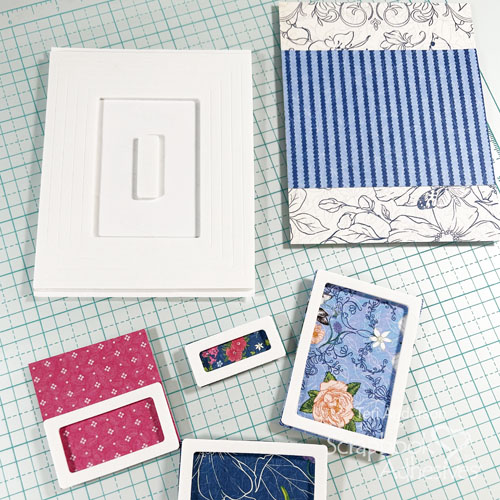
Start by cutting a panel of patterned paper to fit on an A2-size (4.25 x 5.5-inch) card. Add a strip of patterned paper to the middle of it. Set the panel aside.
Create the Frames
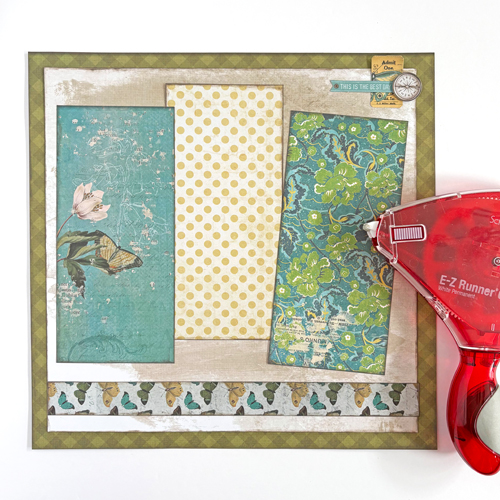
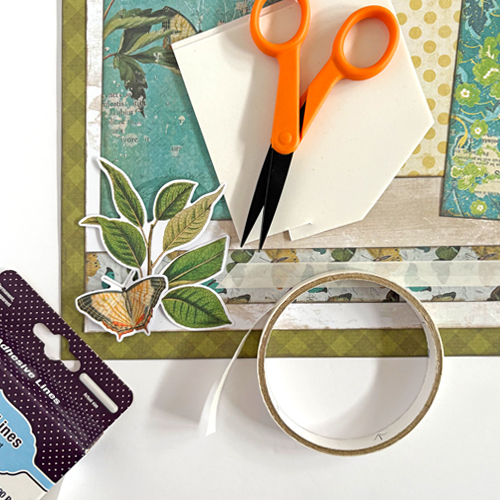
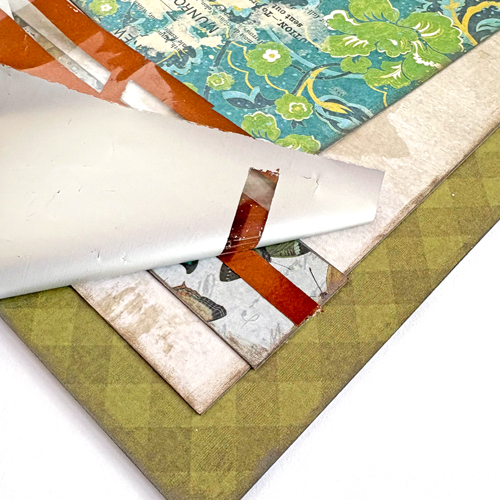
Take several 3D Foam Frames and adhere them to the patterned paper. The more patterns you use, the better! Use your scissors to cut off the excess.
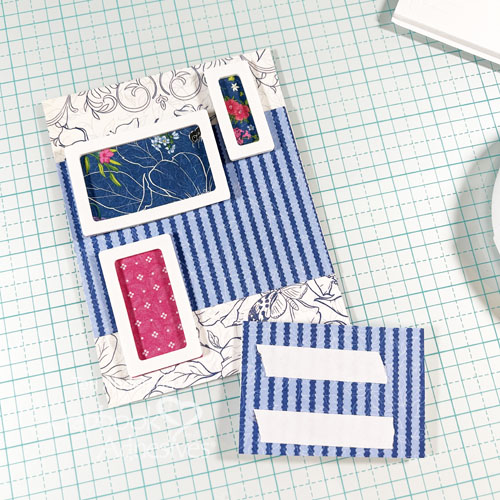
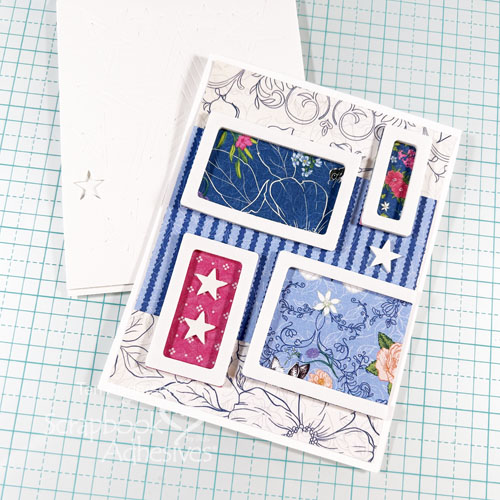
Apply Premium Double-Sided Tape to the back of your frames. Adhere them to your patterned paper panel. Trim off the excess with your scissors. Mount the patterned paper panel to a card base.
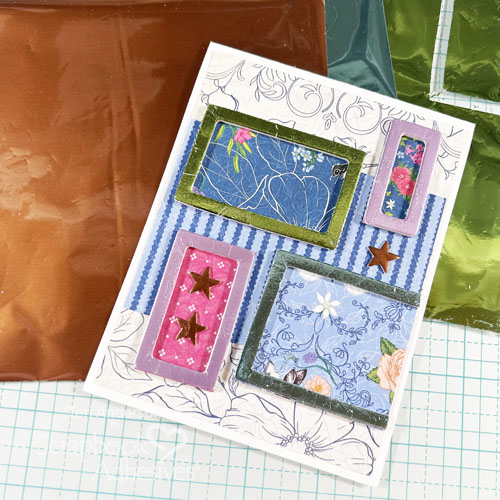
Wear Your Adhesive on the Outside with 3D Foam Stars and 3D Foam Frames
Add a few 3D Foam Stars (or some other 3D Foam Shape of your preference) to the card front. Apply foil (pretty side up) to the stars.
Mix things up by taking other colors of foil and applying them to your frames. Be sure to rub firmly when burnishing it to the frames. Don’t worry if you miss a spot! Set the foil on your frame and apply a little more to it.
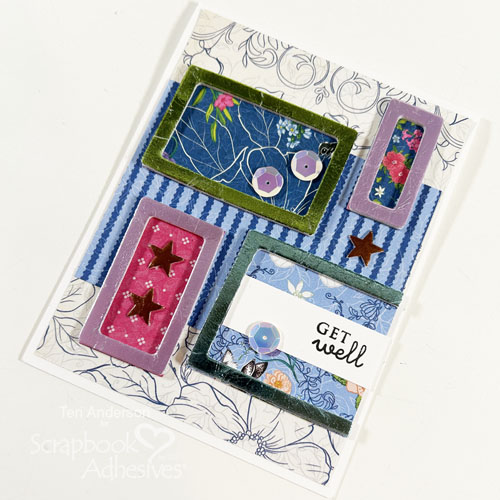
Add a Sentiment and Sequins
Complete your card by stamping a sentiment on a strip of card. Adhere it to your card with the Premium Double-Sided Tape 1/2in. Add a few sprinkles or gems for extra sparkle using Adhesive Dots Micro.
I hope you are inspired by today’s Get Well Patchwork tutorial to make a card with patterned paper and Metallic Transfer Foil.
Thanks for stopping by!
Happy Creating!
Creative Time: 60 minutes
Skill Level: Beginning
Materials needed:
Scrapbook Adhesives by 3L®:
3D Foam Frames and 3D Foam Stars
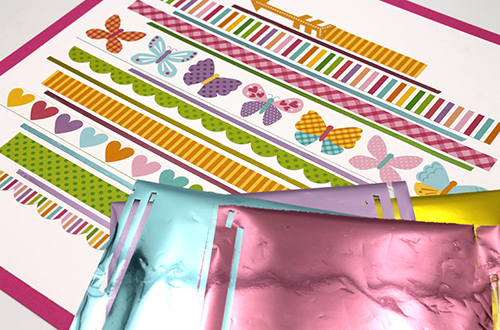
Metallic Transfer Foil Sheets Nature Colors and Metallic Transfer Foil Sheets Pastel Colors
HomeHobby™ by 3L:
Premium Double-Sided Tape 1/2in
Other: Patterned Paper: Graphic 45 (Spring is in the Air Paper Pack); Stamps: Papertrey Ink (Mega Mixed Messages Stamp Set); White Cardstock: Neenah; Sequins: Simon Says Stamp!; Ink: Ranger Ink
Save to Pinterest!
Visit our Website and Blog!
Sign up for our Newsletter so you never miss a contest or giveaway!