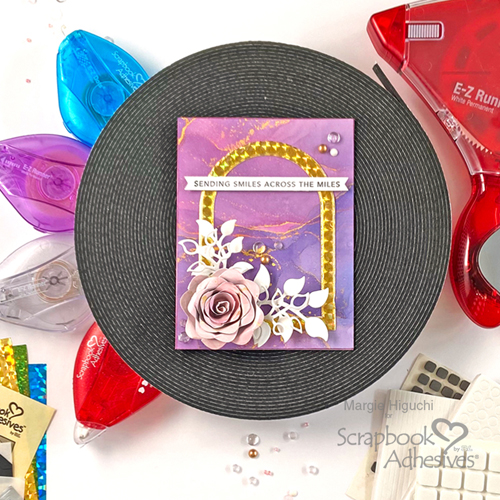
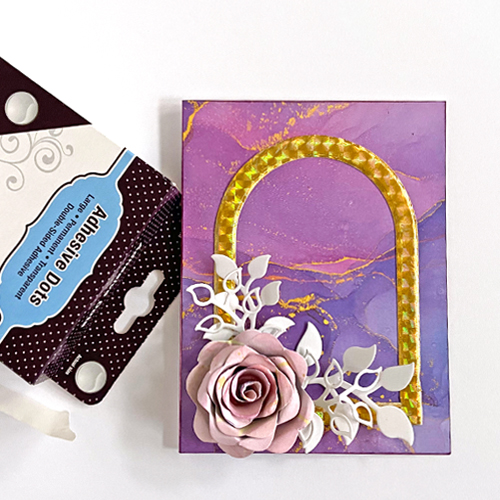
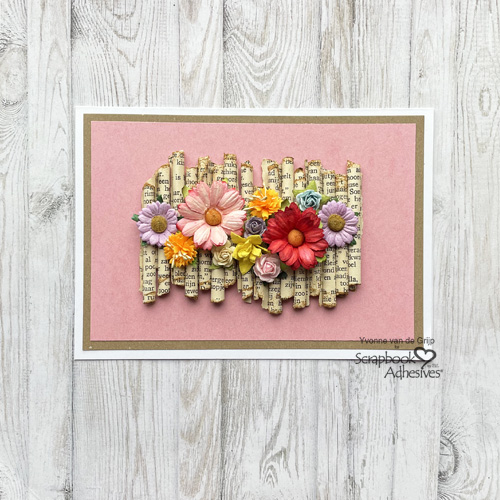
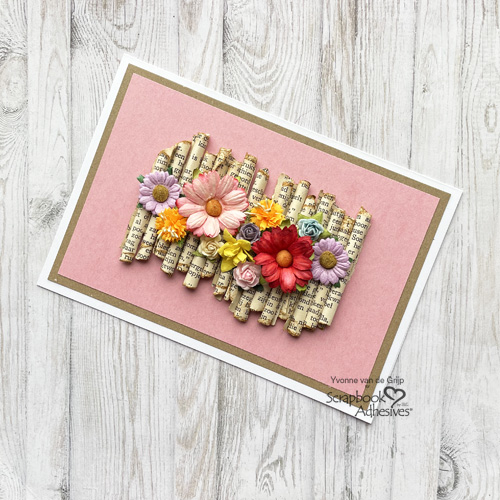
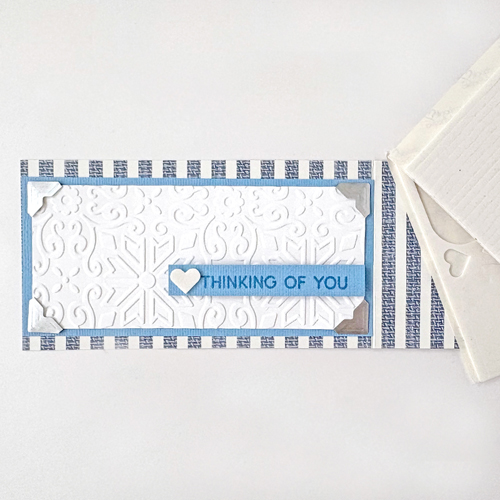
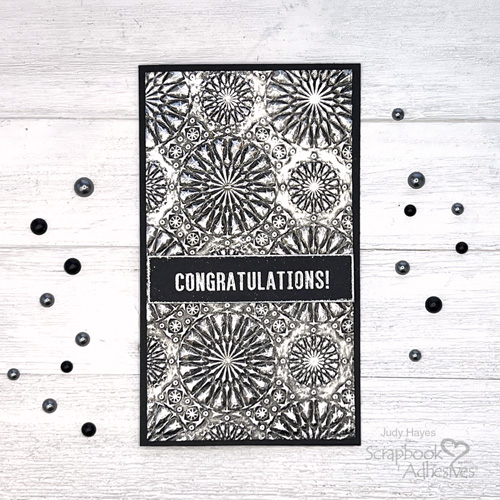
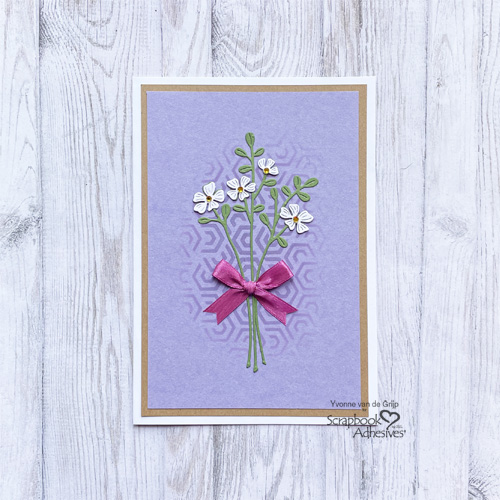
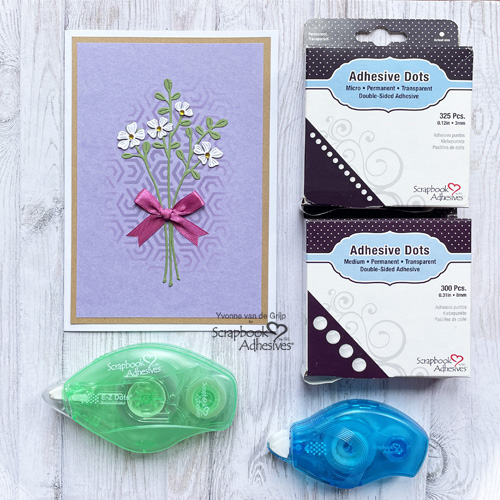
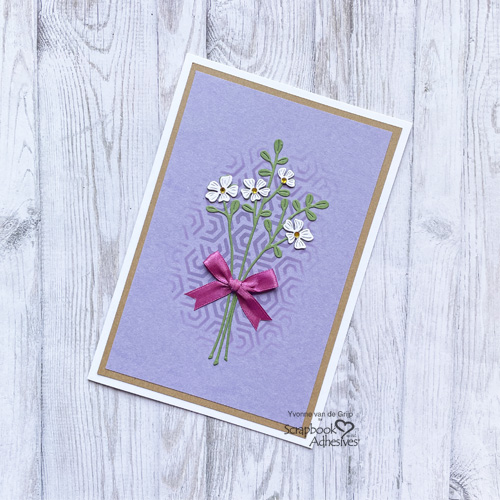
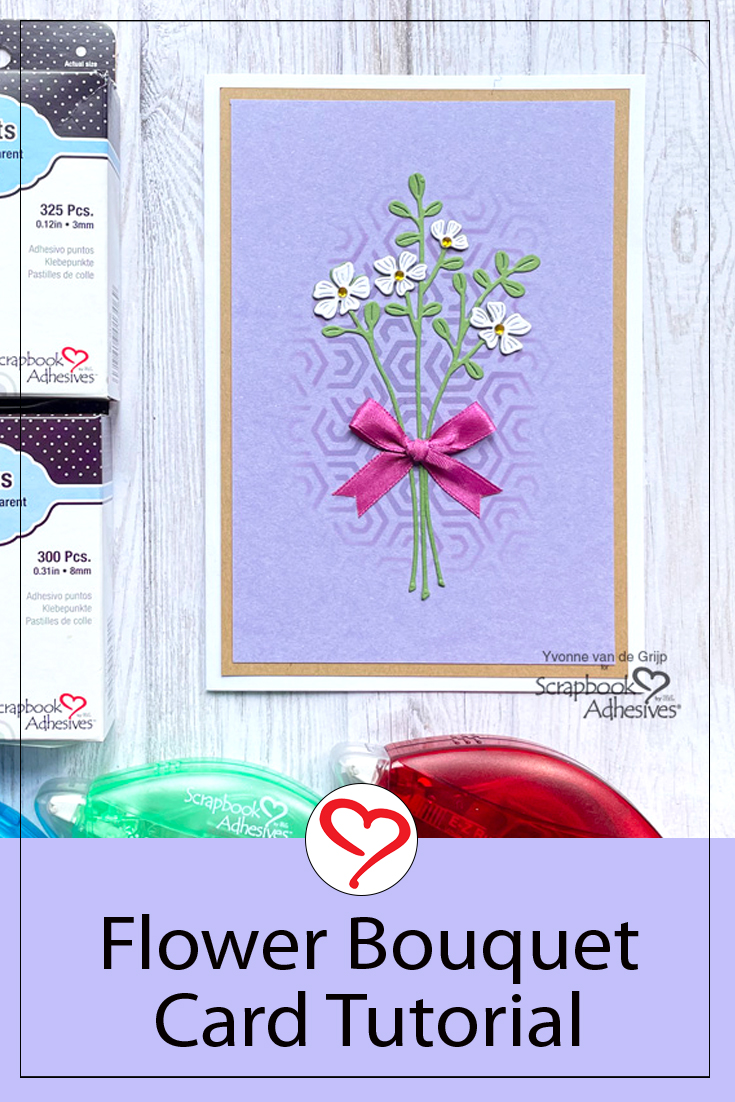
Hi everyone, Yvonne here with a Flower Bouquet Card. This simple yet elegant card is suitable for many occasions, depending on the sentiment.
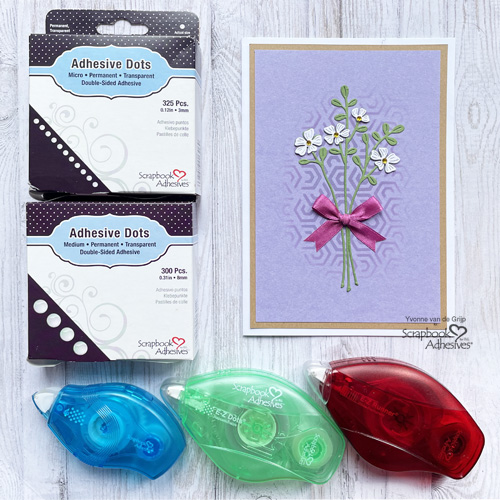
I would love to share how I use adhesives to handle delicate items on a card creation.
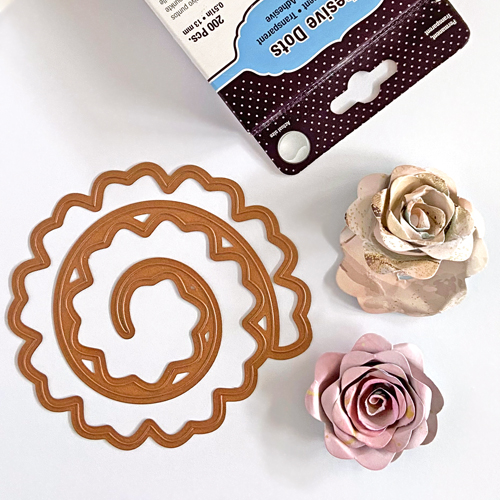
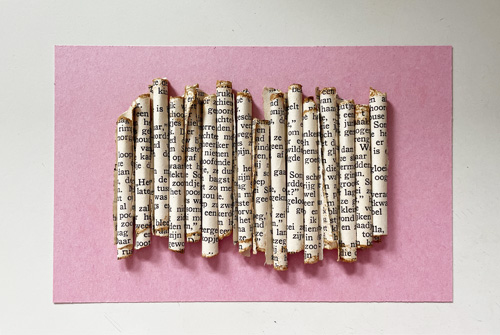
Flower Bouquet Top Card Panel
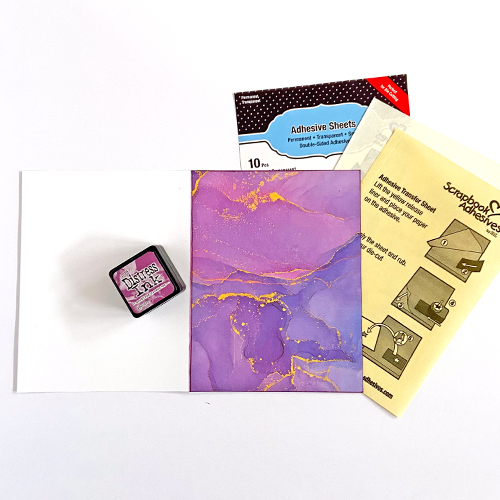
To create the panel, start with a stencil by first temporarily adhering it to a lilac cardstock with the E-Z Dots® Repositionable Refillable Dispenser. It prevents the stencil from shifting when applying purple ink with an ink blending tool.
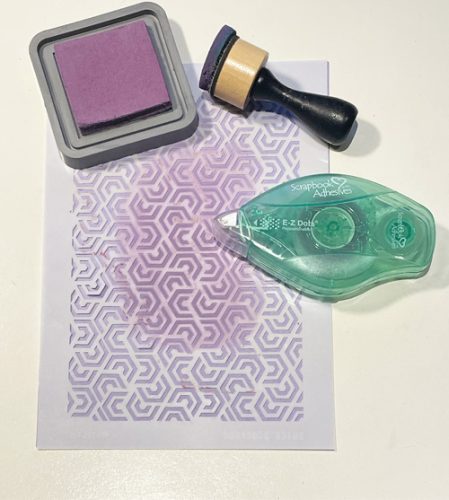
Simply rub the dots off with your finger…there’s no damage or stain on the cardstock surface.
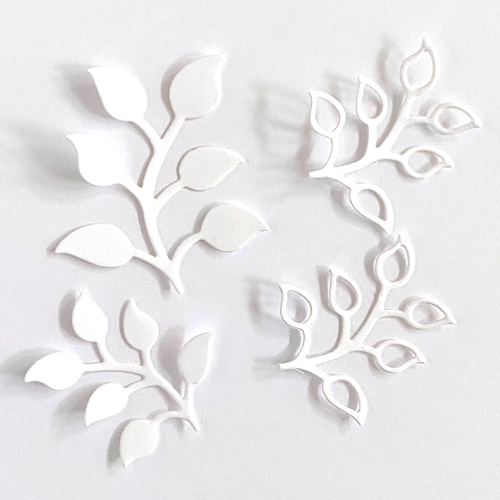
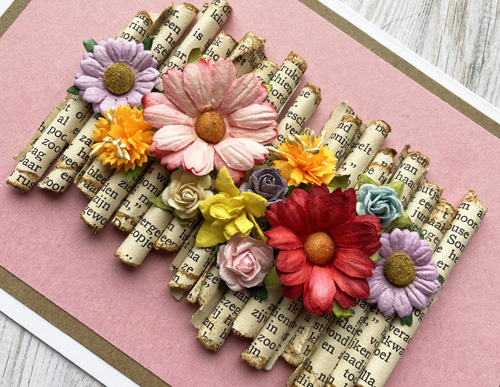
Create the Bouquet
Die-cut the stems from green cardstock and the flowers from white cardstock. Roll the E-Z Runner® Petite Permanent Dots Refillable Dispenser on the back of the stems. The adhesive covers the stem and skips the spaces in between. Adhere them to the card panel.
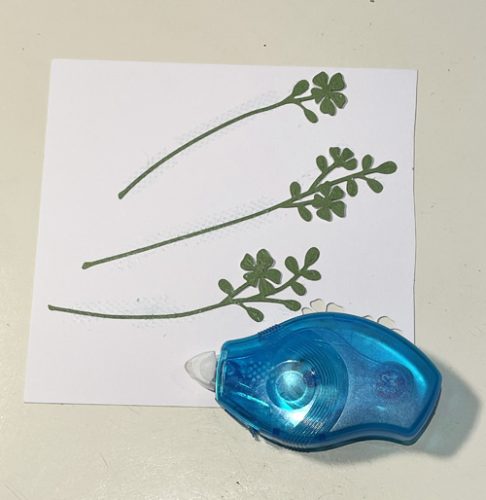
Designer’s Note: Place a scrap piece of cardstock under the die-cuts to protect the work surface, just in case. Lastly, place Adhesive Dots Micro on the white flowers and secure them on the stems.
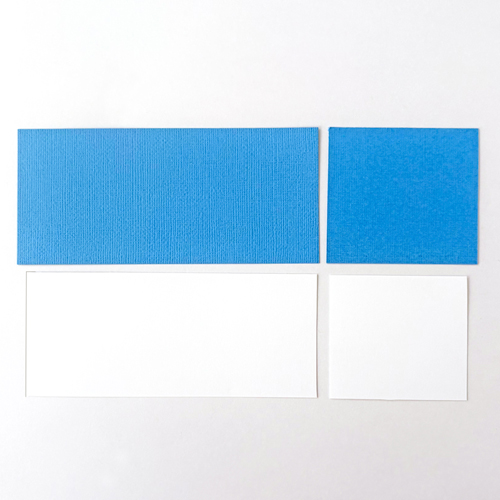
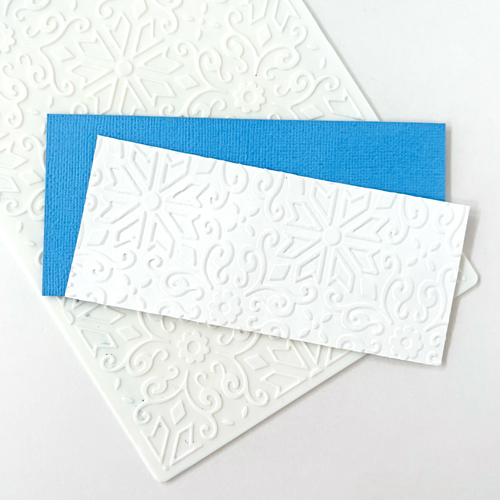
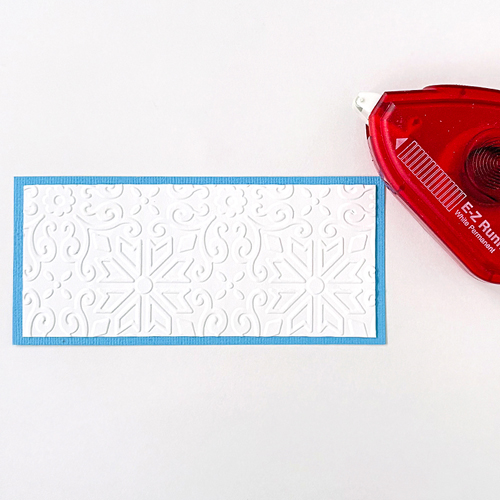
Card Base
To layer the card base, mat the lilac card panel onto a kraft panel with the E-Z Runner® Permanent Strips Refillable Dispenser. Using the same adhesive, place the layered panel onto a white card base.
Finishing Touch
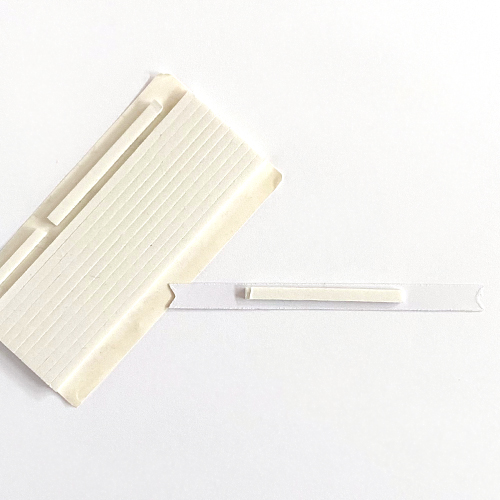
To embellish, I centered yellow Rhinestones into the flowers. Tie a satin bow and secure it with the Adhesive Dots Medium.
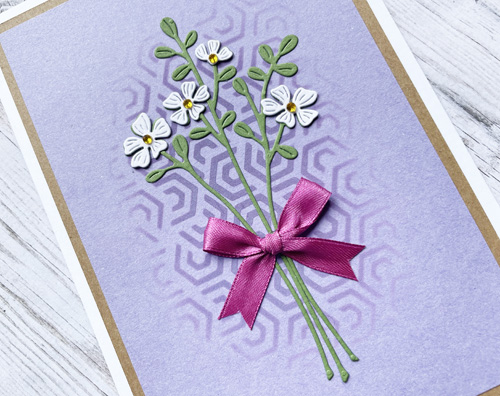
And voilá, the Flower Bouquet Card is ready to be sent. Designer’s Tip: The card can be themed with specific occasions, simply add a sentiment.
I hope you enjoyed this Flower Bouquet Card tutorial and wish you happy crafting!
Creative Time: 35 minutes
Skill Level: Intermediate
Materials needed:
Scrapbook Adhesives by 3L®:
E-Z Runner® Permanent Strips Refillable Dispenser
E-Z Runner® Petite Permanent Dots Refillable Dispenser
E-Z Dots® Repositionable Refillable Dispenser
Other: Craft Dies and Machine: Spellbinders Paper Arts® (Sealed Blooms Etched Dies and Platinum 6 Machine); Stencil: Dutch Doobadoo (Geometric Stencil); Ink: Ranger Ink (Distress Oxide in Dusty Concord); Ink Blending Tool; Paper Trimmer; Scissors; White, Lilac and Kraft Cardstock
Save to Pinterest!
Visit our Website and Blog!
Sign up for our Newsletter so you never miss a contest or giveaway!