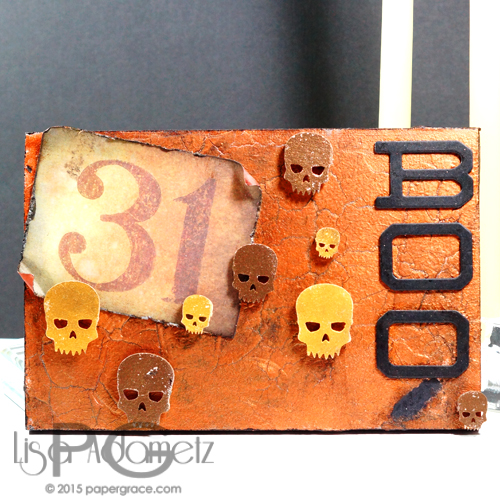
Hi there everyone! Long time no see! It’s Lisa back from my moving escapades to get crafty with you and I’m sharing a super scary mini mixed media project with you today. This little cutie , ummm, SCARY piece measures 6″ w x 4″ t and is made out of MDF (medium density fibreboard). I love this stuff as it’s great for mixed media projects! Most home improvement stores sell it and will cut it to whatever size you wish. Yay!
To use MDF for mixed media and make sure that any other mediums that you put on top don’t “sink” into the board it’s a good habit to prime it first. Gesso is excellent for this. I primed the MDF with two coats of Gesso and it comes in different colors. I used white.
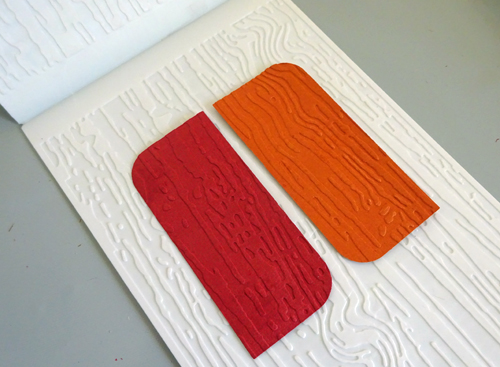
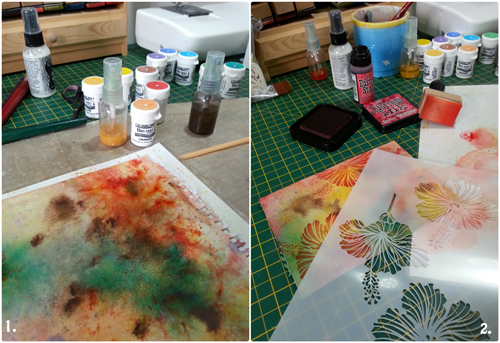
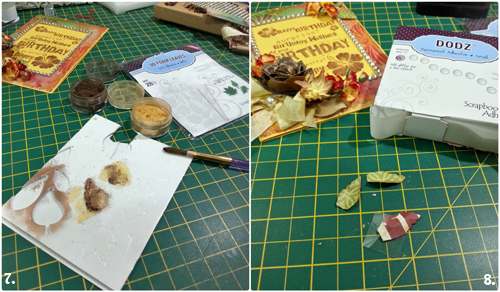
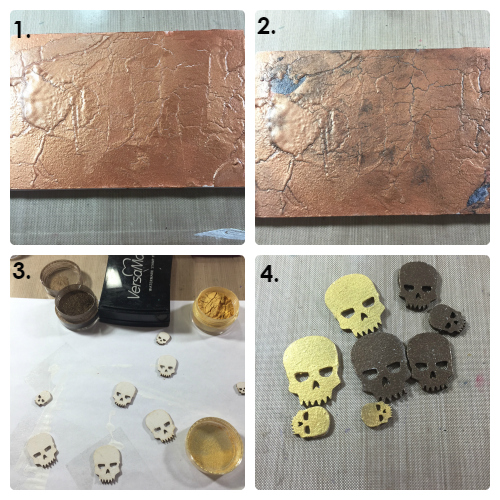
1. Once the Gesso was dry I used a palette knife to coat the piece with a copper colored crackle paint medium. The thicker the layer, the thicker the crackles. I’m a little impatient when creating so I tend to heat set the paint which lends to smaller crackles.
2. To deepen the “crackle” effect I smooshed both Black Soot and Peacock Feathers Distress Ink into the cracks and blended them out with a baby wipe. It’s barely noticeable, but definitely adds dimension.
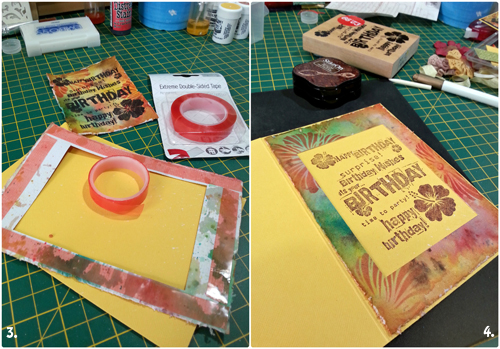
3. I had also coated the little skulls with Gesso (totally unnecessary, but a habit), then pressed each into Versamark. Once thoroughly coated I brushed 4 skulls each with Gold Pigment Powder and Brown Pigment Powder.
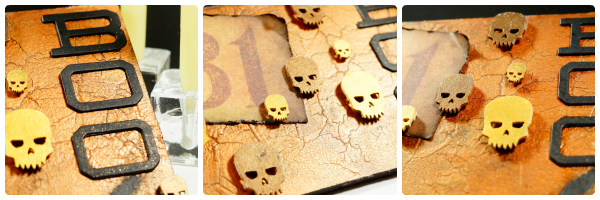
4. Close up of the finished skulls.
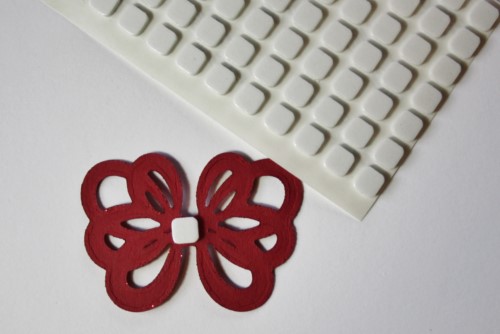
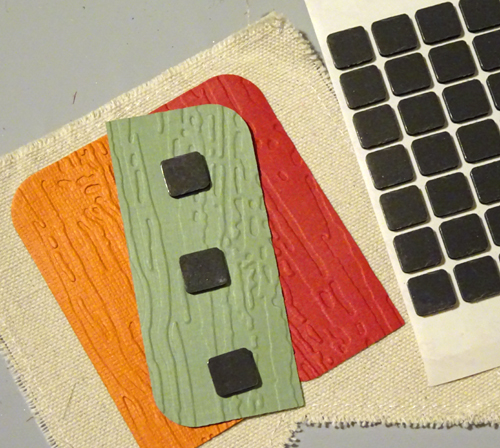
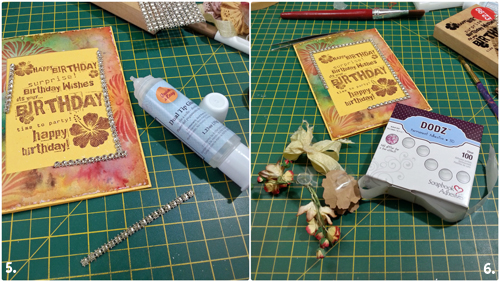
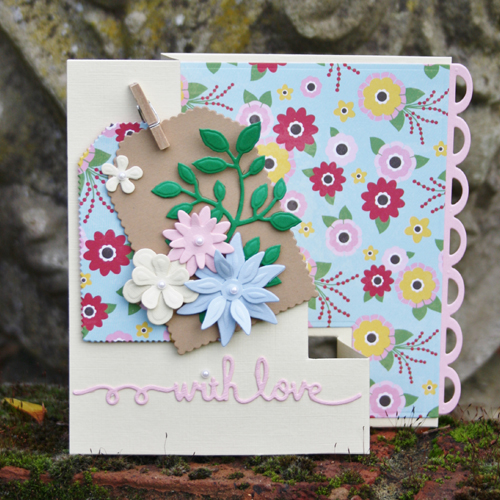
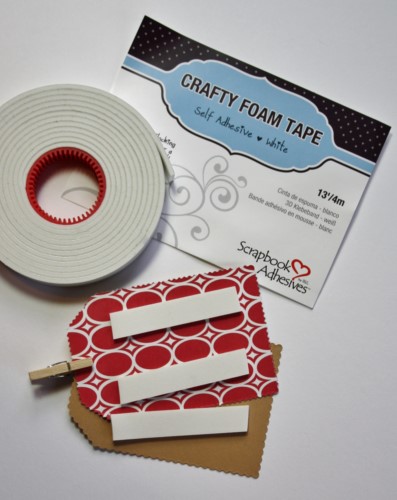
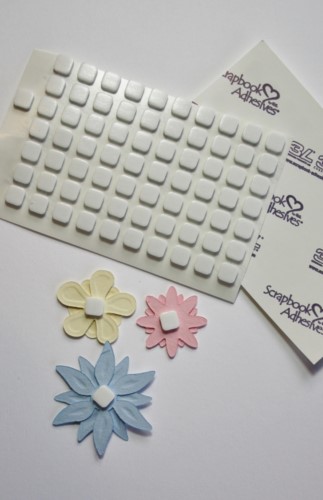
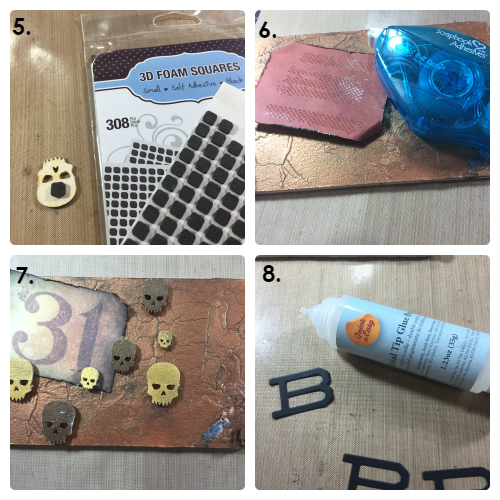
5. Place a square from the 3D Foam Squares – Black, Small onto the back of each skull.
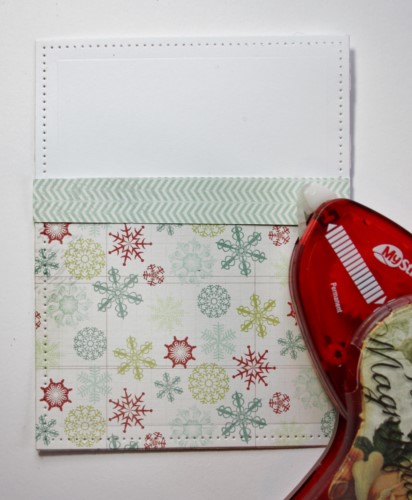
6. Cut the number “31” from a piece of patterned paper. Distress and apply black ink to the edges. Apply E-Z Dots® Permanent Refillable to the back and adhere into place.
7. Adhere all of the skulls into place. On top of the “31”, but leaving space on the side.
8. Die-cut letters spelling “BOO” three times from black cardstock. Using the Dual Tip Glue Pen adhere each letter together to provide thickness. Once dry, adhere into place also using the Dual Tip Glue Pen. This glue dries fast, clear, and non-tacky.
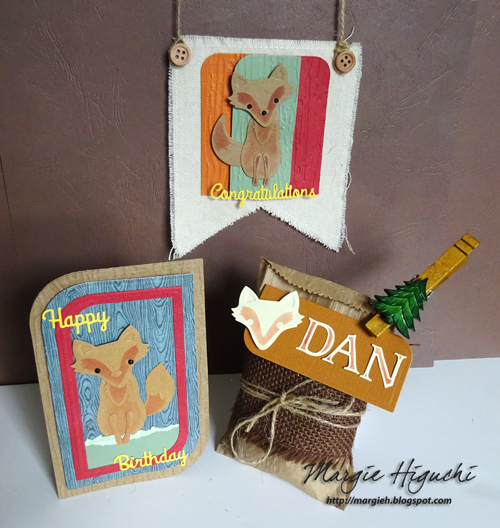
And one last look of the finished piece with some close-ups and different angles:
Thanks so much for spending some time with me today! Have an amazing day.
Supplies:

Save