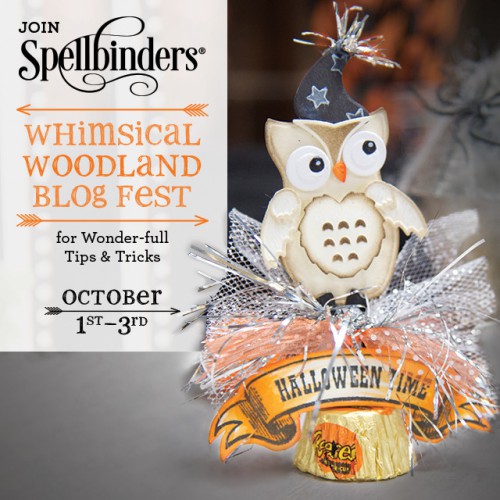
Greetings! We are super excited to be participating in the Spellbinders® Whimsical Woodland Blog Fest and Partner Blog Hop today!!! Today we have 2 fabulous tutorials! Margie Higuchi and Laurel Seabrook are sharing some super cute stuff. Take a look, then enter to win!
Let your imagination wander through an imaginary, whimsical world with Spellbinders new Woodland Collection. This collection features a Forest Fox, a Woodland Owl, Stylized Flowers, Wreath, Pinecones and Mushrooms. You may be surprised by what you create!
First, we have Margie Higuchi
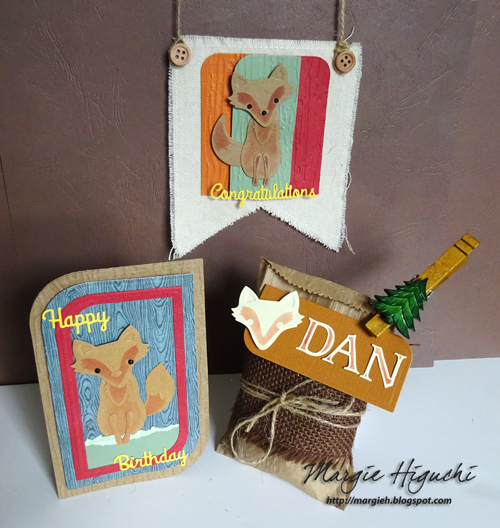
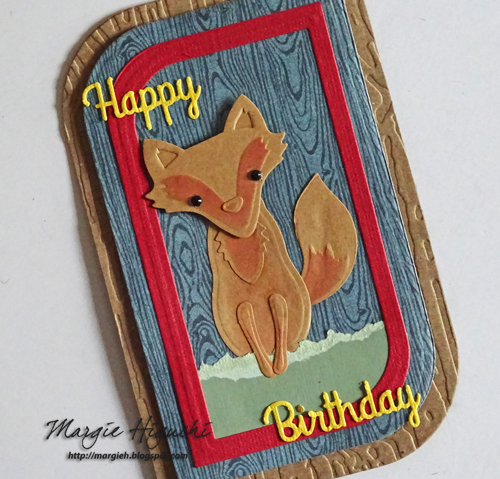
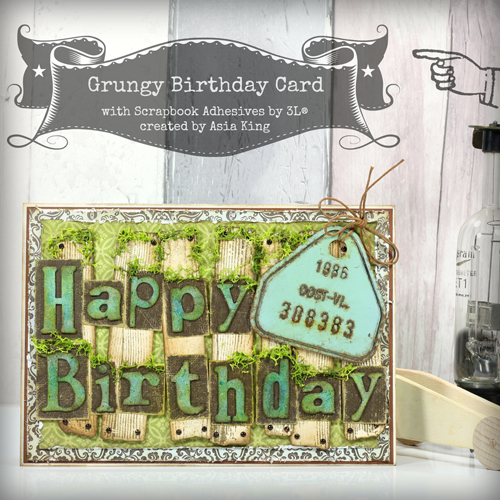
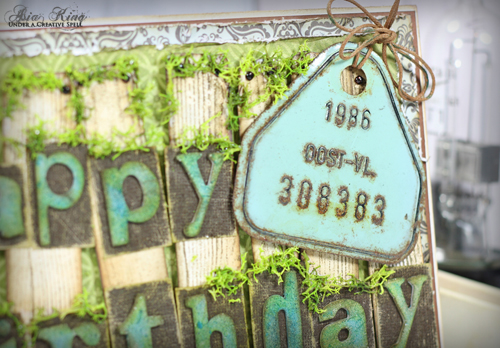
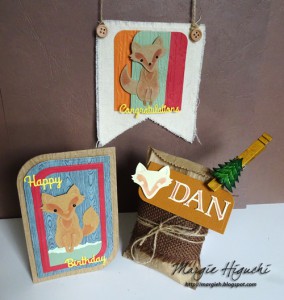
 I couldn’t make up my mind so I created a birthday ensemble with the Forest Fox die! LOL! It’s more masculine – LOVE how it turned out! Since it’s World Card Making Day this weekend, I am showcasing my shaped card.
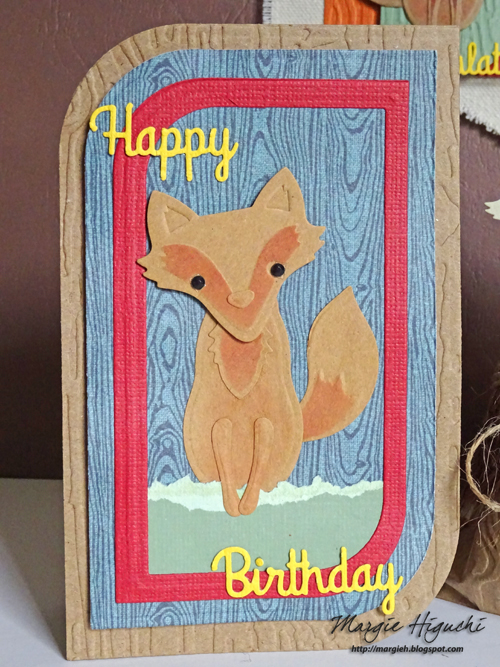
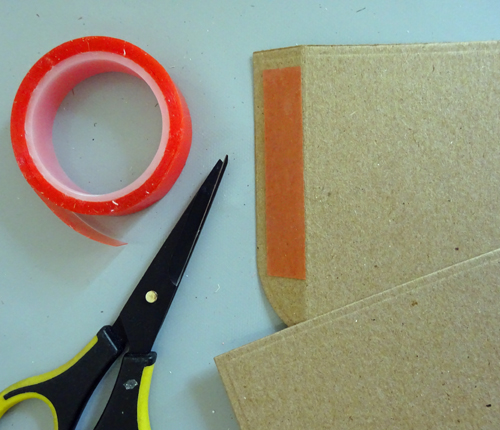
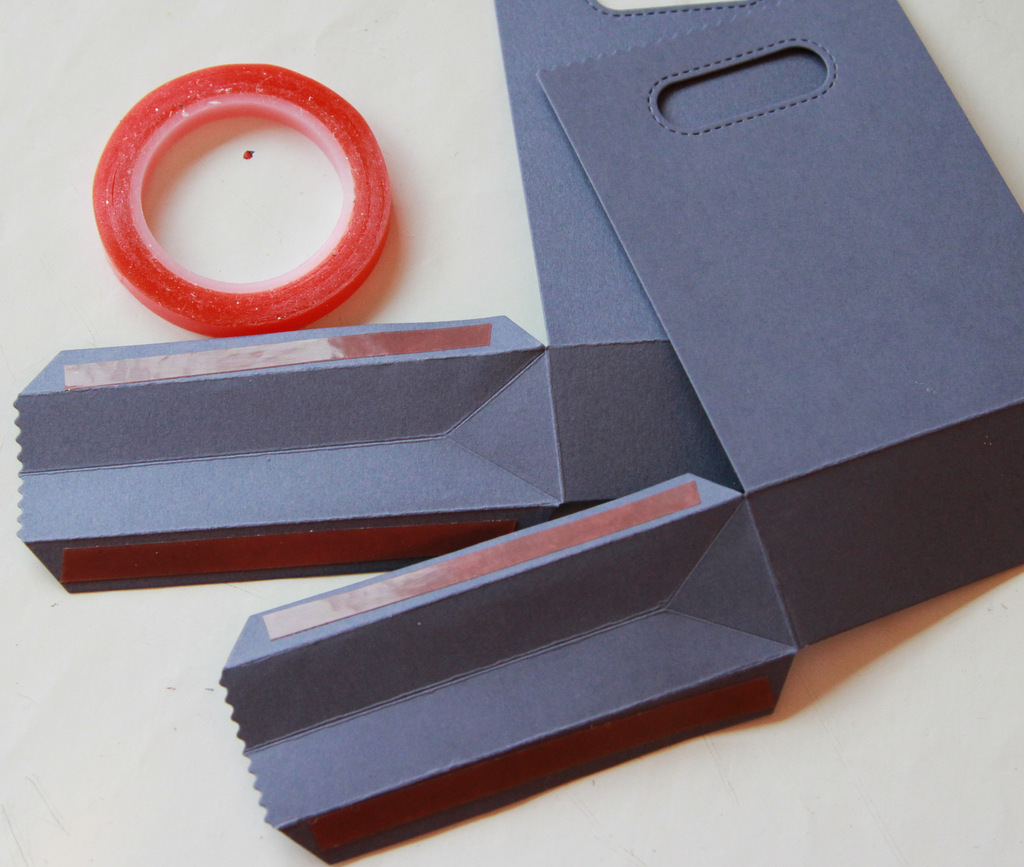
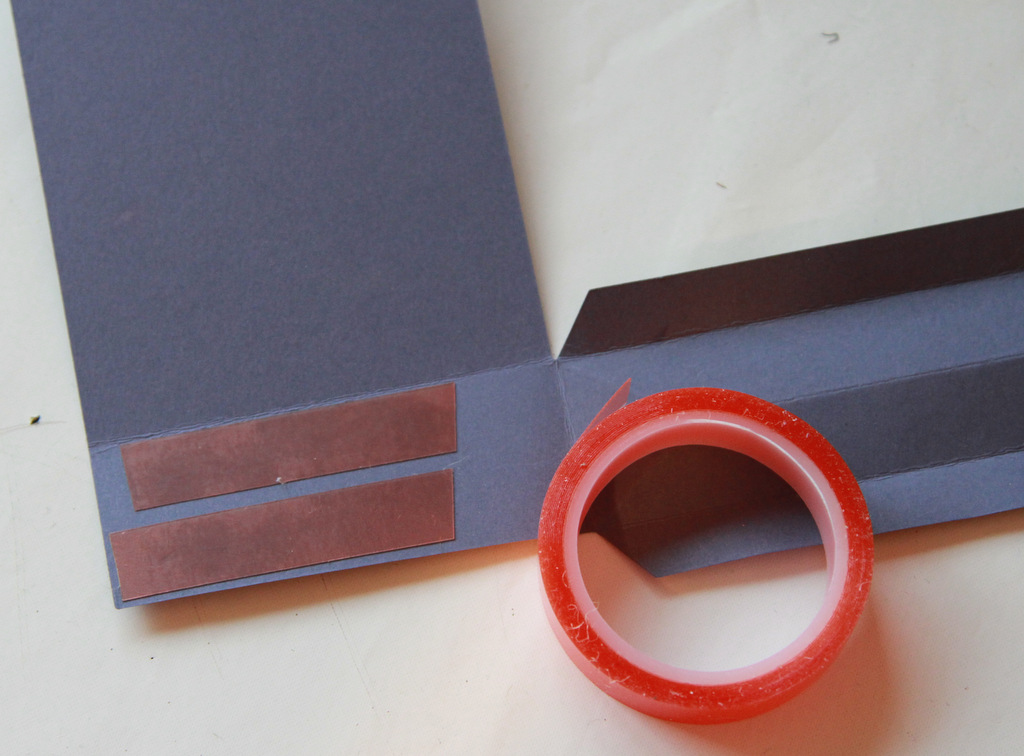
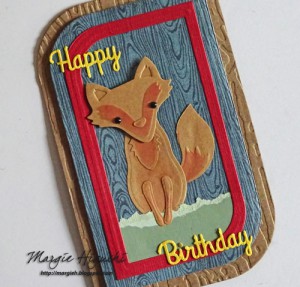
Start with the card base, cut two S6-013 5 x 7 Modern Stationery Die #5 (the smallest sized die is #1) with Kraft paper, using my Grand Calibur® Machine. Score one of the die cuts ½” from the top (short side), adhered with HomeHobby Extreme Double-Sided Tape – ¼” Permanent in the scored area and matched up with the other die cut to create one shaped card.
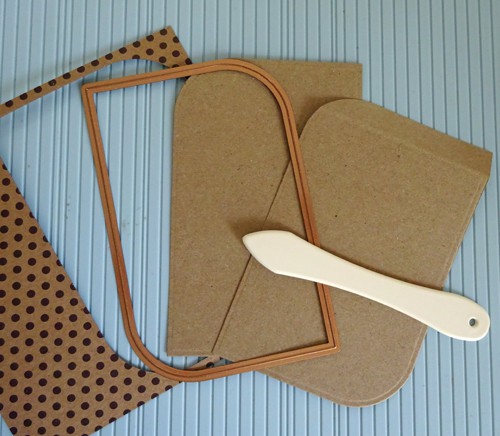

To create texture to the card base, I embossed the card base with M-Bossabilities™ Bricks and Bark Folder. Note: to get a crisp embossed design, mist the card base lightly with water before embossing.

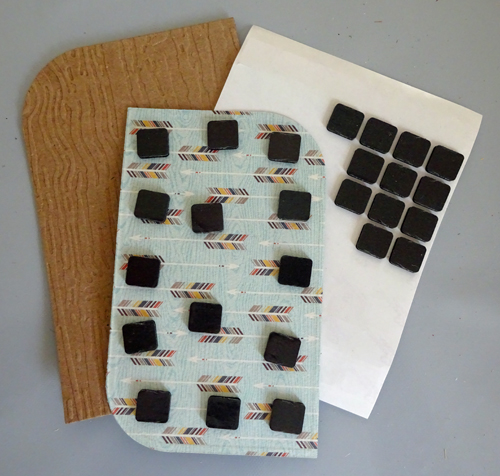
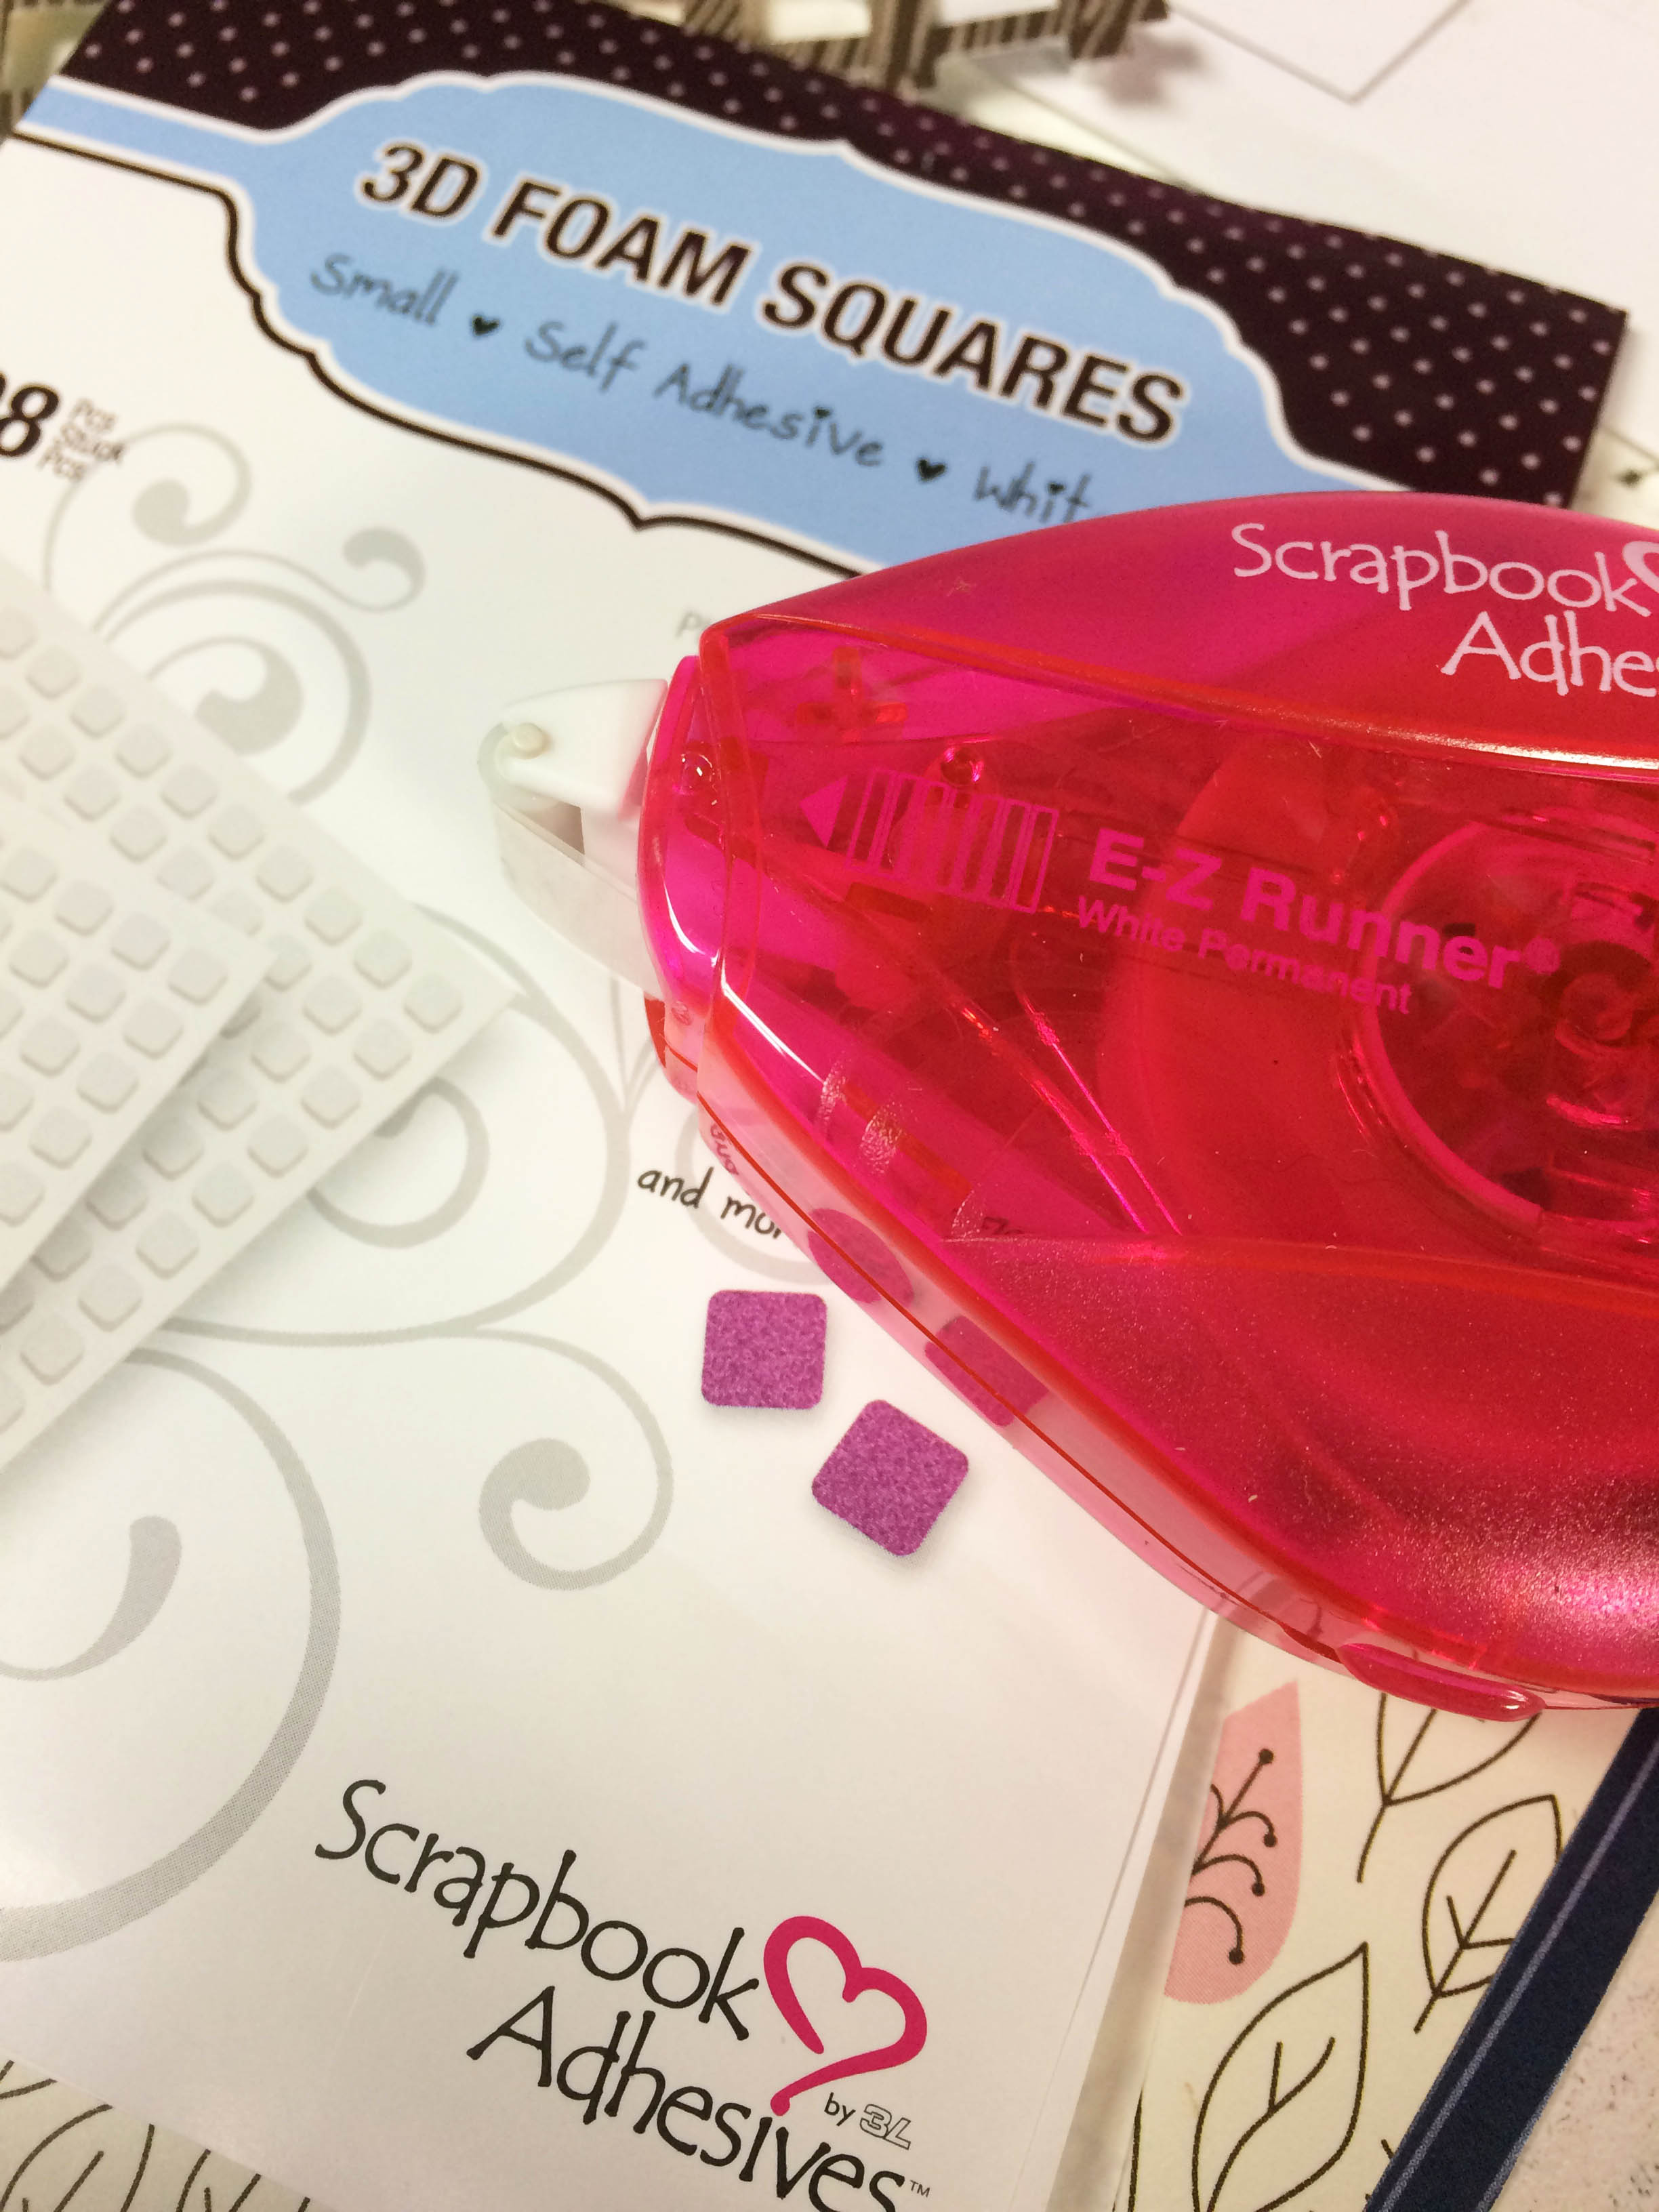
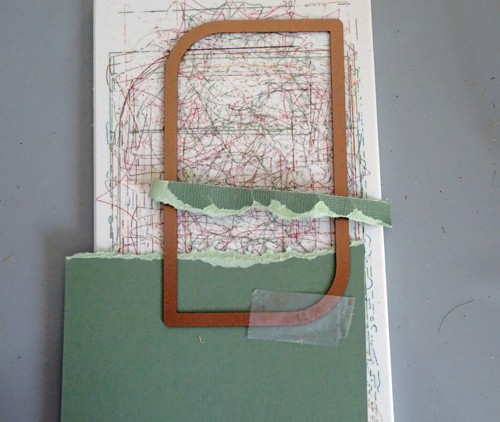
For the second layer on my card front, I cut/embossed S6-013 5 x 7 Modern Stationery Die #4 with wood grain patterned paper and adhered with 3D Foam Squares – Black, Regular for dimension.

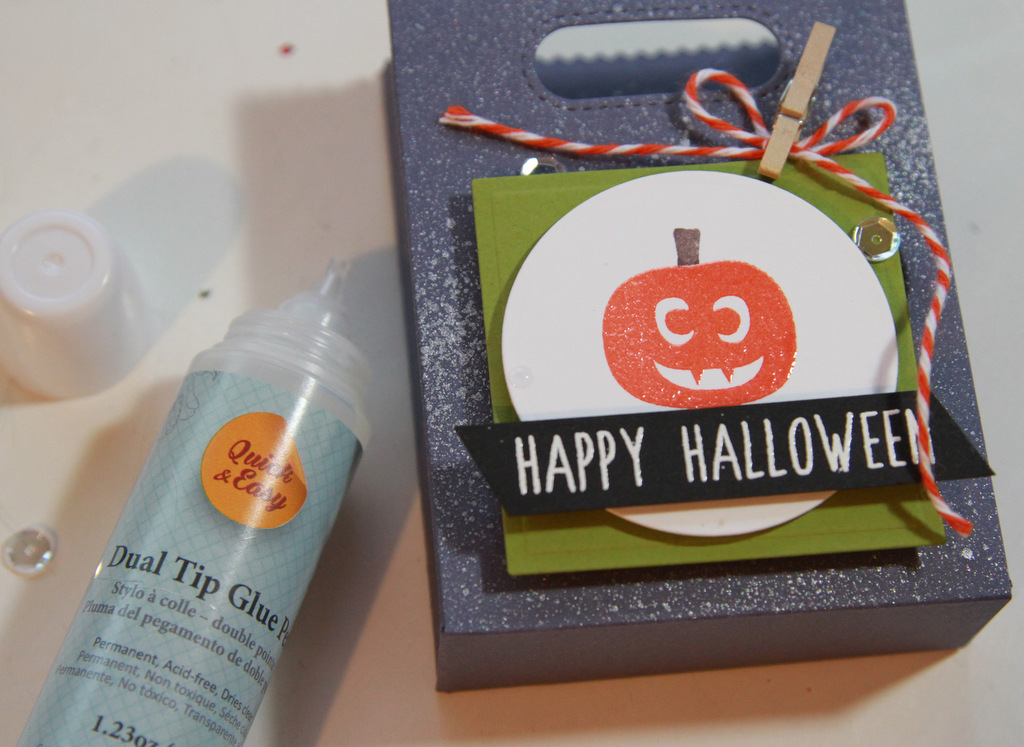
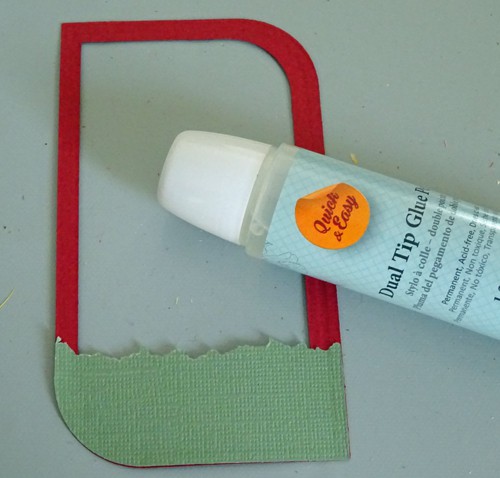
Grass was added by tearing the edge of my green cardstock and cut/embossed ¼ of the S6-013 5 x 7 Modern Stationery Die #4. The red frame was cut by nesting 5 x 7 Stationery Dies #3 and #2 together, secure with washi tape and cut/emboss with red cardstock. Adhere that frame with the grassy patch with HomeHobby Dual Tip Glue Pen.
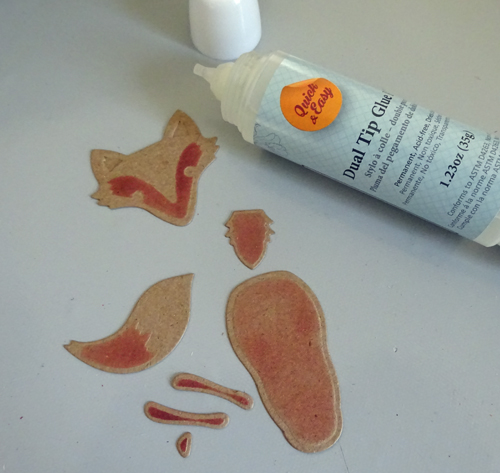
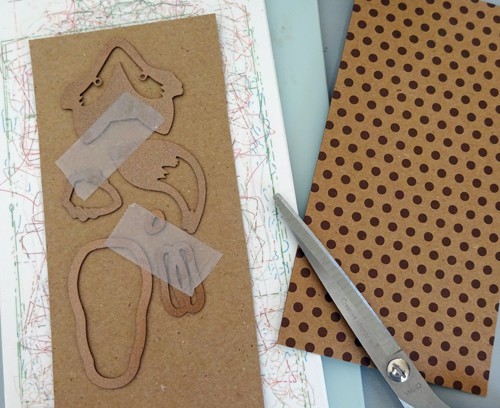
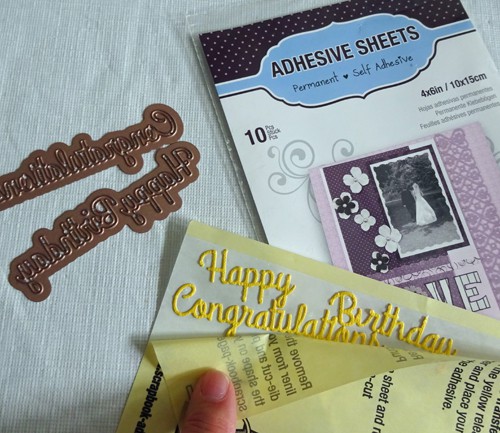
For the fox, I cut/embossed/stenciled my pieces from the Forest Fox set with Kraft paper. I assembled and adhered with HomeHobby Dual Tip Glue Pen (think paper piecing). Added black faceted rhinestones for its eyes. Set aside.

Lastly I cut/embossed Happy Birthday from S2-082 Sentiments One, using yellow cardstock. After I assembled my card front with all the pieces, I adhered the words with Adhesive Sheet – 4×6″ and done!
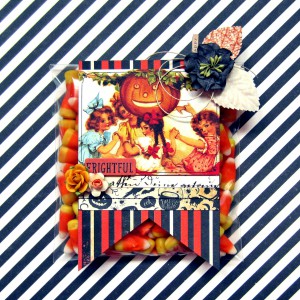
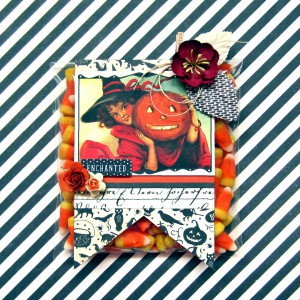
Here’s a couple more looks at the final project and ensemble…
- Supplies List:
Scrapbook Adhesive by 3L®:Adhesive Dots 3D, Adhesive Sheets 4×6″, 3D Foam Squares Black, Regular, HomeHobby Extreme Double-Sided Tape ¼“, Dual Tip Glue Pen
- Spellbinders Creative® Arts: EL-015 Bricks and Bark, S2-082 Sentiments One, S2-193 Forest Fox, S6-009 Font One – Uppercase, S6-013 5 x 7 Modern Stationery and Grand Calibur Die Cutting and Embossing Machine
- Canvas Corp: Jute Cord Balls Natural 225’, Paper Bags Kraft (12 pcs), Decorative Clothespins – Jacobean (12 pcs) and Sampler Pack – Lt Natural
- Patterned Paper: Authentique Paper (Nested Collection)
Cardstock: Darice/Core’dinations ColorCore Cardstock® (Distress Collection by Tim Holtz™ – Fired Brick,, Rusty Hinge, Brushed Corduroy, Bundle Sage and Mustard Seed)
Chalk Ink: ClearSnap® (Cat’s Eye® – Brown)
Black Rhinestones: Want2Scrap©
Wood Buttons: Maya Road
Tree Button: Jessie James
Other: Ivory Cardstock
Next up is Laurel Seabrook!
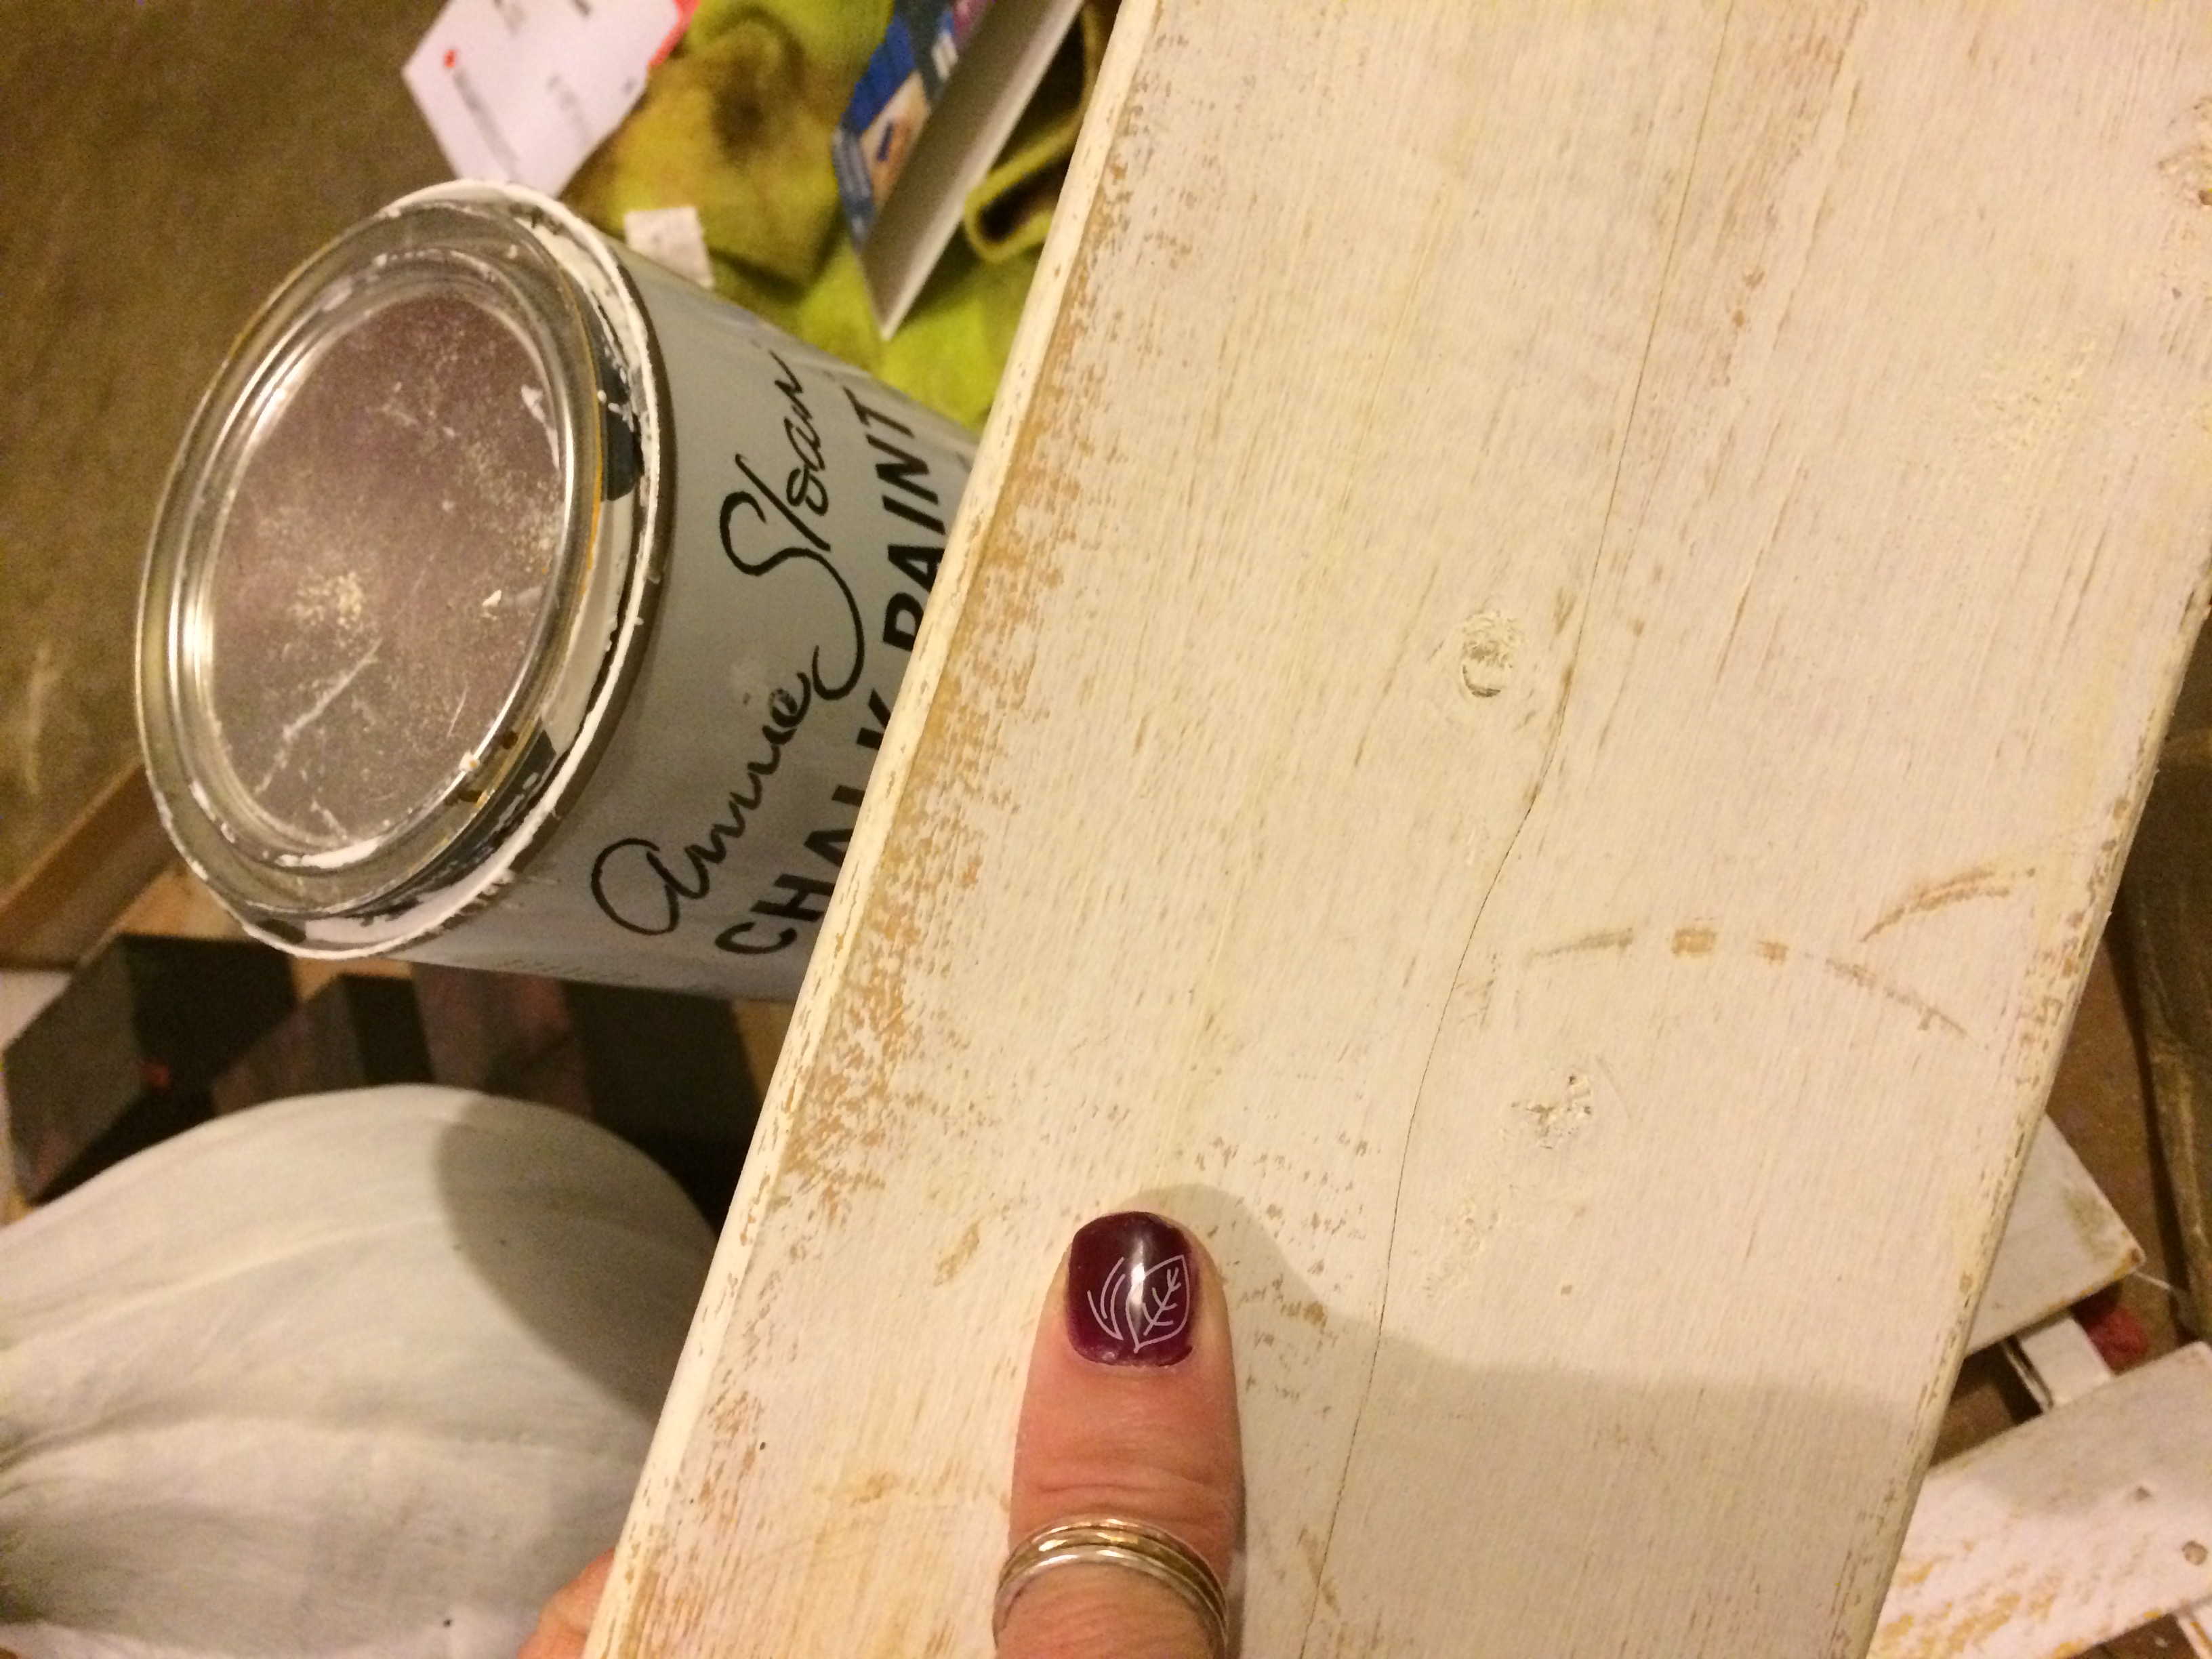
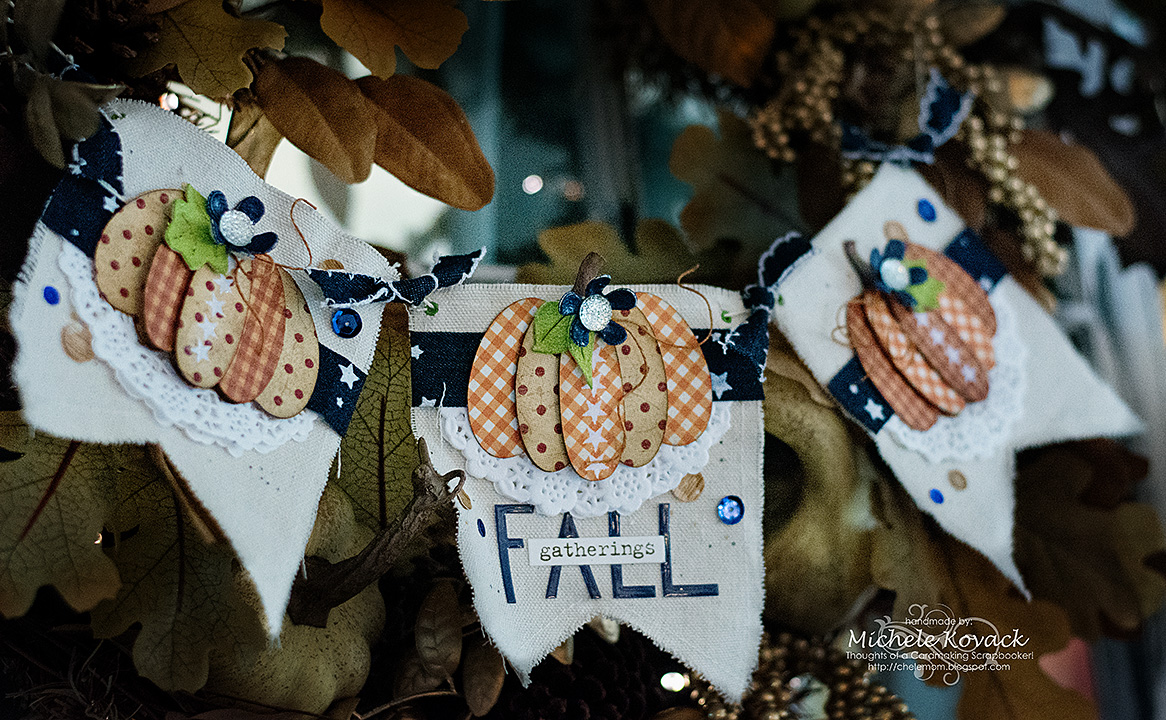
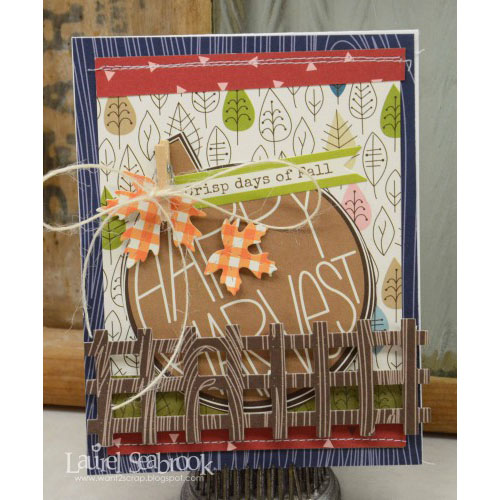
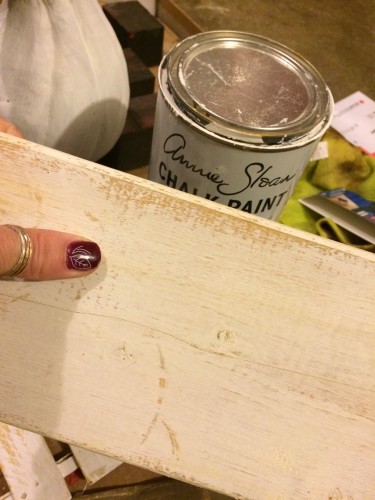
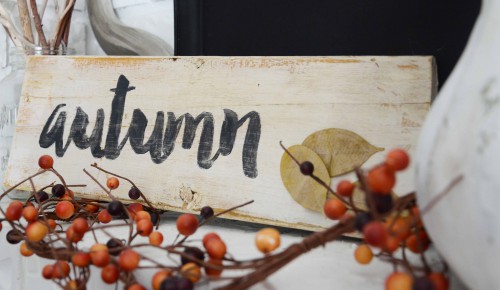
Hi everyone Laurel here. I love fall and every year I like to create something else to add to my fall home decor. This year I decided to use a piece of scrap pallet wood that I had kicking around.
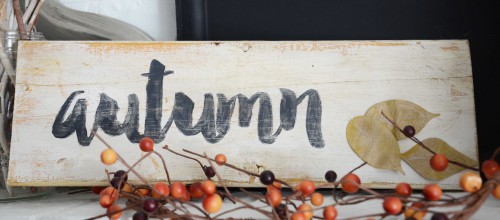
First I painted and distressed the wood. I love the look of old, vintage feeling decor.
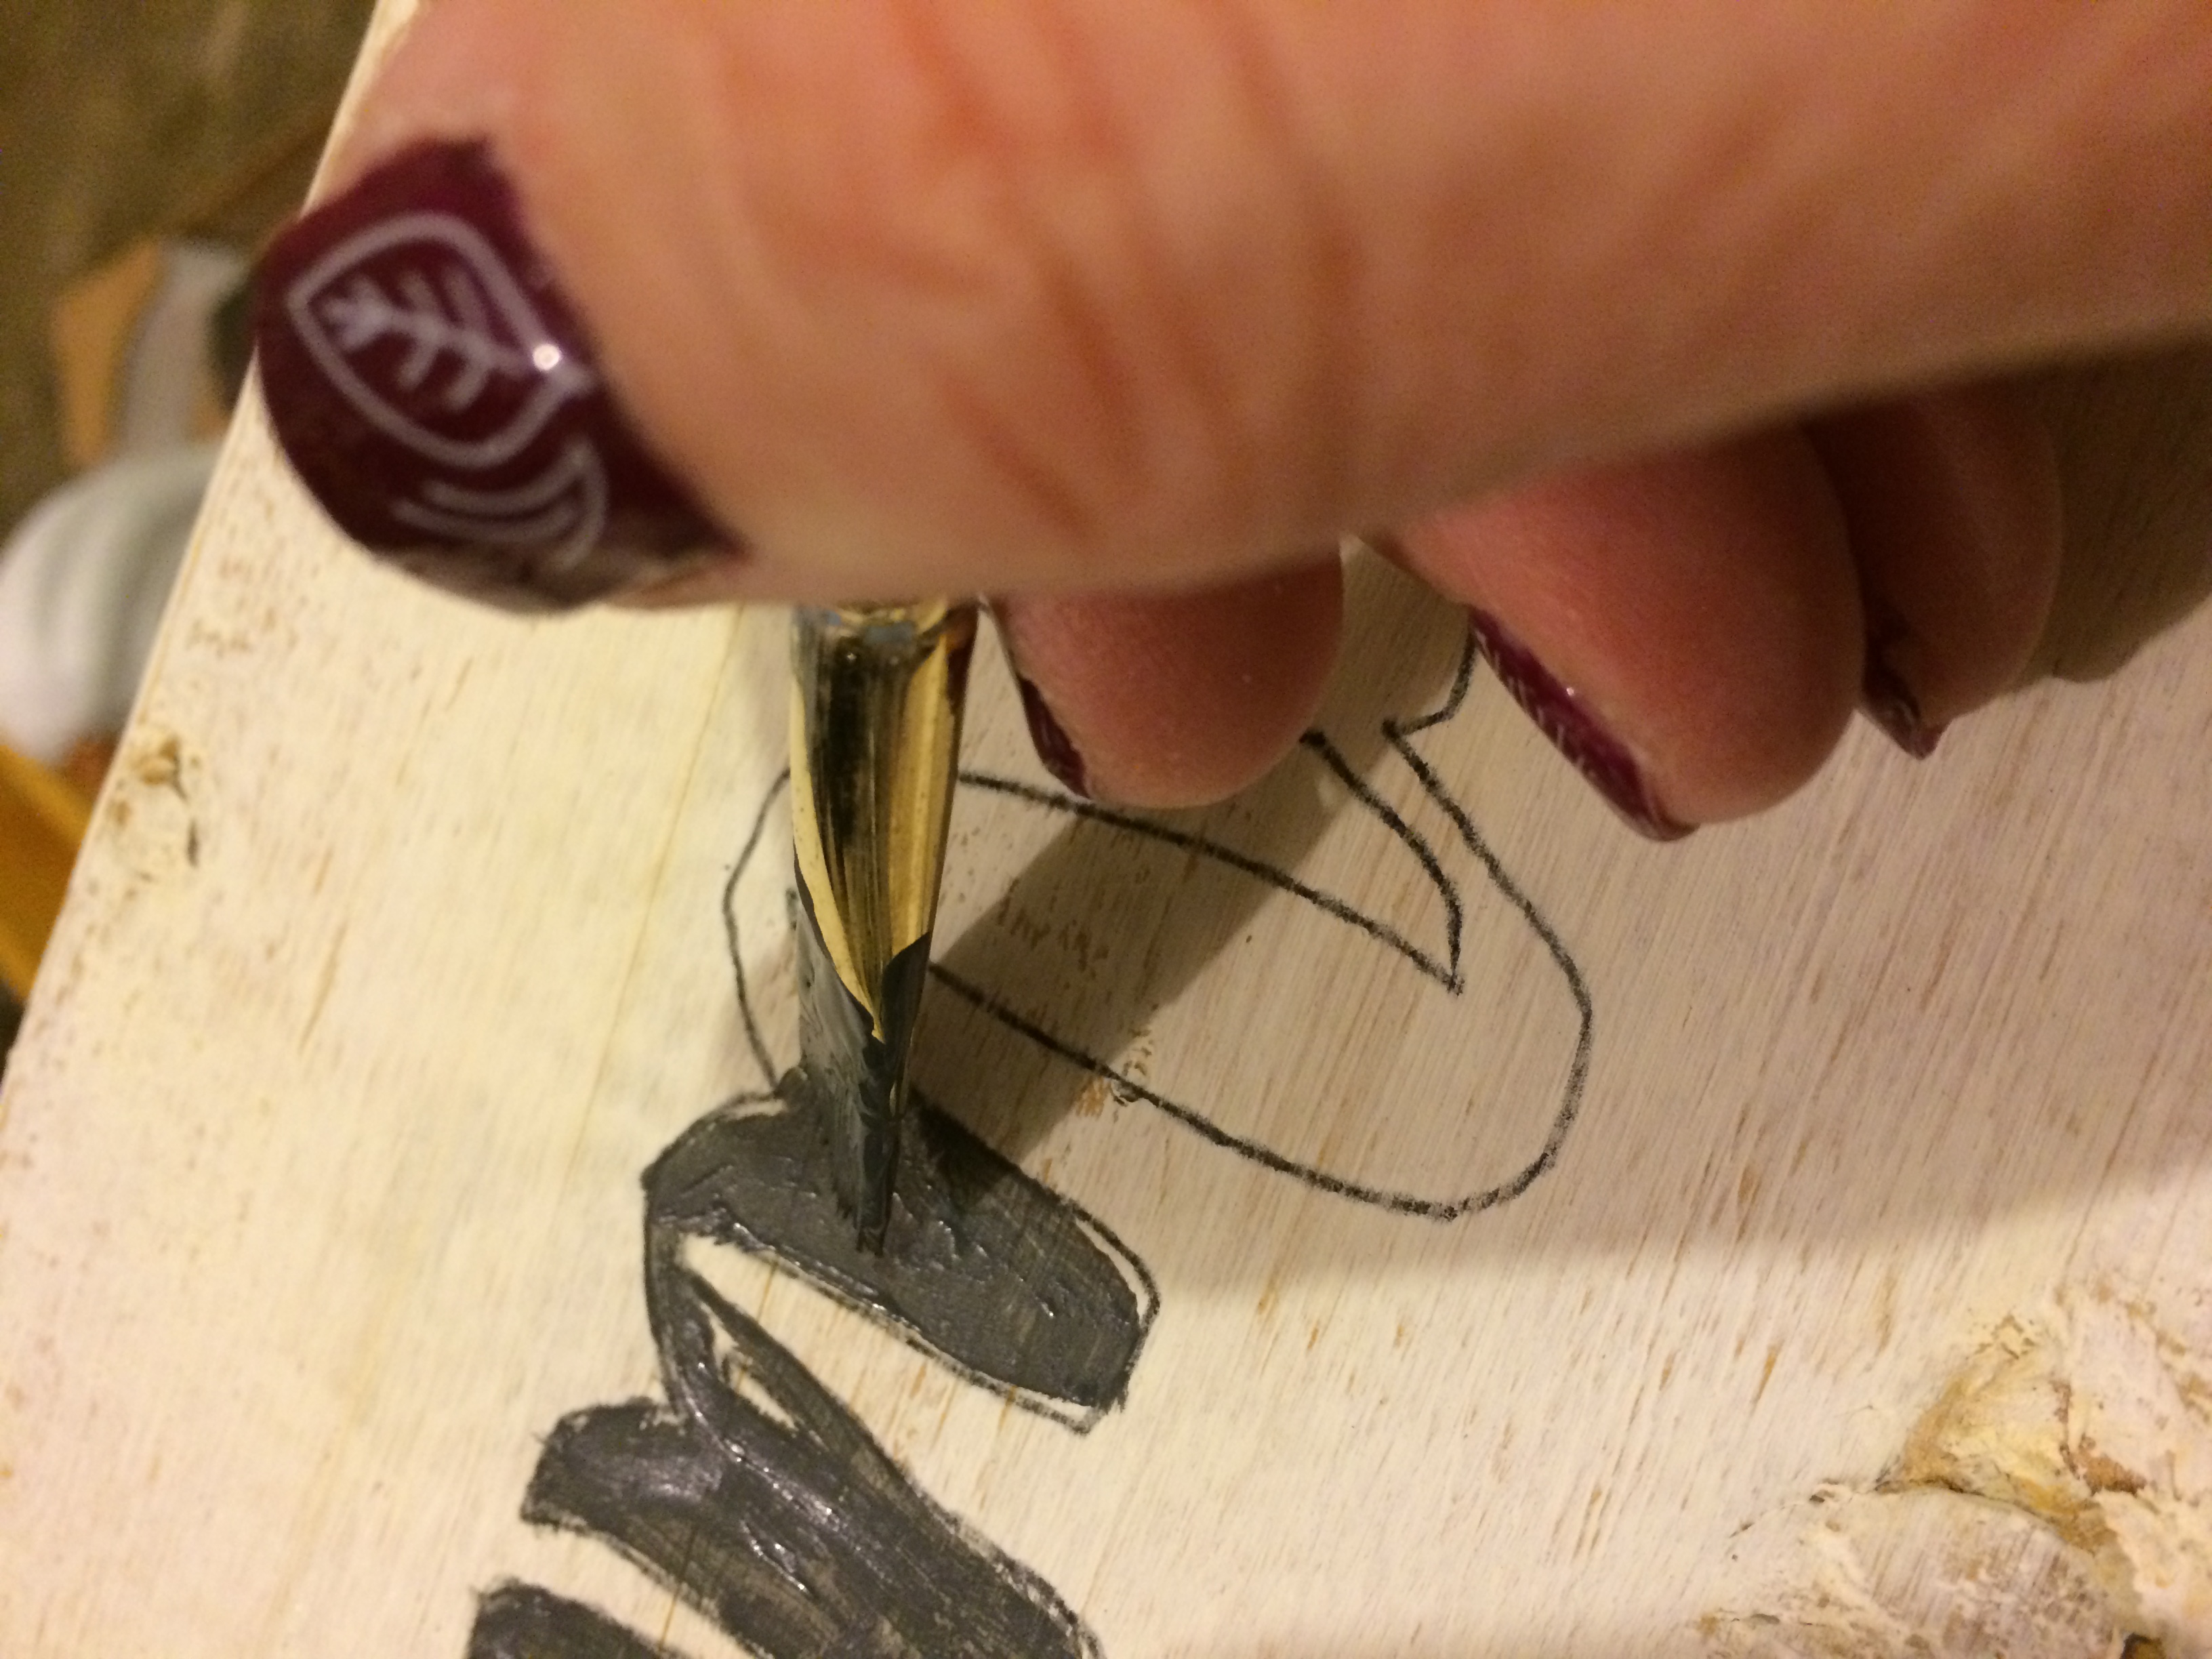
Next up I created the word in Photoshop, printed it out and then used some carbon paper to transfer it to the piece.
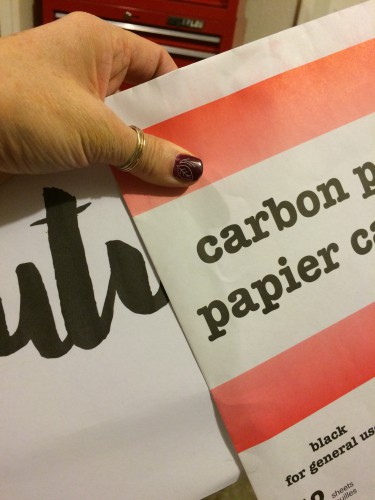
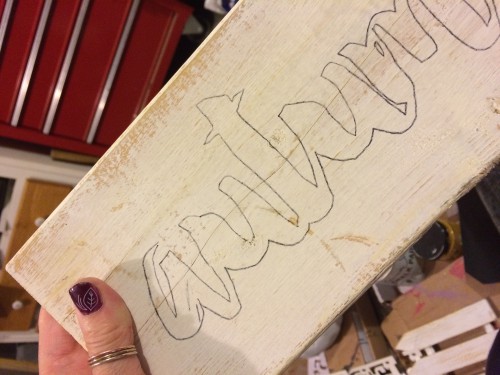
I wasn’t too particular here on perfect coverage… wanted a worn look anyways.
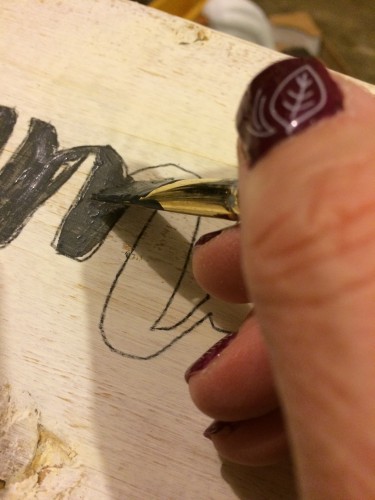
Once that was done, I did some more sanding and distressing and finished it off with wax.
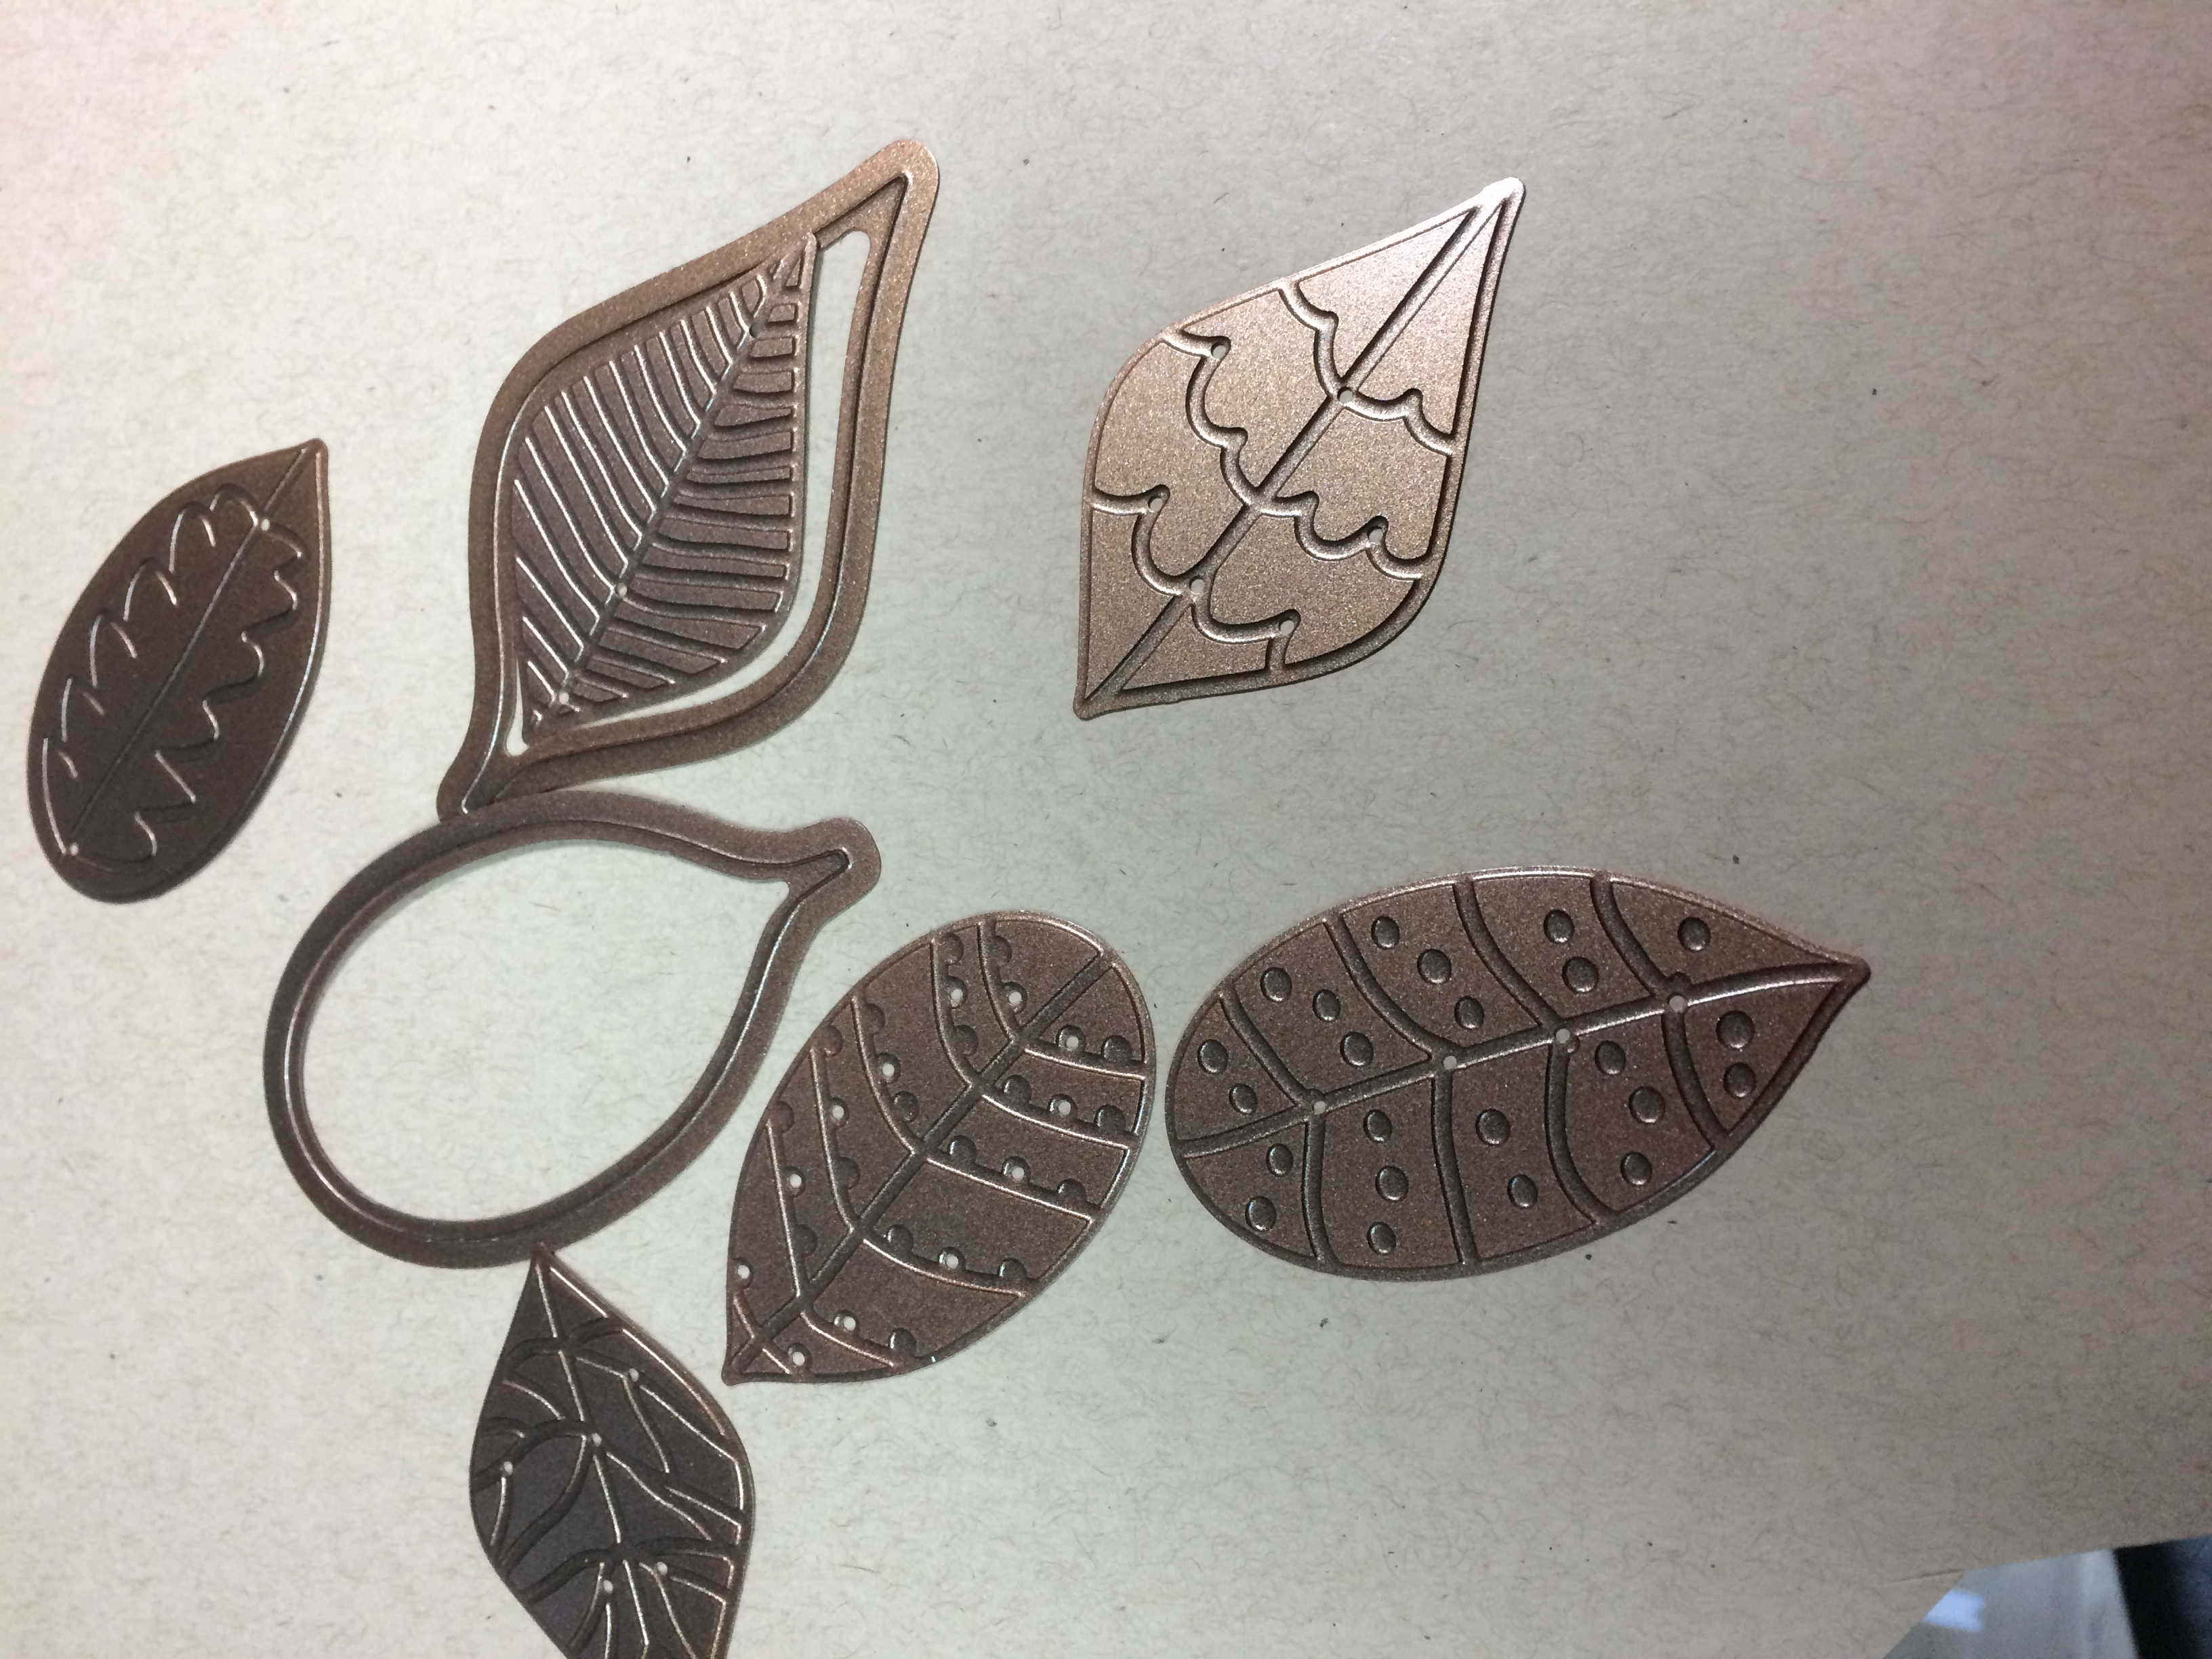
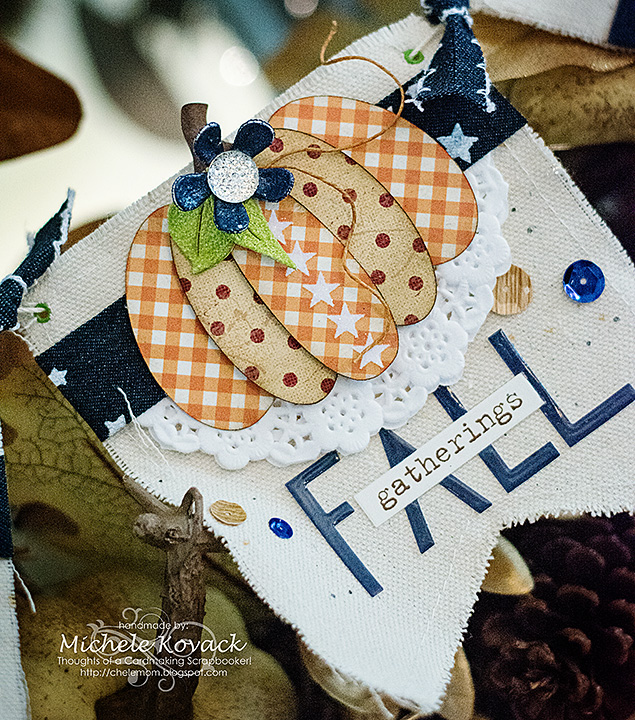
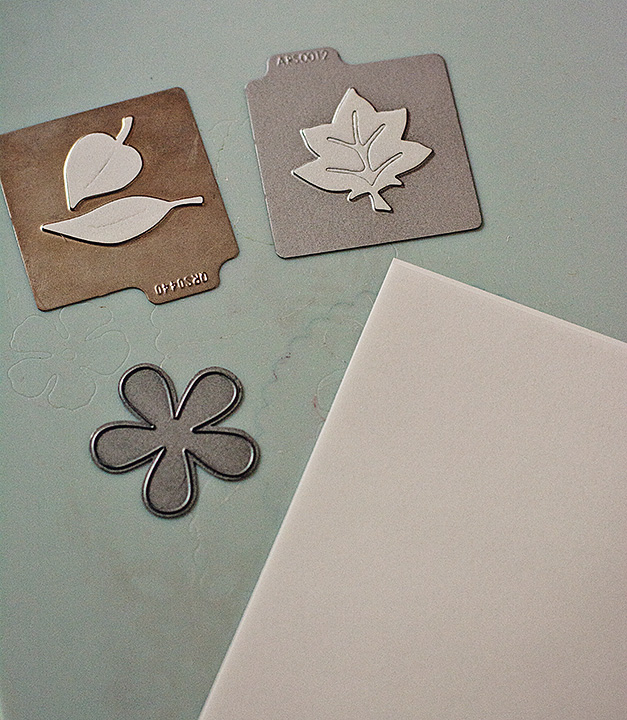
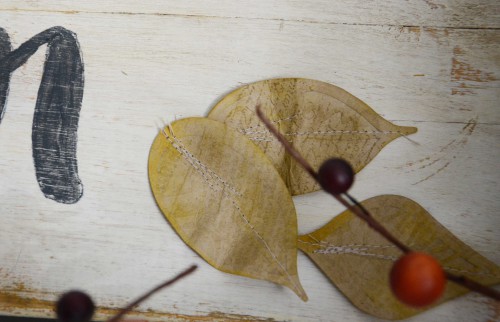
The next step was to add a bit of detail to my sign and that is where the Spellbinders S4-571 Leaves dies came in 🙂
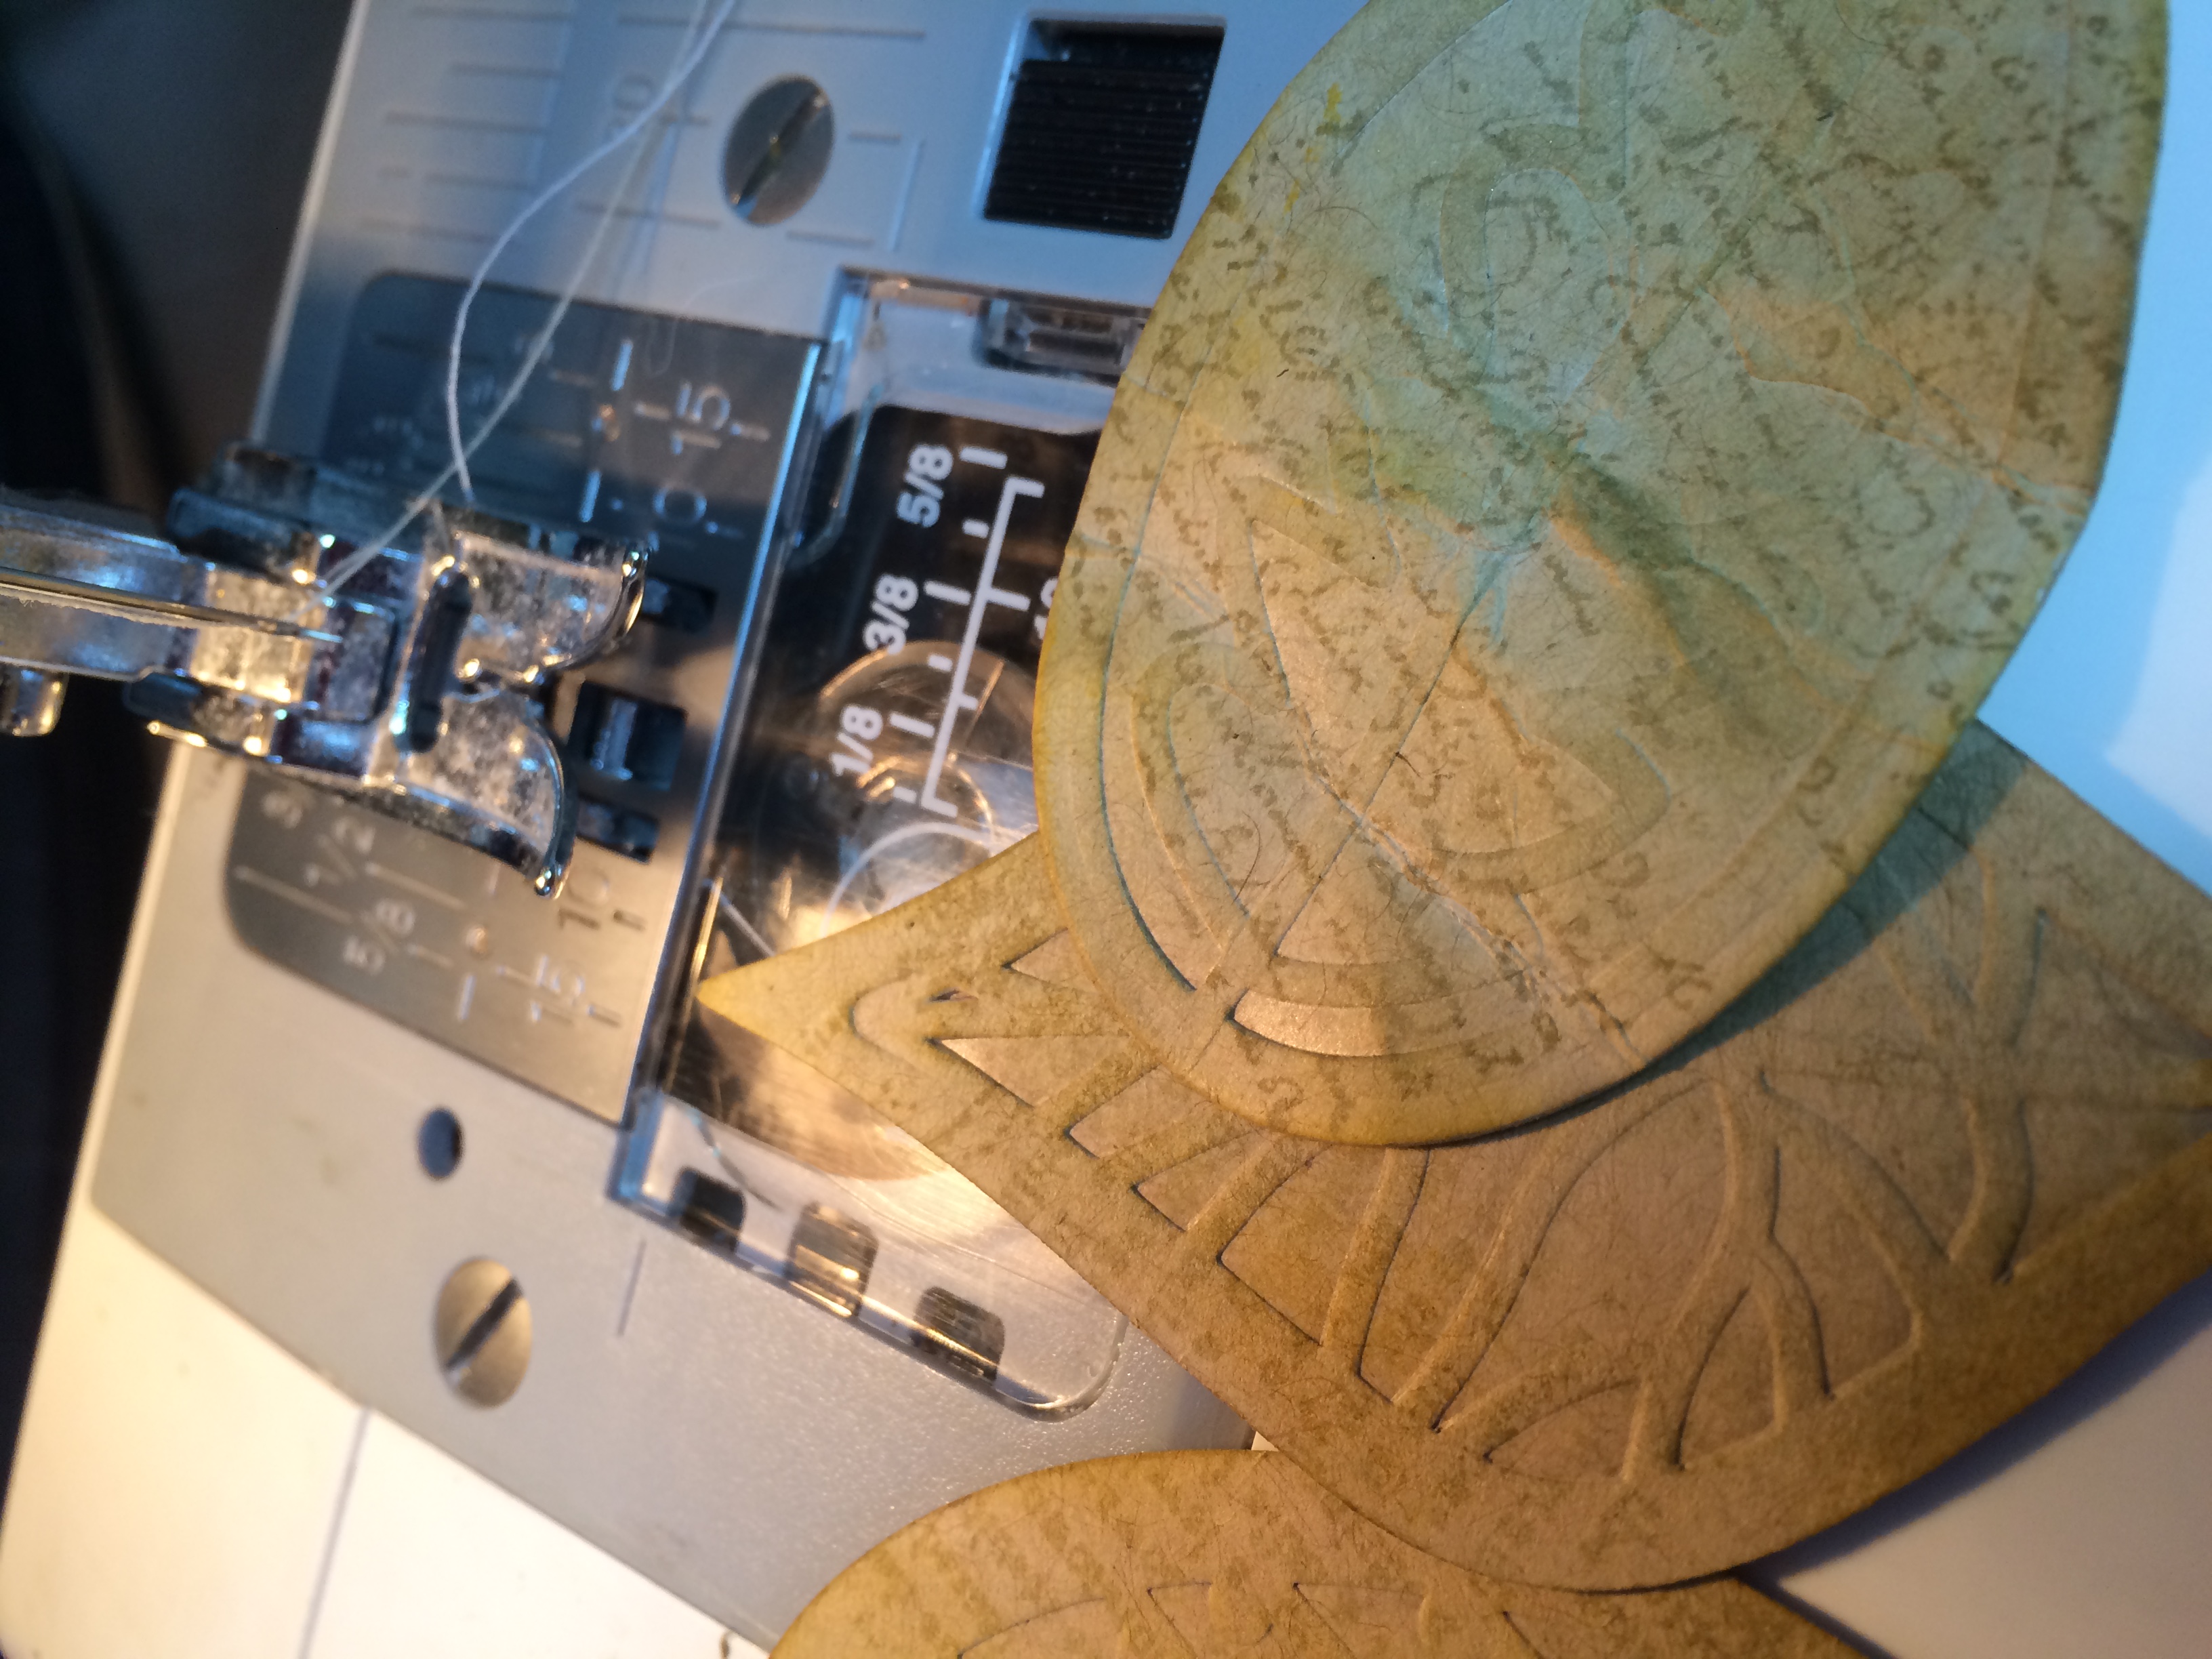
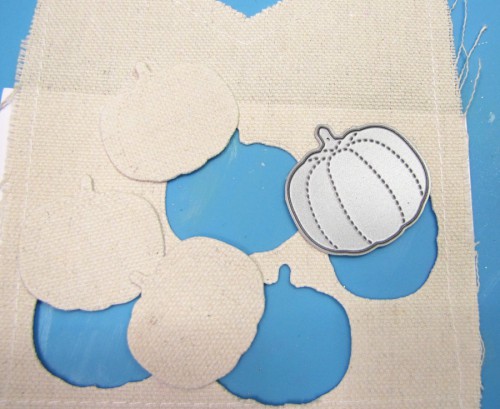
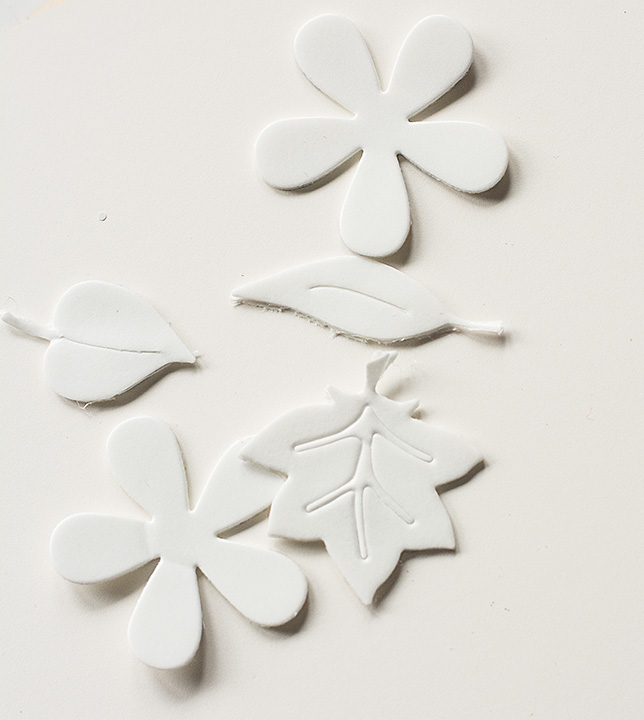
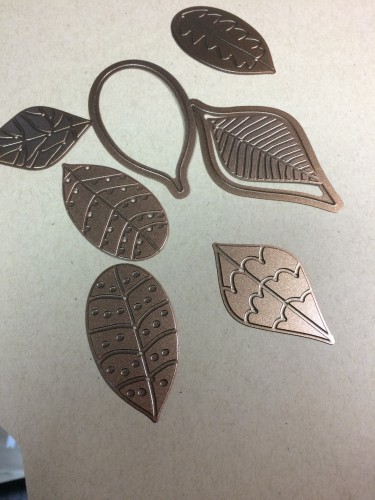 I die cut the leaves from some kraft cardstock.
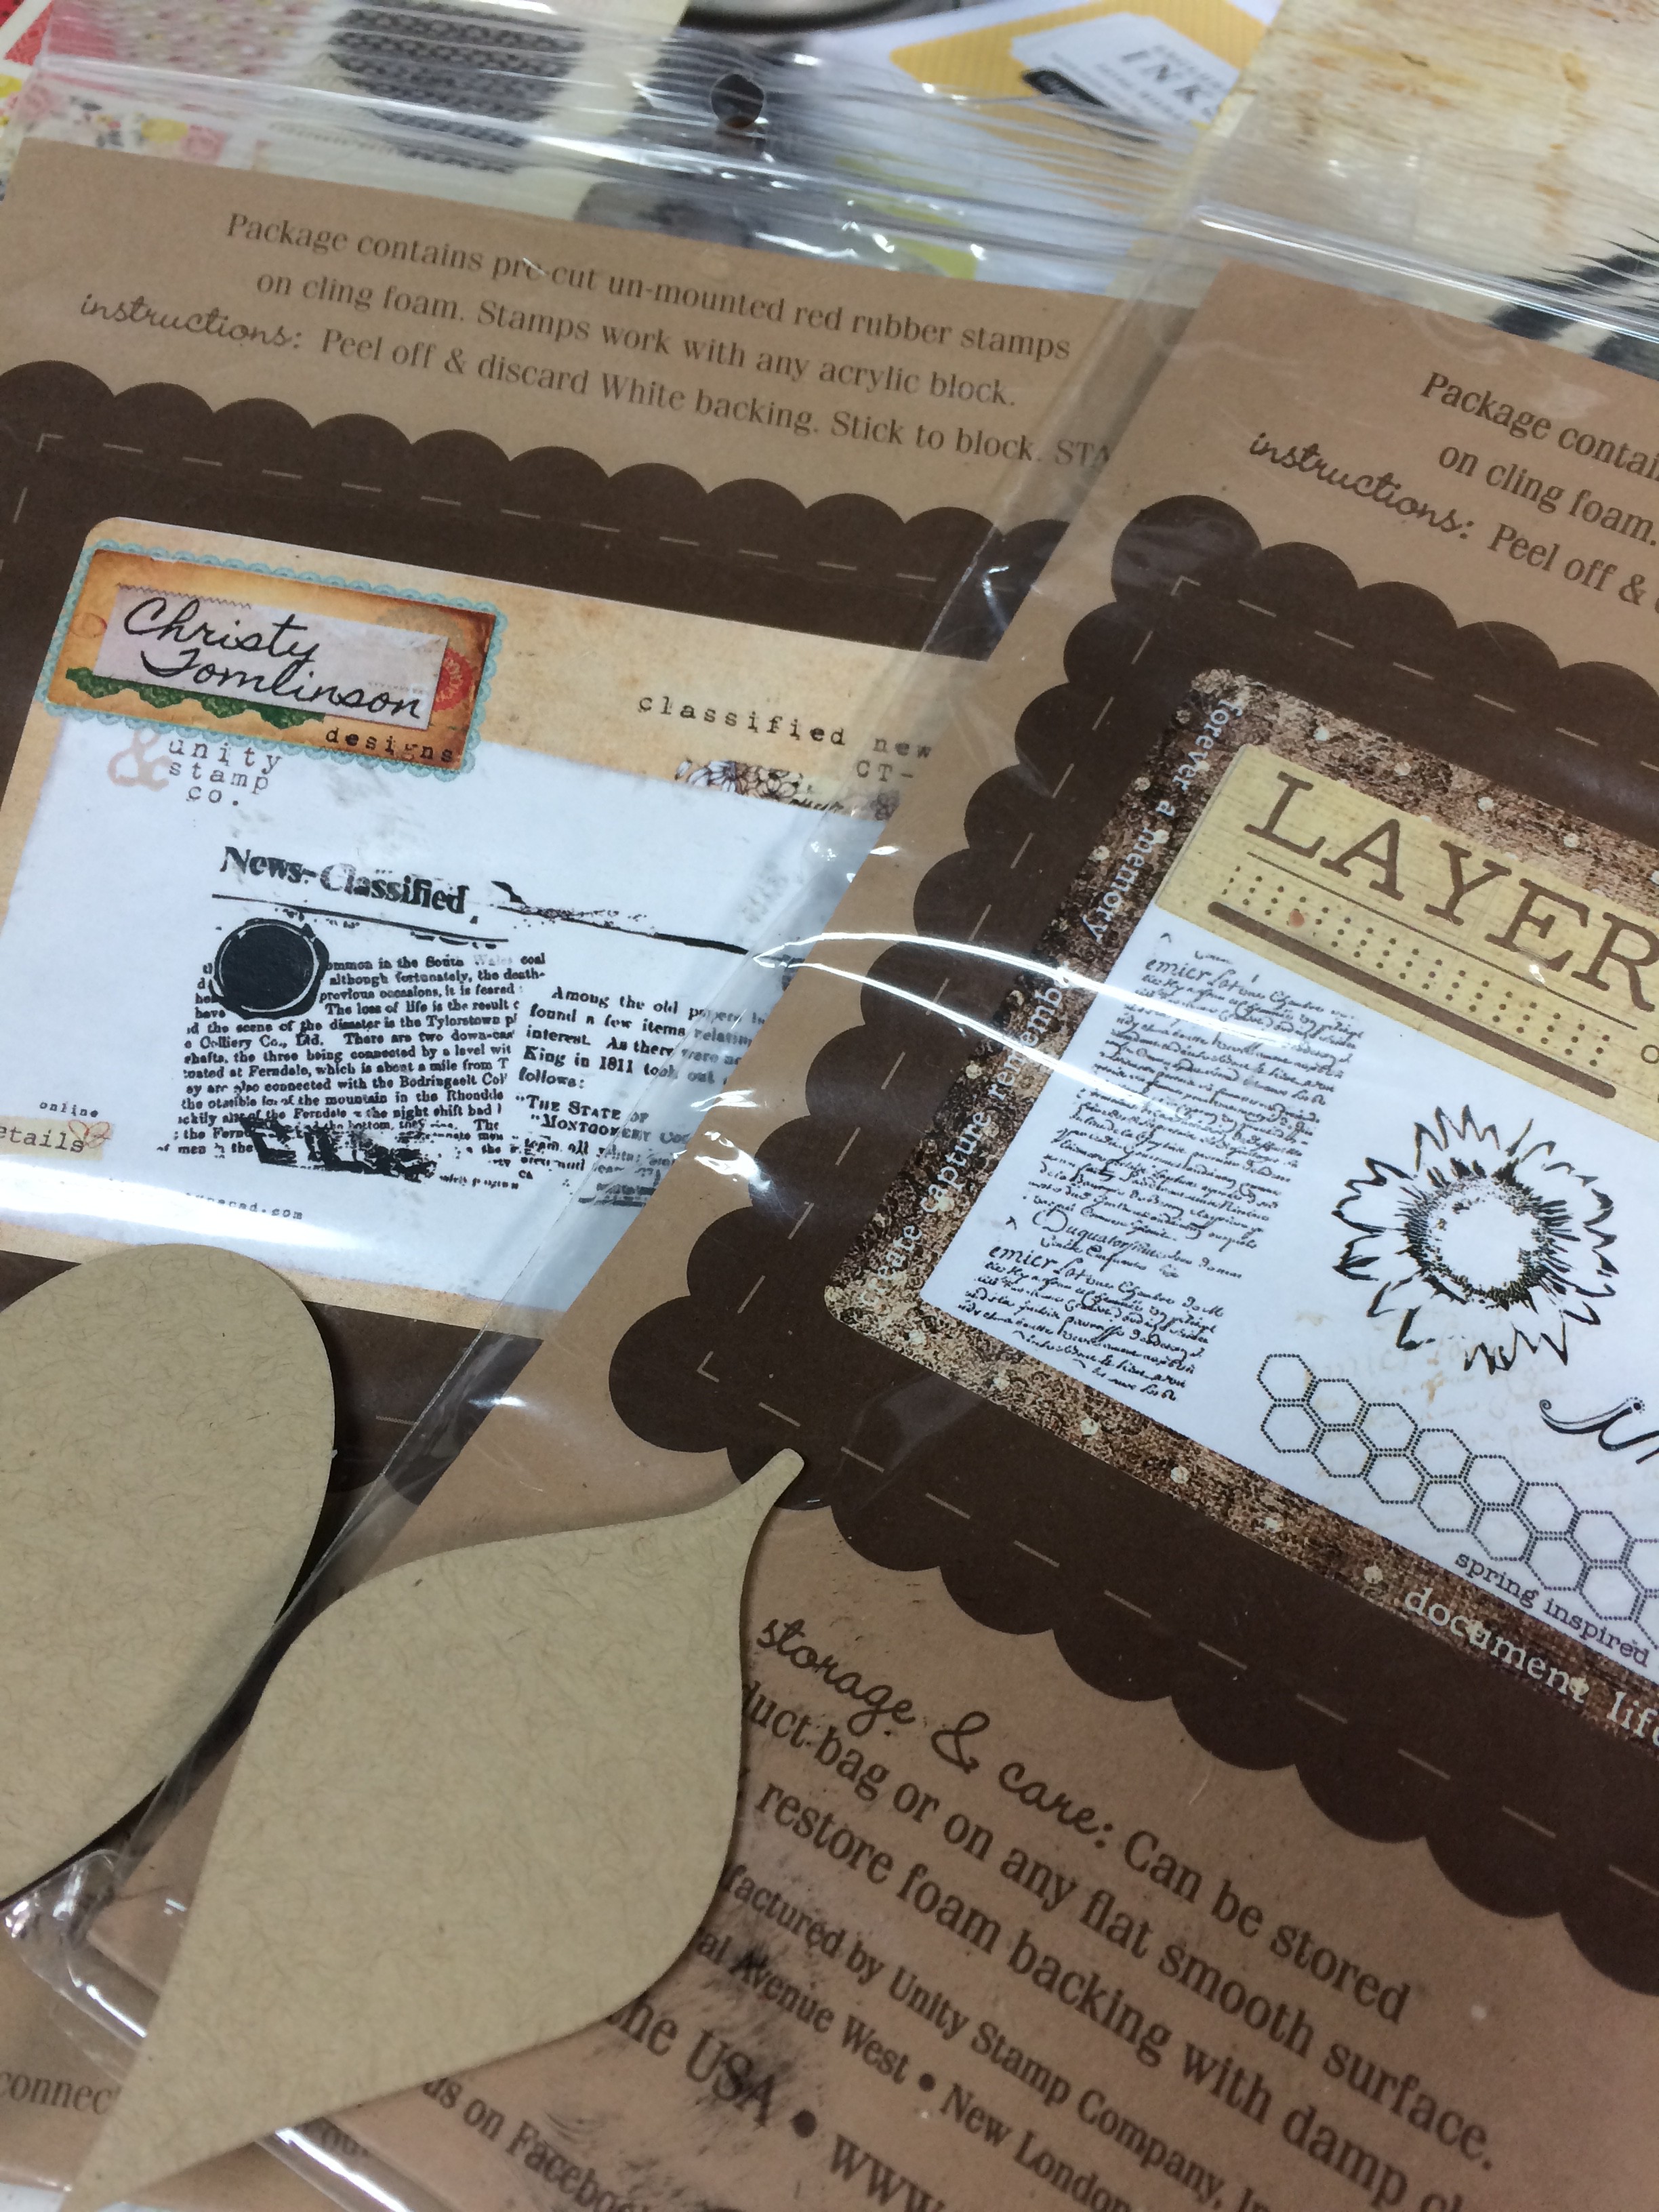
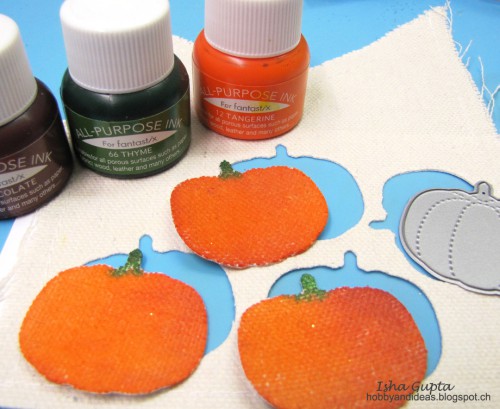
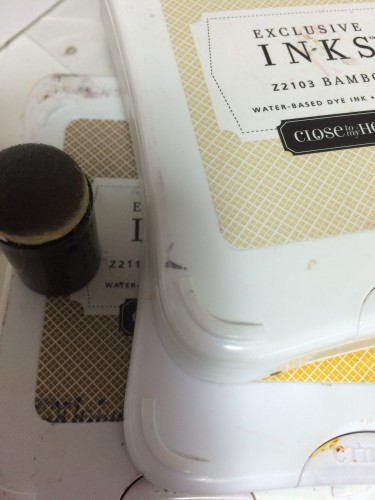
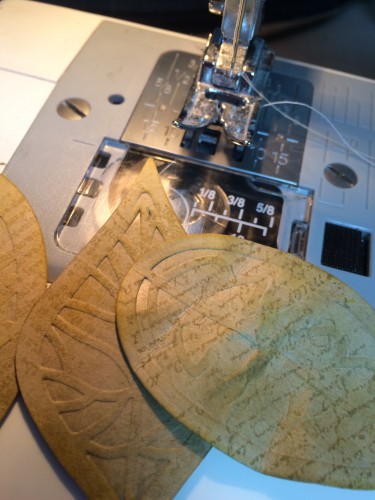
I then stamped them with some some script stamps, then embossed with the embossing die that coordinates with the cutting die. I love that!


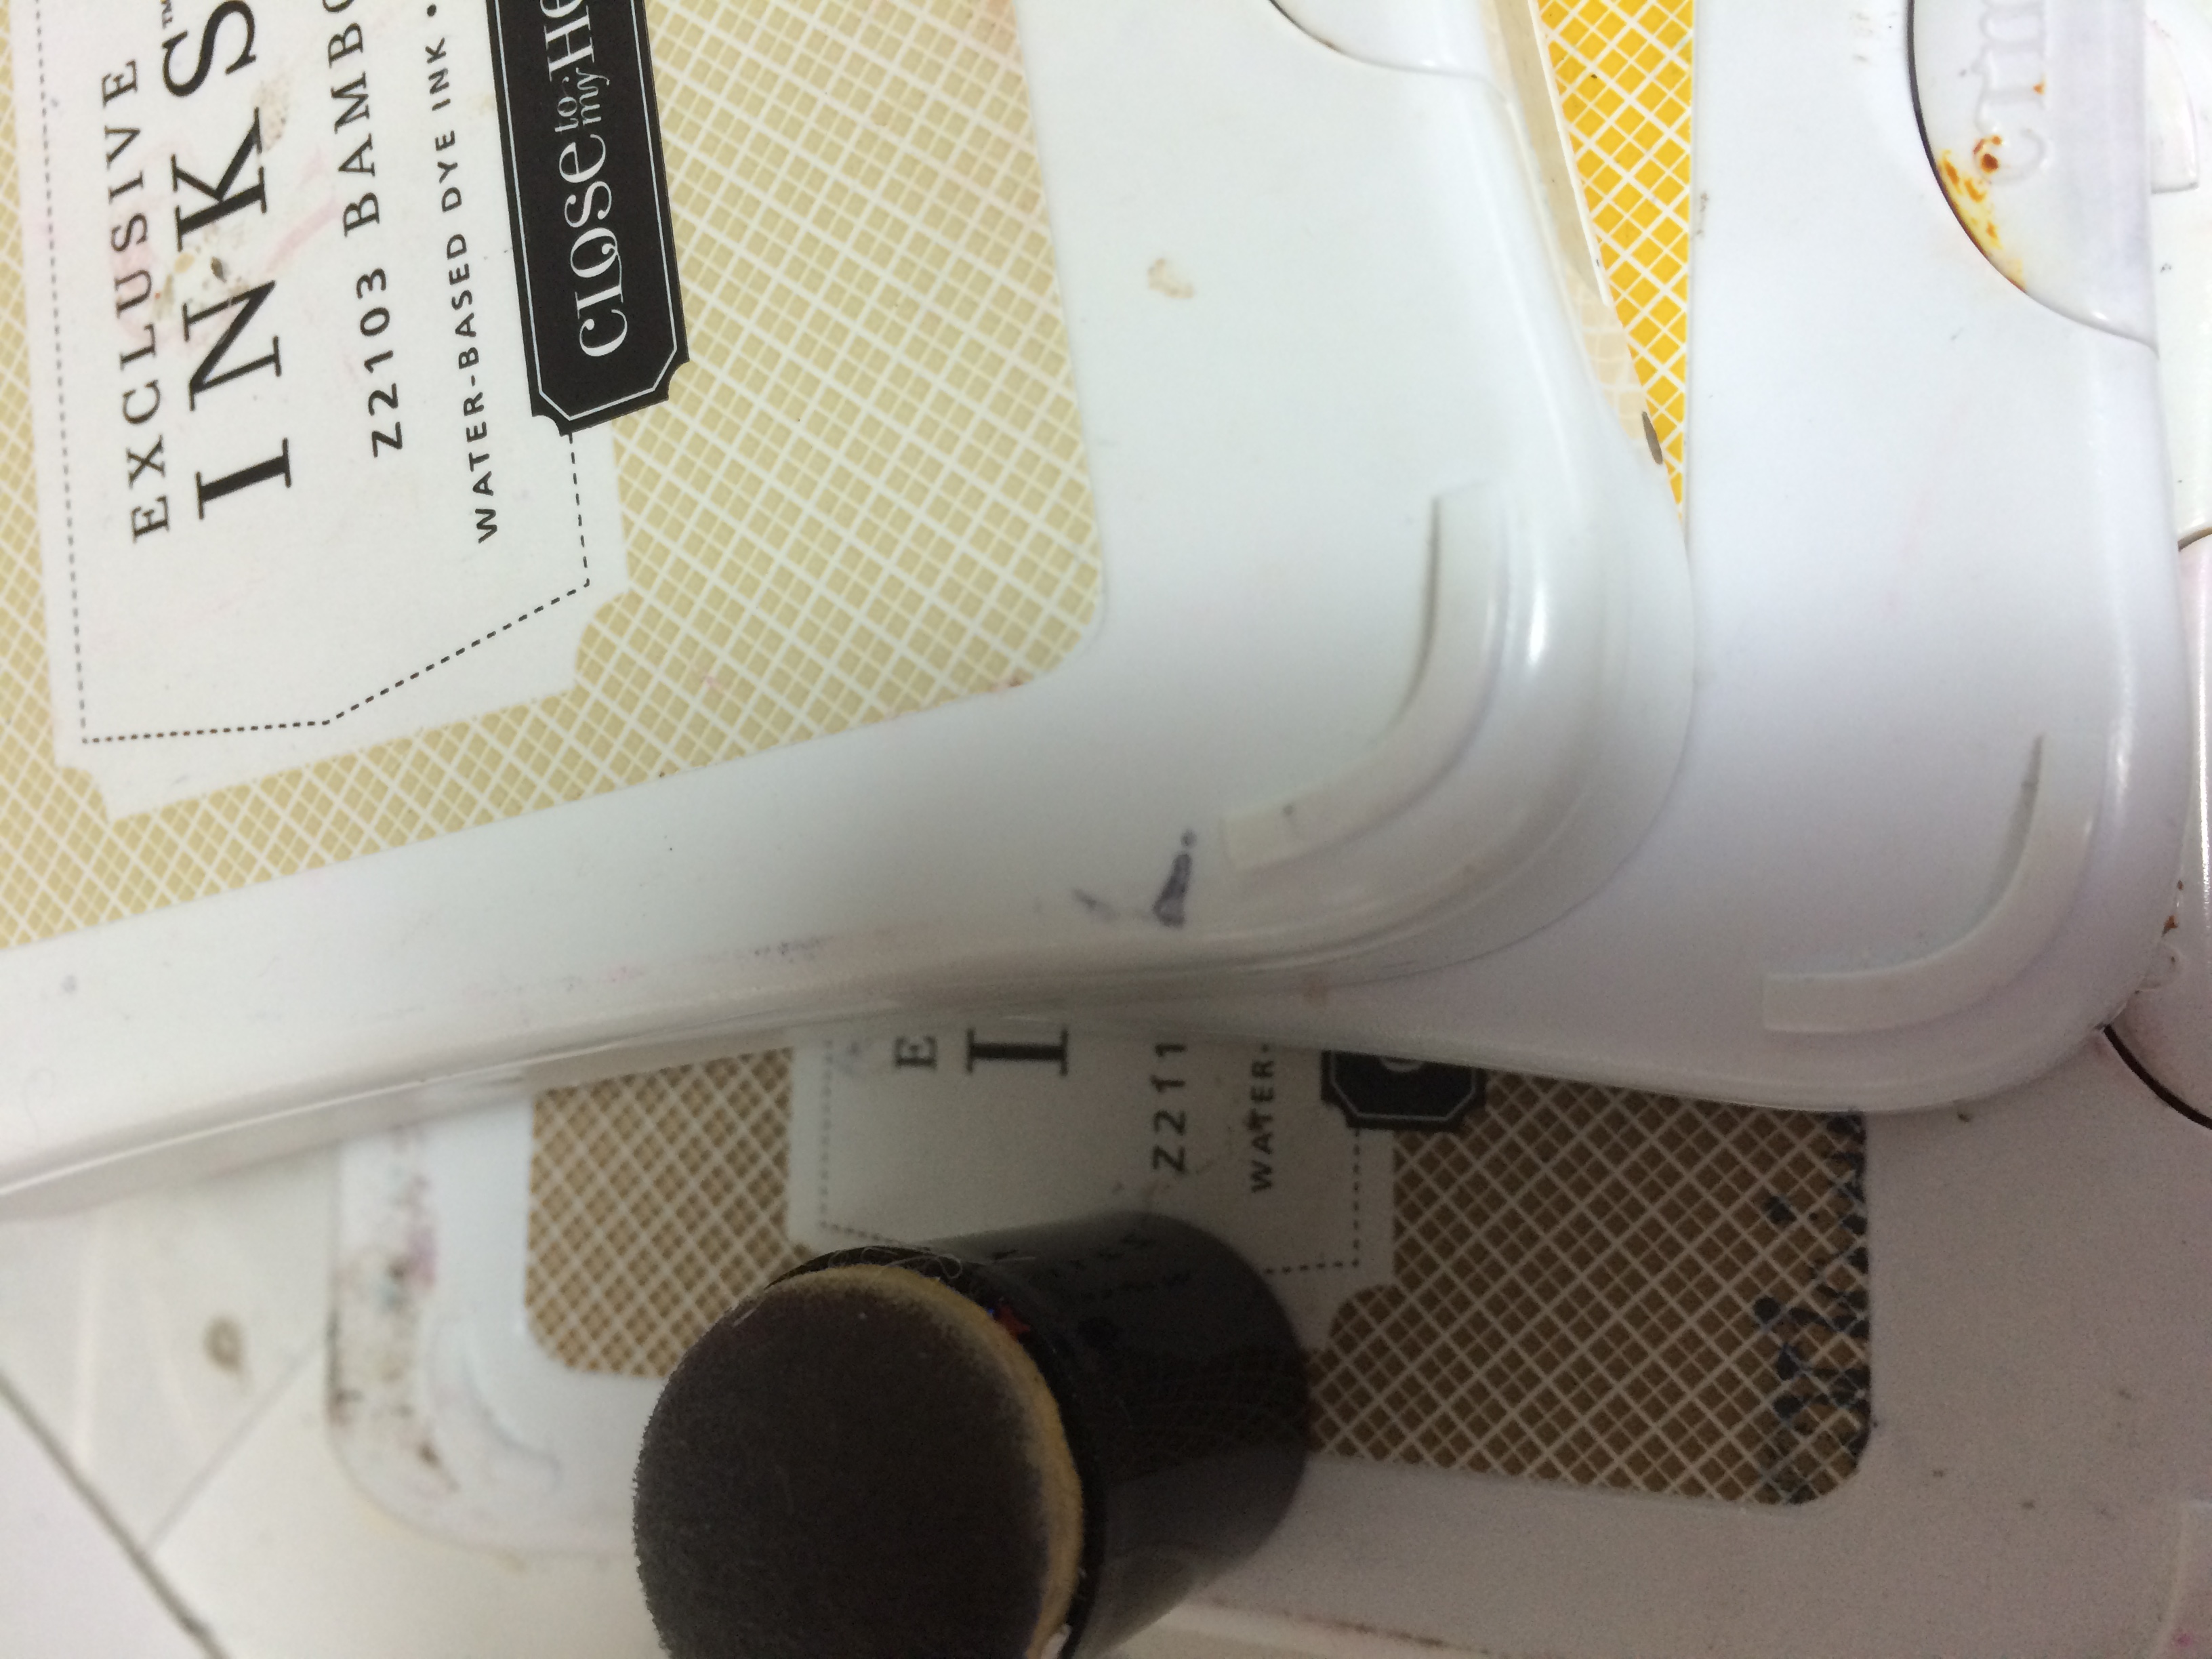
A little bit of distressing with ink to bring out the embossing and add to the worn feel.
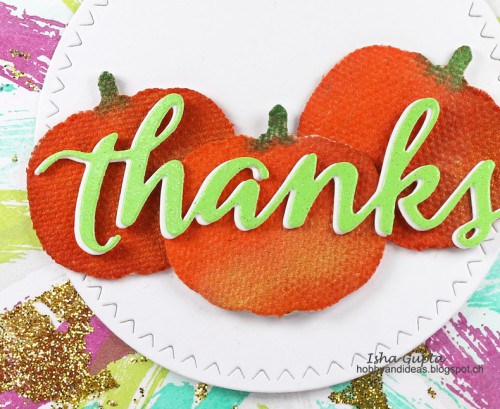
My projects never feel complete without some stitching so that was the next step.
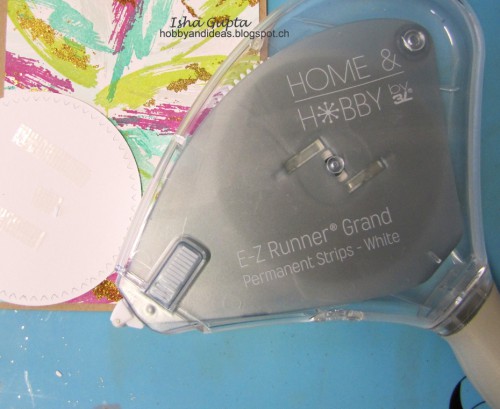
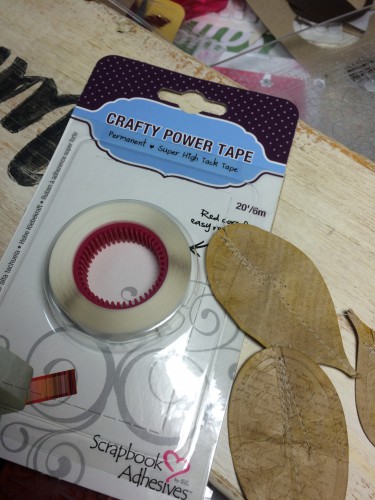
Finally, I adhered the leaves to the sign with Crafty Power Tape.
Now it is nestled in as some decor on my fireplace mantle.
Supplies:
- Scrapbook Adhesives by 3L®: Crafty Power Tape
- Spellbinders: S4-571 Leaves dies
- Stamps: Unity
- Inks: Close to My Heart
- Misc: Wood, paint, wax
Contest Details!
 Visit Stampendous and Graphic 45 today and enter from their blogs!
Thanks for visiting us! Follow us on social media and sign up for The Crafty Power News, our FREE newsletter! Be the first to know about contests, new products, and more!


Save
Save
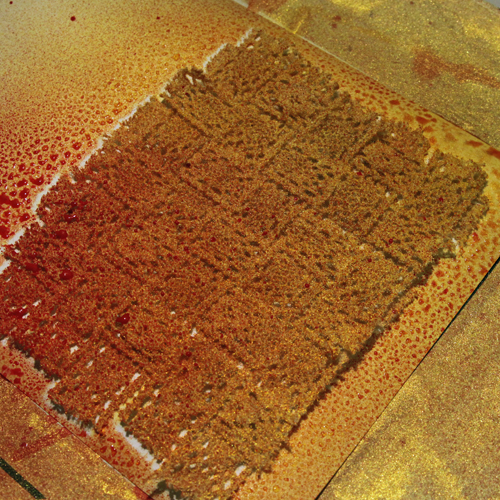
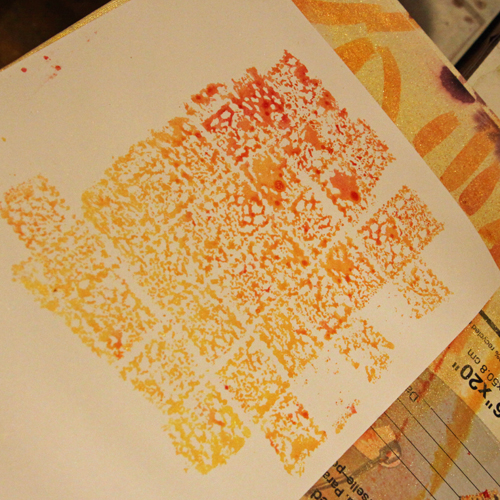
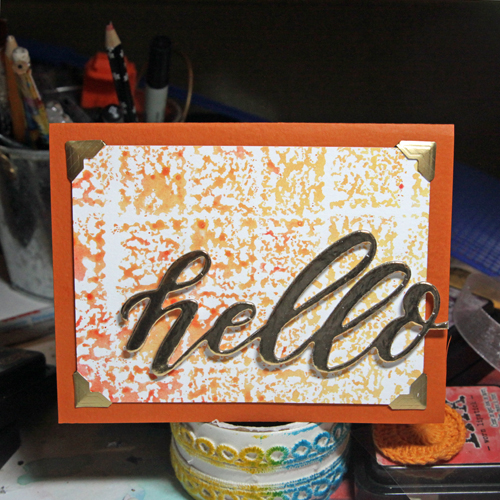
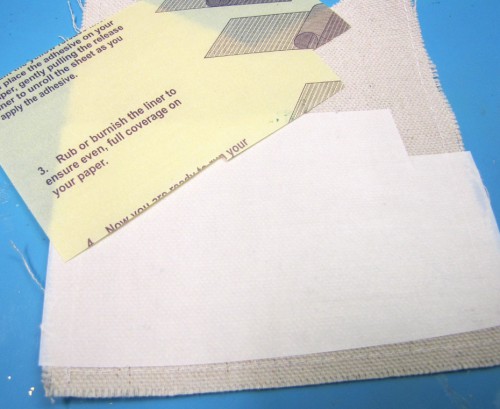
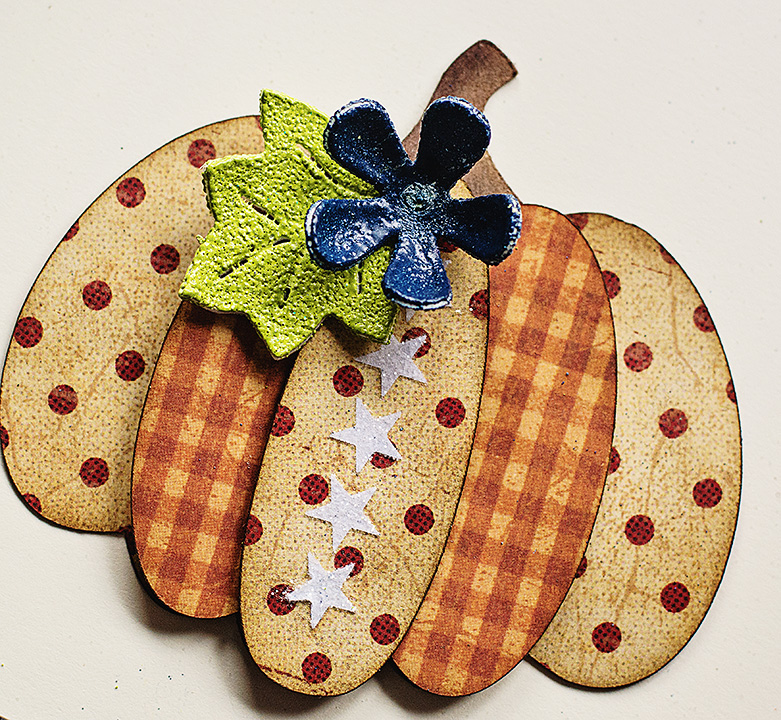
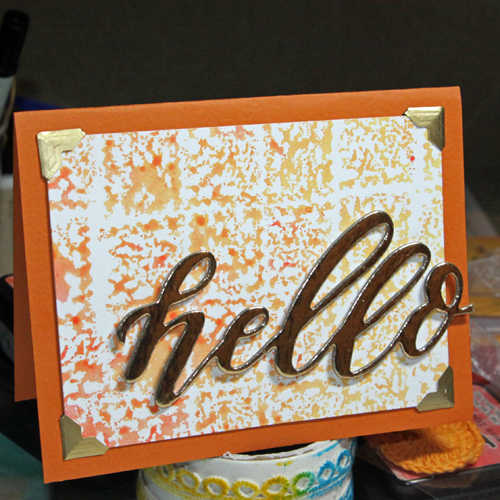 1. Weave 1 inch wide lace ribbon into a rectangle slightly larger than the desired background:
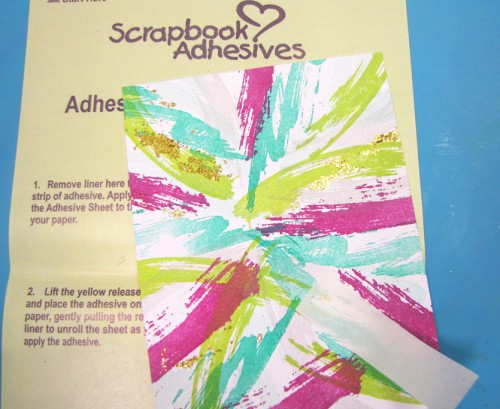
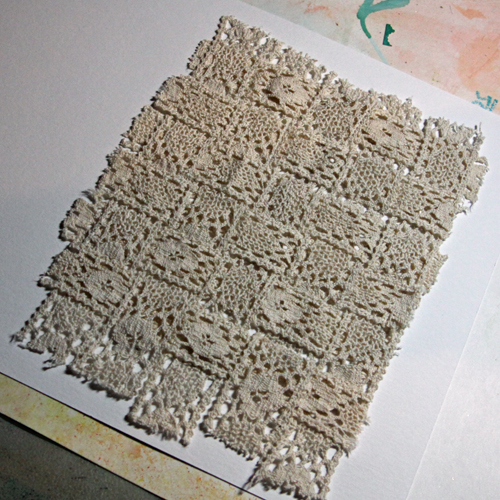 2. Spray with pigmented mists (I used yellow, orange and red).