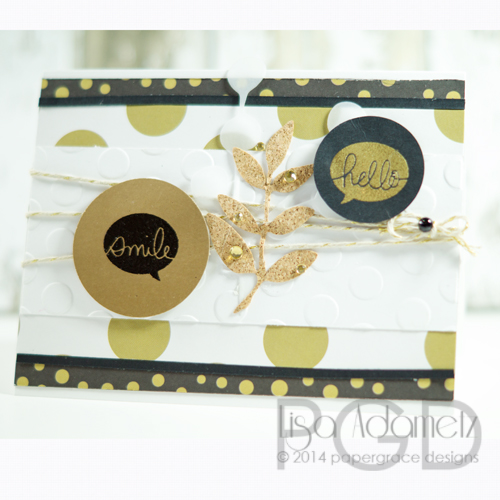
Hi, my wonderful crafty friends. 🙂 It’s Lisa here with you today with an easy, yet beautiful card. When you learn how you can use your adhesives in new ways it’s always more fun to create, wouldn’t you agree?
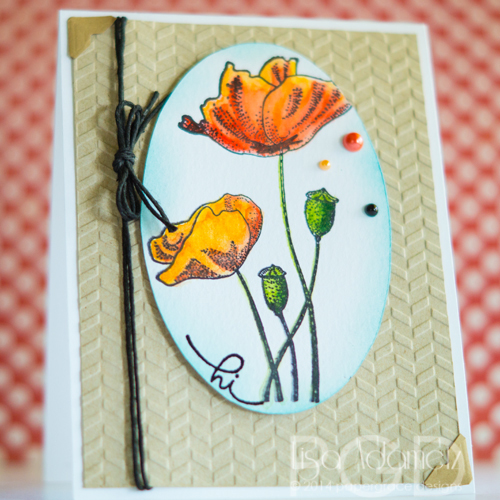
I’m using an embossing folder in a slightly unusual way. It would seem as though I could (or should) just use an embossing folder and die cut an oval, but here’s the thing…I don’t have any oval dies that are this size and honestly? This works so much easier to get the exact size I need.
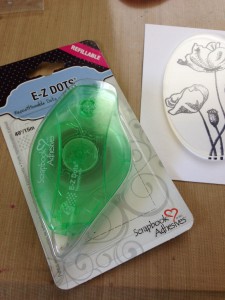
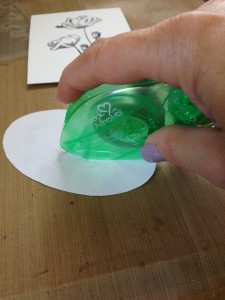
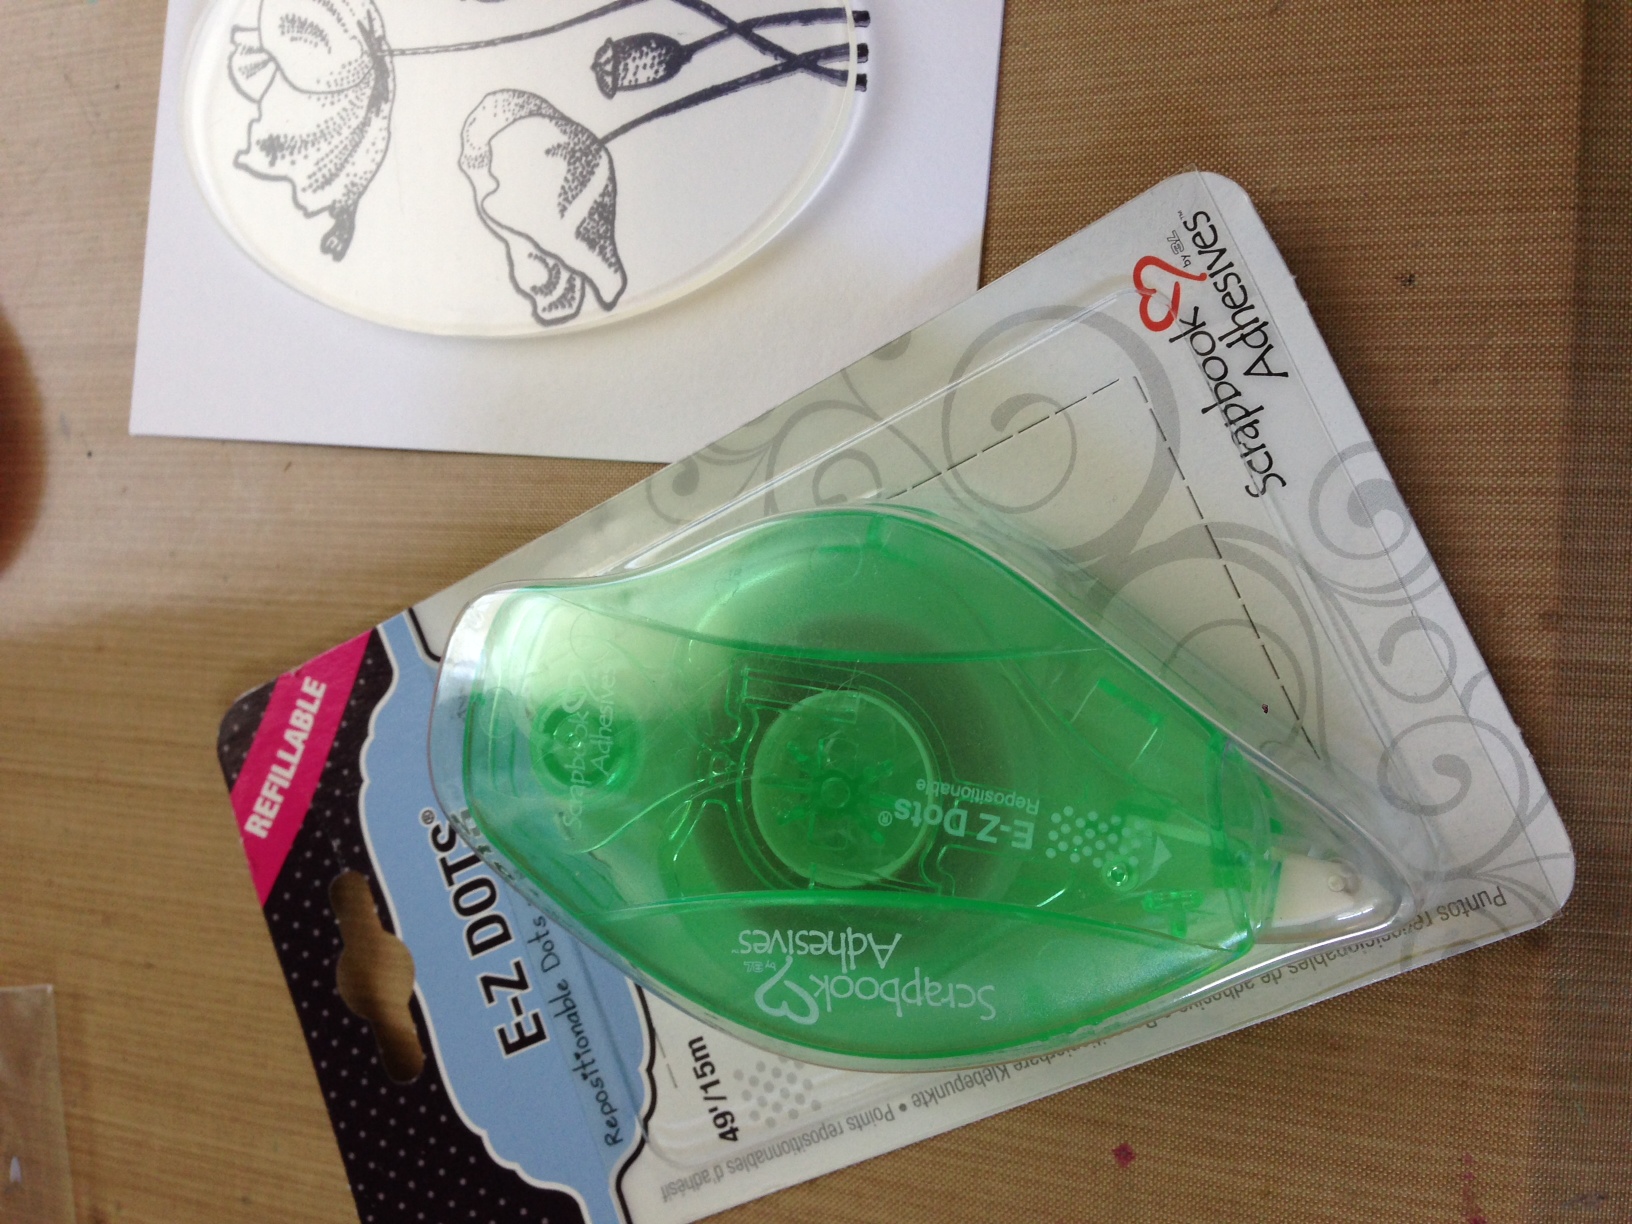
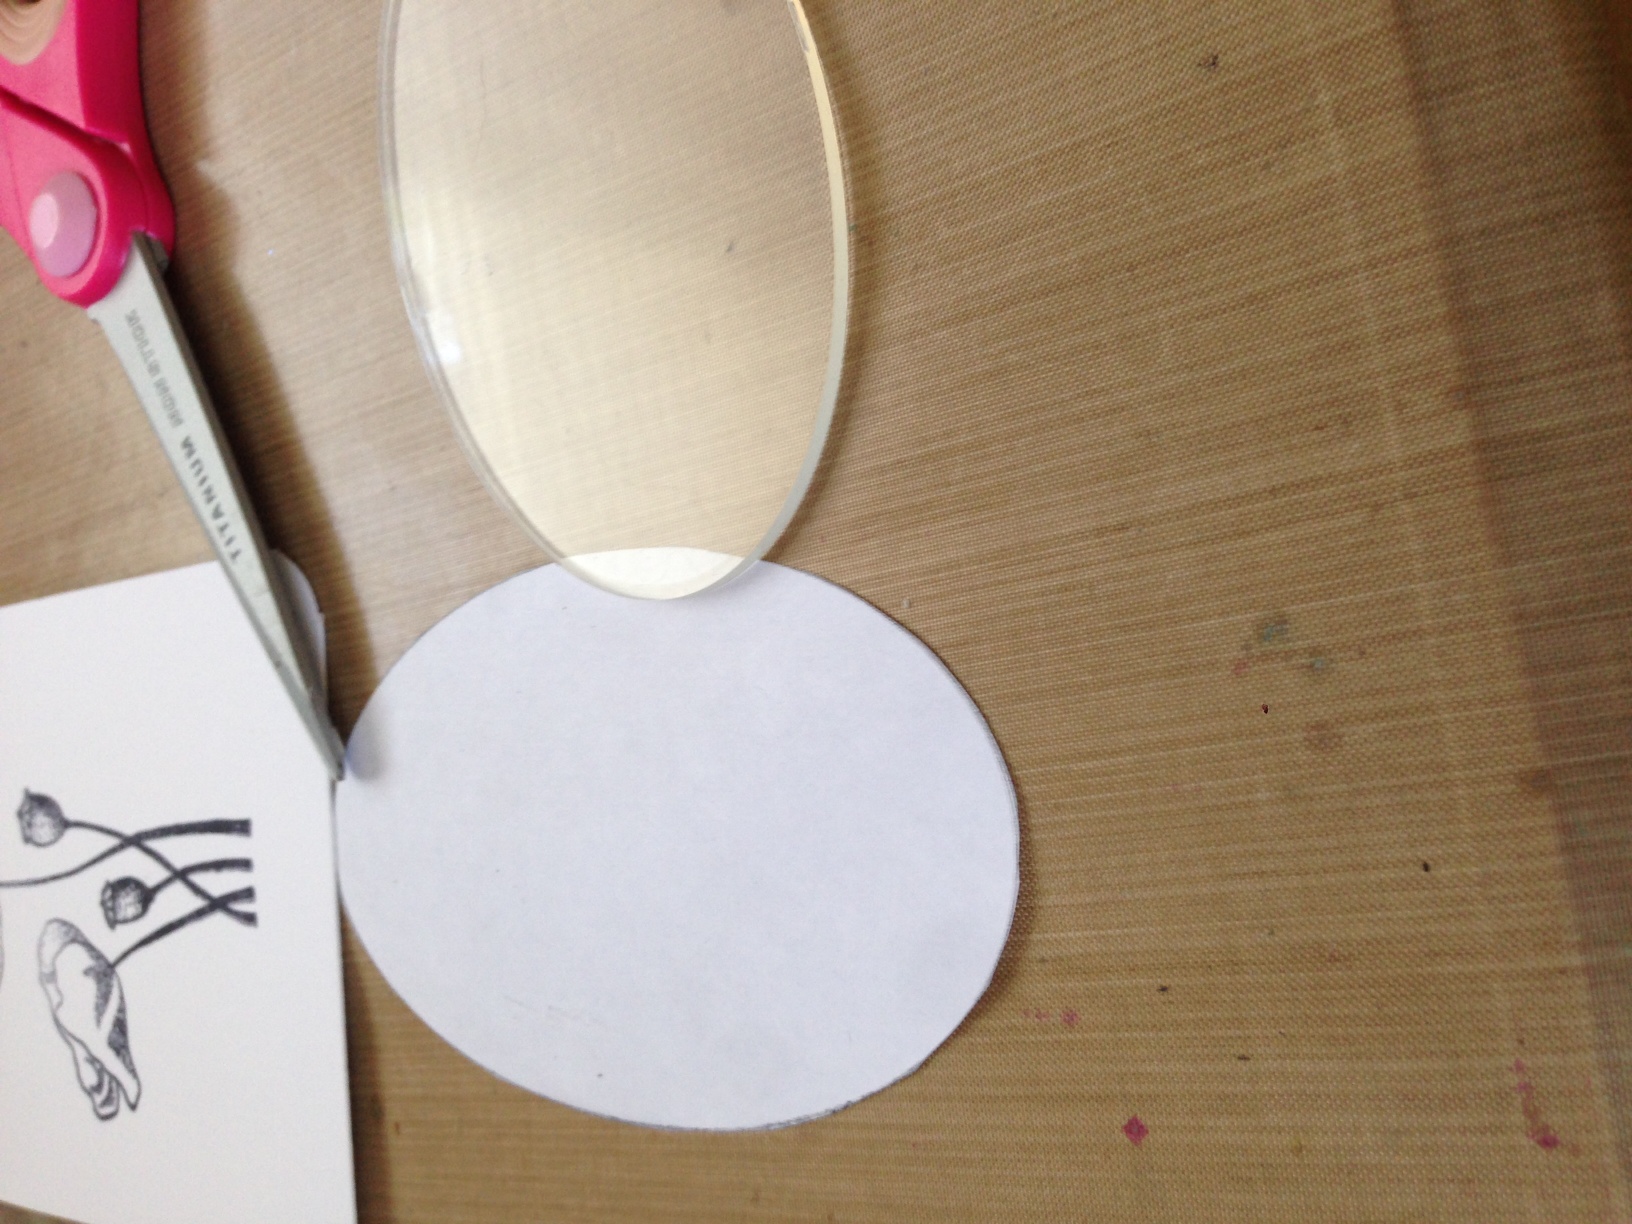
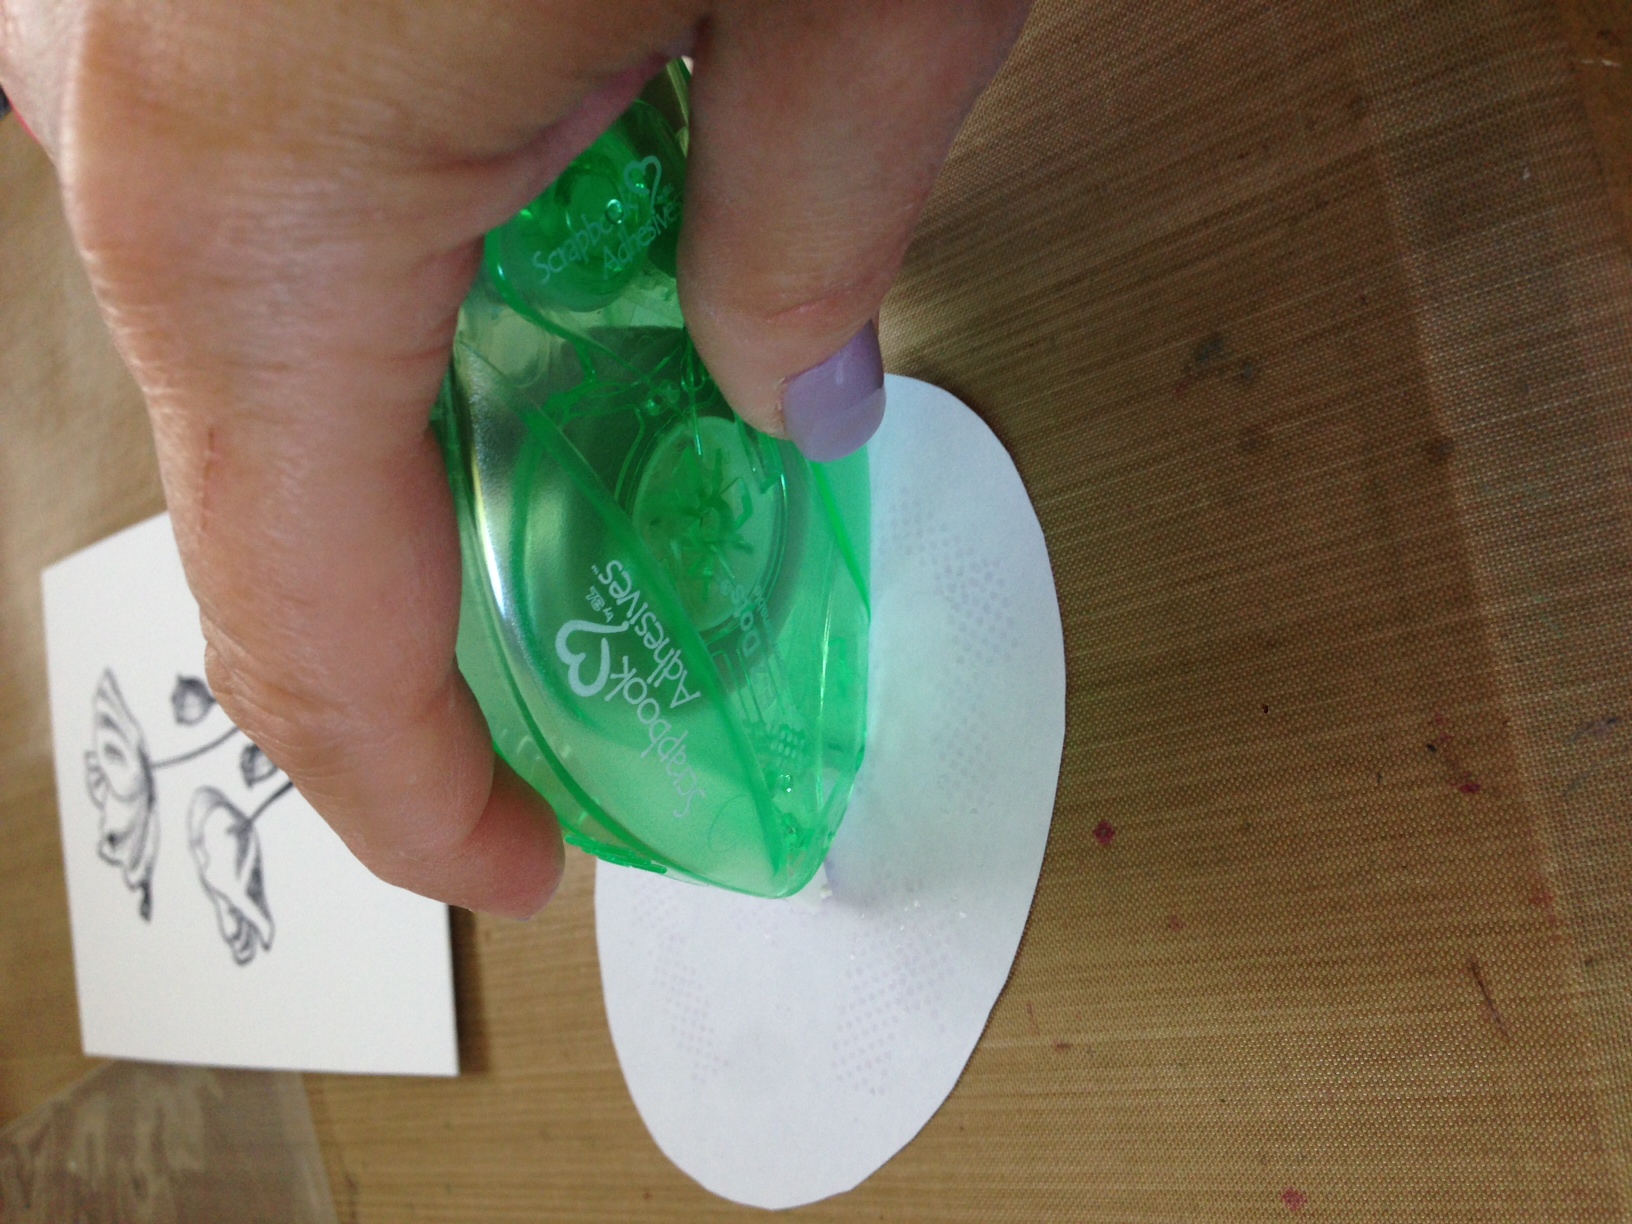
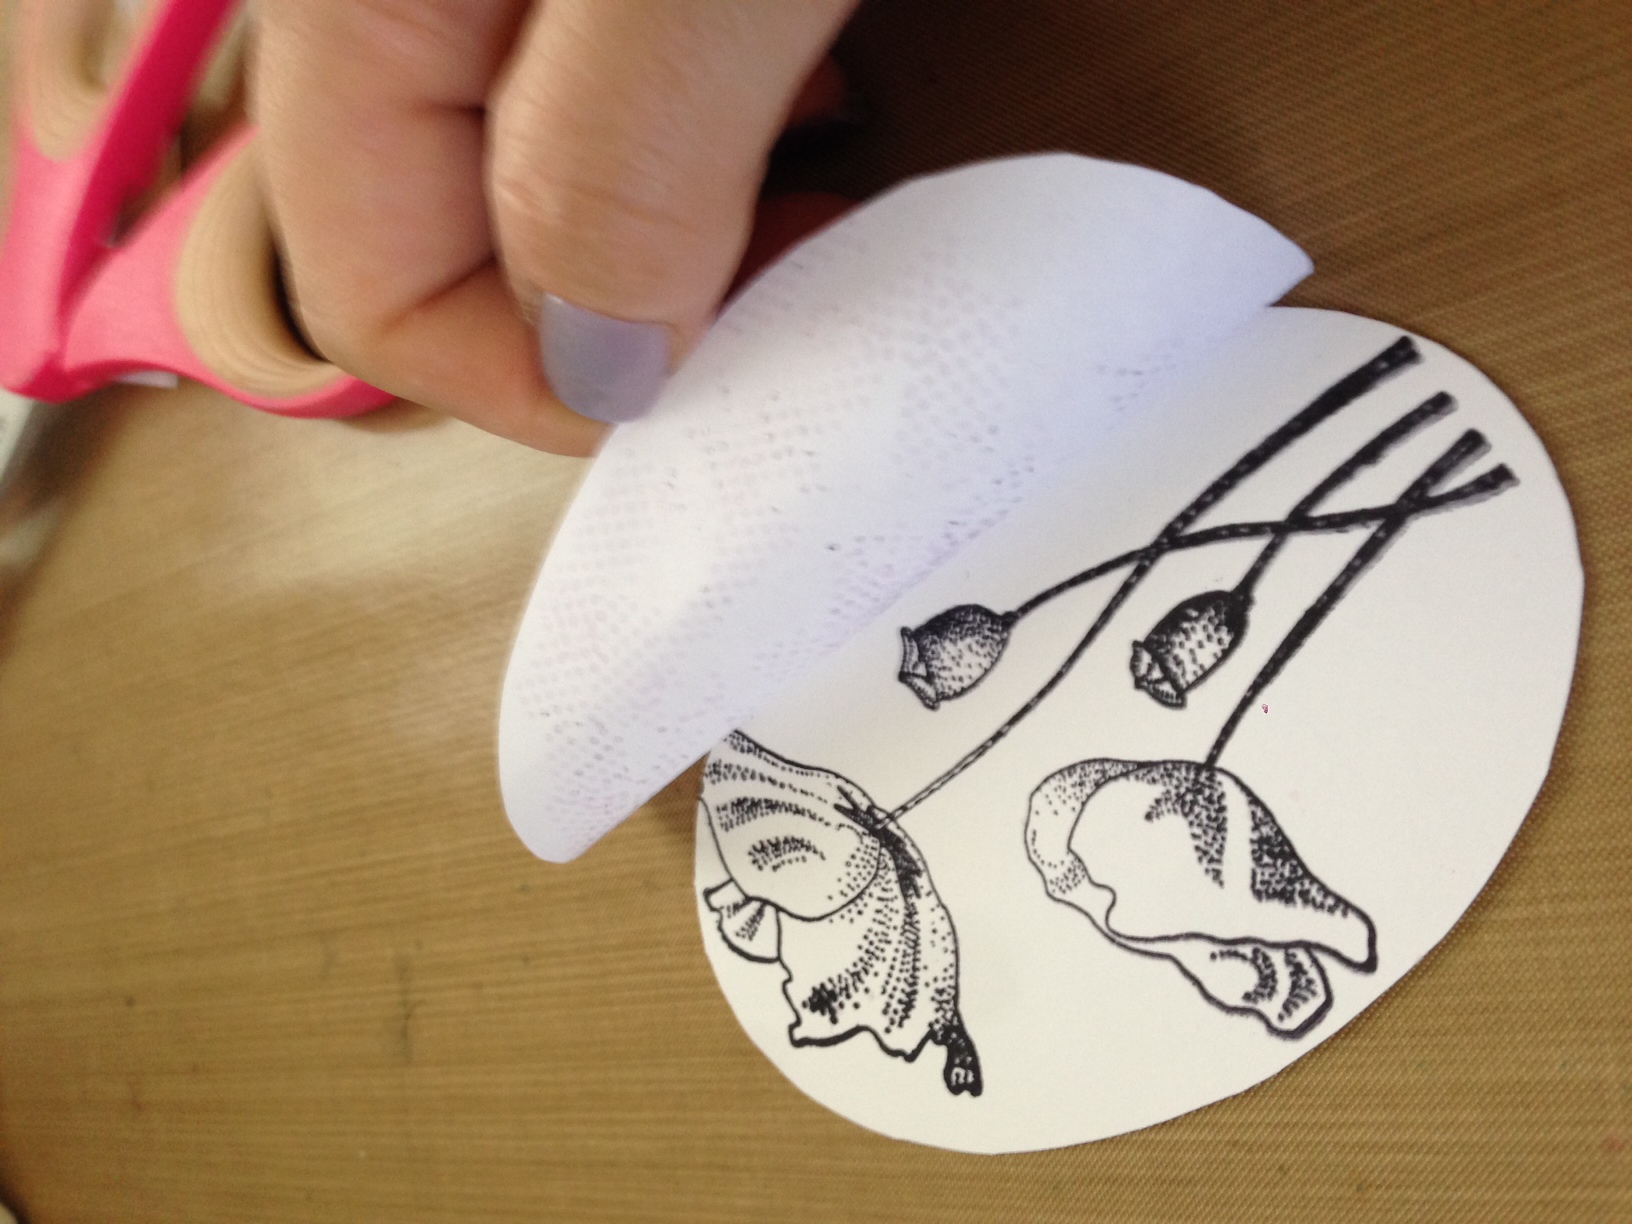
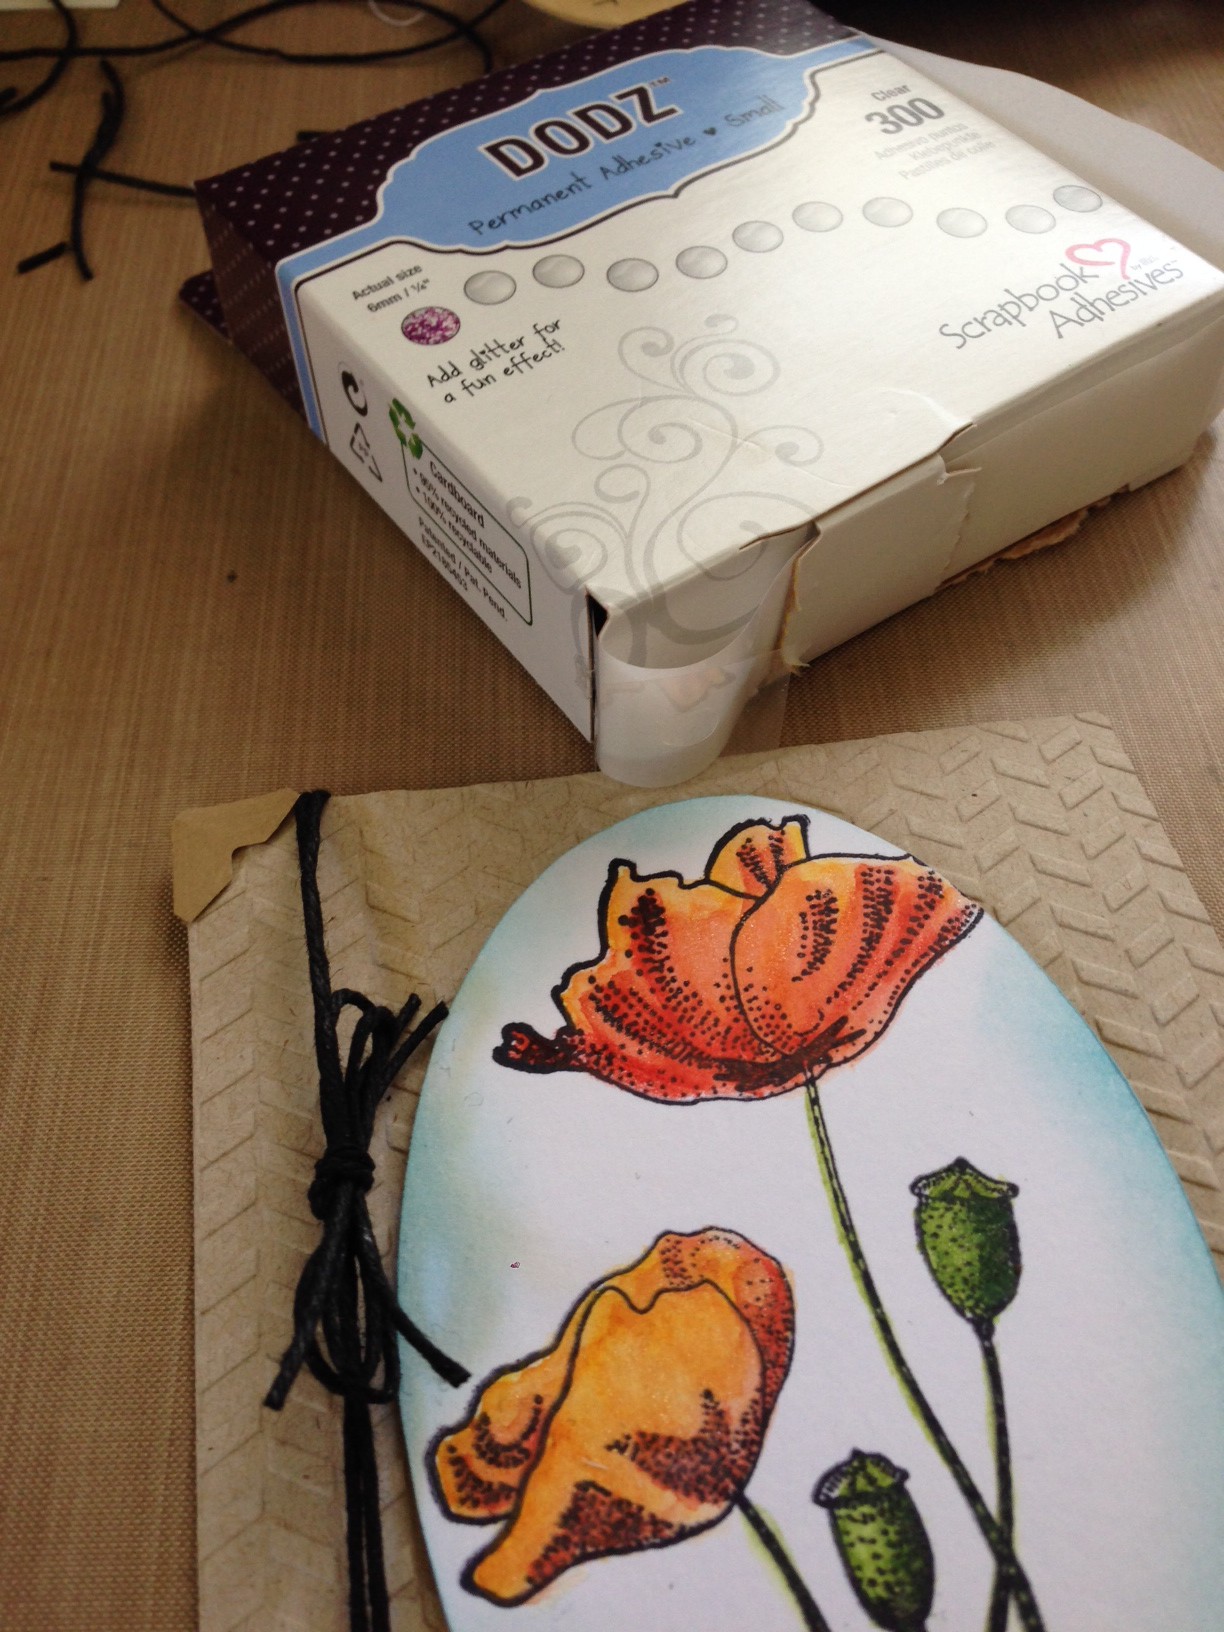
1. Stamp image. And create a mask from oval insert of Texture Fade using copy paper and E-Z Dots® Repositionable Refillable Adhesive.
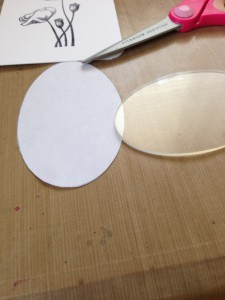
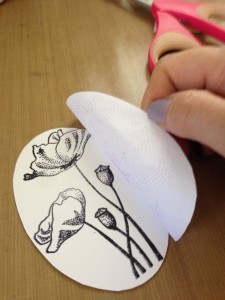
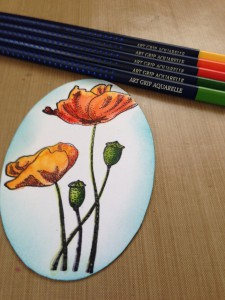
2. Once you have the mask made and cut out you can save this for as long as it will last! That’s one of the best things about using masks. So nifty. But next, is watercoloring the image. This image is from Penny Black and I used Art GRIP® Aquarelle Watercolor Pencils to color.
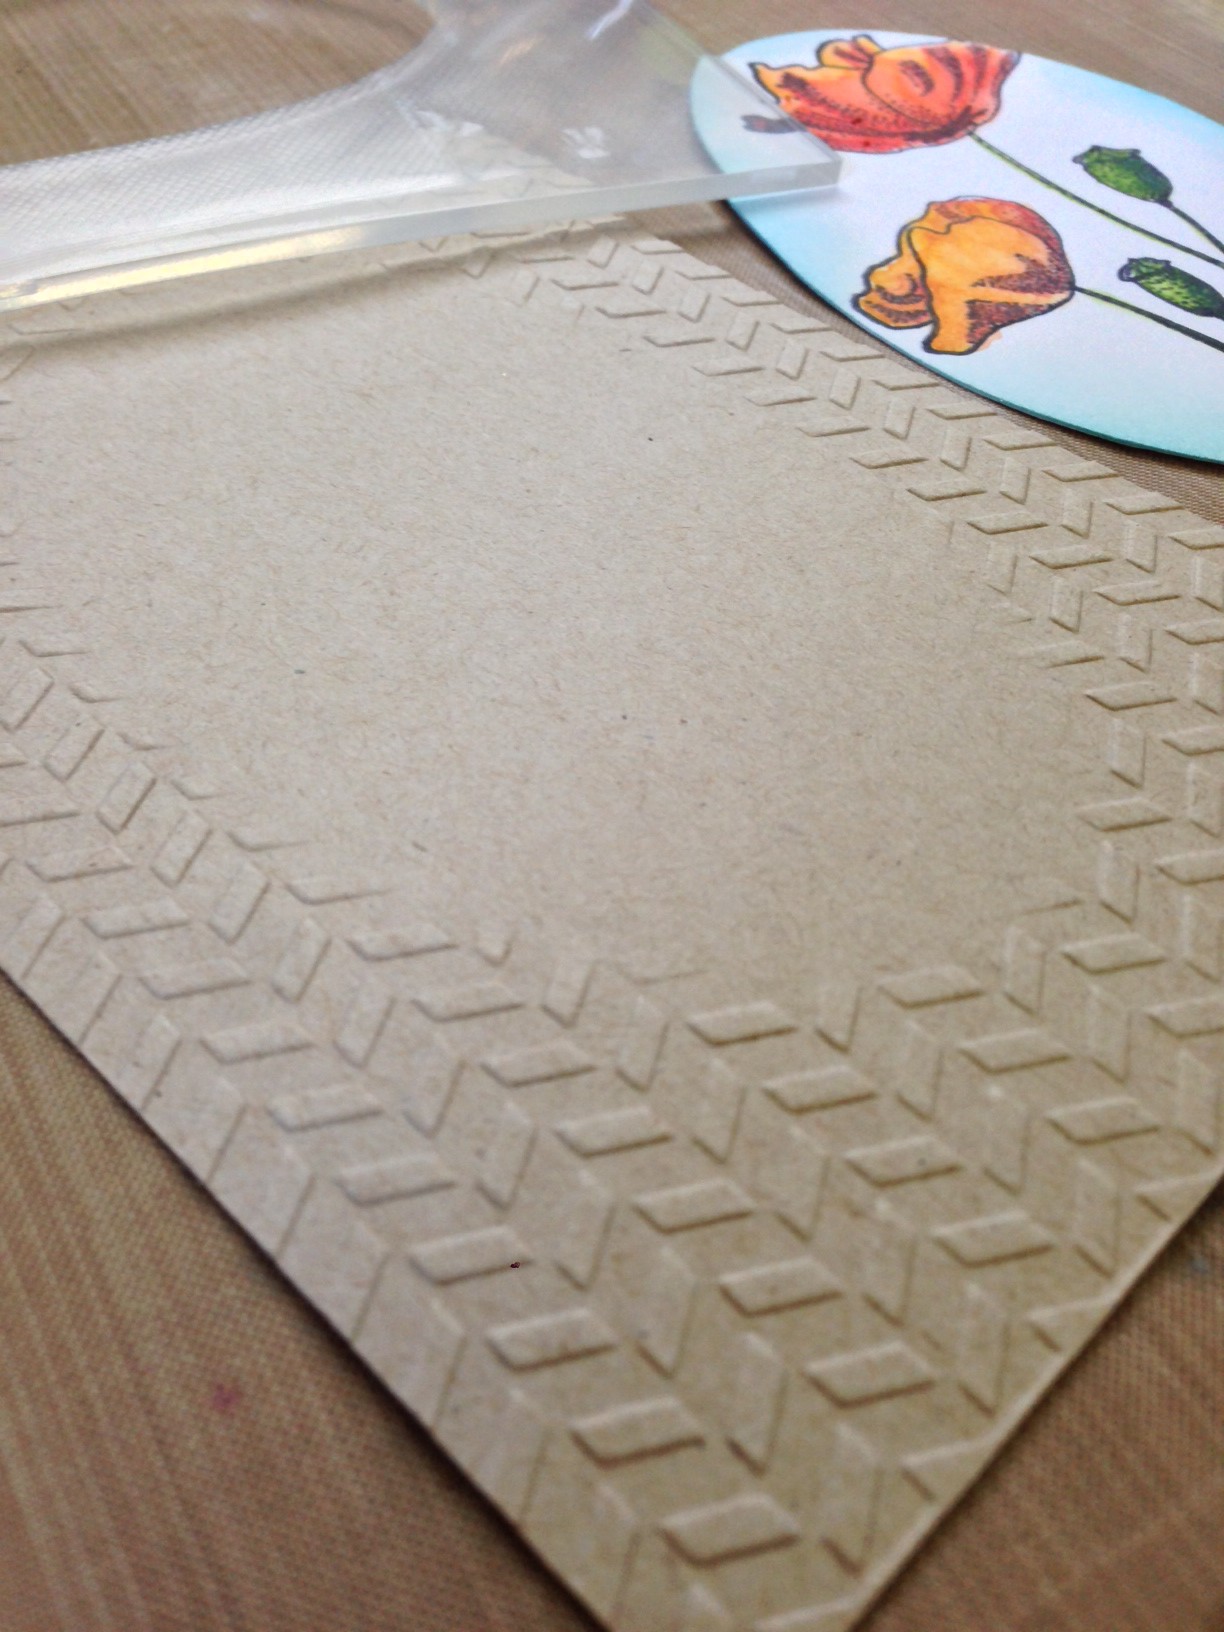
 3. Run the Texture Fade through your preferred die-cutting/embossing machine to get the texture and the blank area showing where to place the oval that was just colored.

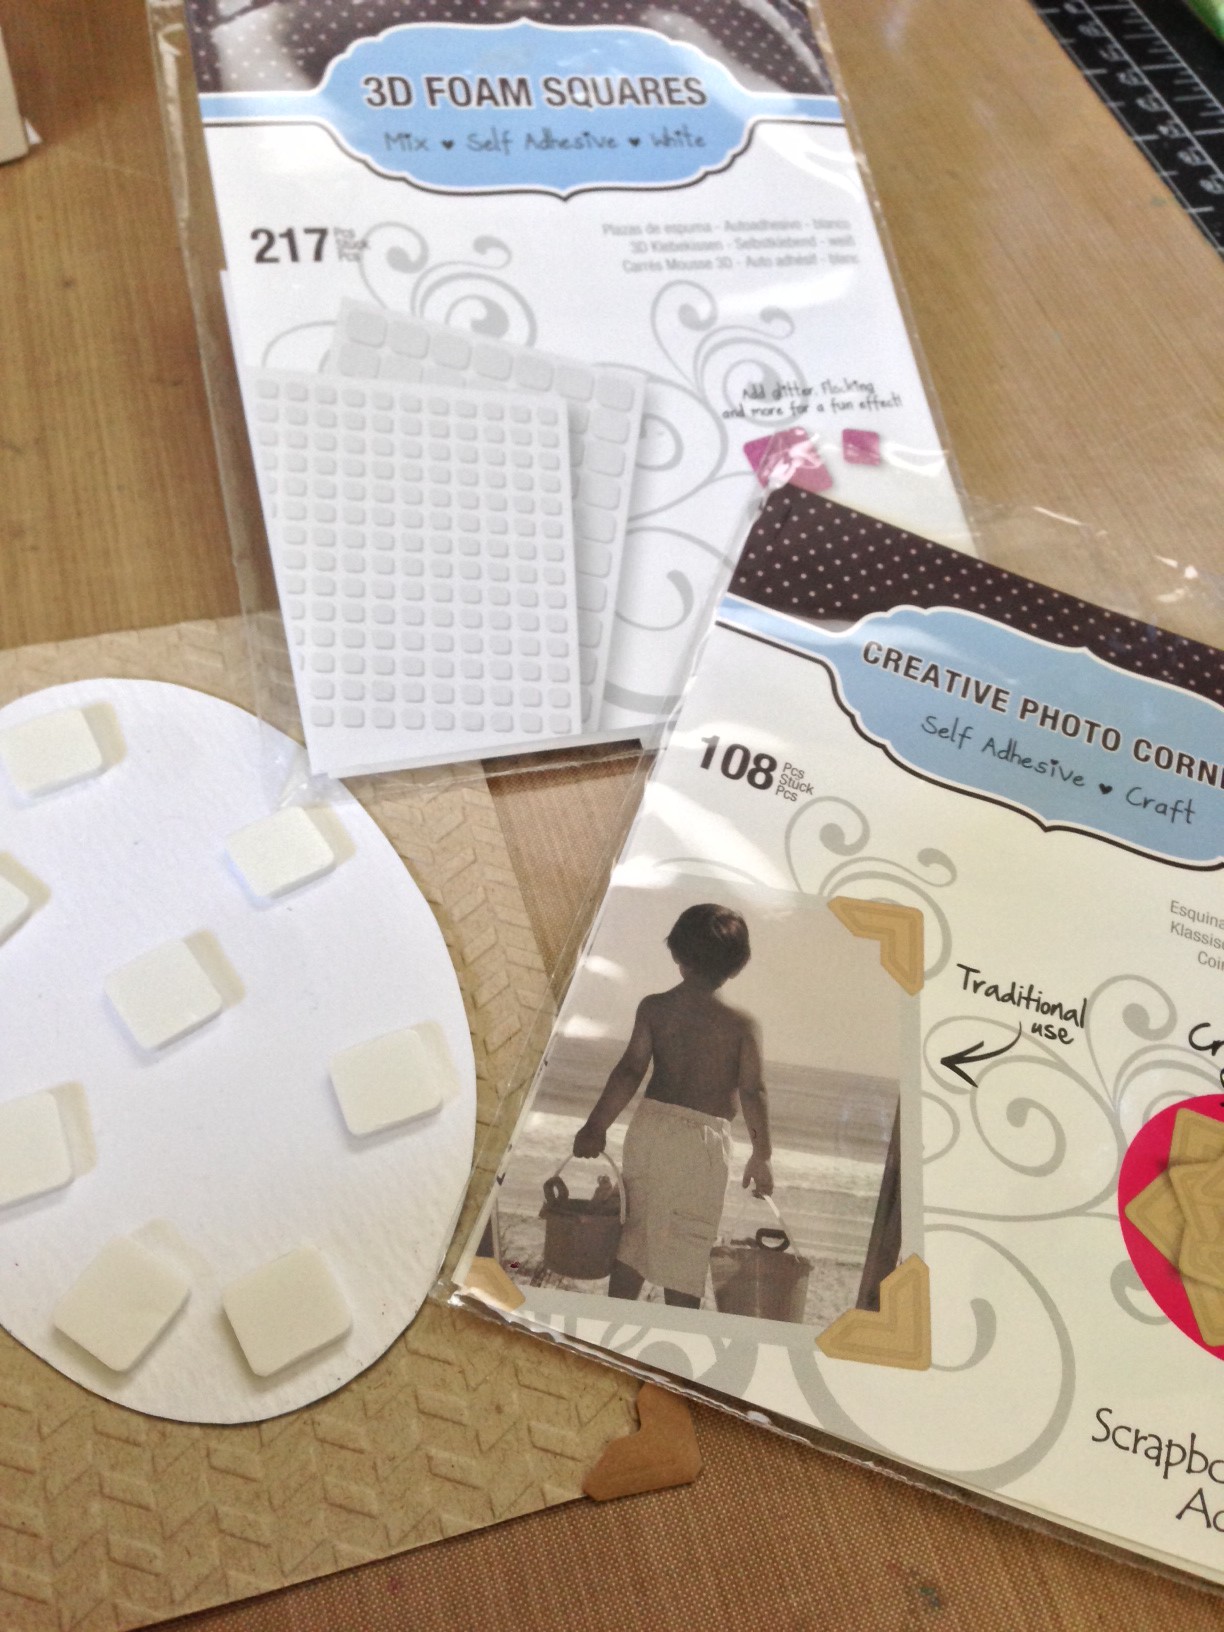
4. Place plenty of 3-D Foam Squares White Mix on the back of the water colored oval and place that on the empty portion of the embossed cardstock. The 3-D Foam Square give the colored oval *tons* of dimension!! I also added two of the Creative Photo Corners in Kraft for added interest.

5. I double wrapped a piece of black hemp twine around the side of the card front, tied it in a bow, and secured it with a Adhesive Dots Small. Love that these are so small, but keep things super secure.

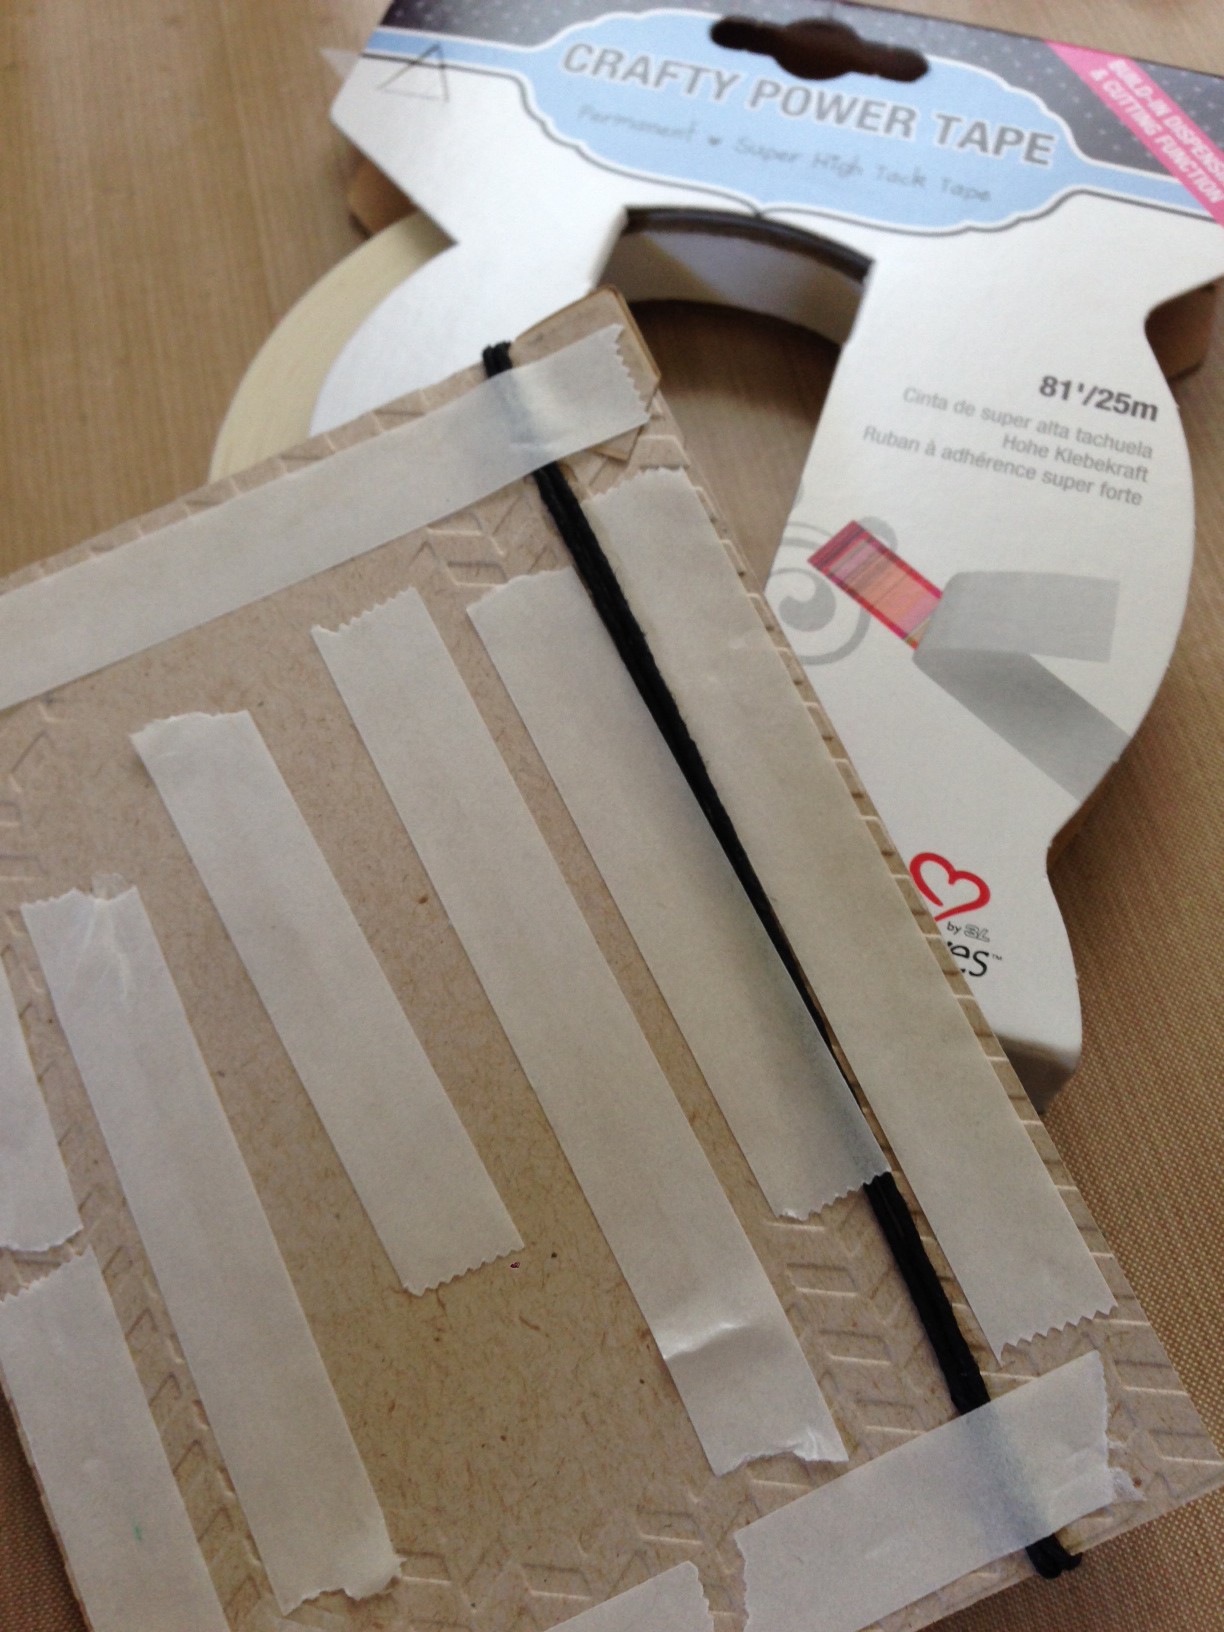
6. To adhere the card front to the card base I chose to use one of my faves: Crafty Power Tape – 81′. It not only keeps the twine in place from the back side of the card front, but it keeps the card front very secure to the card base. (I also love that it comes on a built in dispenser with a cutting function…so cool!) PS – this is prior to the backing being pulled off. I didn’t want it stuck to my hands, hair…cat. 😉

7. I then stamped my cute little sentiment from Paper Smooches and added a few little Doodlebug Pearls. And Ta-Daaaa! It’s done. 🙂
**Please note that even though I stamped my sentiment last with ALL that luscious dimension on it, this is not something I’d recommend you do. You might get a really wonky impression from your stamp.**
See? It’s really quite easy when you have the right products. I hope you had fun seeing my creative process and will try this yourself. Have a wonderful week.
Hugs,
Lisa Adametz
Materials Used
Scrapbook Adhesives by 3L®:
E-Z Dots® Repositionable Refillable
3D Foam Squares White Mix
Creative Photo Corners Kraft
Adhesive Dots Small
Crafty Power Tape 81’
Other Supplies:
Neenah – 110# White Cardstock
Neenah – 100# Kraft Cardstock
Ranger Ink- Water Color Paper
Stamps: Penny Black – Poppy Stamp , Paper Smooches – Sentiment Stamp
Faber-Castell Design Memory Craft – Art GRIP® Aquarelle Watercolor Pencils
We-R-Memory Keepers Embossing Folder
Texture Fade embossing folder
Hemptique – Twine
Doodlebug Design Inc. – Pearls
Visit our Website and Blog!
Sign up for our Newsletter so you never miss a contest or giveaway!


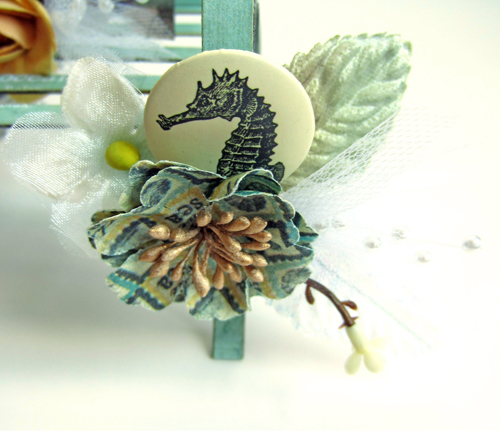
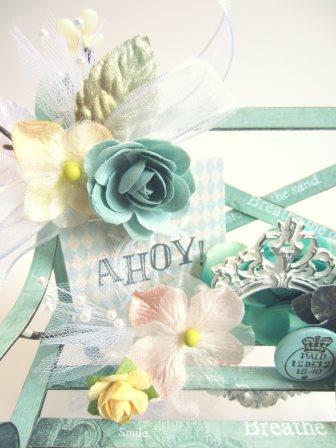

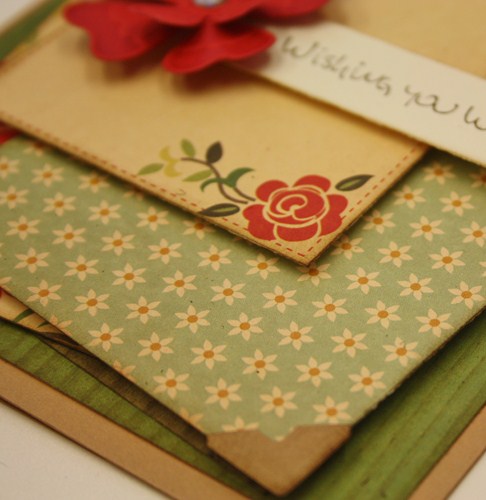
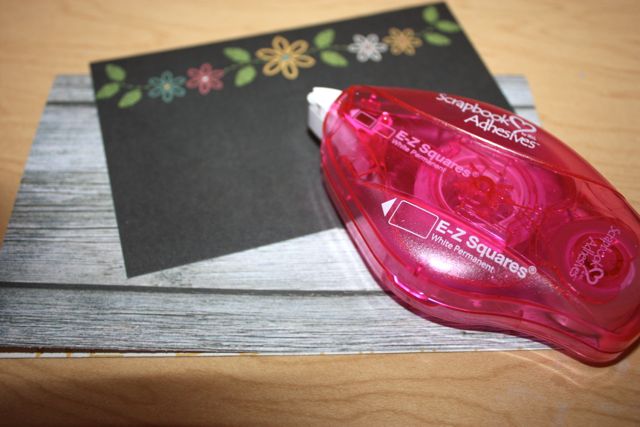
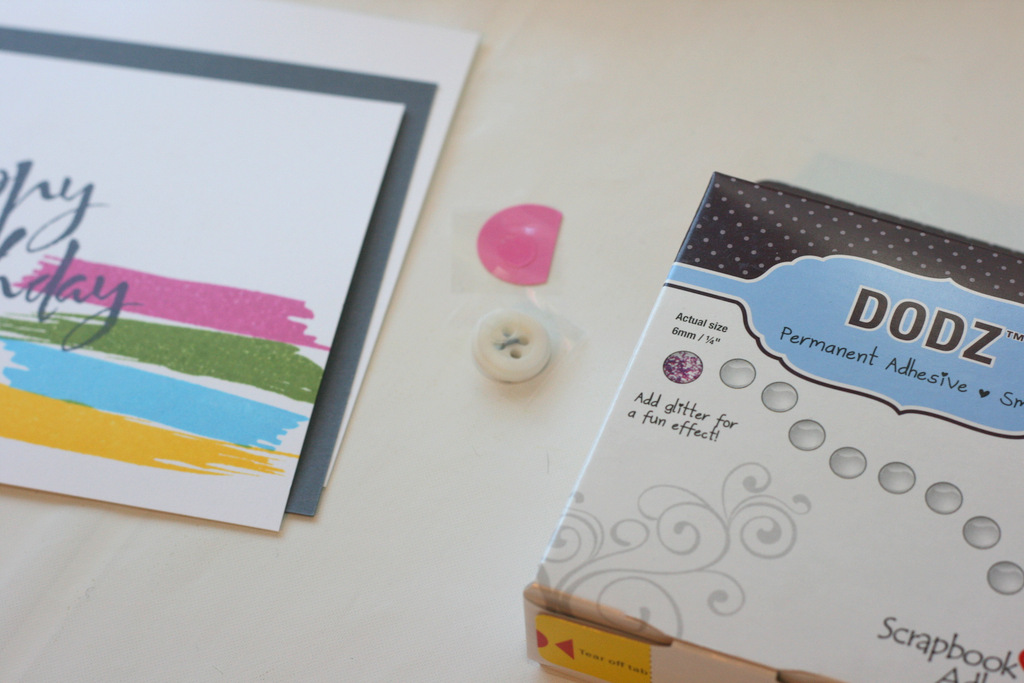
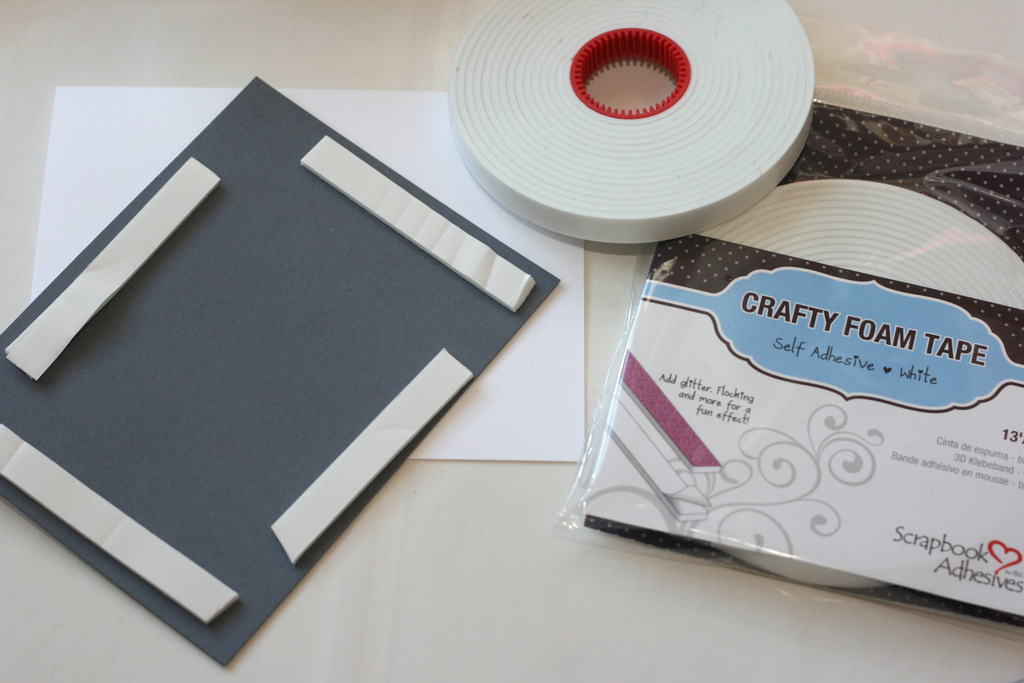
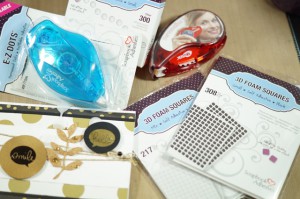
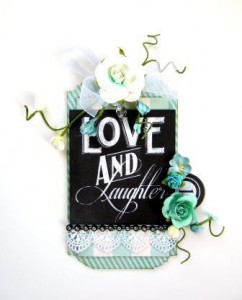
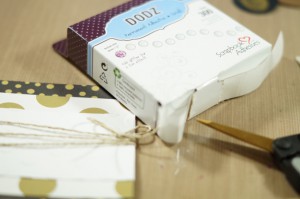
 I rounded up the patterned papers I wanted to use, embossed a piece of white cardstock, and gathered up all of my adhesives! I also knew ahead of time the colors I was going to work with so the card would take less time. I can ALWAYS add more, right? RIGHT!
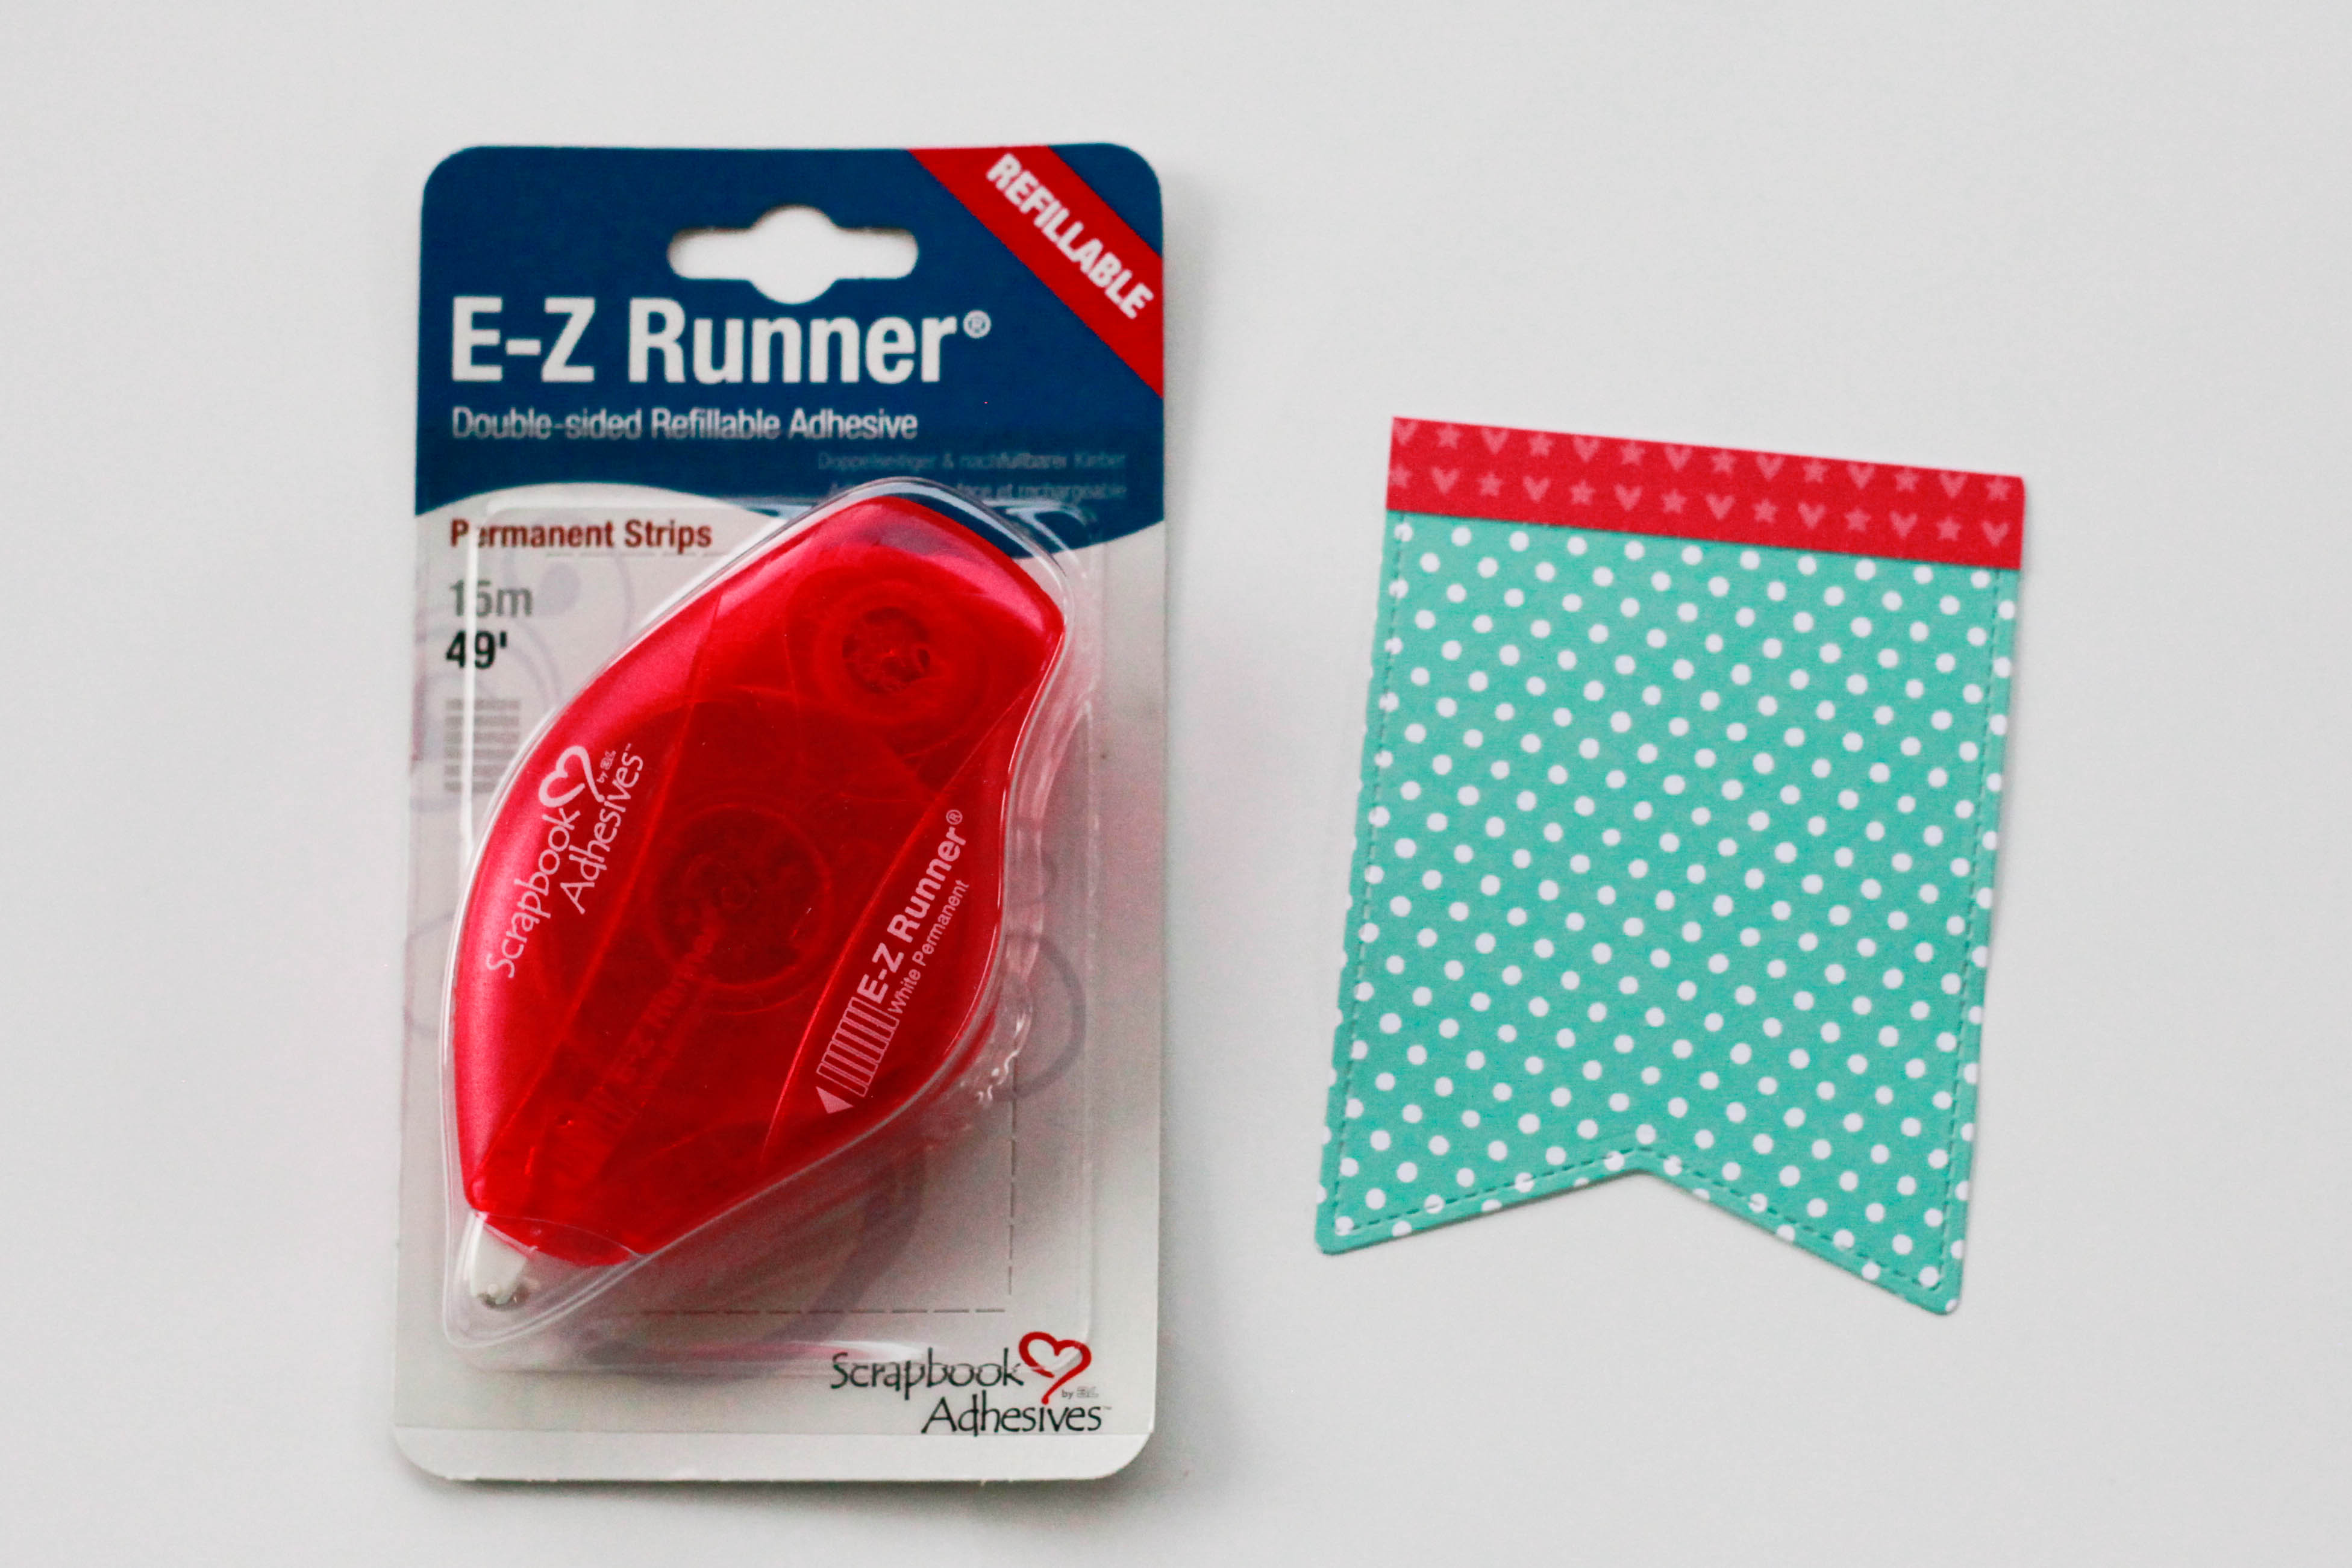
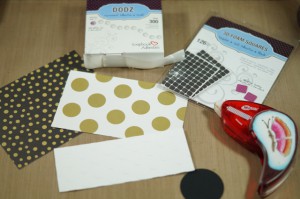 I started by adhering my pattered paper using the
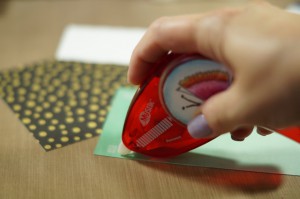
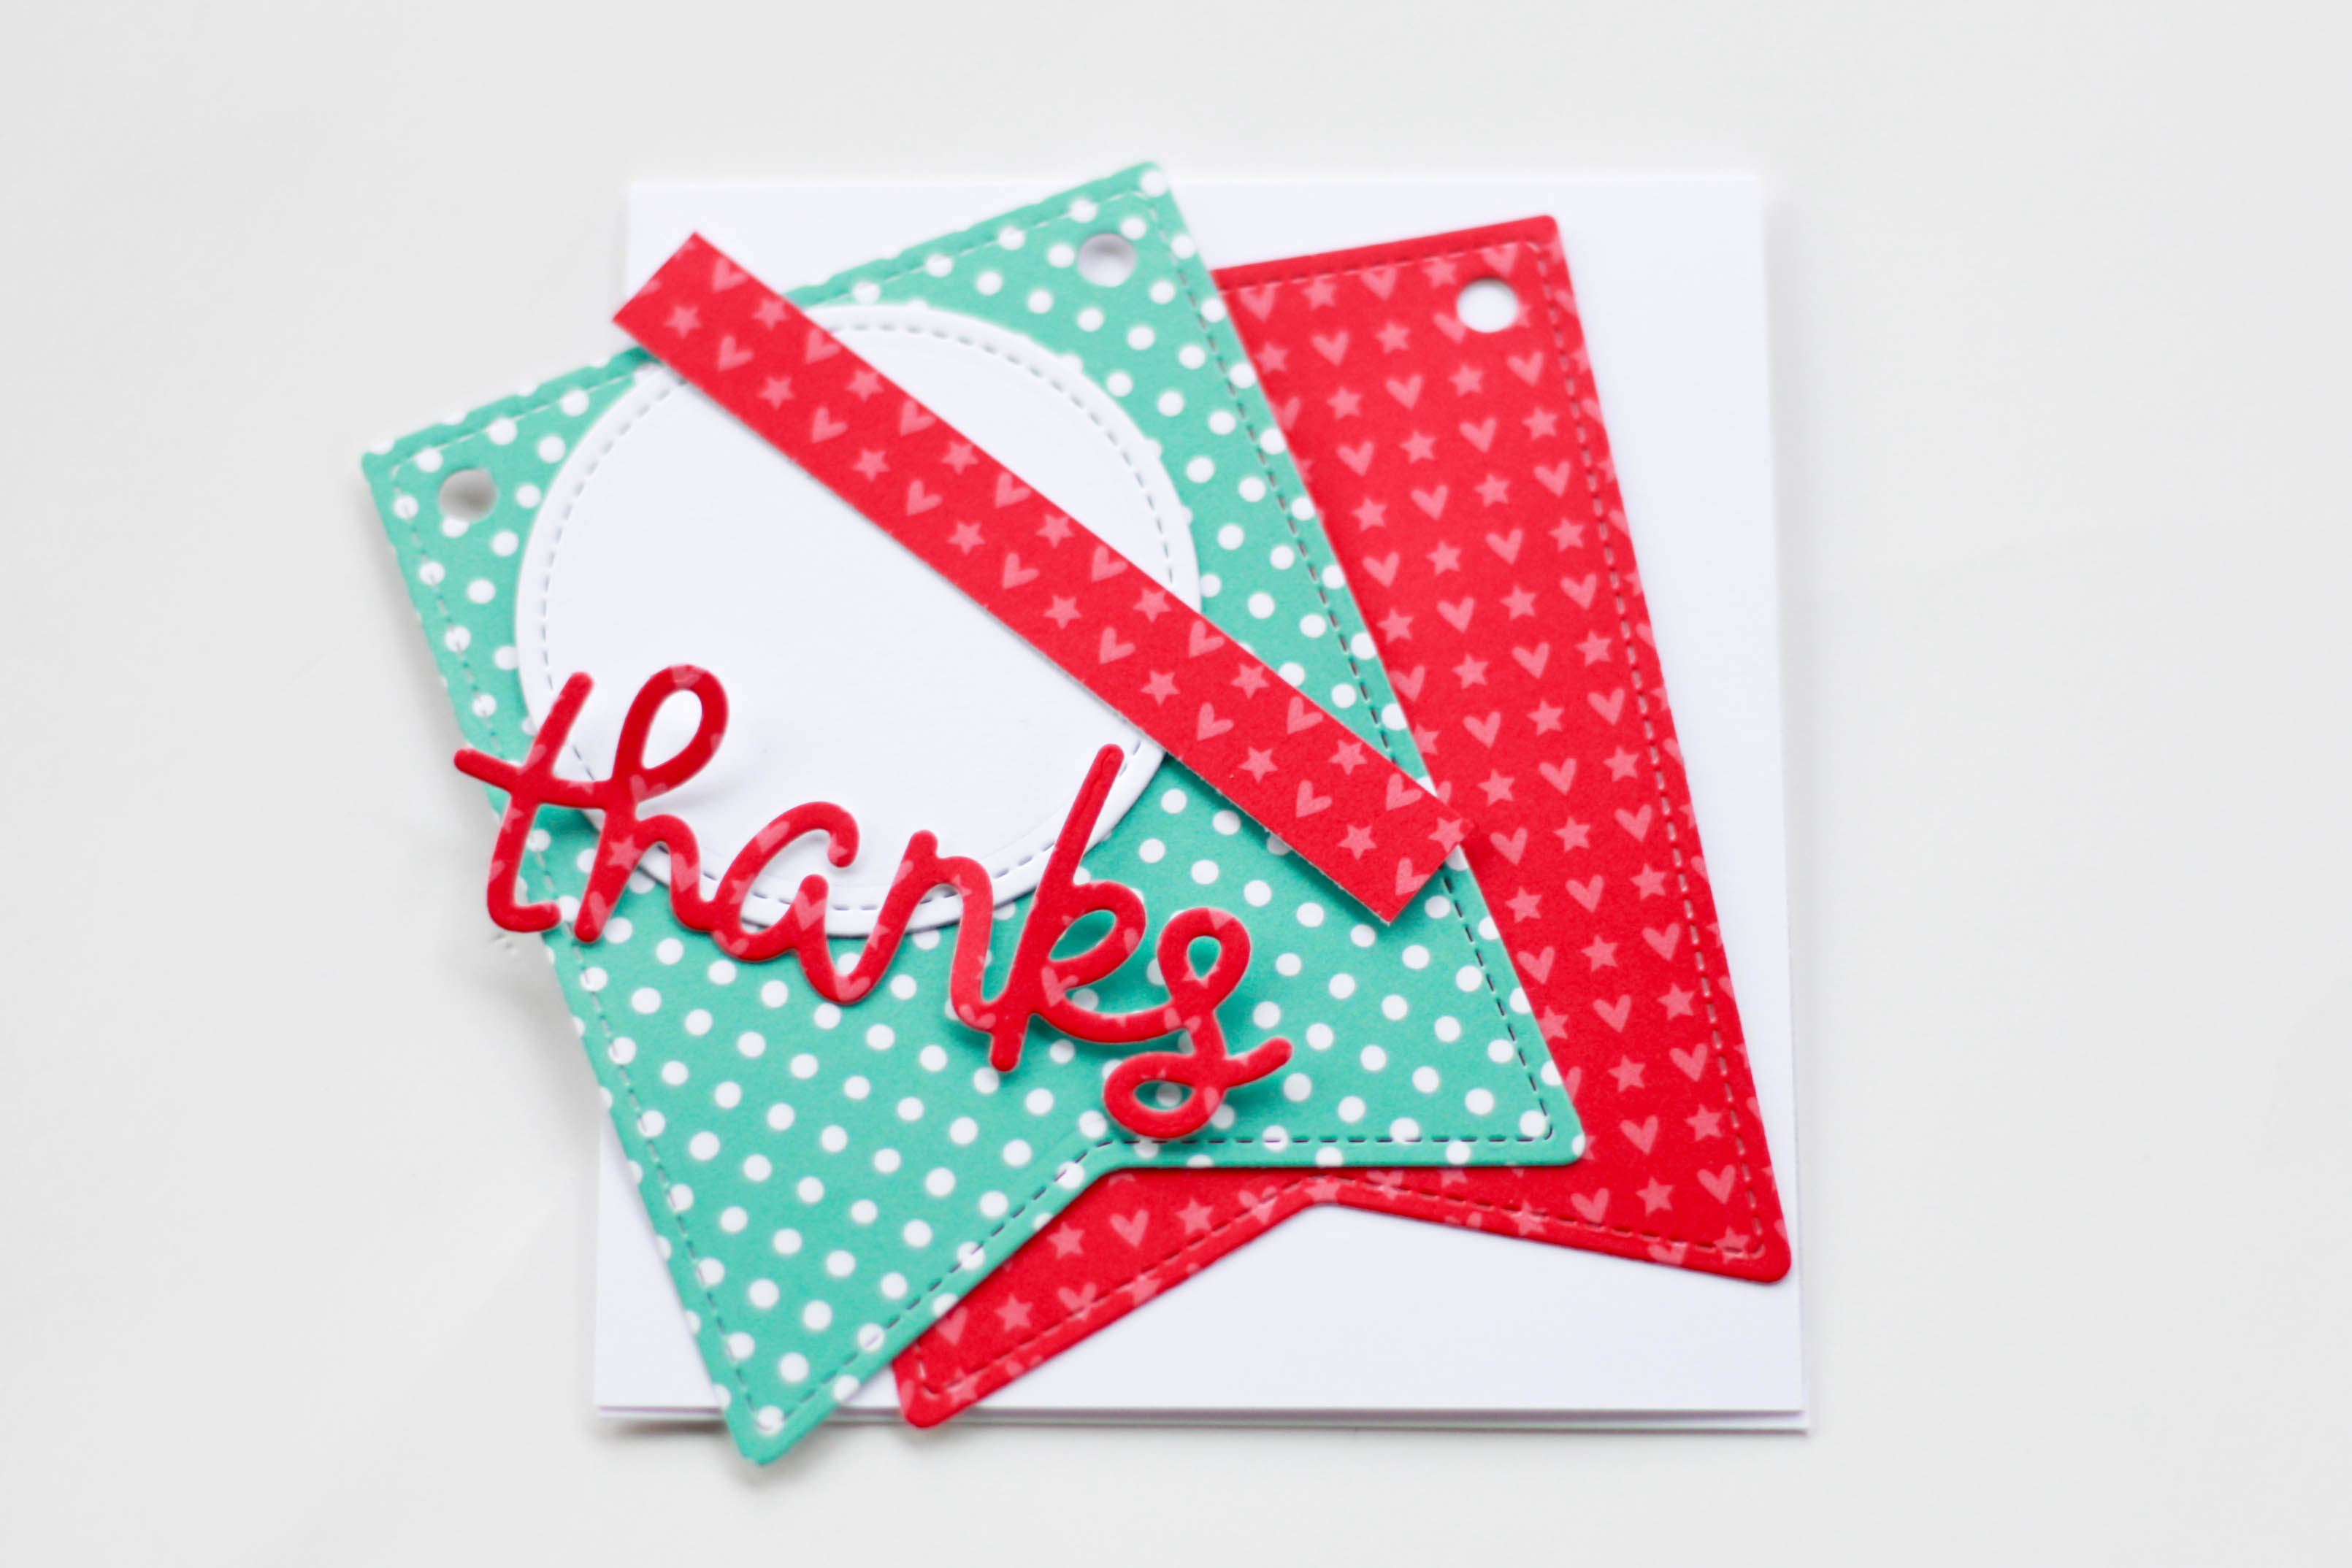
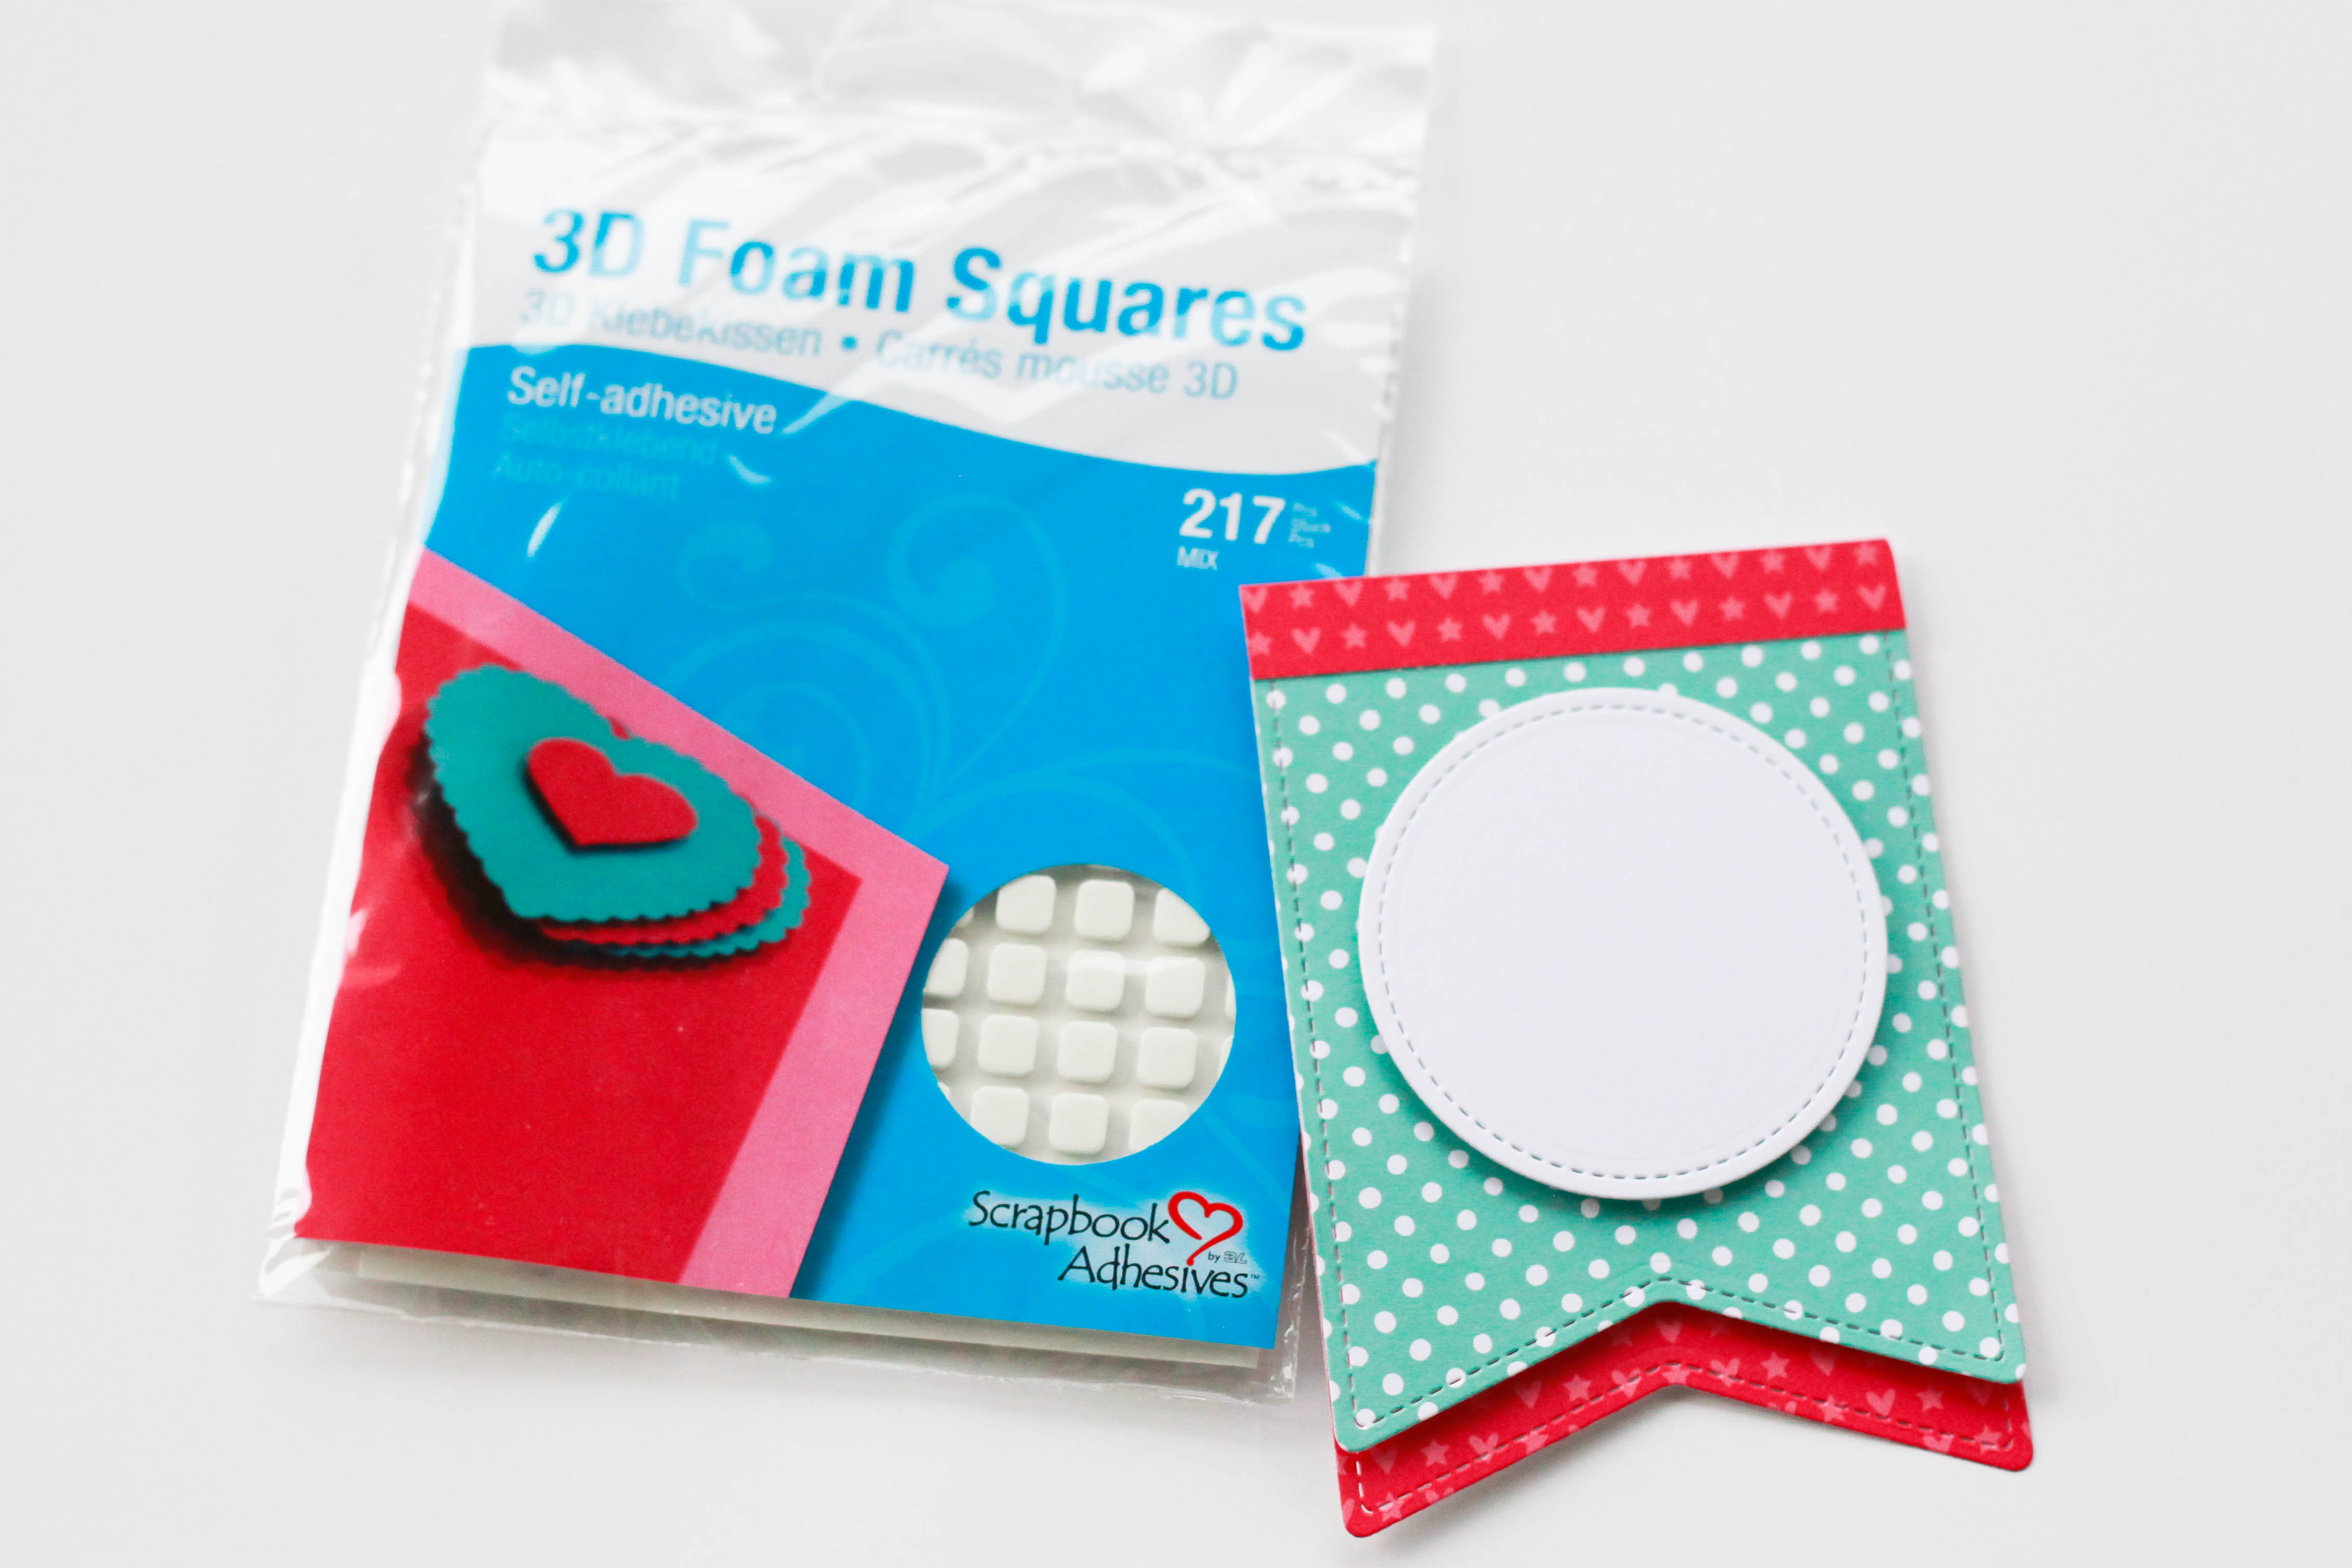
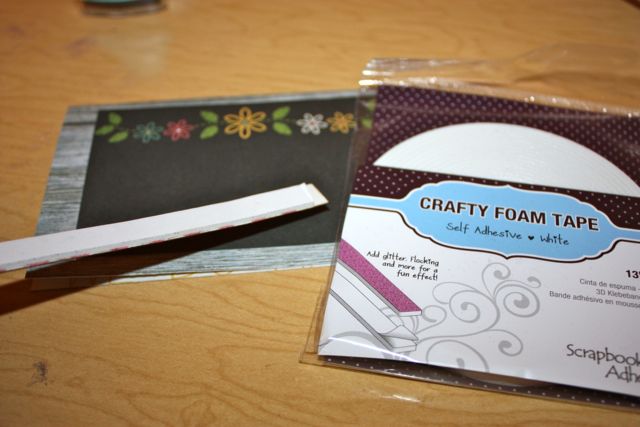
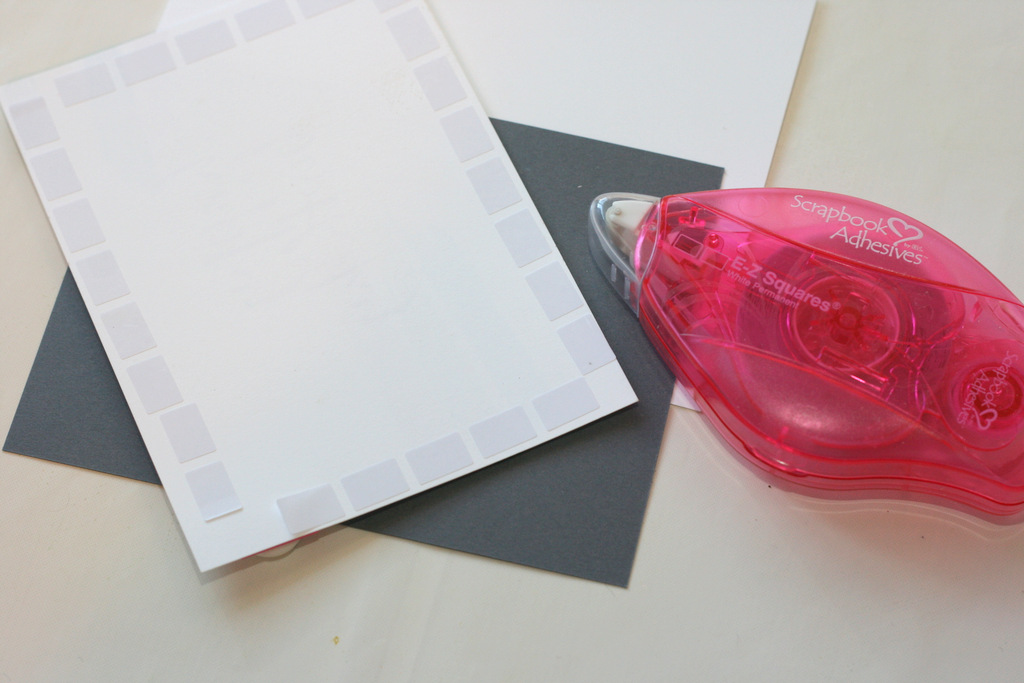
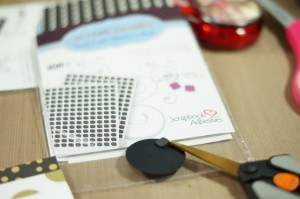 I don’t take the backings off until I know I have all the elements ready for my card. As you can see in the finished card, I decided to add a few more die cut elements, so by not taking the backings off, I saved myself a little card reconstruction (haha!). I also used the