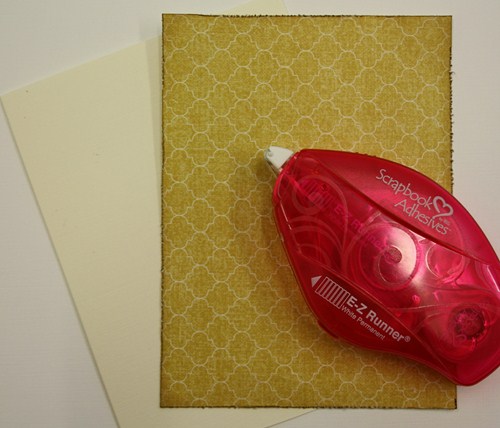
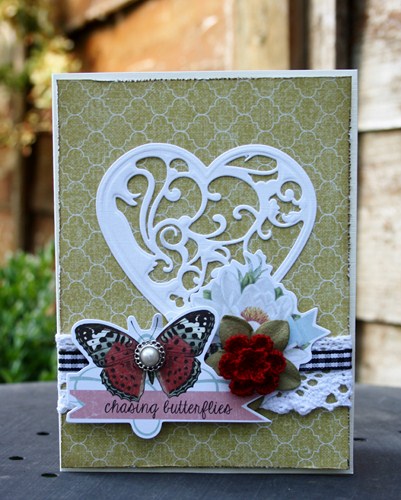
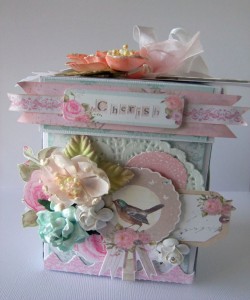
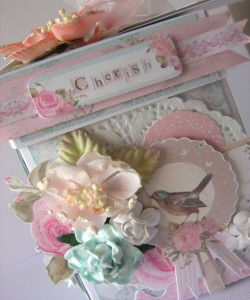
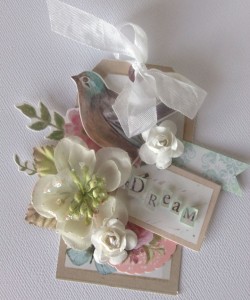
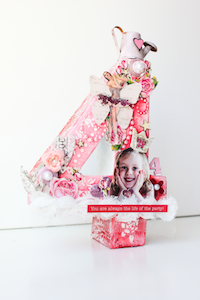
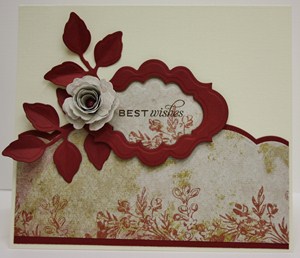
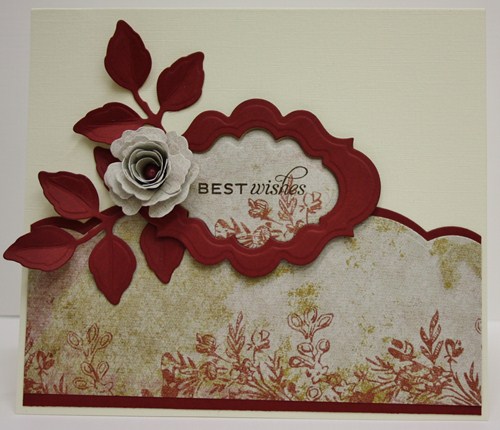
Hello everyone! It’s Angela today, with my FIRST ever Scrapbook Adhesives by 3L® Crafty Power Blog post! YAY! Can you tell that I’m just a little EXCITED? For my first post, I created this altered photo frame using the Adhesive Sheets-4×6″.
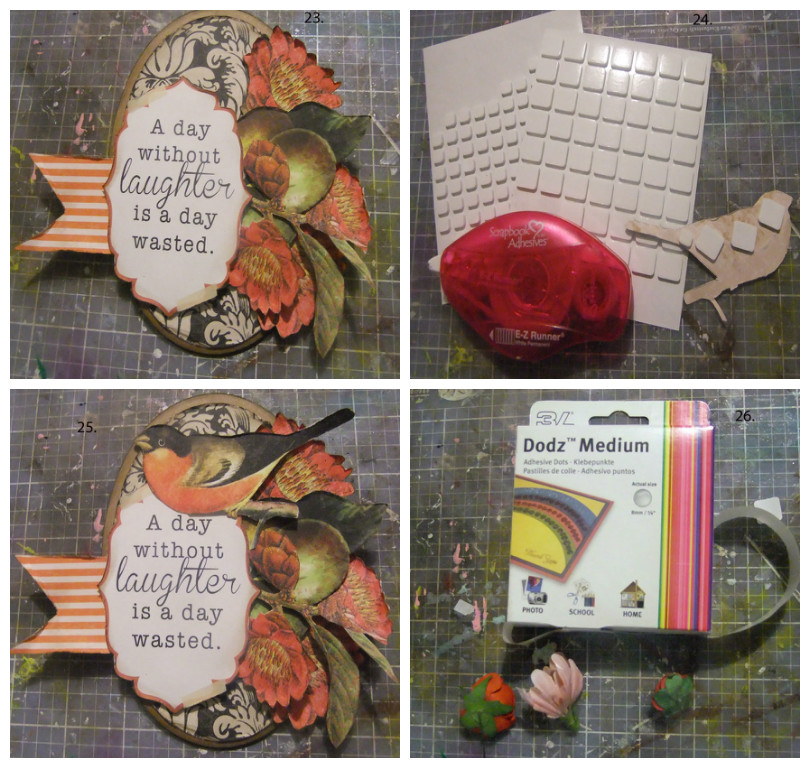
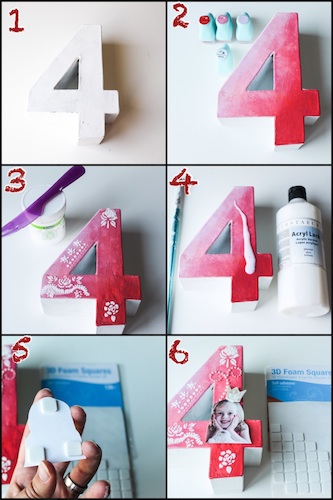
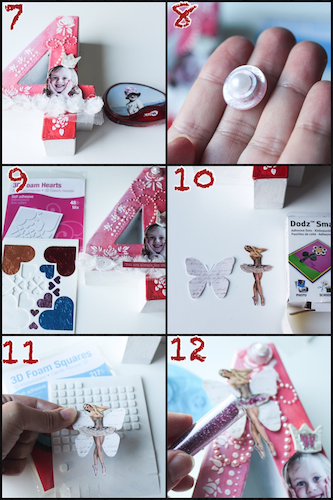
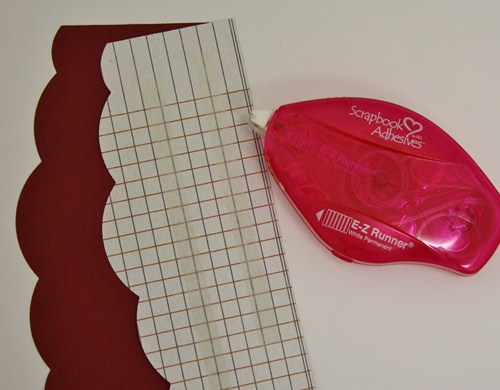
 The Adhesive Sheets were used in two ways. I first used the Basic Lattice die with a repeatable pattern to die cut the Adhesive Sheet directly. I applied the Adhesive Sheet to the painted frame and then applied a glittered embossing powder and heat embossed it. This created a subtle raised pattern with a touch of sparkle.
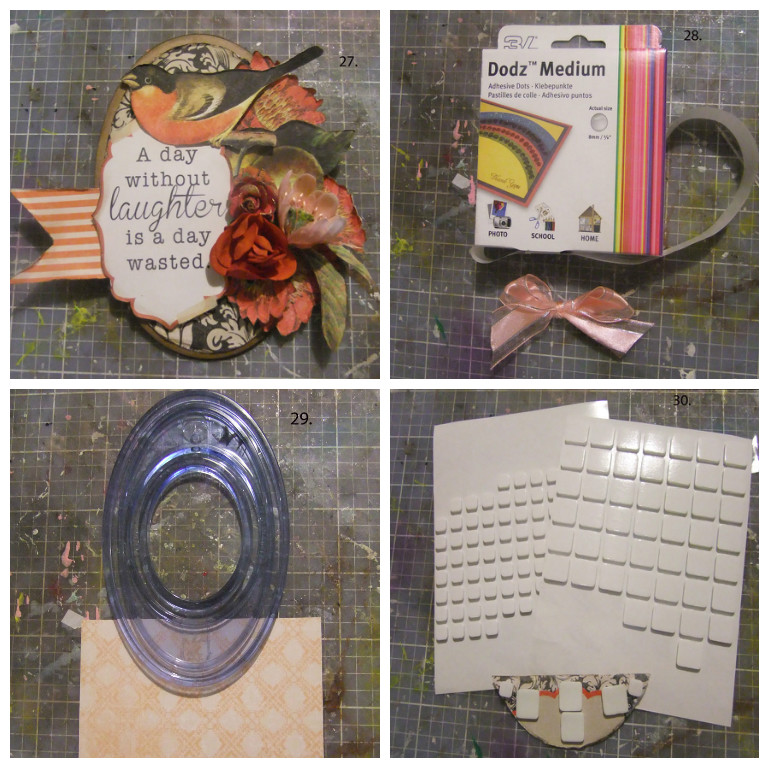
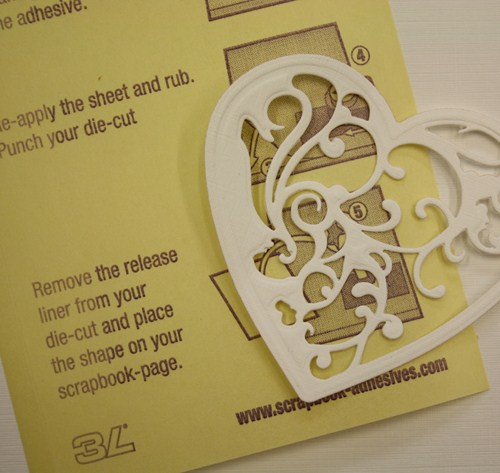
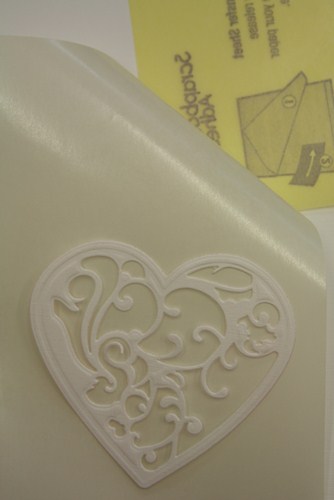
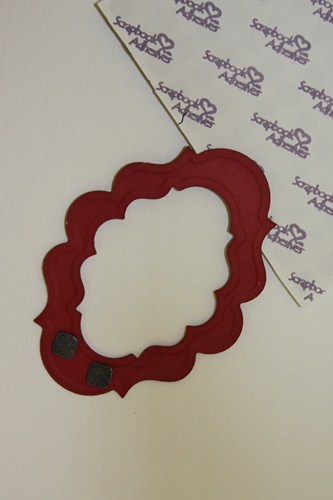
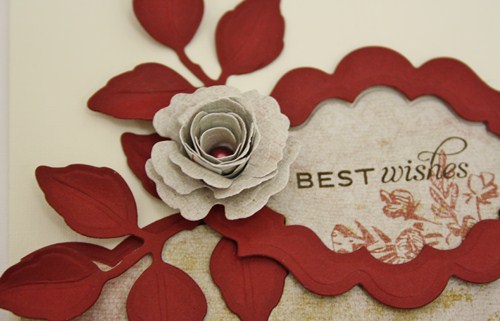
 Additionally, I used the Adhesive Sheets to create the layered heart embellishment. This time, I adhered the Adhesive Sheets directly to the lavender card stock before die cutting the background die with the Lace Hearts die. The vellum top piece was then adhered to the background and the negative space was filled with lavender glitter. The glittered piece was adhered to the foil base using the E-Z Dots® Permanent Refillable dispenser.
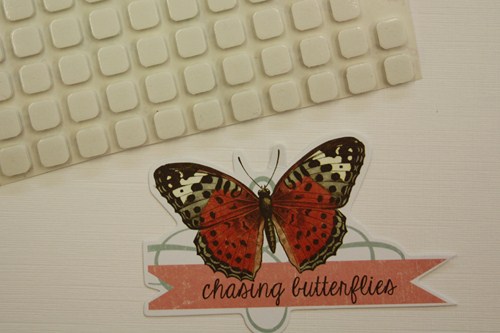
 The 3D Foam Squares White Regular were stacked 3 high and adhered directly to the frame. The heart embellishment was then adhered to the 3D Foam Squares. This allowed the 3D Foam Squares placement to be exact and prevented the heart embellishment from being adhered to the tulle.
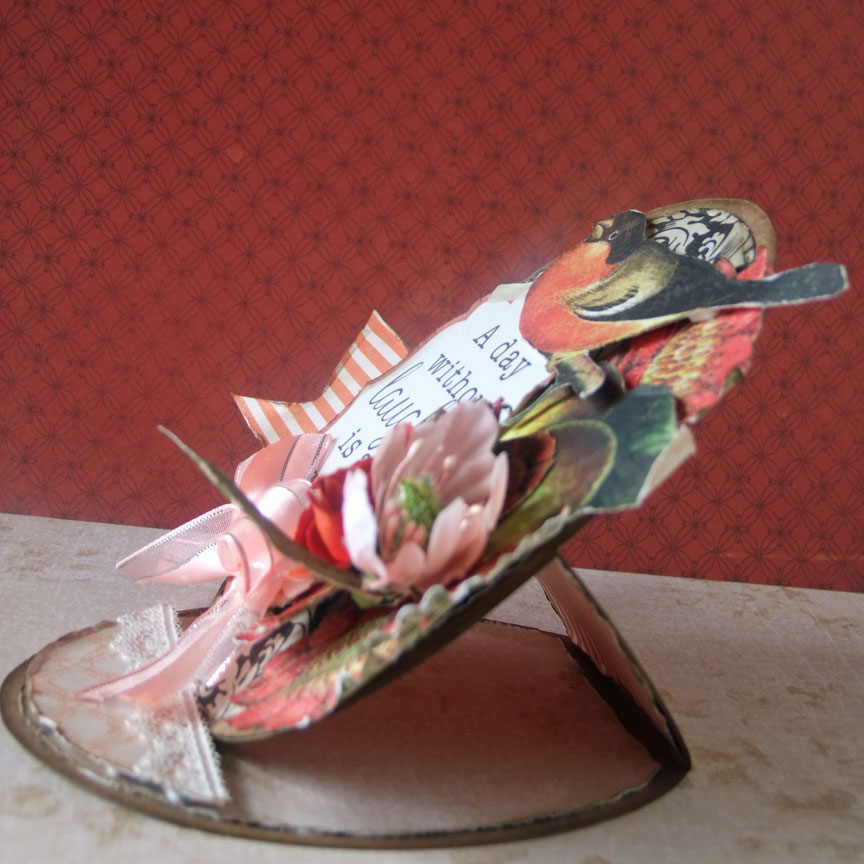
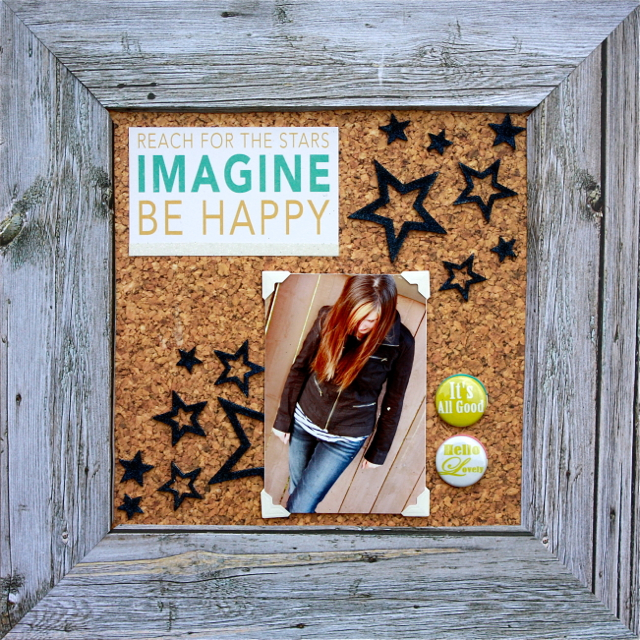
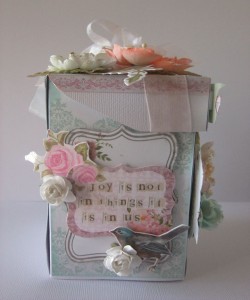
One last adhesive trick was to use a couple of squares from the E-Z Squares® Refill popped into my E-Z Dots® Permanent Refillable dispenser around the wooden peg that acts as a frame stand. It kept falling out every time I picked up the frame, causing some frustration. Luckily it was easily resolved with the right adhesive selection!
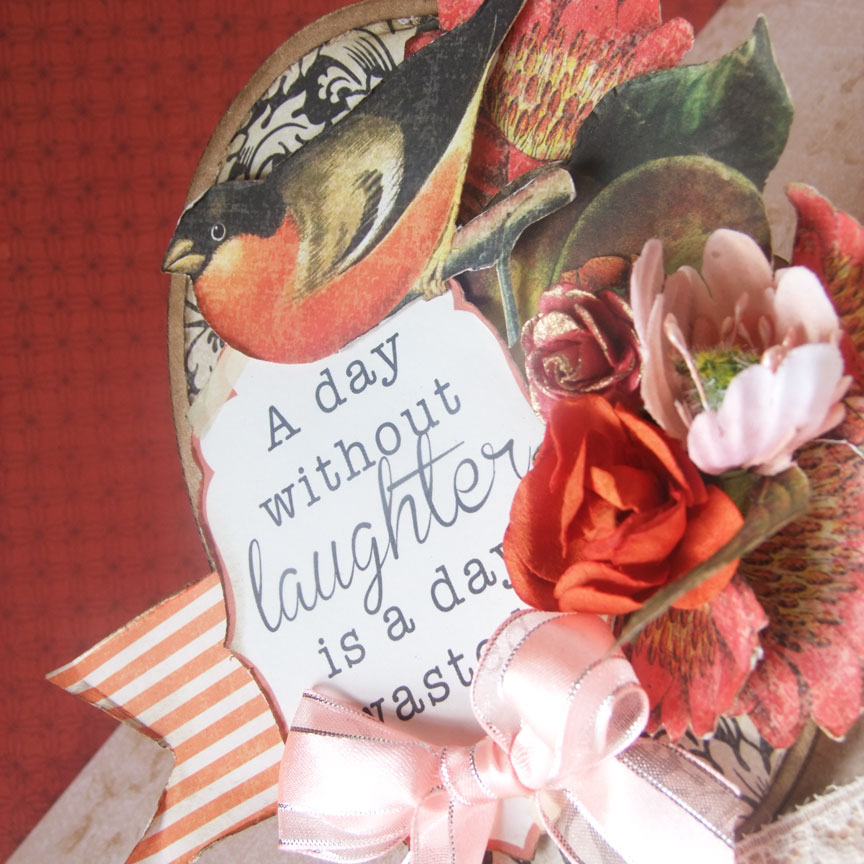
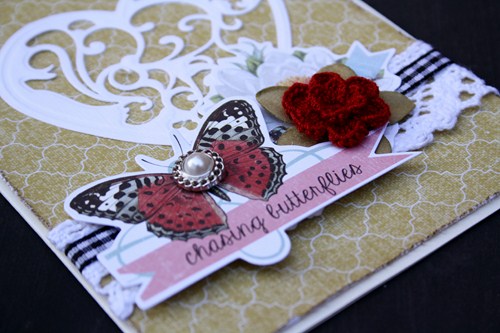
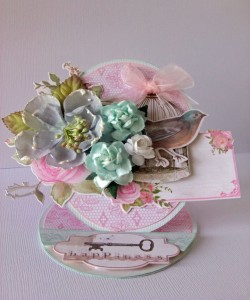
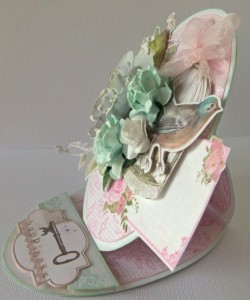
Another view of the finished product:
 Thanks for stopping by today…hope you enjoyed the project I shared!
Supplies:
- Scrapbook Adhesives by 3L: Adhesive Sheets-4×6″ 3D Foam Squares White Regular, E-Z Squares Refill, E-Z Dots Permanent Refillable
- Spellbinders Paper Arts: Basic Lattice. Lace Hearts, Foil
- Ranger Ink: PolySparkle Embossing Powder
- Bazzill Basics: Paper
- WorldWin Papers: Vellum
- Martha Stewart for EK Success Glitter
- ArtMinds: Unfinished Wood Frame
- Grumbacher: Academy Acrylic Paint
- Prima Marketing: Rhinestone
- Tulle: Misc