You are in our US store • Switch to Europe store

Stampendous Blog Hop Day 2!

Hello – AJ here to share with you a fall card using Stampendous Stamps and Scrapbook Adhesives by 3L®.

Since fall is finally upon here in the beautiful Pacific Northwest, I thought I would use the Jumbo Leaves set from Stampendous.  I stamped the Kraft background before adhering it to the card base.  I then stamped another leaf to fussy cut and mount onto my card.

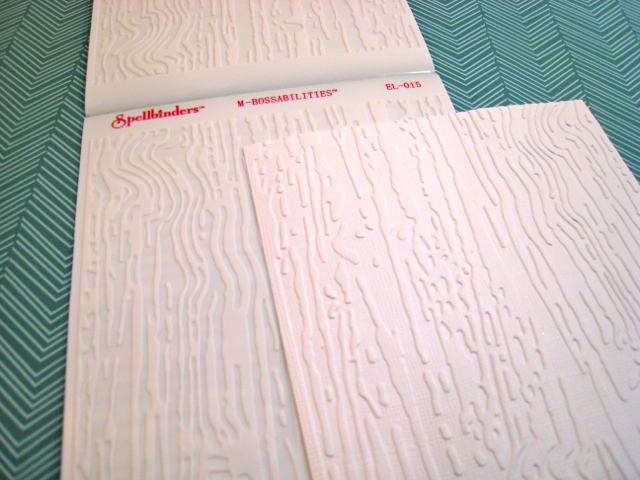
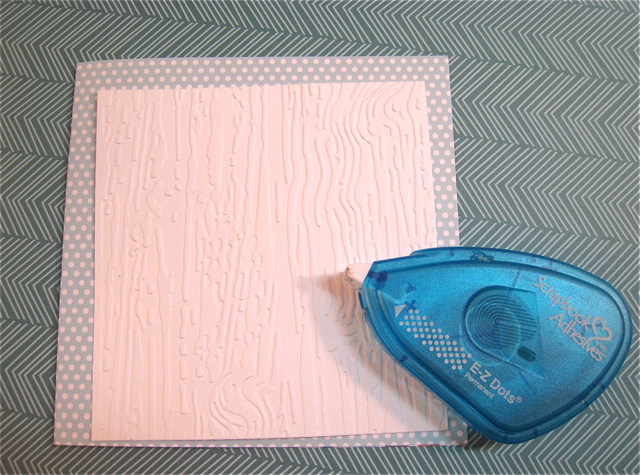
After adhering my stamped Kraft panel down using the E-Z Runner®, I adhered my woodgrain panel down using Crafty Foam Tape in Black.

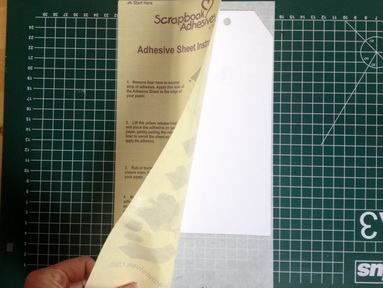
To adhere the rest of the elements to the card, I used Crafty Power Tape on the portion of the white cardstock that would lay on the green embossed cardstock.  The portion that would extend beyond the embossed edge would get a few 3D Foam Squares, as well as the fussy cut leaf.

We’re hopping all week, so please come back each day for new posts!

Each day is a new chance to comment to win one of three prize packages! (note that stamp designs & glitter colors will vary). Comment here, then hop over to Stampendous for their inspiring projects and more chances to win!

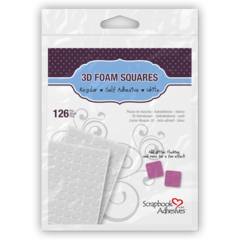
Scrapbook Adhesives by 3L® products used- 3D Foam Squares White, Crafty Power Tape, E-Z Runner Permanent Strips, Thin 3D Foam Squares Black

Other Products:

Stamps- Stampendous Jumbo Leaves

Spellbinders Die Templates

Ink- Kalediacolor from Imagine Crafts™/Tsukineko in Autumn Leaves

Cardstock, Sentiment, & Honey Mustard ink from Gina K Designs

enjoy! AJ

Save

Save

Blog Hop With Stampendous Day 1

Welcome to Day 1 of our Blog Hop with Stampendous! We’re thrilled to bring you a week of creative and fun projects! Today I’m starting with … keepsake mini album pages!

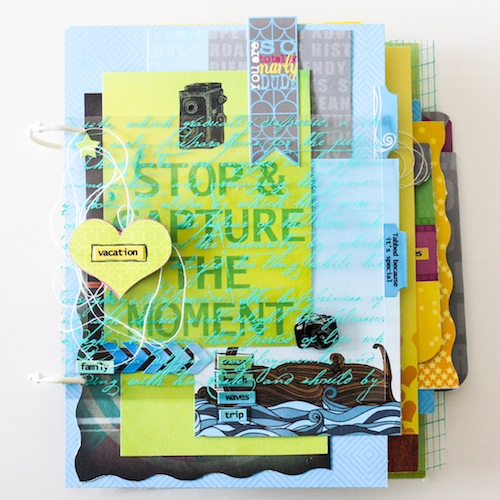
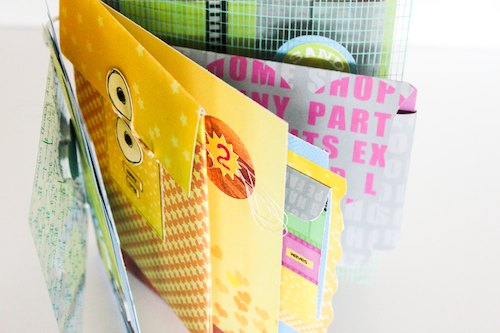
The canvas cover for my album was one of my recent DT projects for Stampendous but now it was time to decorate the pages. And what better week to share the finished album than during the blog team up of my two favourite companies :). There are quite a few pages in my album so the ones shown here are just a selection – if you’d like to see the rest of the album, I’d love you to visit my blog and see my today’s post.

Asia King Keepsake Mini album

There are lots of photos here today so grab yourself a cuppa, make yourself comfortable and let’s begin! For my album pages I used fabulous papers and stickers from Say Cheese collection by Simple Stories.

Stampendous and Scrapbook Adhesives by 3L Blog Hop

The inside chipboard covers were decorated with papers, adhered with E-Z Dots® Permanent around the curved edges and filled with E-Z Runner®.

Throughout my album I used a generous bunch of Stampendous stamps:

Cling Better Travel and Fresh Bloom, Perfectly Clear™ stamps Smashing Notes, Soaring Sentiments, Butterfly Charms, Air Travel, Baggage Claim, Elegant Borders, Tiny Alphabet.

Mini album tutorial

Have you tried our new 3d foam shapes yet? This cool banner was made with 3D Foam Pennants covered with patterned paper and stamped with the Tiny Alphabet.

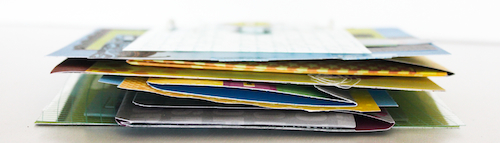
Scrapbooking with Keepsake Envelopes

Stampendous and Scrapbook Adhesives by 3L tutorial

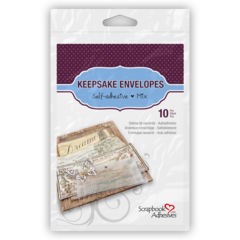
You can hide all your little treasures, entry tickets etc in those cute little Keepsake Envelopes. Also add stamping to your photos with embossing ink and White Detail Embossing Powder.

3D Foam Frame with Stampendous Glass Glitter

Stampendous Champagne glass glitter and 3D foam stars

Add sparkle to your 3D Foam Stars and Frames with Champagne Crushed Glass Glitter, Red Micro Glitter and Black Detail Embossing Powder.

Old envelopes as album pages

Asia King Under a Creative Spell

Cover pages with E-Z Runner

To mount my paper and ribbon tabs I used MyStik and to adhere the layered flowers I used DODZ™ – 3D.

Store ephemera in Keepsake Envelopes

Flower photos in scrapbooking

We’re hopping all week, so please come back each day for new posts!

Each day is a new chance to comment to win one of three prize packages! (note that stamp designs & glitter colors will vary). Comment here, then hop over to Stampendous for their inspiring projects and more chances to win!

So here is who’s playing today:

Asia King (yours truly!)
Kristine Reynolds

Stampendous! Impressions

Other:

Simple Stories – Say Cheese collection

Prima Marketing – Essentials 5 flowers

Ranger – Archival Coffee ink, Archival Vermilion ink, Frayed Burlap Distress Ink

Maya Road – mini album

May Arts – ribbon

Asia King

Save

Thanksgiving Table Decor

Hello everyone!

It’s Kelly here today on Thanksgiving weekend in Canada, so I’d like to share a pretty napkin ring I designed to add a touch of elegance to my dining table today.

With the help of some Crafty Power Tape and new 3D Foam Leaves, this napkin ring is really easy to make.

First I cut the accordion flower with a Sizzix die, and then added a strip of Crafty Power Tape along the scallop edge.


I peeled off the backing and added copper glitter.


After assembling the accordion flower and adhering it together with Crafty Power Tape and Dodz Medium, I made a copper glitter leaf using one of the 3D Foam Leaves.


Next I rolled a piece of paper and attached a second lacy die cut strip to it with more Crafty Power Tape to form the “ring” part of the napkin ring.


I put several Dodz Medium on the back of accordion flower to help it stay put on the ring. Those Dodz definitely keep things in place because of their high tack.


Now I’m ready to set my table!

Do you know what I’m thankful for?  I’m thankful for all the wonderful Scrapbook Adhesives by 3L™ products that help make my crafty designs turn out just right!

Happy Crafting!

Kelly Klapstein (aka KellyCreates)

SUPPLIES:

 Basic Grey papers, Sizzix dies and Big Shot, EK Success Glitter

Save

Creating Encrusted Embellishments with Designer Shapes

Hi, Kimberly here. I know. Don’t be mad. But someone had to start showing holiday cards! I love the new 3D Foam Designer Shapes and how beautiful they can make your handmade holiday cards!

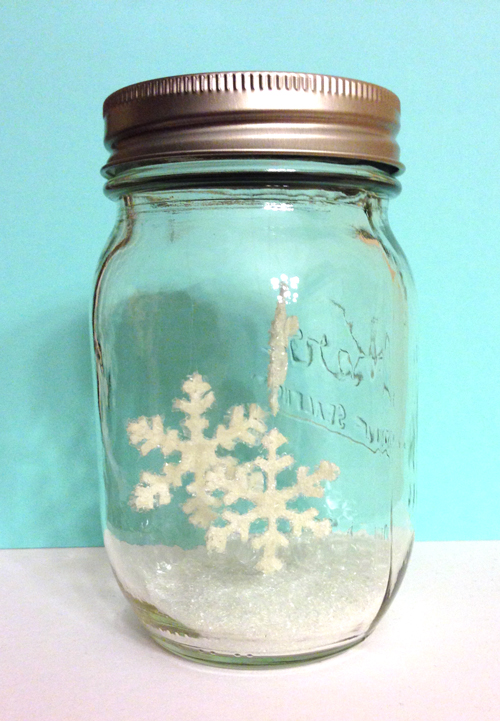
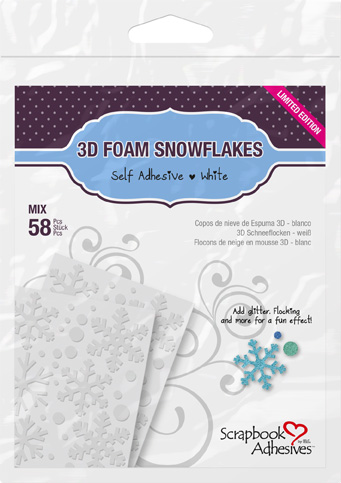
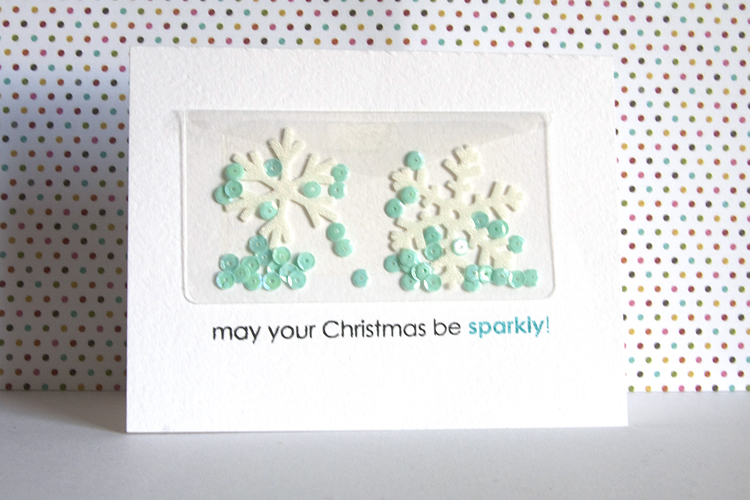
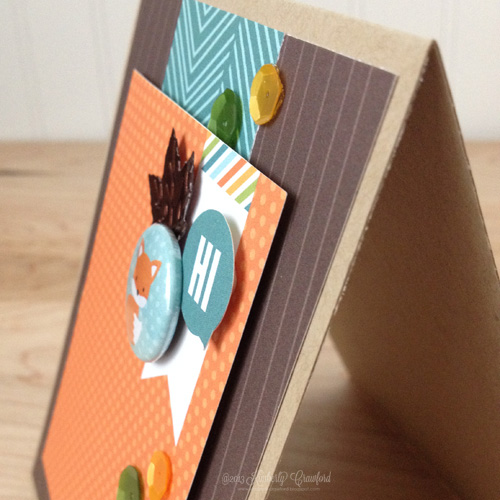
I used the 3D Foam Snowflakes for this card. The different shapes of flakes are beautiful! They are very detailed and can be tricky to remove, so start by lifting the arm of each flake towards the center, then it will come off the backing without any issues. Once the snowflakes were off the backing, I applied them to the card, along with several of the circles. (Leave the top piece of backing on the foam until you are ready to cover them. This will keep from getting the “wrong” medium on the snowflakes.)

The first two snowflakes were covered in Rose Fragments. These fragments are colored flakes of a clay-type material. The flakes were too large for my snowflakes. To make them smaller, I simply mashed them with my fingers until they were the desired size. Then they were sprinkled generously on the snowflakes. I pushed down on the flakes and then tapped off the excess. (Save them and put them back in their container!)

Here is a look at the chunky snowflake. All of the dimension is so cool!

I repeated the same process on the other two snowflakes, but used Shabby Pink embossing enamel. Another very cool effect! The circles got Champagne Crushed Glass glitter, to add even more sparkle.

The sentiment was stamped and heat embossed with gold powder onto vellum. (Thanks to Betsy Veldman for inspiring this!)

So are you in the mood for holiday cards now?

01216 3D Foam Snowflakes

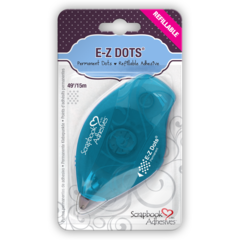
E-Z Runner Permanent Strips Refillable dispenser

thanks for stopping by!

Kimberly Crawford

Supplies: Adhesives-Scrapbook Adhesives by 3L (3D Foam Snowflakes, E-Z Runner® Permanent Strips Refillable), Stampendous! -Fran-tage Encrusted Jewel Kit (Pink), Stamps- Technique Tuesday (Jingle All the Way), Patterned paper- DCWV (Linen Closet), Ink- Tsukineko (Versmark Watermark), Embossing Powder- Stampendous! (Pirate Gold)

Layout – Funny Girl

Hi there! I want to share a layout with you I made for the Scrapbook Adhesives by 3L® DT.

This is a layout about my daughter and our summer with three different photos and stories behind it.

Here is a step by step tutorial how I made it.

1 – In the first step I’ve placed the materials that I wanted to use: paper and sticker from Basic Grey collection RSVP, white cardstock, some overlays from Hambly, bag from Fancy Pants Parkbench and cards/tag from Amy Tangerine’s Ready Set Go collection and Pink Paislee Hope Chest collection, Polaroid frame from Heidi Swapp, some leftovers and pieces of selfmade paper.

2 – Adhering the white cardstock and two papers behind it with the E-Z Dots Permanent refillable dispenser

3 – Arranging the tags and cards and adhering them also with the E-Z Dots Permanent refillable dispenser

4 – Attaching the last middle layer, a polaroid frame, with 3D Foam Squares White – Mix to highlight it.

5 – I cut out some photo silhouettes.

6 – I adhered them with 3D Foam Squares White – Mix to achieve a 3D effect.

7 – I adhered the (selfmade painted) bird also with 3D Foam Squares White – Mix and I added some stripes, a heart and circle by using the E-Z Dots Permanent refillable dispenser

8 – At least I used alpha sticker and other sticker from Basic Grey collection RSVP. I finished the layout with a Journaling on a tag behind the photo on the right side.

Thanks for visiting! Have a nice day!

Save

Playing with Simple Shapes-An Owl Room Banner featuring Photo Corners

Hello everyone! It’s Angela today, playing with circles, triangles and hearts to create this fun owl room banner for my daughter’s room.

Playing with Simple Shapes-An Owl Room Banner featuring Photo Corners by Angela Ploegman

The Banner

The banner is created from a single 12 x 12 piece of patterned paper, folded in half from corner to corner and then trimmed down to 6 inches in width. Before securing the front and back together with Crafty Power Tape, the inside of the back piece was lined with Creative Photo Corners Black. After assembly, the remaining exposed adhesive on the back side of the Photo Corners was dusted with baby powder to remove the tackiness.

The Owl

The owl embellishment is created from a variety of different sized circles. The feathers on his body are made by layering the Creative Photo Corners White over the largest circle. His beak is another Black Photo Corner (with a bit of trimming) and his feet are the top of a 3D Foam Heart dusted with colored sprinkles. His ears are the negative space from the 3D Foam Pennants with a patterned paper topper. The center of his eyes are Adhesive Dots Small covered with black glitter.

Playing with Simple Shapes-An Owl Room Banner featuring Photo Corners by Angela Ploegman

Some 3D Foam Squares and an E-Z Runner® hold everything together.

I love how this project came together from a collection of simple shapes!

  • Creative Time: 1 Hour
  • Skill Level: Intermediate

Angela

Scrapbook Adhesives by 3L Supply List:

Other Supplies: Pebbles patterned paper and large alphabet letters, Basic Grey small alphabet letters, Spellbinders Nestabilities Standard Circles SM and LG, Bazzill Basics Paper Card Stock, EK Success glitter, Flower Soft colored sprinkles, Doodlebug Design patterned paper (green), misc. dowel and trim.

See 10 ideas for using Creative Photo Corners to create texture:

Create Texture with Creative Photo Corners blog post with 10 Unique Projects featuring Photo Corners!

Double Embossing Tutorial

Hi There!

Shell Carman here today. I’m really loving the concept of wearing your adhesive on the outside! With the new release of the Designer Foam Shapes there are some gorgeous designs to choose from that are so pretty they need to be a feature on your craft projects!

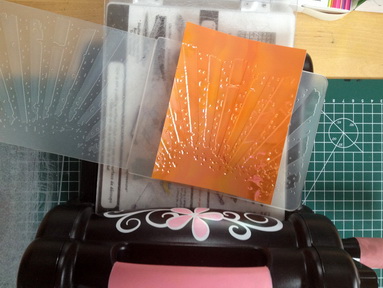
I have an easy Double Embossing Tutorial that I have used on the 3D Foam Pennants.

1. Separate 1 3D Foam pennant
Leave the backing on for now.

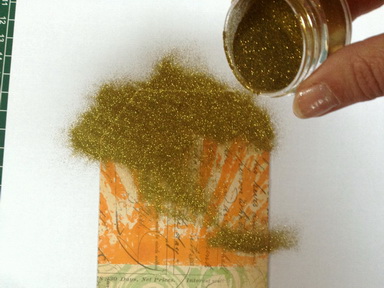
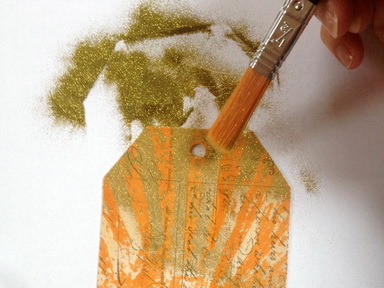
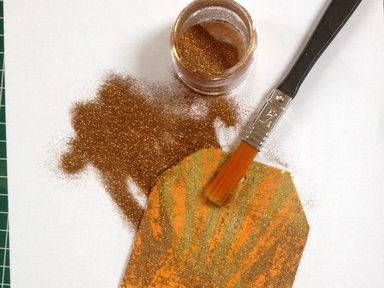
2. Place upside down in selected embossing powder. Make sure pennant is completely covered with embossing powder. Lightly tap off any excess powder.

3. Set embossing powder with a heat gun

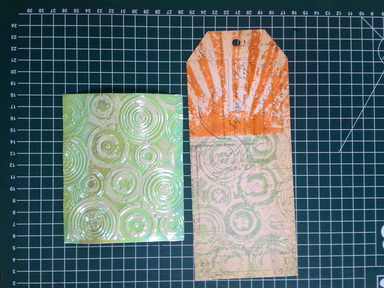
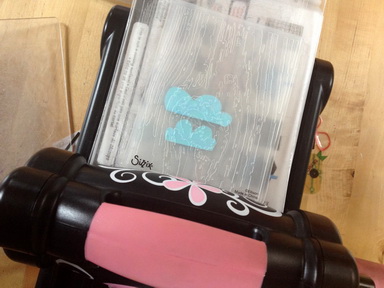
4. Place 3D Foam Pennant inside an embossing folder. Run embossing folder through embossing machine.

5. Peel backing from 3D Foam Pennant & adhere to your page


Other Products Used
Bo Bunny The Avenues paper
Prima Flowers
Prima Junkyard Findings clocks
Prima resins
American Crafts Zing Embossing Powder

Thanks for Looking!
Cheers
Shell Carman- Another Scrappy Day

Save

Video Tutorial: Thank You Card

Hello Blogosphere! It’s Tiffany here with another Video Tutorial! If your weather has been anything like the weather I’ve had in the Pacific Northwest, then you’ll love this bright Thank You card using the NEW Designer Shapes! Learn how to Wear Your Adhesive on the Outside too 🙂

Video Tutorial:

I just love those 3D Foam Wings!

And, how fun are the little triangles from the 3D Foam Pennants!?

Here are the Scrapbook Adhesives by 3L products I used:

Additional Products Used:
Stamps: Lawn Fawn (A Good Apple, Stay Tuned, Interlocking Backdrops)
Cardstock: Neenah (Solar White), Recollections (Tropicals)
Glitter: Martha Stewart
Inks: Fresh Ink (Slate, Navy), Colorbox by Stephanie Barnard (Guava)

Thanks so much for stopping by,

Hope Card for October

October marks the month we use the color pink to raise awareness for breast cancer.

Today’s card is a sweet note that you could send to support a friend.

Beth PIngry Hope Card

I love the chalkboard look, and decided black would make the image pop. I stamped with chalk in, heat embossed and then triple matted the image. I added 2 sizes of 3D Foam Hearts, and heat embossed them as well. See how great this looks!

Pink ProductsI added the Pink Photo Corners to 3 of the corners, tied twine around the front panel and secured it with the 3D Foam Heart.

Look for these products at your favorite retailer, and help us support the National Breast Cancer Foundation!

  • Pink E-Z Runner® Permanent Strips
  • Pink E-Z Squares®
  • Pink Photo Corners

Beth Pingry

I used these supplies:

  • Scrapbook Adhesives by 3L®: Pink E-Z Runner® Permanent Strips, Pink Photo
    Corners, 3D Foam Hearts
  • A Jillian Vance Design: Hope Ink Pink Stamp Set
  • Sparkle N’ Sprinkle: Princess Rose Embossing Powder
  • Imagine Crafts/Tsukineko: VersaMagic Chalk Ink – Pink Petunia
  • WRMK: Fancy Floss – Lollipop
  • Cardstock

Save

Save

A Flowery Fall Layout

Hello everyone!

It’s Kelly here to share a different kind of Fall scrapbook layout…one that involves flowers! A couple of weeks ago I took a short trip to Phoenix, Arizona, and was able to experience Fall in the desert.  Well, it certainly is different than my Fall in Canada!

Flowery Fall Layout by Kelly Klapstein for Scrapbook Adhesives by 3L Blog    

These 4 photos are from a tour through the Desert Botanical Gardens, a beautiful conservatory of desert landscape and vegetation.  And was I surprised to see all the beautiful flowers blooming!

To adhere my photos and papers, I used the MyStik® Permanent Strips Dispenser.


Have you personalized your MyStik® yet? I was at the Great Canadian Scrapbook Carnival in Calgary on the weekend (hosted by Canadian Scrapbooker Magazine), and there was a contest for altering the dispenser:

Altered MyStik Dispensers - Scrapbok Adhesives by 3L

Wow!  Look how creative these designs are! You won’t ever lose your adhesive again when you’re scrapbooking with friends (unless they like your personalized design better than theirs ha ha!)

But back to my layout….I used 3D Foam Squares to pop up the stickers and butterflies:

I added some green glittery 3D Foam Leaves:

Two different shades of green glitter make these leaves sparkle:

I left the leaves in the foam sheet when I added the glitter:

I love the pretty shine they add to the design!

Now that I’m home again, it’s back to the REAL autumn….yellow, red, orange and brown! I hope you’re enjoying a beautiful Fall wherever you live.

Happy Crafting!

Kelly Klapstein (aka KellyCreates)

SUPPLIES:

  • Basic Grey papers and stickers
  • Hampton Art Glitter
  • Ranger Stickles
  • Spellbinders butterflies
  • Kuretake Zig Millenium pen
  • Layout Sketch Design by Sue Sykes for Canadian Scrapbooker Magazine

Save

Save

Save