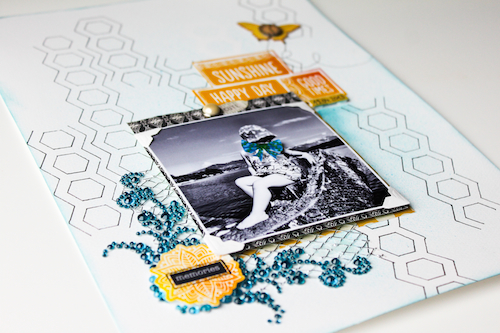
Hi everyone! It’s Kelly here today to share a few thoughts about my latest scrapbook layout.
Have you ever hung around with 13-year-old girls and really listened to what they talk about? I have the pleasure of doing so on a regular basis because of my youngest daughter and her friends.
Most days, they make me laugh…with their funny stories and playfulness. They are still at that age of awkward innocence, trying to figure out who they are, but not taking themselves too seriously.
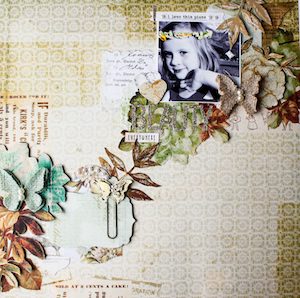
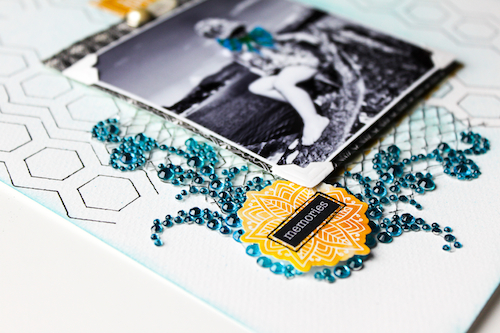
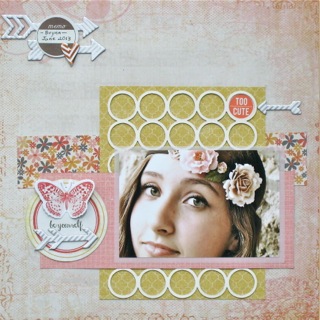
But sometimes they make me feel sad, when I hear them commenting on their appearances, and the words “ugly” and “fat” are thrown about. It’s hard for me to bite my tongue, and last week when my daughter and her best friend were sitting in the kitchen making flower headbands, there was some negative chatter. Right then and there I told them to put on their headbands and come outside for some photos! I wanted them to see themselves as they truly are….young, beautiful….but most of all, I hoped they would always believe that not matter how old you are, you can “Be Yourself”, be confident and feel good about life!
And that is the story behind this layout.
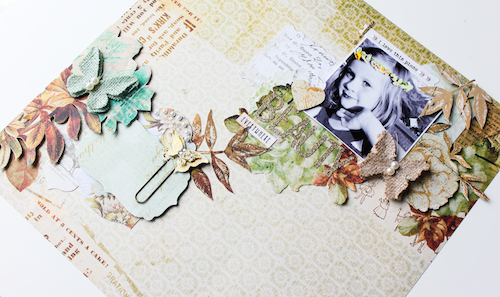
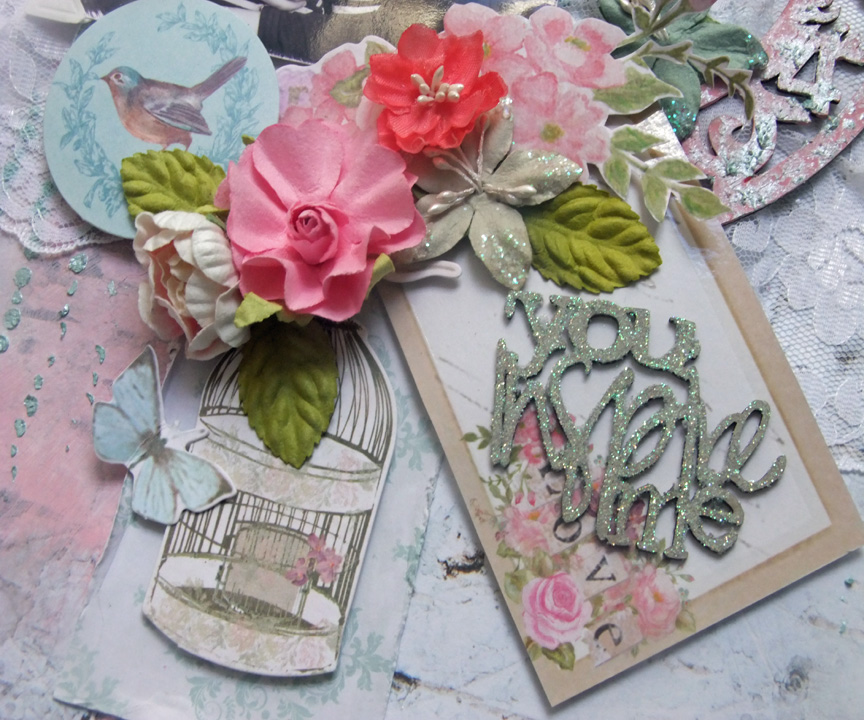
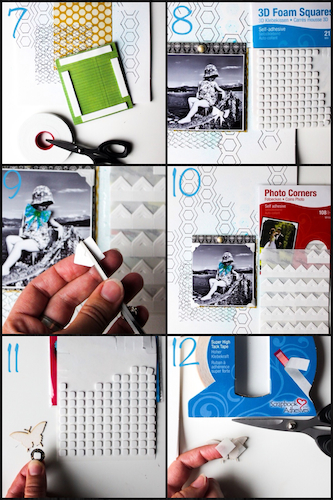
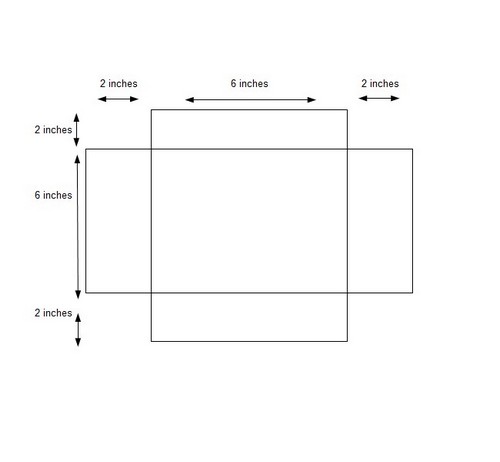
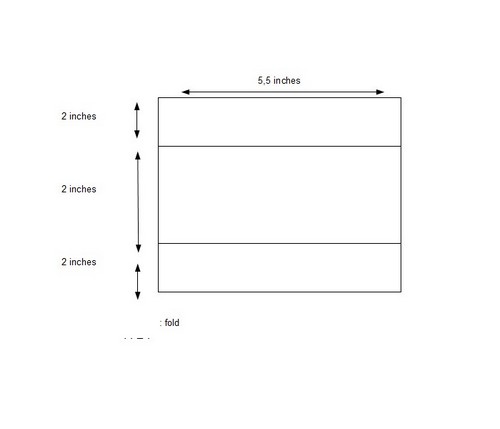
 I used the new July sketch from Canadian Scrapbooker’s Sketchy Challenge to design this layout, and three different adhesives helped me put it all together.
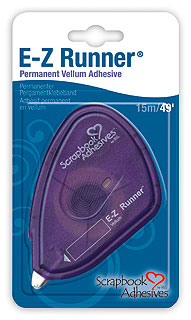
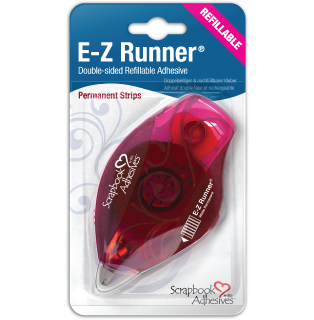
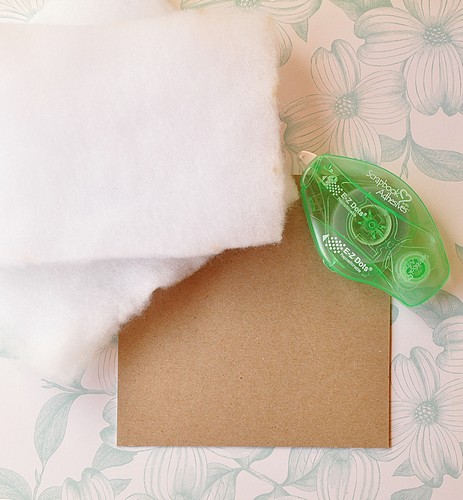
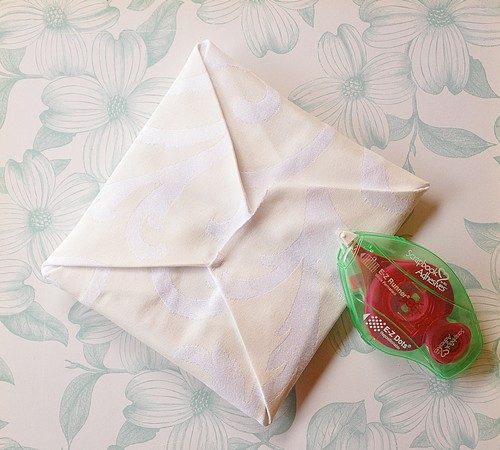
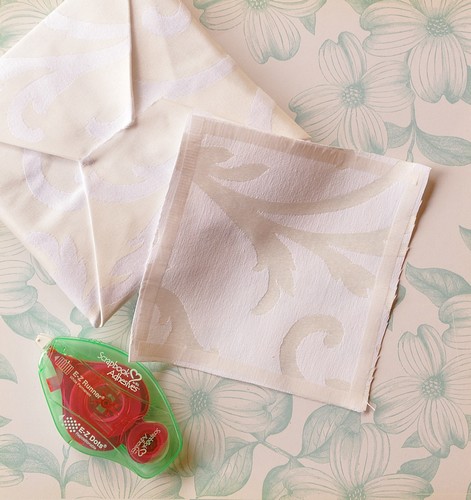
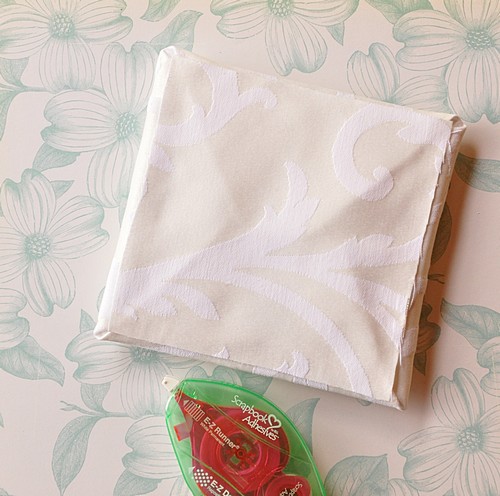
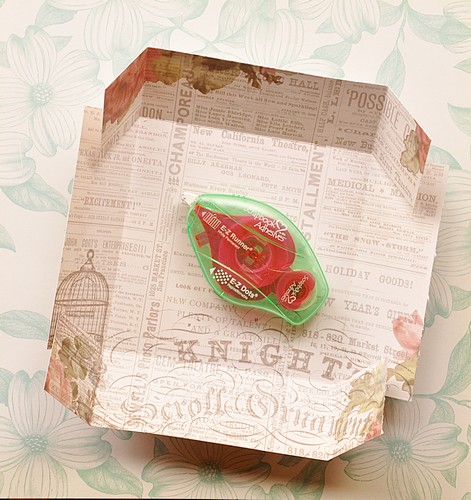
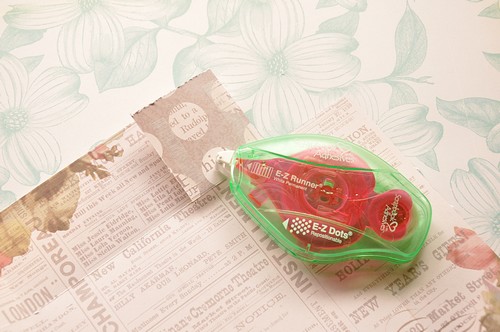
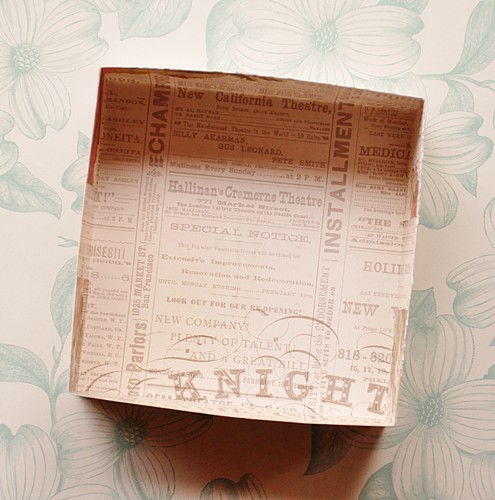
I used my E-Z Runner™ Refillable Permanent Strips to adhere my paper:
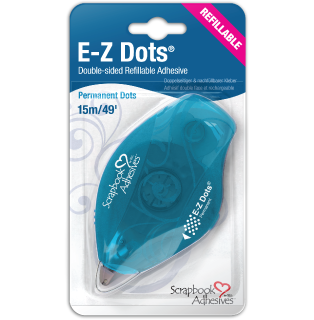
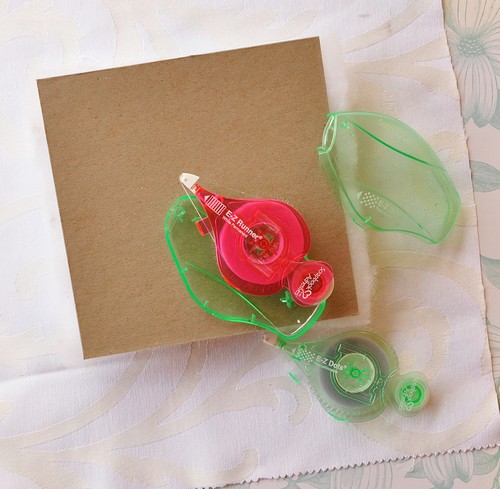
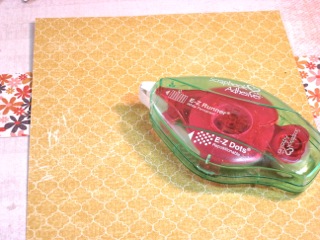 You can see that my ‘red’ E-Z Runner™ Permanent Strips Refill is inside my ‘green’ E-Z Dots™ Repositionable dispenser. I love these interchangeable runners and dispensers!
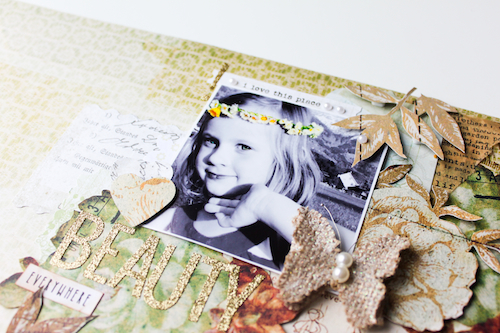
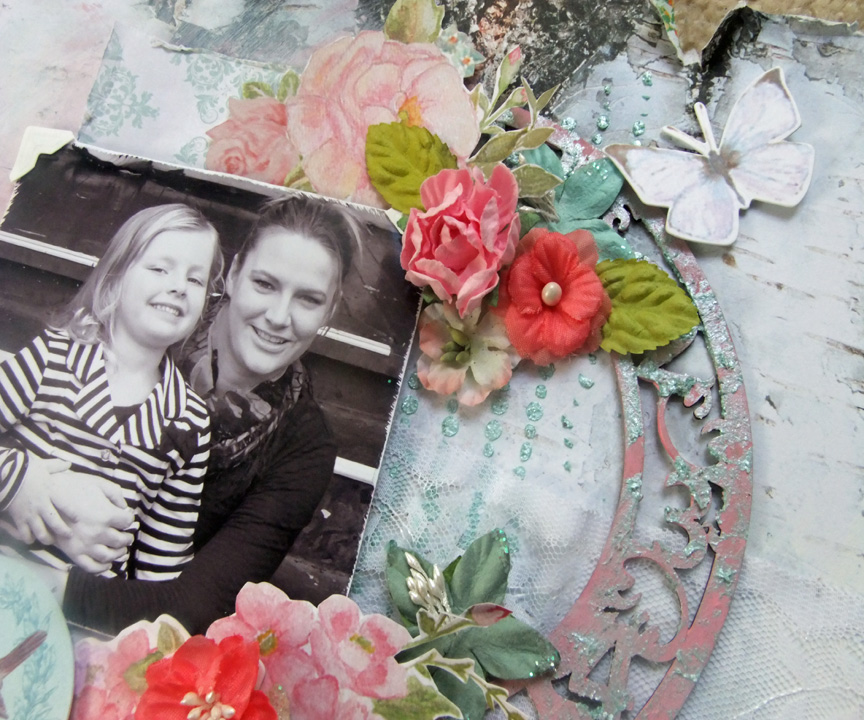
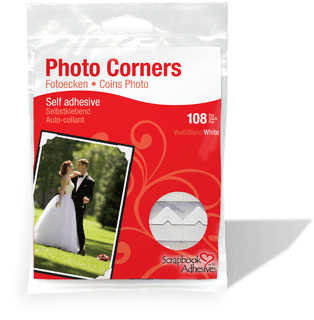
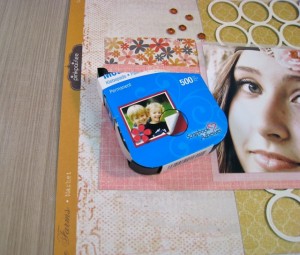
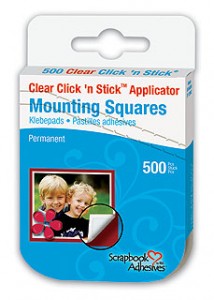
I used the Click ‘n Stick™ clear mounting squares to adhere my photo:
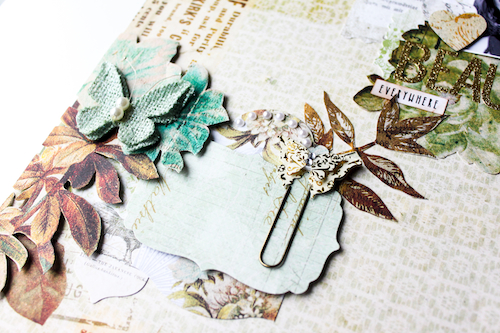
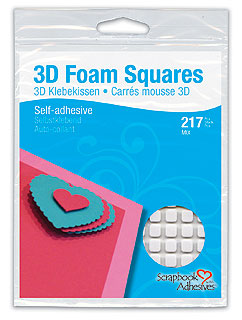
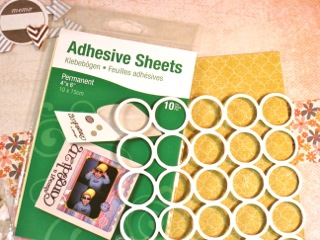
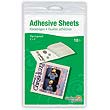
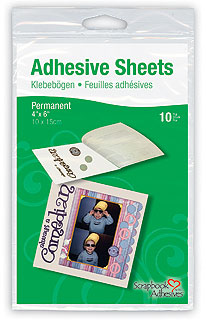
The Adhesives Sheets were perfect to help stick down the chipboard circles:
Maybe seeing her photo on a layout like this will inspire one 13-year-old girl to believe she truly is beautiful! I hope scrapbooking brings some beauty into your life too 🙂
Happy Crafting!
Kelly Klapstein (aka KellyCreates)
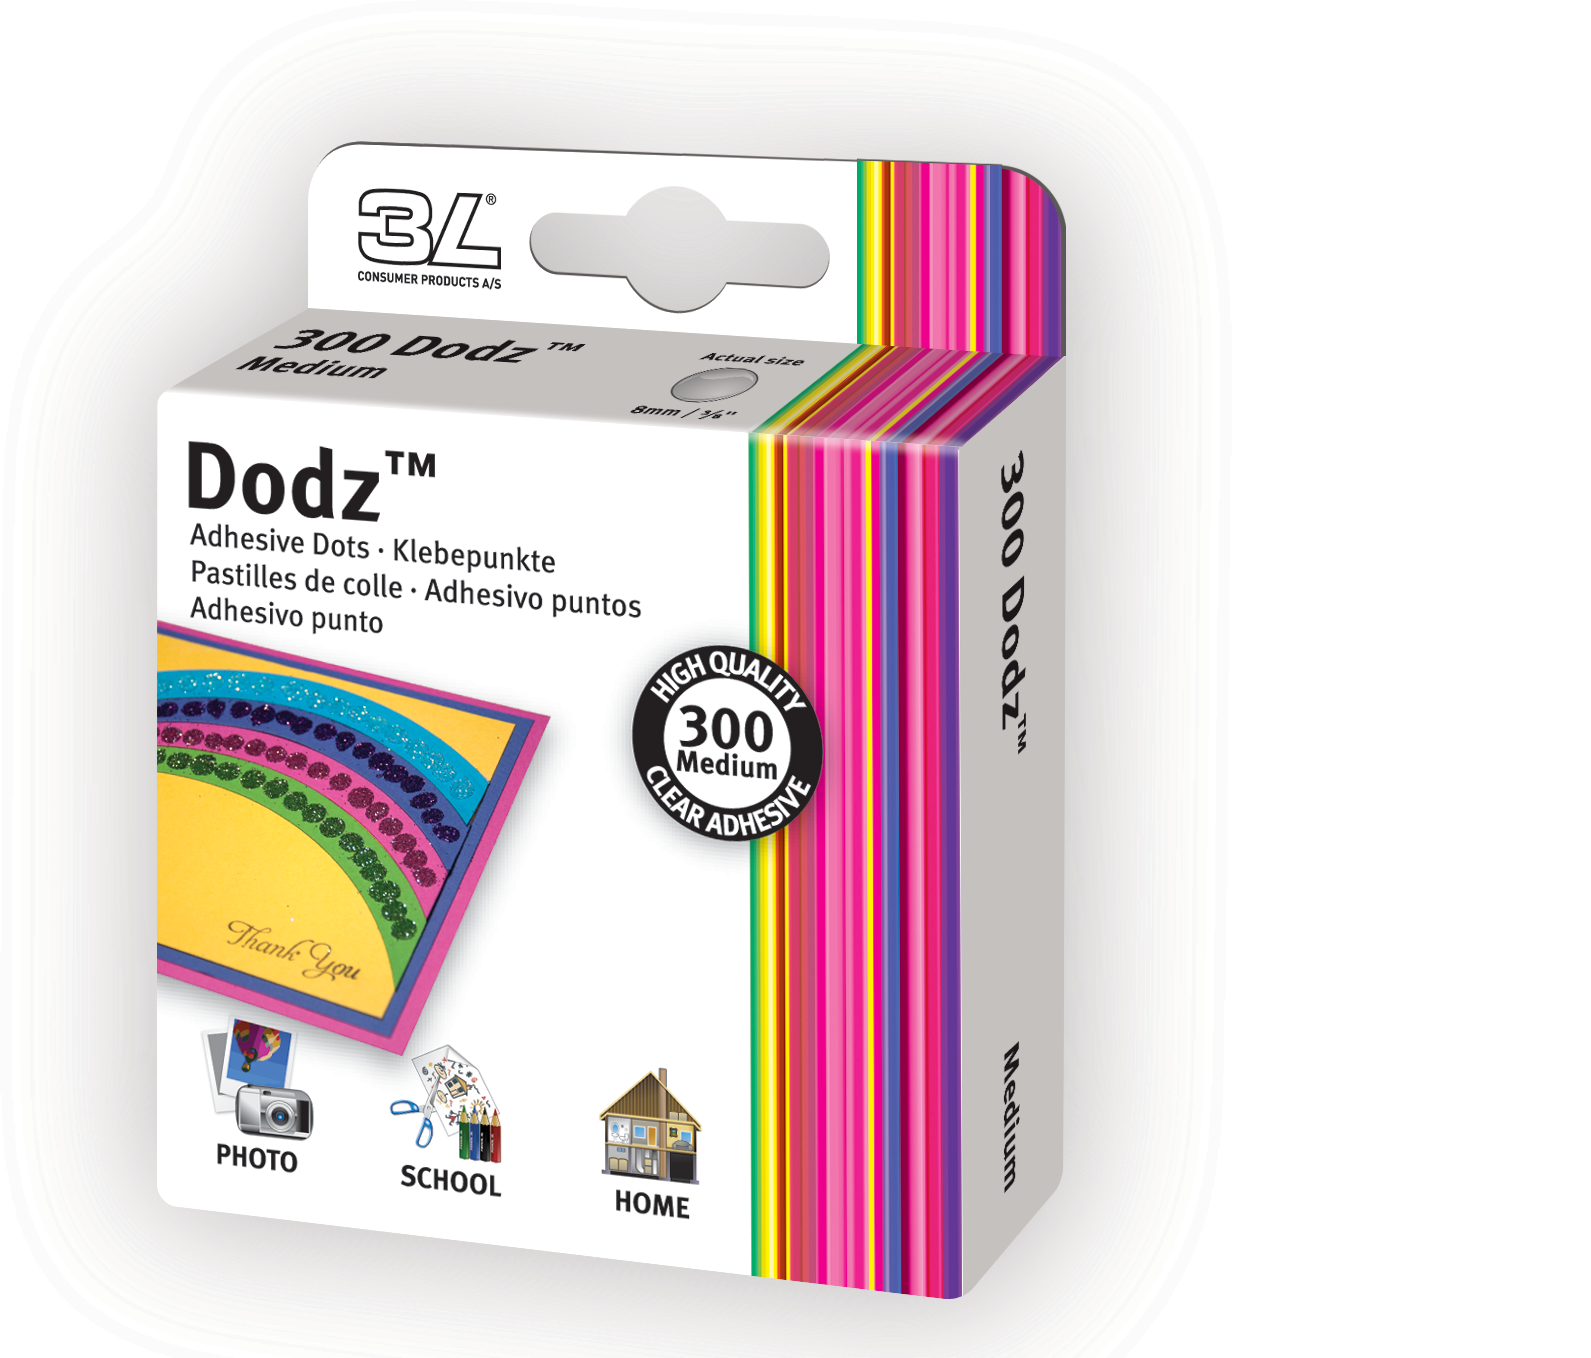
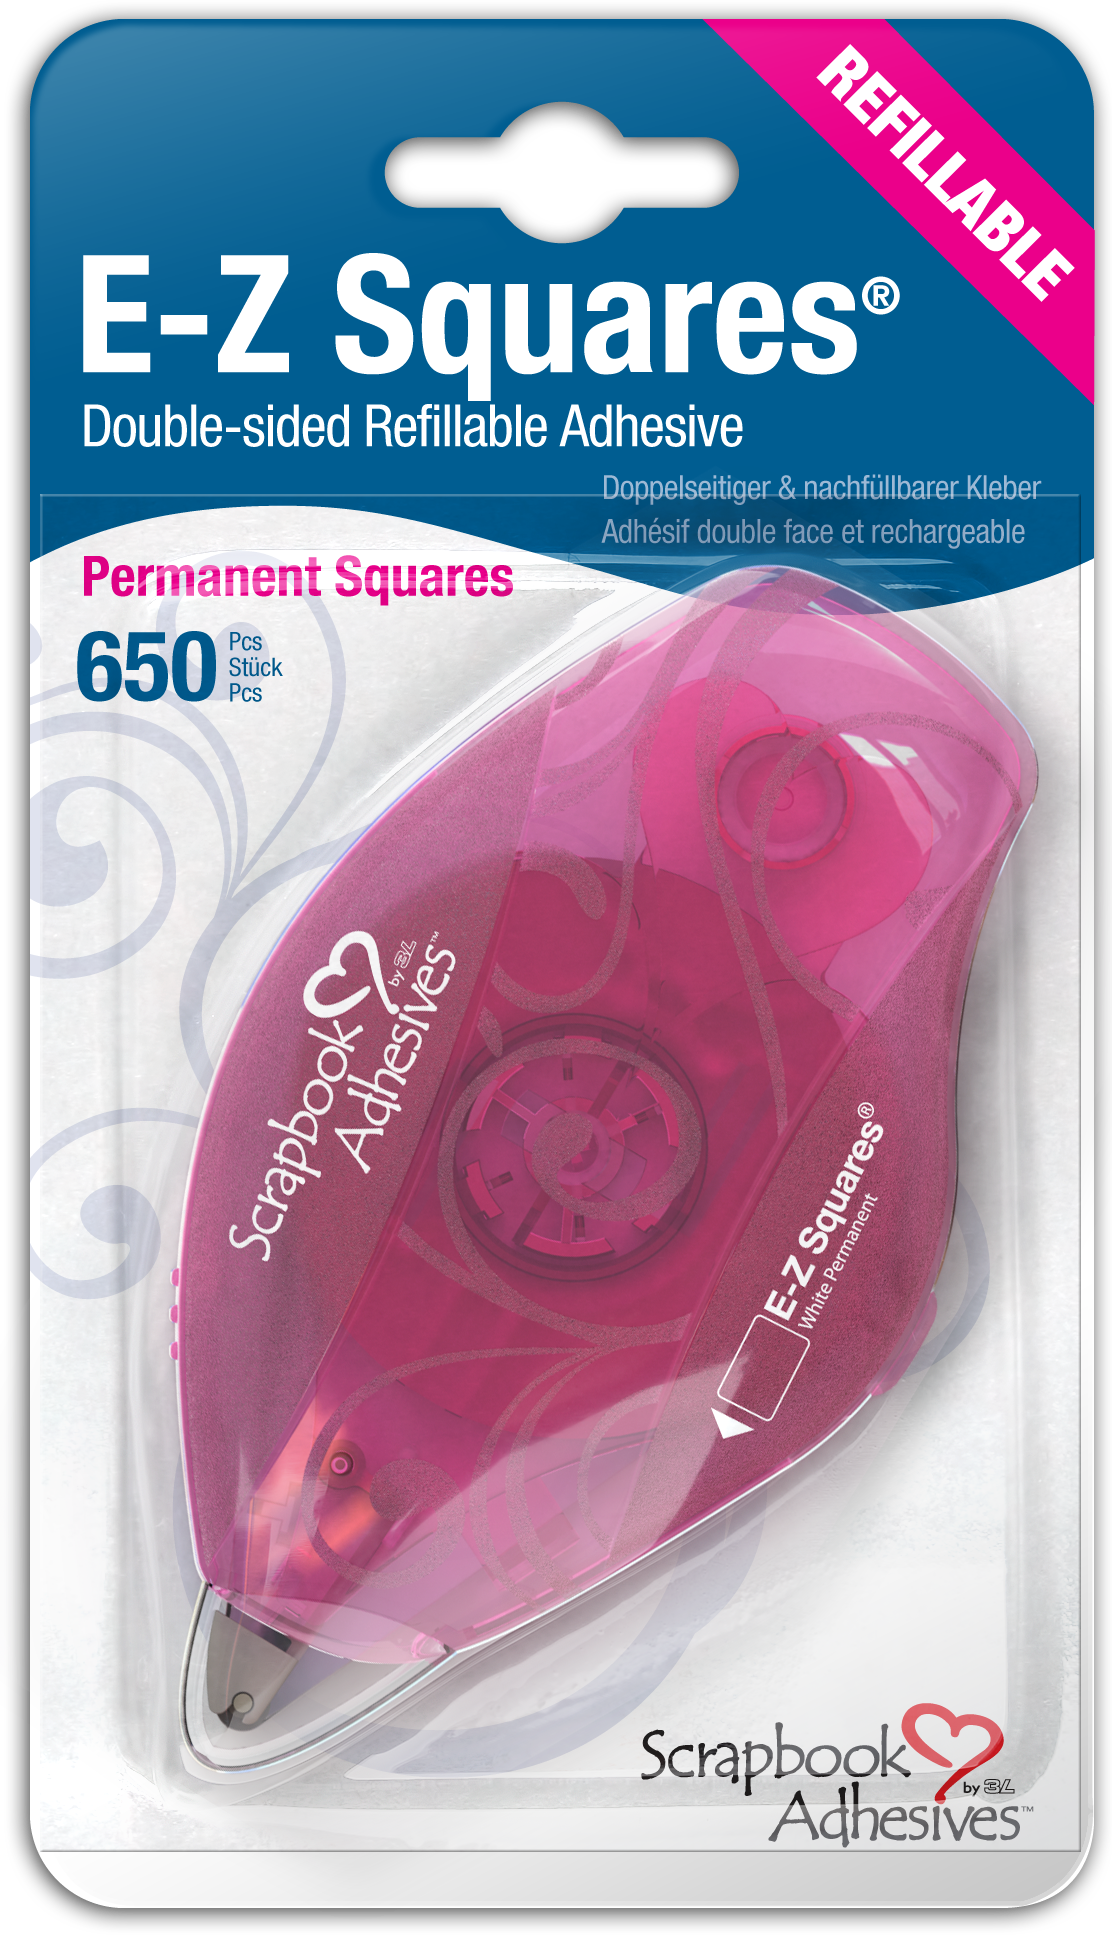
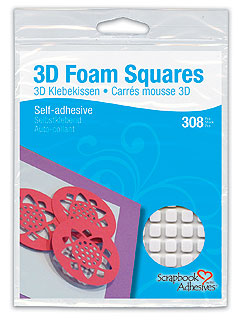
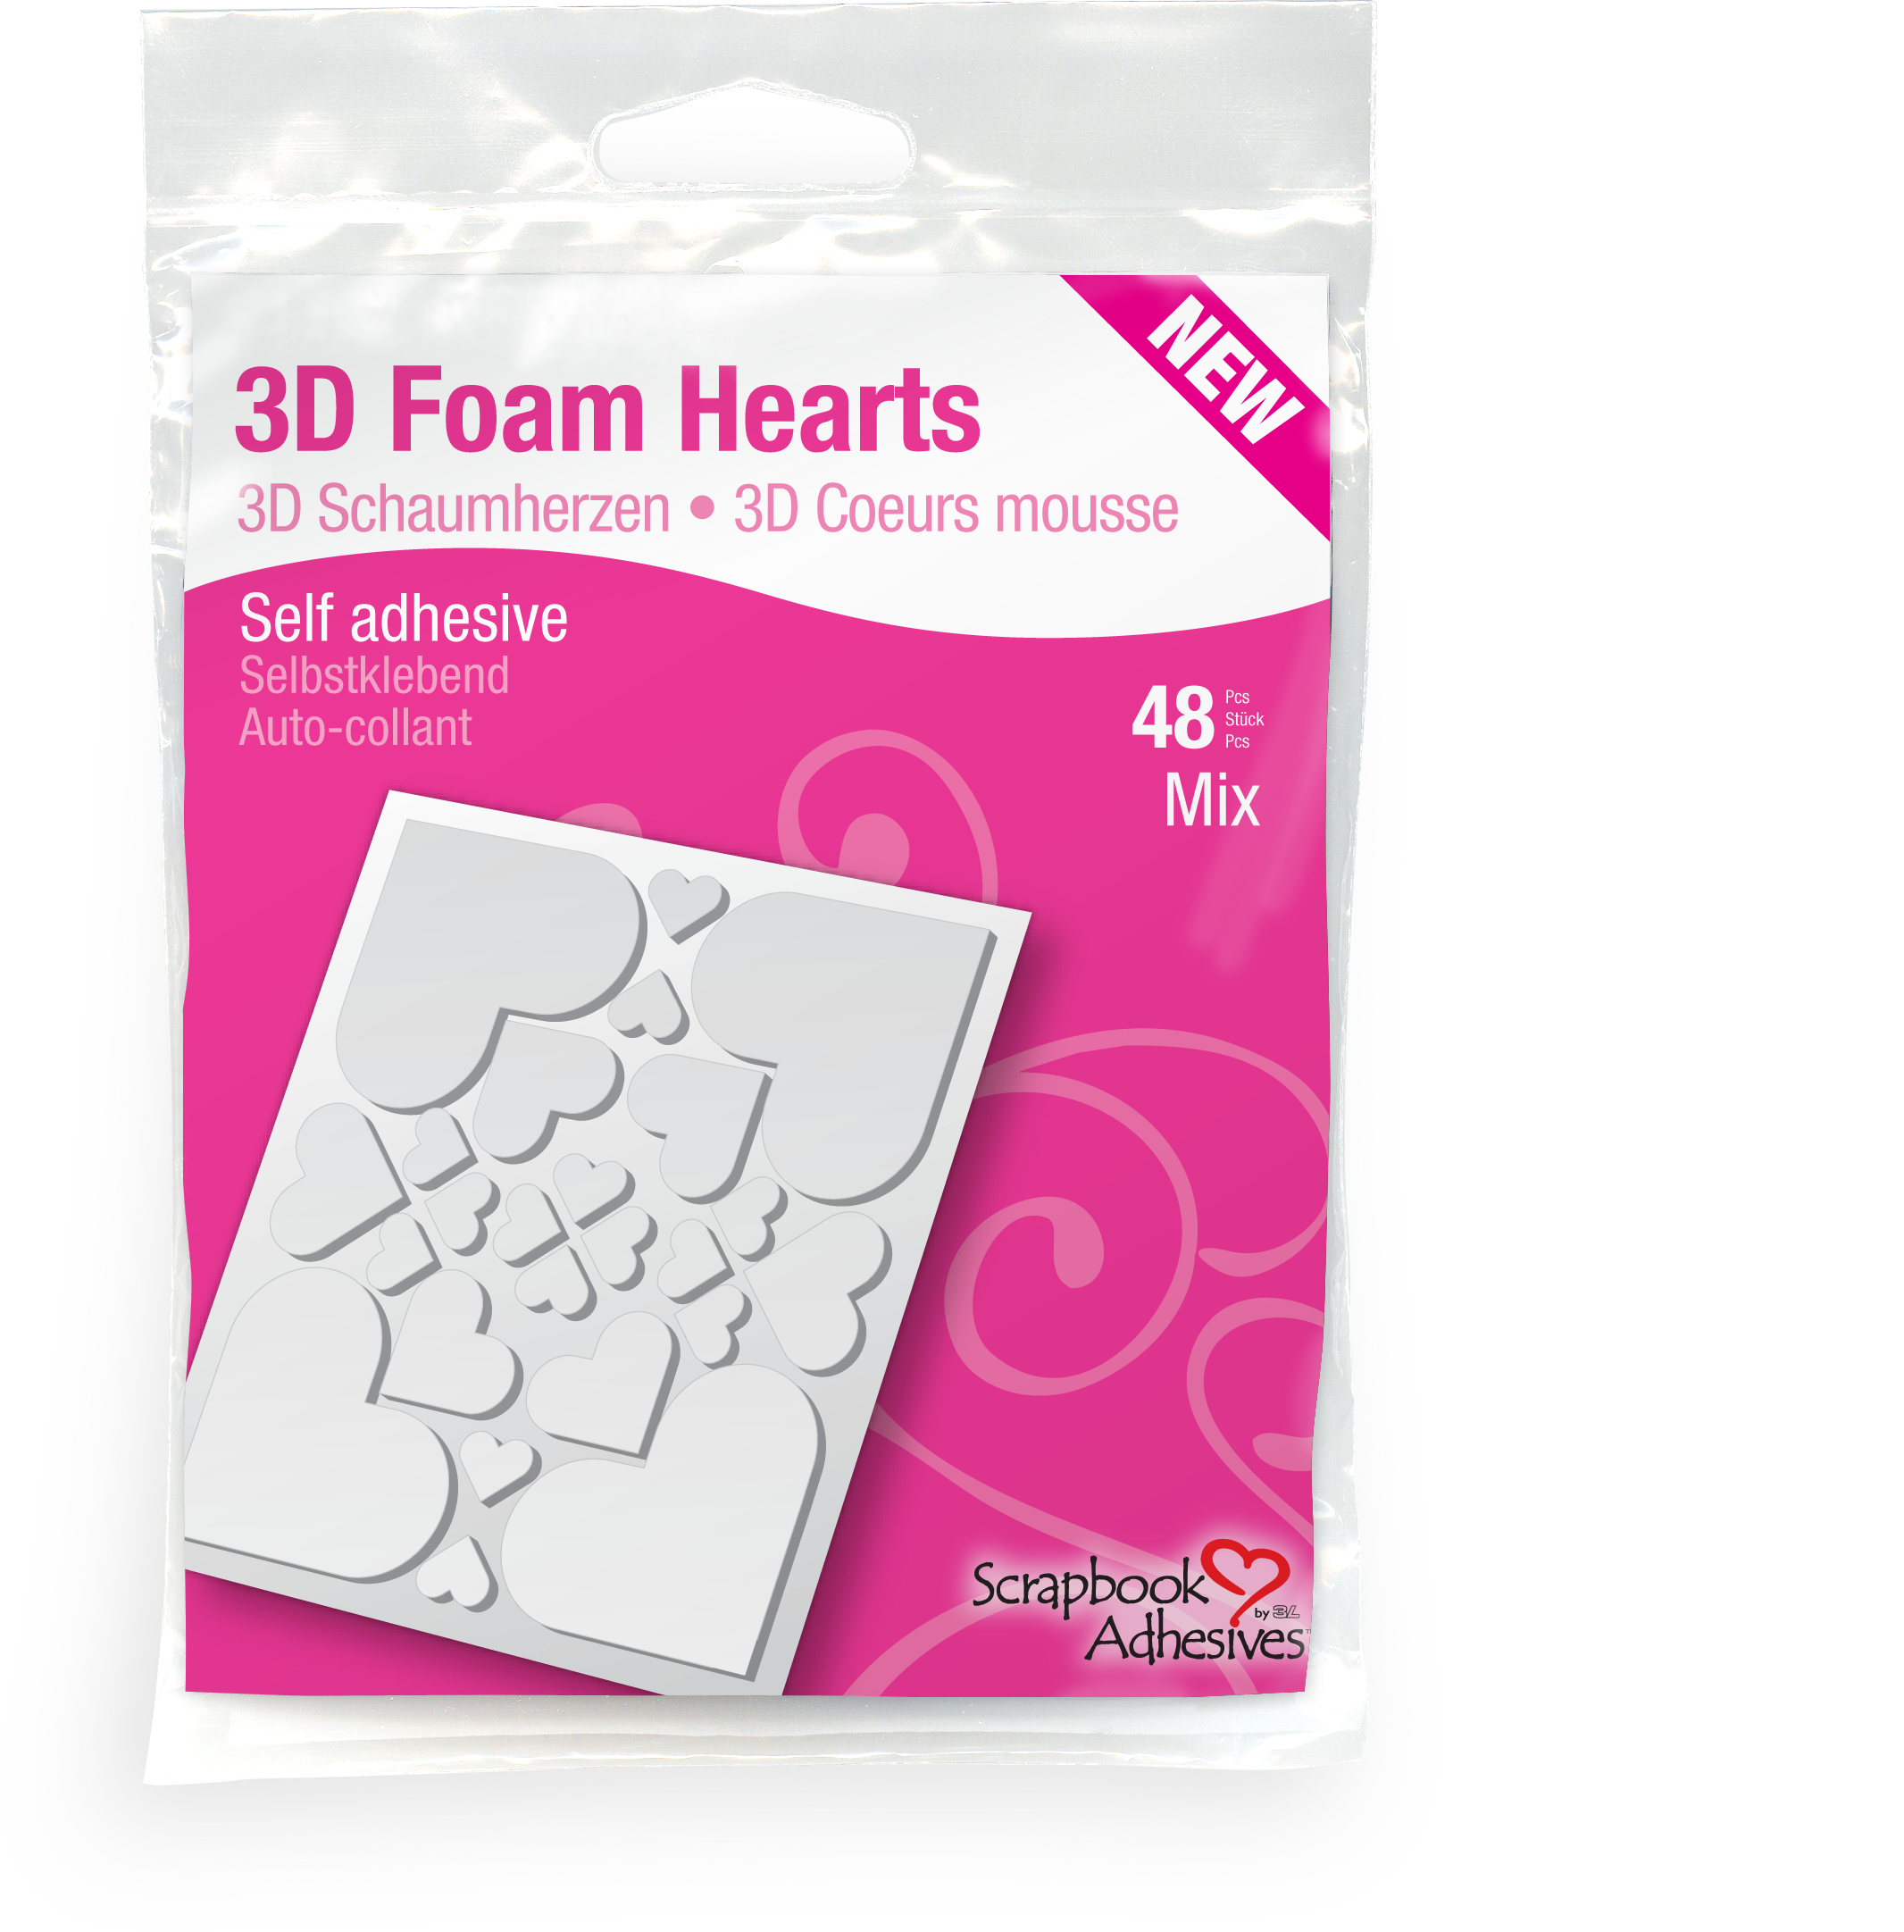
ADHESIVES USED: 
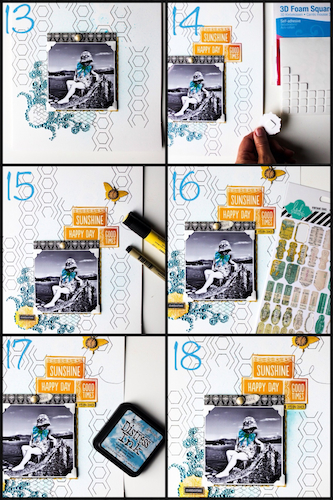
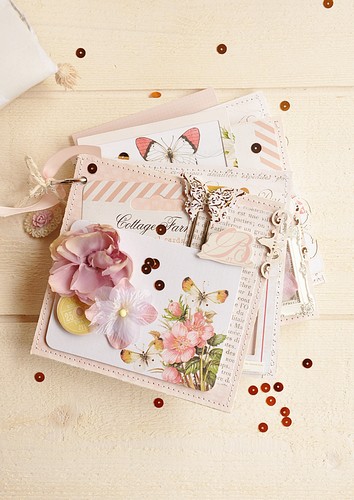
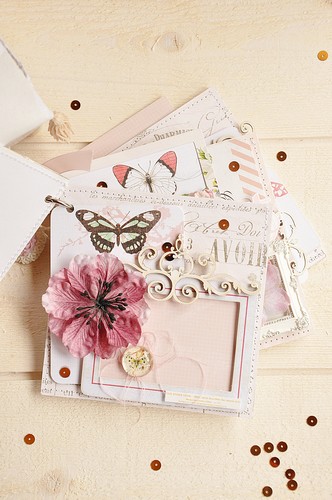
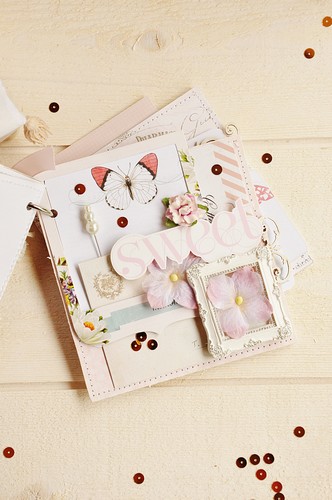
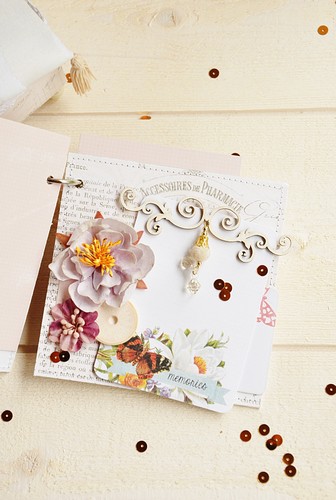
 Other Supplies: Pink Paislee Papers and Embellishments
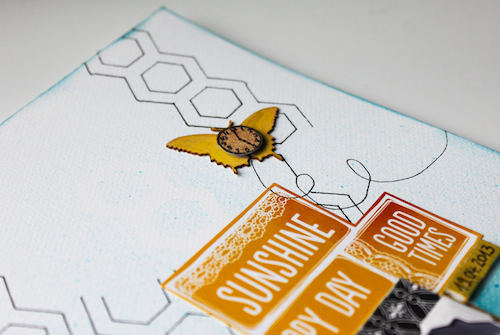
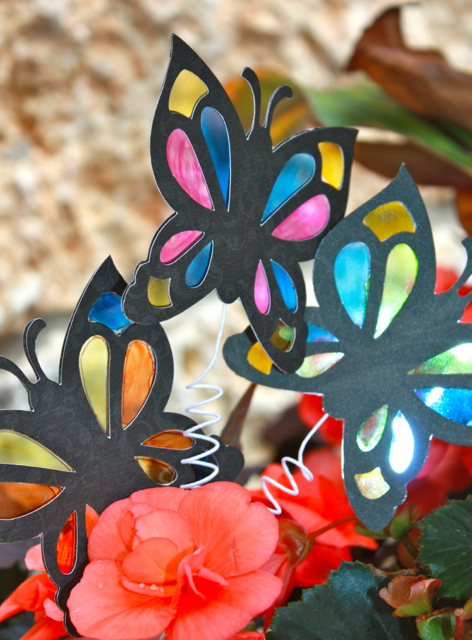 The black butterflies were cut with my Cricut from black card stock, and I used two adhesives in my design:
 Here is a video tutorial that shows you how easy it is to make these pretty butterflies with supplies you probably have on hand: