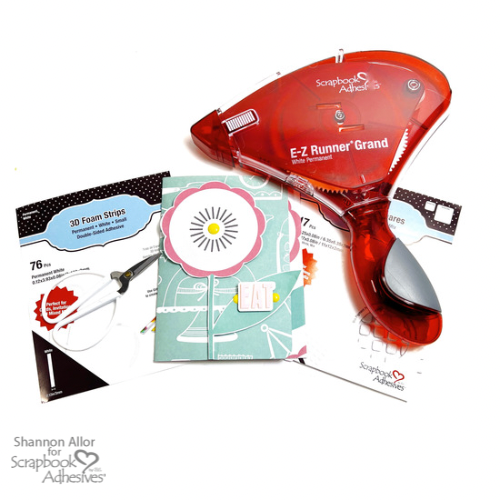
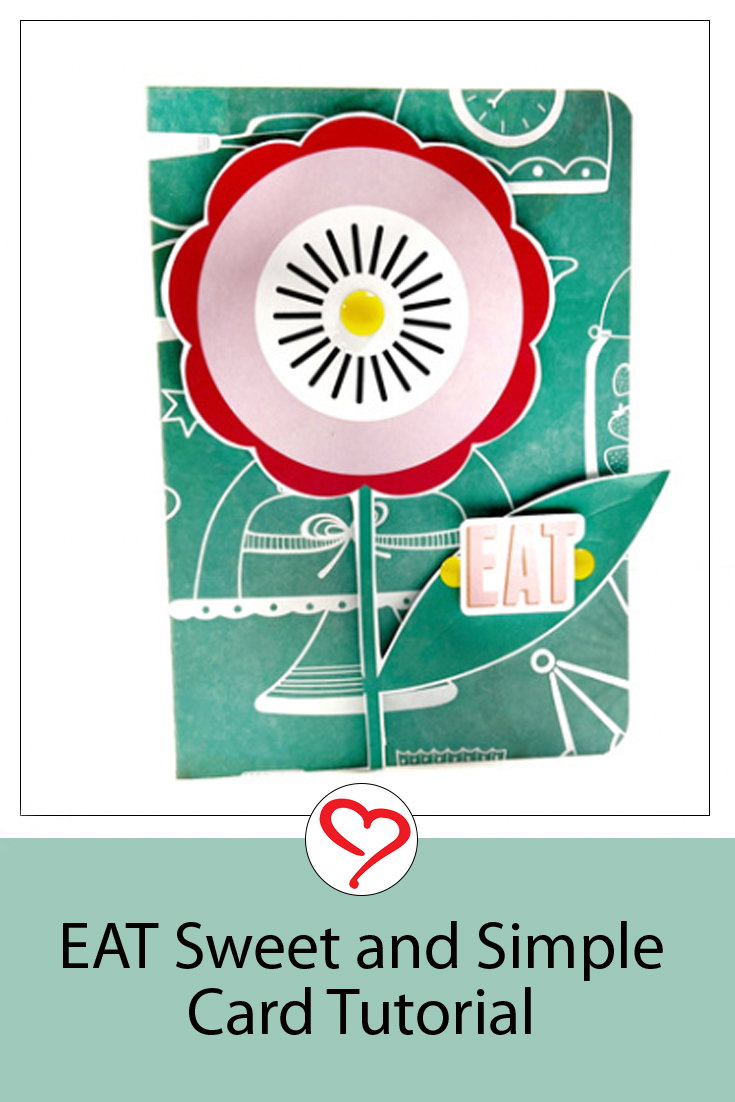
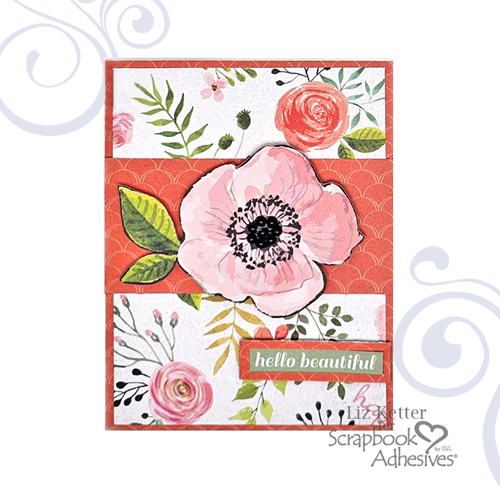
Hi, Shannon here today! I am ever so excited to bring you this EAT Sweet and Simple Card using the new “Home Cafe” Collection from Fancy Pants Designs and some of my favorite Scrapbook Adhesives By 3L products!
EAT Sweet & Simple Base
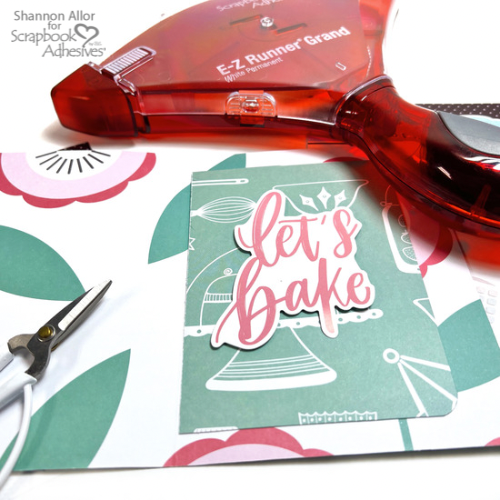
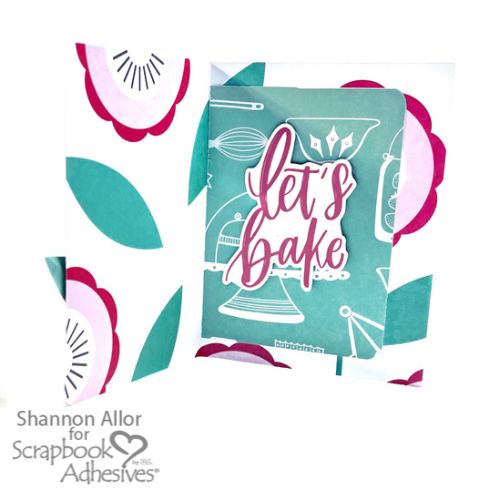
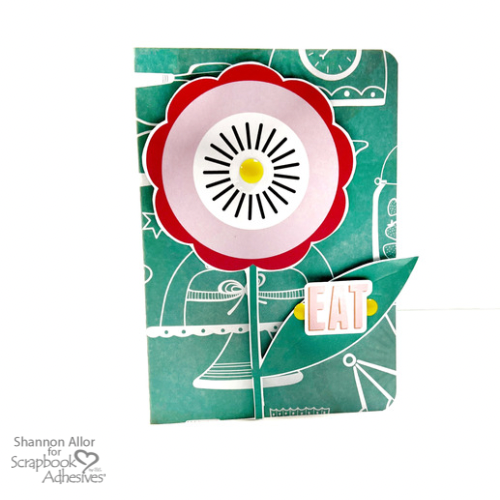
I love to use patterned paper for the base of my cards. I try to find a pattern that is gorgeous on both sides. This one from Fancy Pants Designs was perfect with the bright white and teal print. It was perfect to use with a huge fussy cut floral and a simple sentiment! The 3D Foam Squares White Mix and 3D Foam Strips were perfect adhesives for the front of my card!
Finishing Touches on the EAT Sweet and Simple Card
I added finishing touches to this fun card by rounding the corners of an inside card panel and adding a couple of Fancy Pants Designs Enamel Dots. This EAT Sweet and Simple Card came together so quickly!
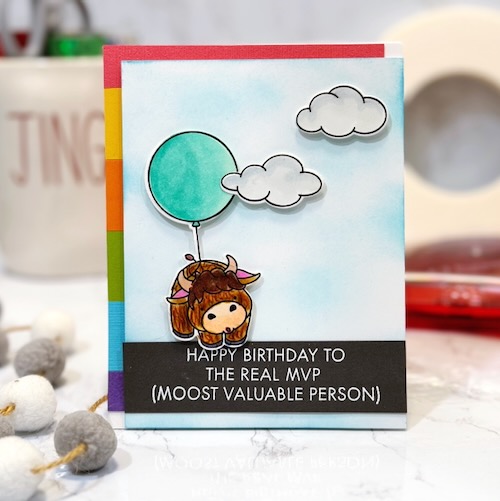
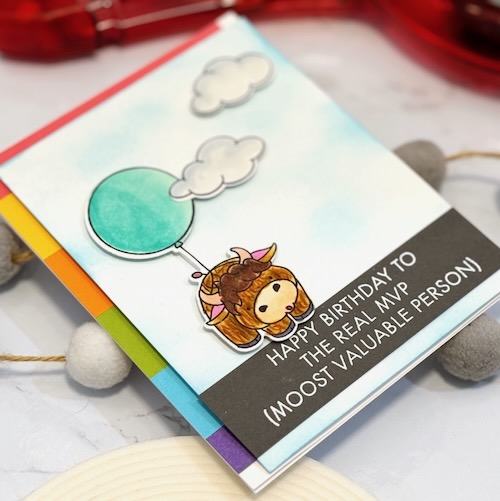
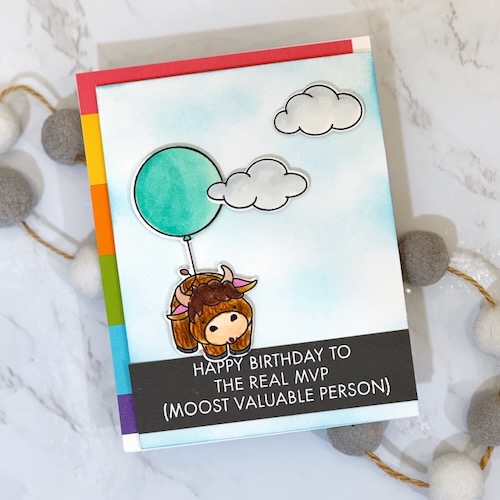
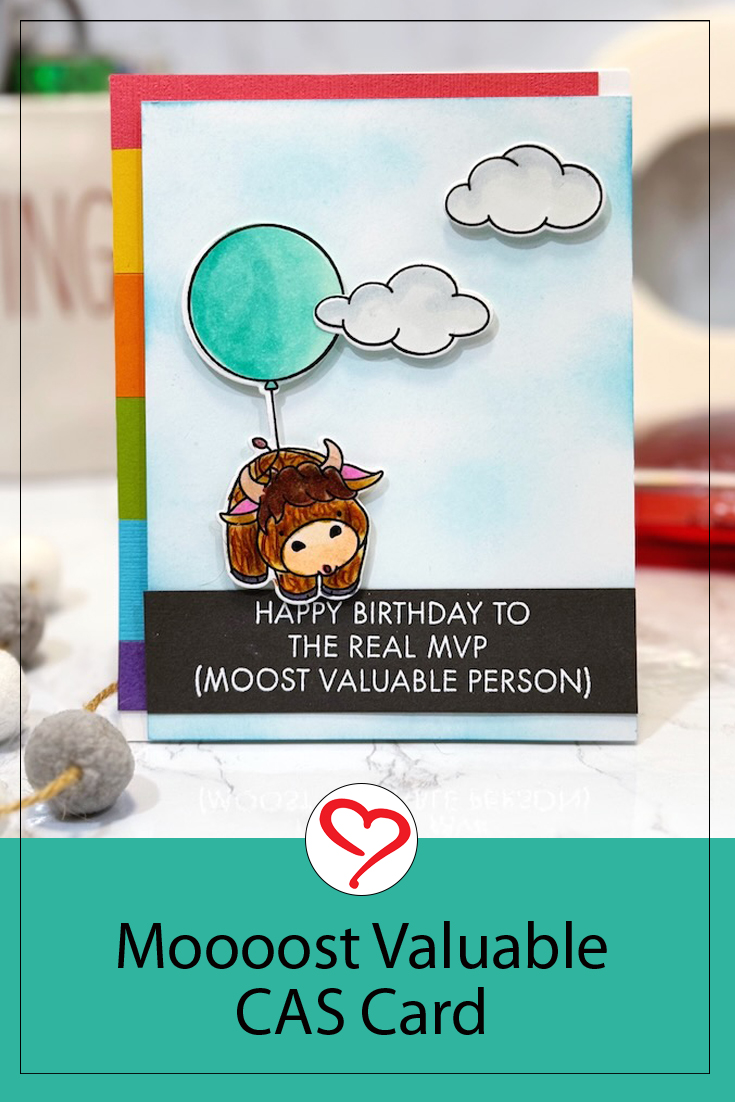
Hi, Jingle here today and I look forward to sharing a very fun Moooost Value Card with you. It is amazing what you can do with just the right adhesives at your fingertips!
Here is the secret – this card makes the moooost of some really great Scrapbook Adhesives by 3L products to make a simple design really pop! And I mean that literally!
Moooost Valuable Card Parts
I started by creating the colorful striped background panel by simply adding the strips to an Adhesive Sheet, 4×6, trimming to size, and then adhering the entire panel to the card base. I used the flat adhesive sheets, but you could do this with the 3D Foam Adhesive Sheets Mix, as well.
This is a wonderfully playful Moooost Valuable Card and it has loads of dimension thanks to the fantastic adhesives I was able to bring together to create the design. Thank you so much for joining me today! Have a wonderful day!
Other: Stamp and Craft Dies: My Favorite Things (You Make Moo So Happy); Cardstock: Spellbinders; Inks: Gina K. Designs (Amalgam in Black) and Concord & 9th (Powder); Embossing Powder: Brutus Monroe (Alabaster); Markers: Olo Marker
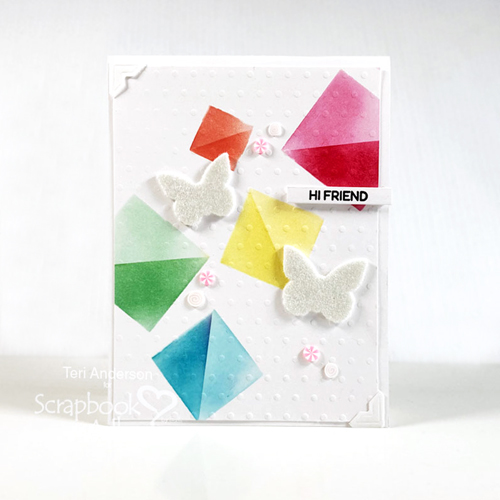
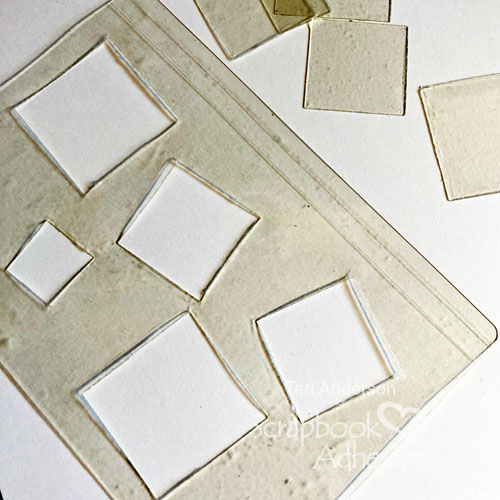
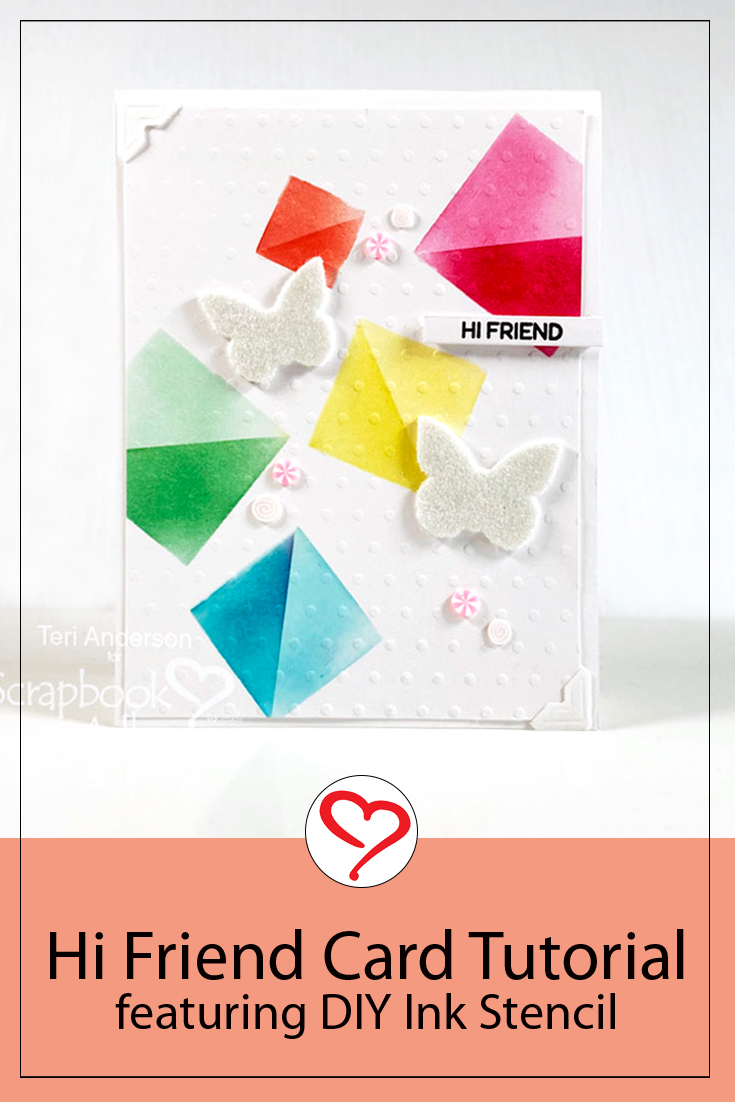
Hi, friends! Do you like to use stencils when you make handmade cards? Teri here to show you an easy way to make your DIY Stencil with cutting dies and Self-Laminating Pouches – Medium!
These stencils are easy to make and perfect to use again and again!
Create a DIY Stencil
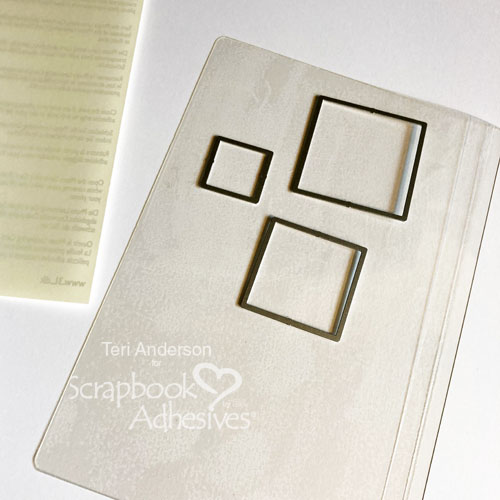
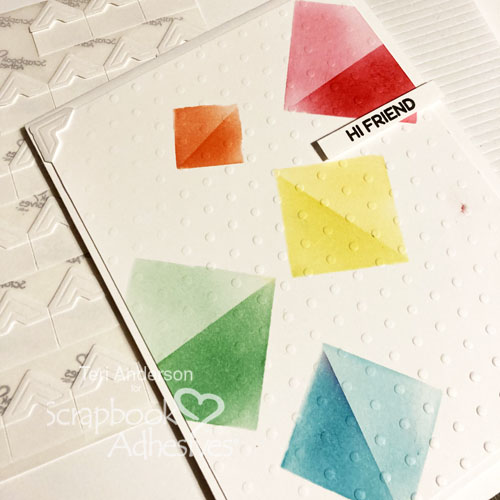
Start by sealing a Self-Laminating Pouch. Set a few cutting dies on it and run it through your die-cutting machine. I recommend using a basic shape that is broad and open. Secure your dies with washi tape in case you need to run the pouch through your machine multiple times, and to avoid shifting. Also, if your machine does not cut through the pouch completely, use scissors to complete the cuts.
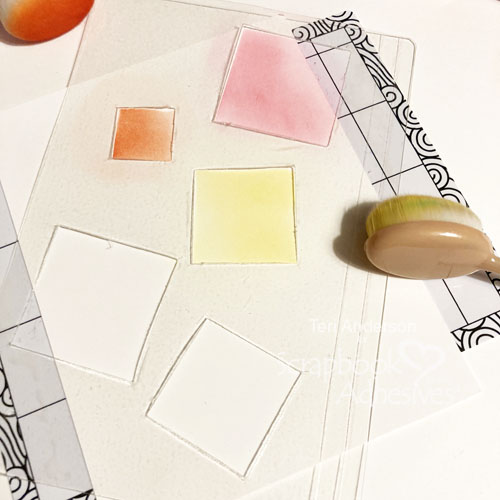
Use with Inks
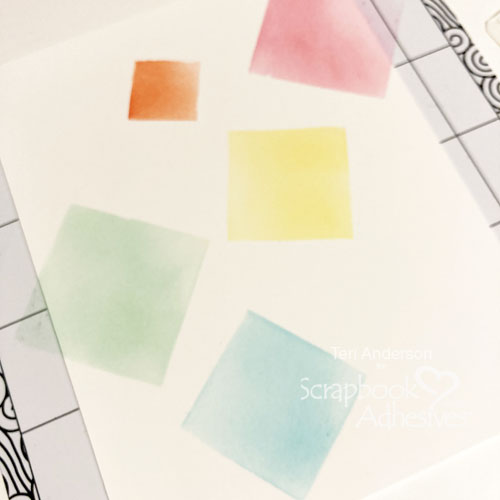
Set the stencil on a piece of cardstock. Use it to apply ink to the panel.
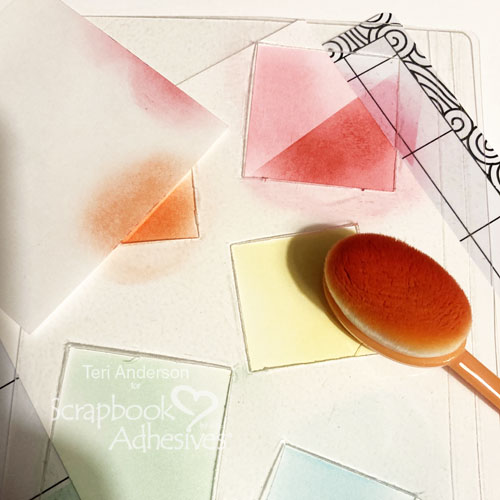
Kick up your inking by adding more ink. With a piece of scrap paper, apply the back with the E-Z Dots® Repositionable Dispenser. It will serve as a temporary mask. Partially cover your stencil opening, and apply another layer of ink. Then gently peel off the scrap paper, and you’ll end up with two shades of ink in each opening.
Embellish the Card Panel
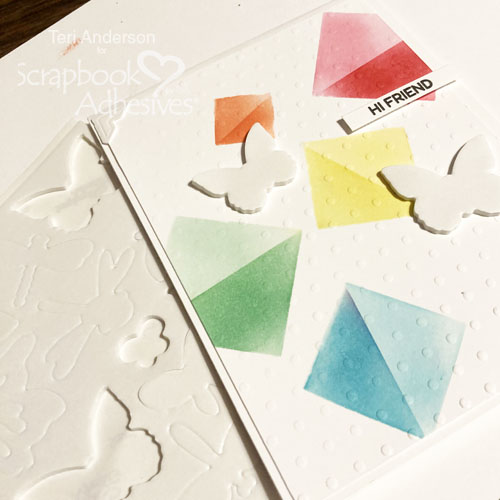
Give your panel a little texture by placing it in a dry embossing folder and running it through your die-cutting machine. Use what you have in your embossing folder stash, such as dots, stripes, and even flowers, for a different vibe!
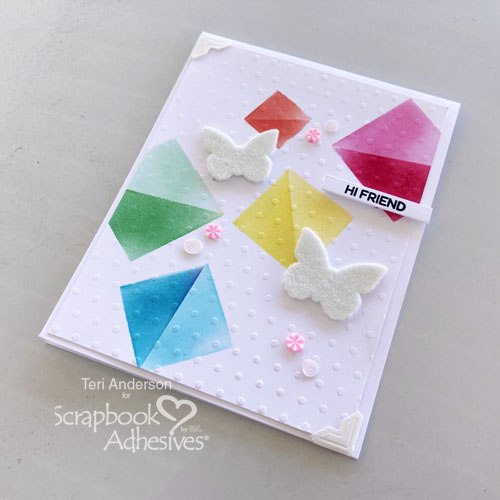
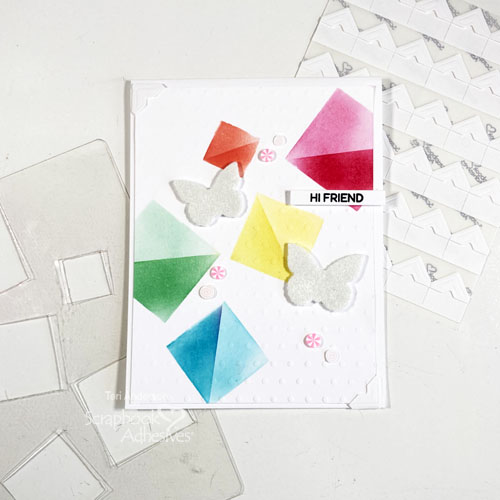
Stamp and die-cut a sentiment strip. Place it on your card with 3D Foam Strips which is perfect as it has a 1/8″ width. Randomly place some 3D Foam Butterflies on the panel, remove the top liner, and cover them with the flock. Make sure to completely cover the shapes, and press down into the adhesive to secure. Shake off the excess.
Complete your card by embellishing it with clay shapes, gems, or sequins using the Adhesive Dots Micro.
Remember to clean your homemade stencil by wiping any ink off of it with a baby wipe or water and drying it off. Be sure to set it aside so you can use it over and over again! I hope you’ll give this DIY Stencil Making technique a go!
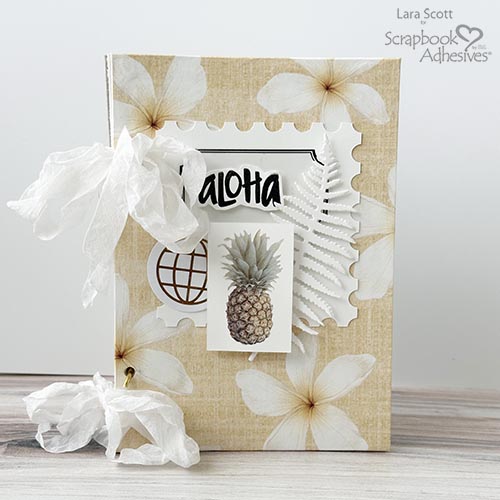
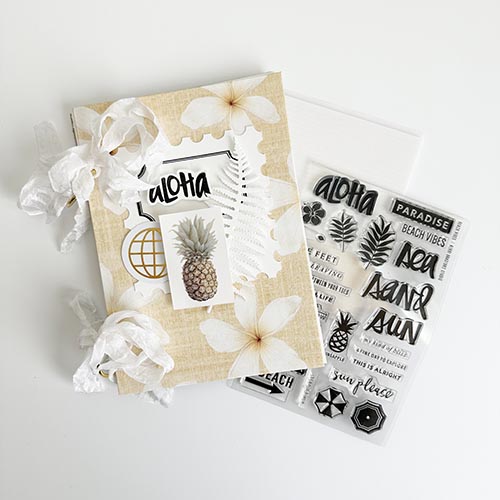
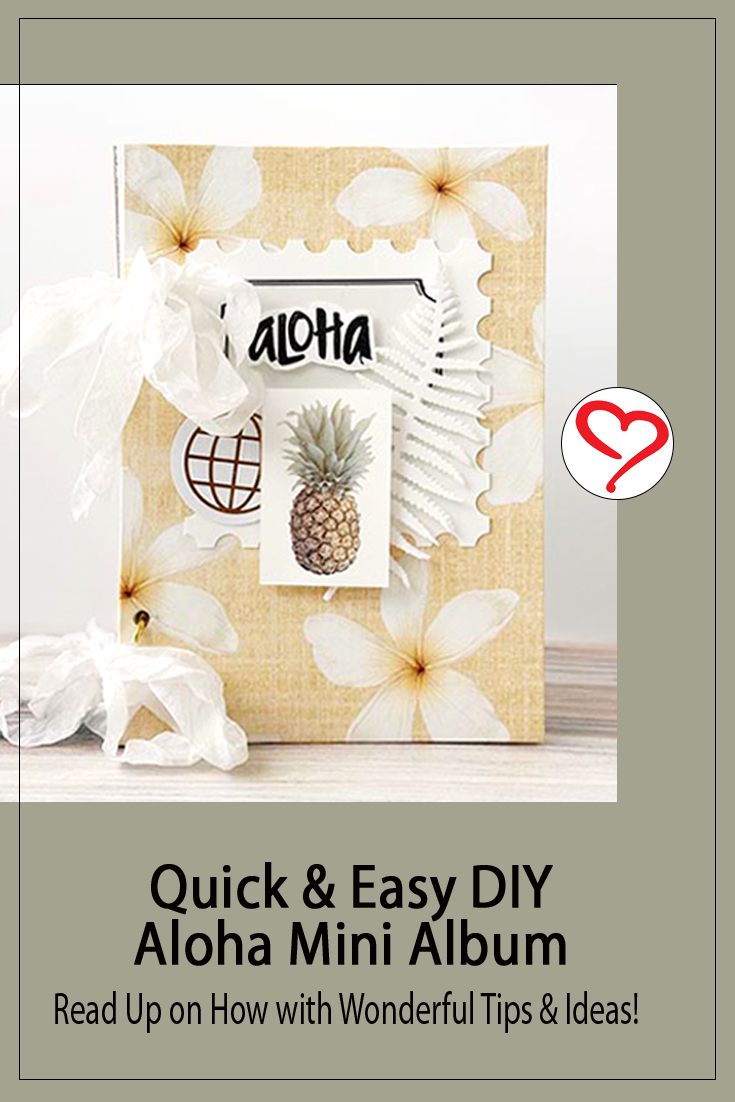
Aloha Y’all, it’s me Lara! Since Hawaii is and always will be home for me, I decided to create an Aloha Mini Album. Aloha can mean many things so I would share a little.
Aloha Mini Album Construction
Cut two pieces of 5 x 7″ chipboard for the covers. Using 5.5 x 7.5″ patterned papers, adhere to cover the chipboard pieces with the Dual Tip Glue Pen. Don’t forget to cover the inside of the covers too…I used vintage Hawaii-inspired patterned papers but you can use cardstock too.
Inside Pages
Let’s make some inside pages. Cut 5 x 7″ pieces of white cardstock. Using the inner pages as a guide, measure and mark where you want the holes for the rings and punch the entire album.
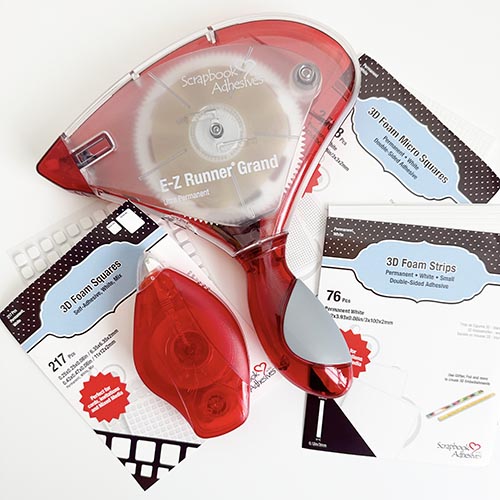
As for my favorite adhesive, it was the 3D Foam Squares, but since getting my hands on the 3D Foam Strips…well, now I have two favorites! LOL! I’ll show you why!
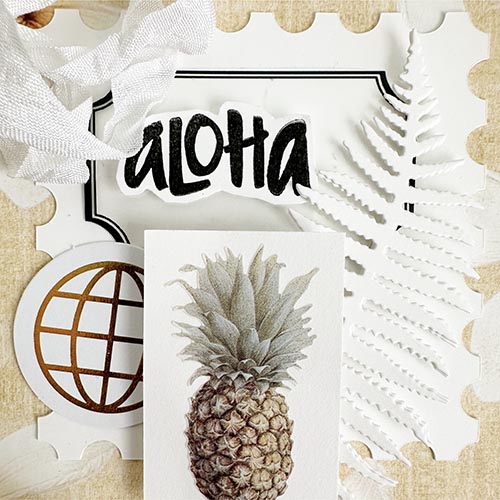
To embellish the Aloha Mini album cover, I took a piece of white cardstock and cut out a postage stamp edge frame I designed with my Silhouette.
Add a foam strip from the 3D Foam Strips to the back of the white fern die cut. Then mat a pine apple sticker onto white cardstock and stack two 3D Foam Squares White Small on the back to make it stand out.
Designer Tip: To give some extra height, stack the foam squares to lift elements and make them taller.
Stamp Aloha on white cardstock, and fussy cut it. Attach it with 3D Foam Squares White Small. Add binder rings and tie seam binding ribbon to embellish. To texture the ribbons, I misted them with water, crumpled them up, and let them dry – when dried, it gives a vintage-inspired look.
Hope this Aloha Mini Album tutorial gives you a few tips and ideas. Happy Creating!
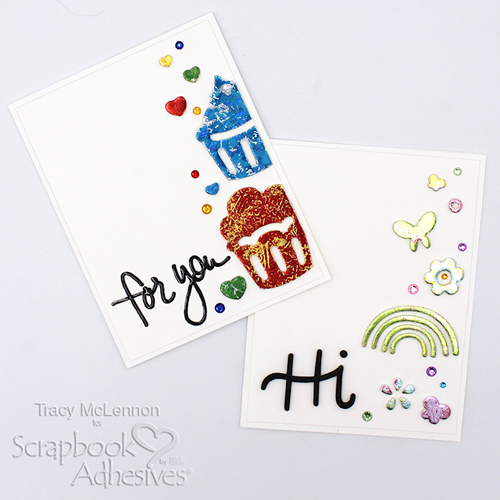
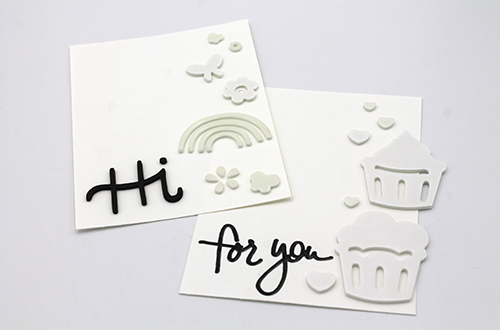
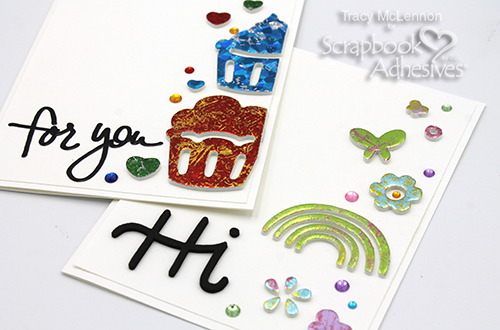
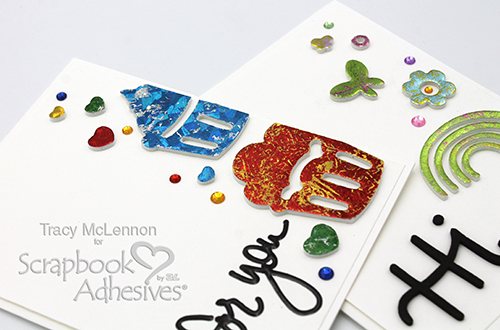
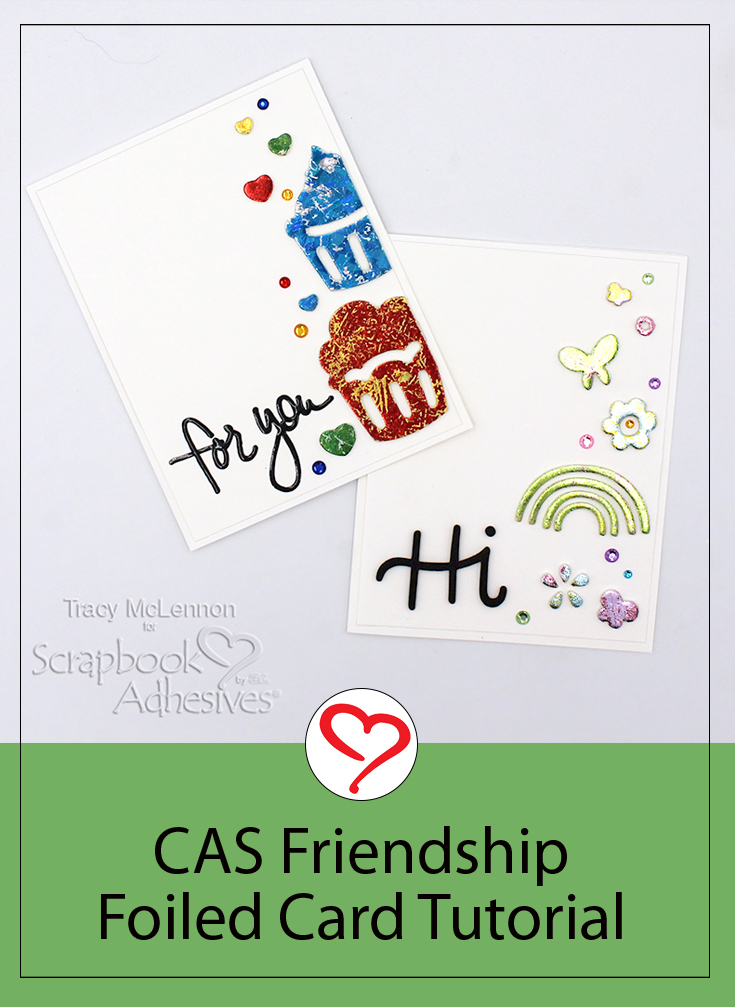
Hello crafty friends! Tracy here, and today I have a quick and easy little project, CAS Friendship Foiled Card, to share. Each of these simple foiled cards can be created in about 15 minutes. Here are all of the details.
Let’s Get Started!
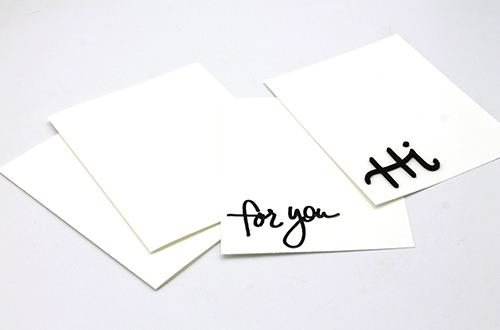
Start the project by cutting a card front and card base using white cardstock. Choose and adhere the sticker words for each card front.
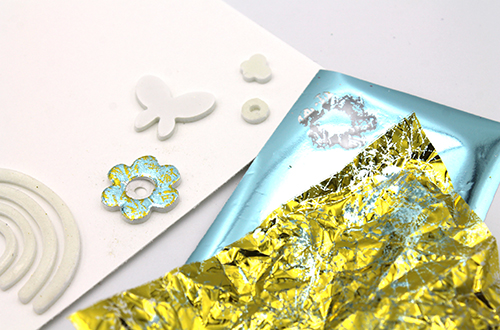
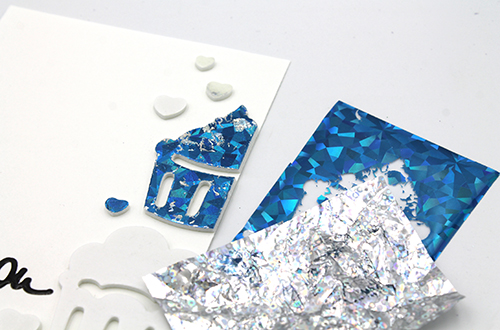
Pat the crumpled foil onto the foam shape first (make sure the color side is facing you). This will not fully cover the shape. To fill in the remaining areas, foil with a flat sheet of solid color foil (color side up). This creates a marbled look and adds interest to these CAS Friendship Foiled Cards.
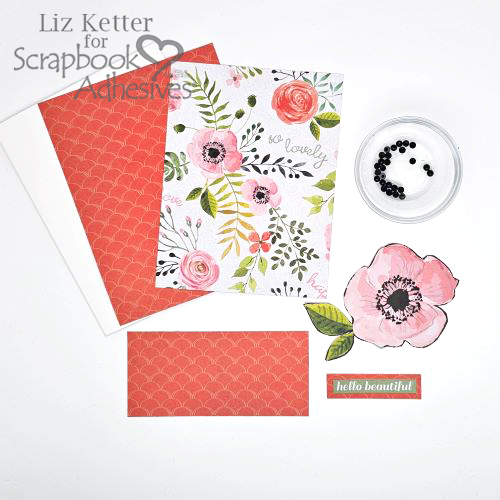
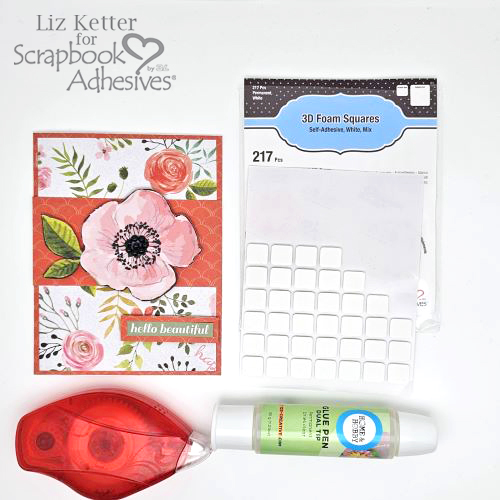
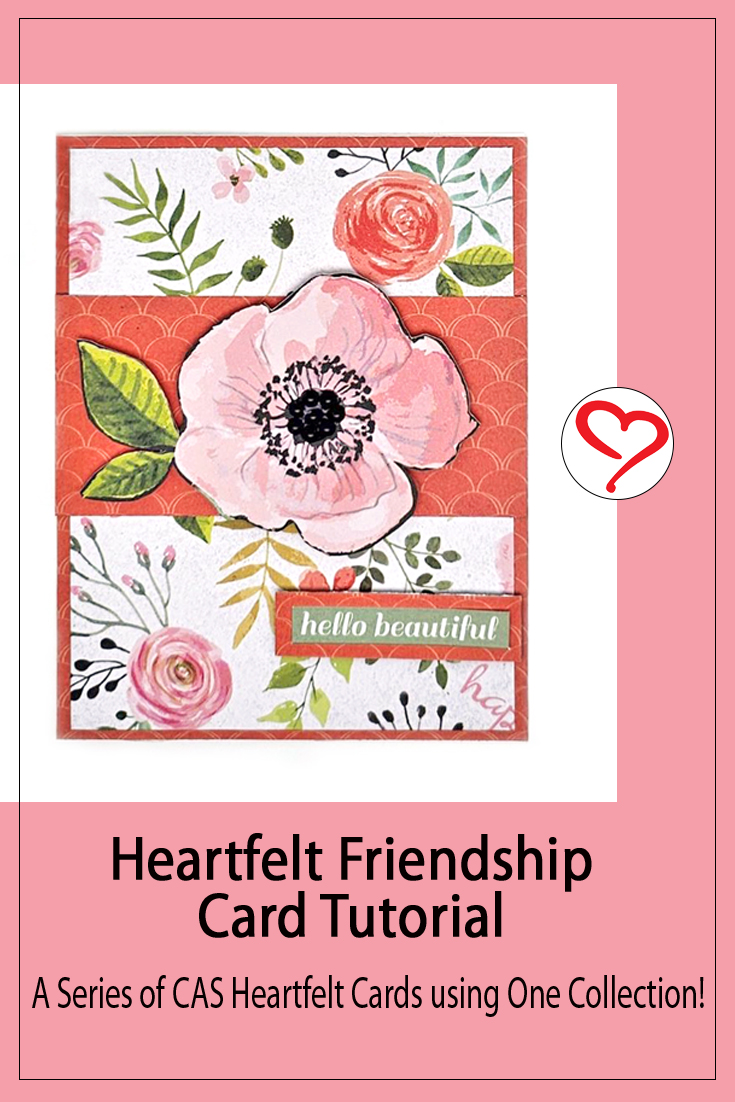
Hi, Liz here today! I am continuing with my Heartfelt card series, Heartfelt Friendship Card. Uplift a friend with this card. Sometimes friends need to know that we are thinking of them and this card is perfect to send!
Over the next few months, I will create Clean and Simple (CAS) style cards utilizing a single paper collection with its elements. My first card creation can be seen here: Heartfelt Thank You Card.
The goal is to inspire you to create beautiful, thoughtful cards anyone would love to receive.
Card Panels and Elements for the Heartfelt Friendship Card
Cut two panels to layer on the card base. The dark orange panel is the same size as the card base at 5 1/2″ x 4 1/4″, and the lighter floral panel is 5 1/4″ x 4″.
The dark orange horizontal band is cut at 4 1/4″ x 1 3/4″. Fussy cut a large floral element from one of the patterned papers. For the sentiment, I layered a sticker on a strip of dark orange patterned paper. Black flat-back pearls were gathered to be used to embellish the panel. Now let’s create this card!
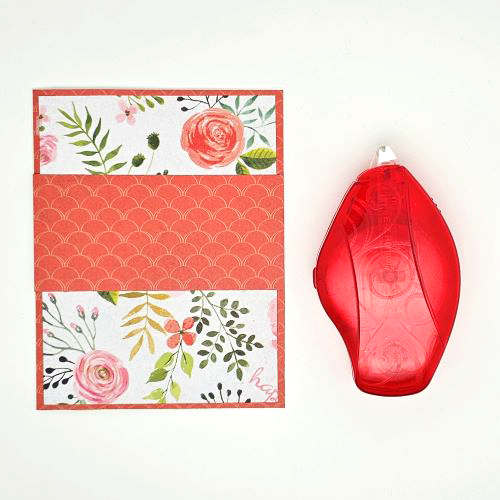
Assemble the Card Background and Band
Using the E-Z Runner® Permanent Strips Refillable Dispenser, adhere the dark orange panel to the card base and then center the light floral panel on top. Attach the horizontal band to the card. Don’t forget to save room at the bottom of the card for your sentiment.
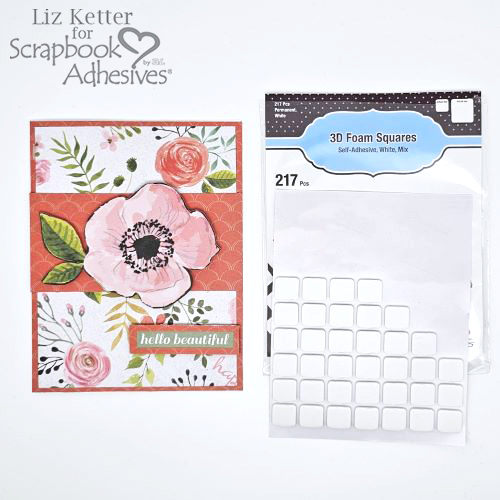
Add Some Lifted Elements
Now let’s lift and add some dimension to the card. Use several large foam squares from the 3D Foam Squares White Mix under the flower, cut one square in half, and place it under the leaves. Remove the liners and place on top of the horizontal band. Use several large foam squares under the sentiment, remove the liners, and place the flower at the bottom right of the card.
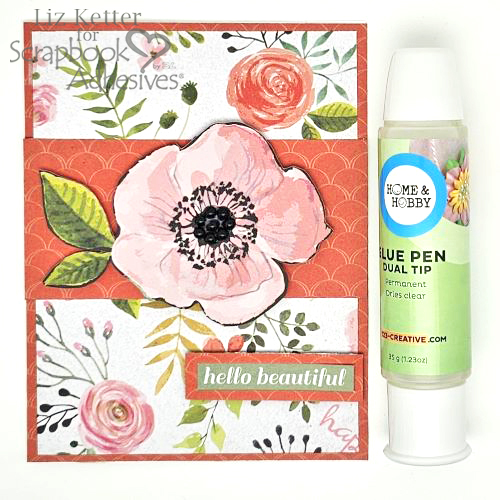
Secure Those Tiny Elements
I love adding tiny embellishments to a card. It amps up the card a bit by adding a bit of glitz to the card. Secure the black flatback pearls to the large flower center with the Dual Tip Glue Pen. I think that little touch of pearls adds an interesting element to the card.
Designer’s Tip: the liquid glue tends to move out of the pen quickly but my solution was to hold the glue pen horizontally. This way only a tiny drop came out of the glue pen and onto the intended area.
This Heartfelt Friendship Card was fast and easy to create. I hope this quick tutorial inspires and encourages you to make friendship cards for those who need support and encouragement.
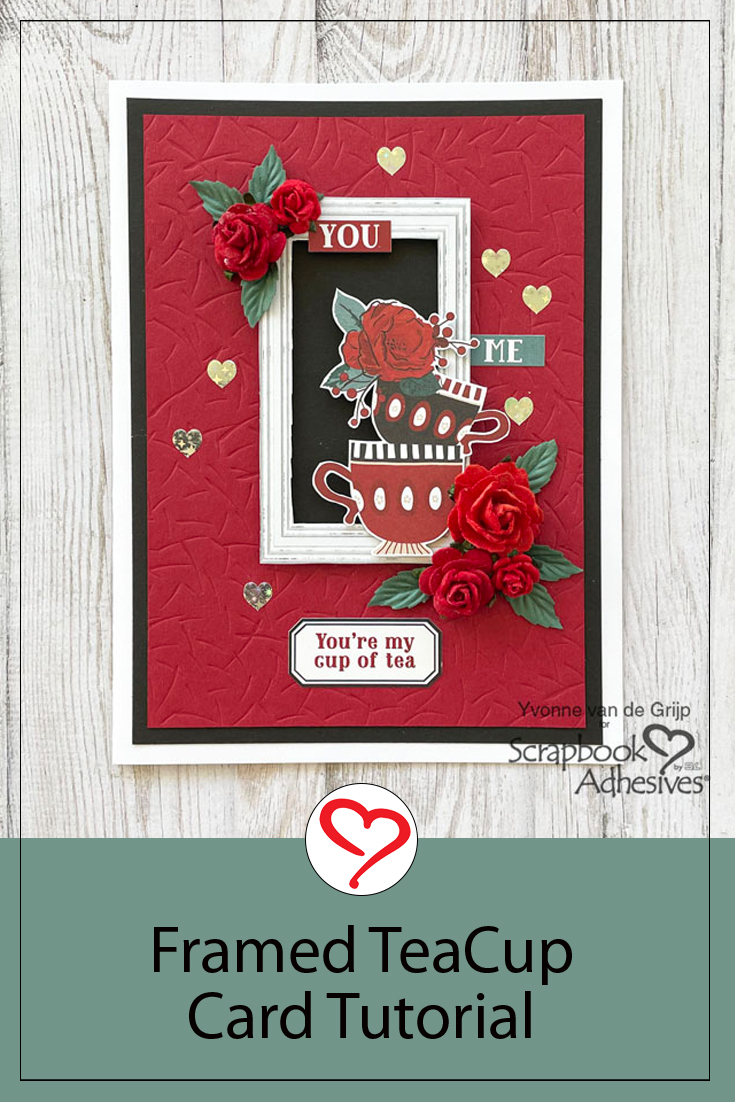
The cute little hearts add a lovely finishing touch to this card that expresses your appreciation for someone dear. Wanna join me?
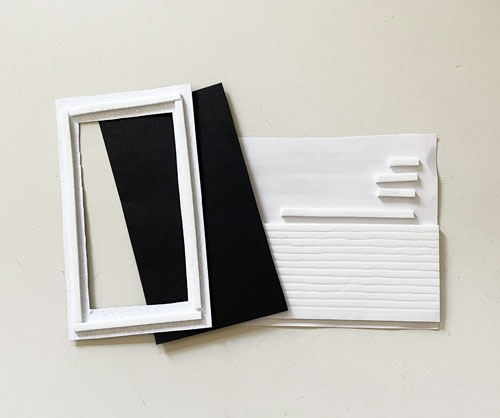
Framed Teacup Card Base
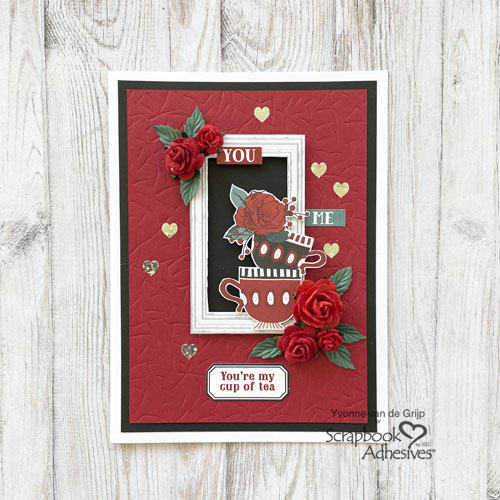
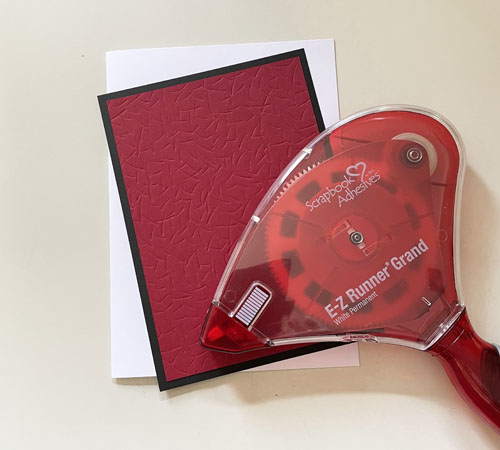
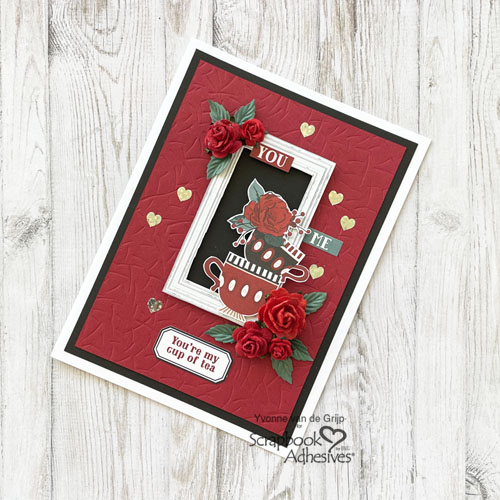
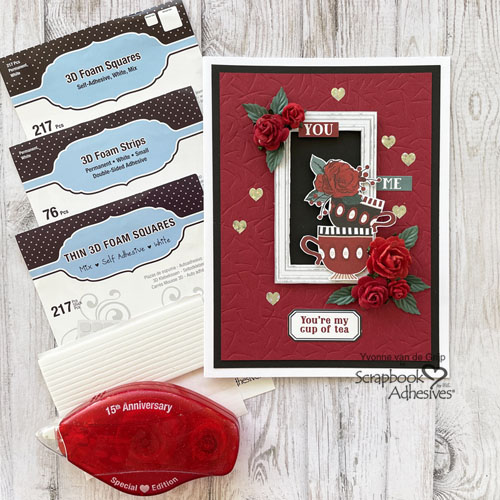
Create a white cardstock card base. Trim a piece of embossed burgundy cardstock and mat a black card panel. Next, add the layered card panel onto the card base using the E-Z Runner® Grand Refillable Dispenser.
Dimensional Frame
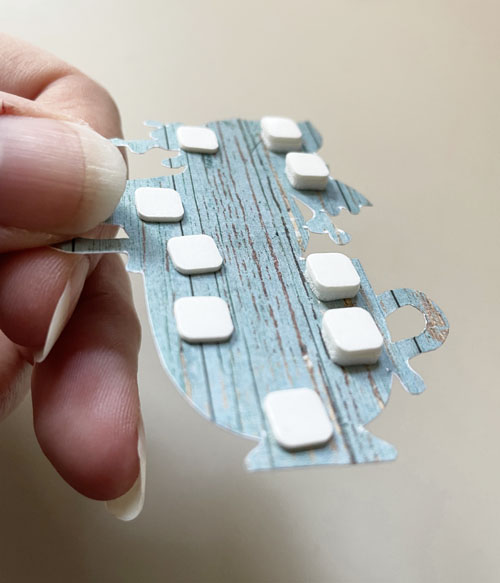
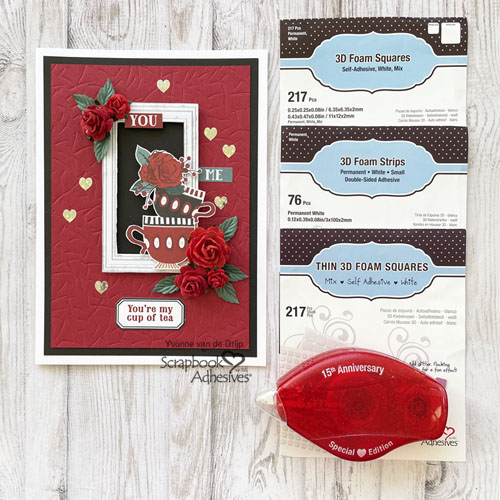
Create a dimensional frame by cutting a frame design from a patterned paper, and placing 3D Foam Strips to the back of the frame. Center the frame on a black cardstock piece to fill the window.
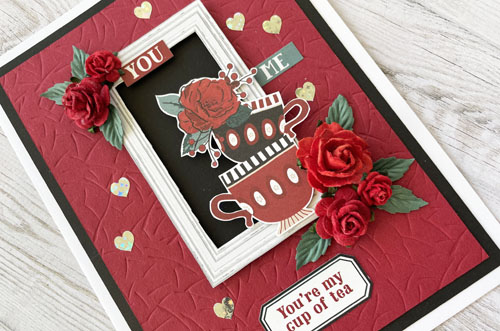
Adhere some mulberry roses and leaves on the card using the Adhesive Dots Medium.
Wear Your Adhesive on the Outside with E-Z Runner Hearts
I created shiny heart accents using the Wear Your Adhesive on the Outside technique. This means taking adhesive from between layers and bringing them out as embellishments.
Lastly, I adhered a sticker sentiment and added other words to the card. And voilá, your Framed Teacup Card is ready. I hope you enjoyed this tutorial and wish you happy crafting!
Other: Patterned Papers: Photoplay Paper (Our Friendship Collection Pack); Mulberry Flowers and Leaves; White, Black and Burgundy Cardstock; Tweezers; Scissors; Paper Trimmer
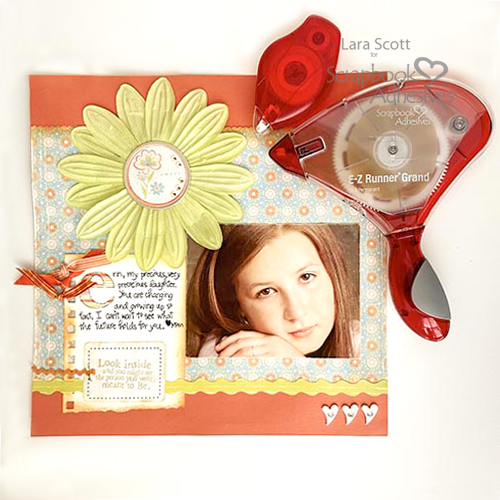
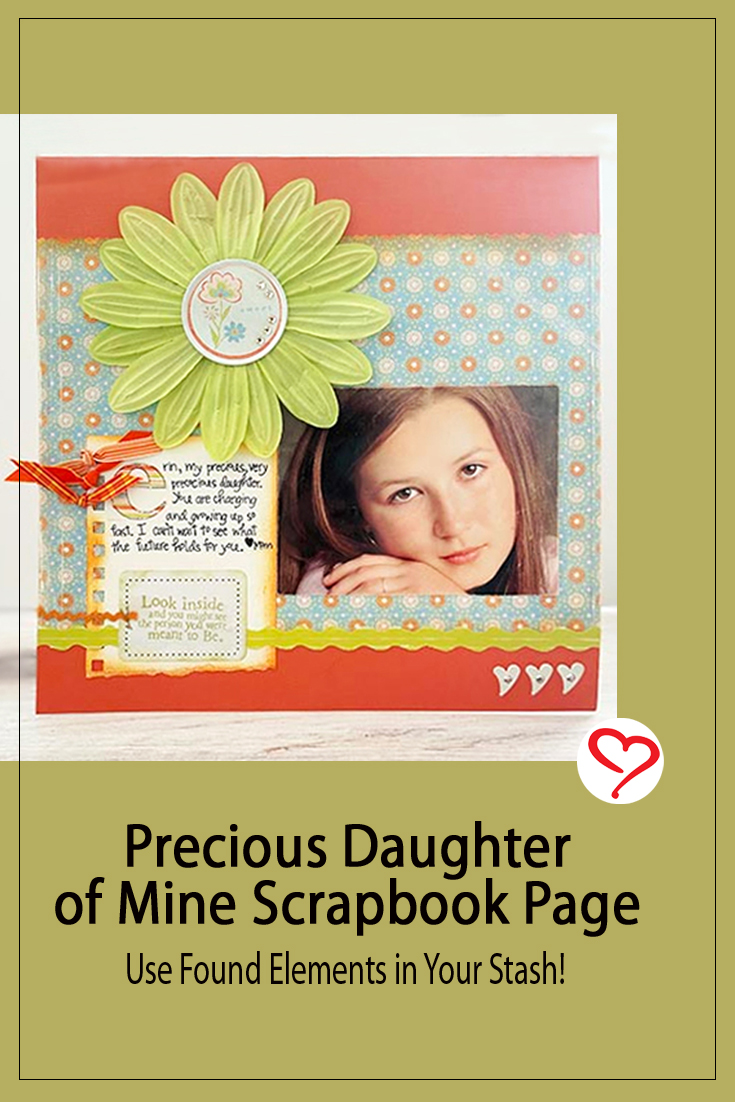
Hi, Lara here today with a Precious Daughter of Mine Scrapbook Page. When I moved twice within two years, I threw all my pages in boxes and pretty much forgot about them. Recently, I found a box of page elements that were created but never put together on pages. I couldn’t get the pieces adhered to the page so I never finished, but more about that later in the post.
Thoughts behind Precious Daughter Page
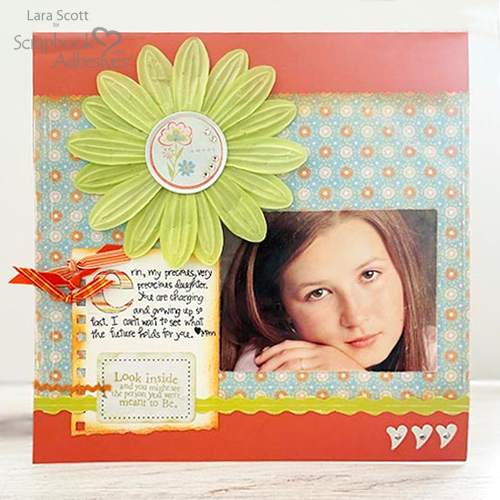
The title was not added because I felt it would offset the balance of the page design…competing with other large elements. After shuffling around with the idea of a large title and small flowers, among other ideas, I decided that a simple design with three strong elements would be the best.
Background of the Scrapbook Page
To tie in the colors of the patterned paper, I choose the background of an orange textured cardstock. Cut the patterned paper to 12 x 8.5″ using pinking edge scissors. Blend the edge into the background by inking the top edge with orange ink and adhere to the page with the E-Z Runner® Grand Ultra Strong Refillable Dispenser. The adhesive is strong enough to hold all the elements that will be added to the page.
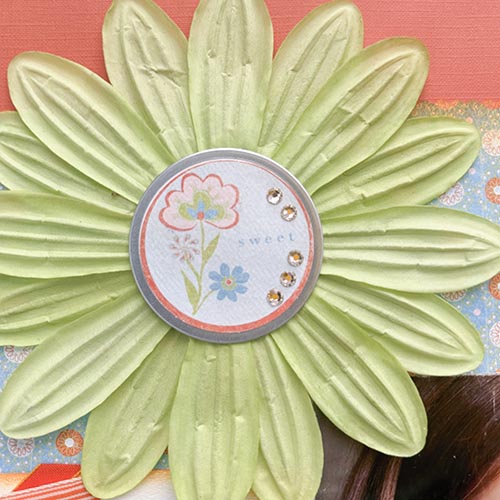
Adhesive Solution to the Flower Element
When I first assembled the elements for this Precious Daughter of Mine Scrapbook Page, I could not get the two flowers to adhere and then secure the metal rim tag (the flower center) to the flowers.
To create this page element (the journal box and label), I pre-punched a spiral edge for a book page, tore off the bottom, and inked the edges with orange ink to blend in.
To start the journaling on the book page, add an uppercase letter E sticker and outline it with a Zig black writer pen. They are my favorite…used these for years and I think I have 10 of them! LOL!
When writing (start with the letter E as in my daughter’s name…Erin), I used one of my favorite tips…Designer’s Tip: Using a pencil, draw a line and do your writing first. Then use an ink pen to go over the writing. Erase the lines.
Tie some ribbons in the spiral edges of the book page for interest.
Finishing Touches
Stamp the sentiment with green ink on a label sticker and attach a 12″ green paper ric rack behind the label. Position the journal element where you want it first before sticking the rick rack to the stamped label sticker. Staple the orange rick rack to the label. Adhere the journal cluster to the page with the E-Z Runner® Grand Ultra Strong Refillable Dispenser.
Other: Meant to be Stamp; Ink: Tsukineko (Versafine Ink in Green and Orange; Ribbon: May Arts; Patterned Paper; Orange Cardstock; Green Paper Ric Rack; Orange Mini Ric Rack; Metal Rim Tag; Gems; Staples; White Pre-punched Book Page; White Chipboard Hearts
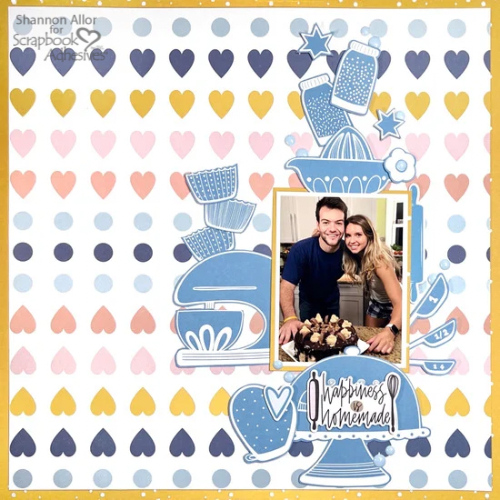
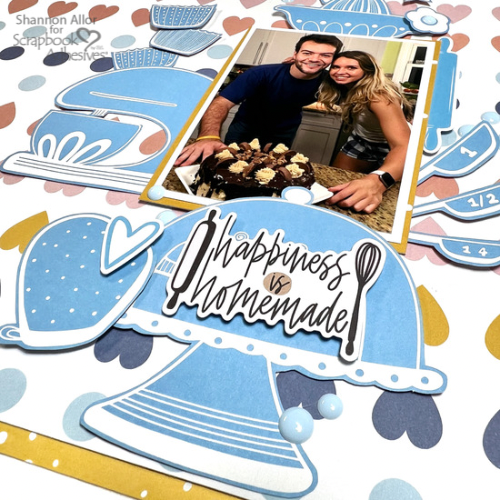
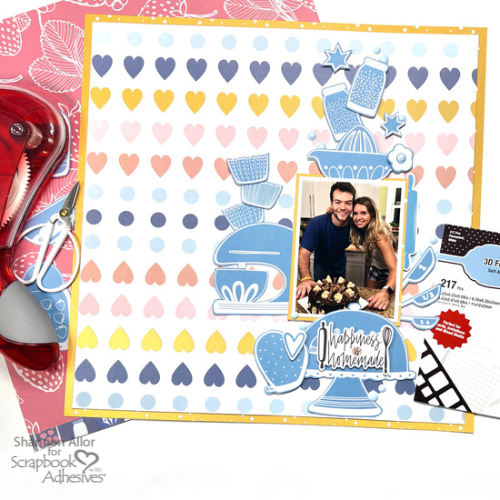
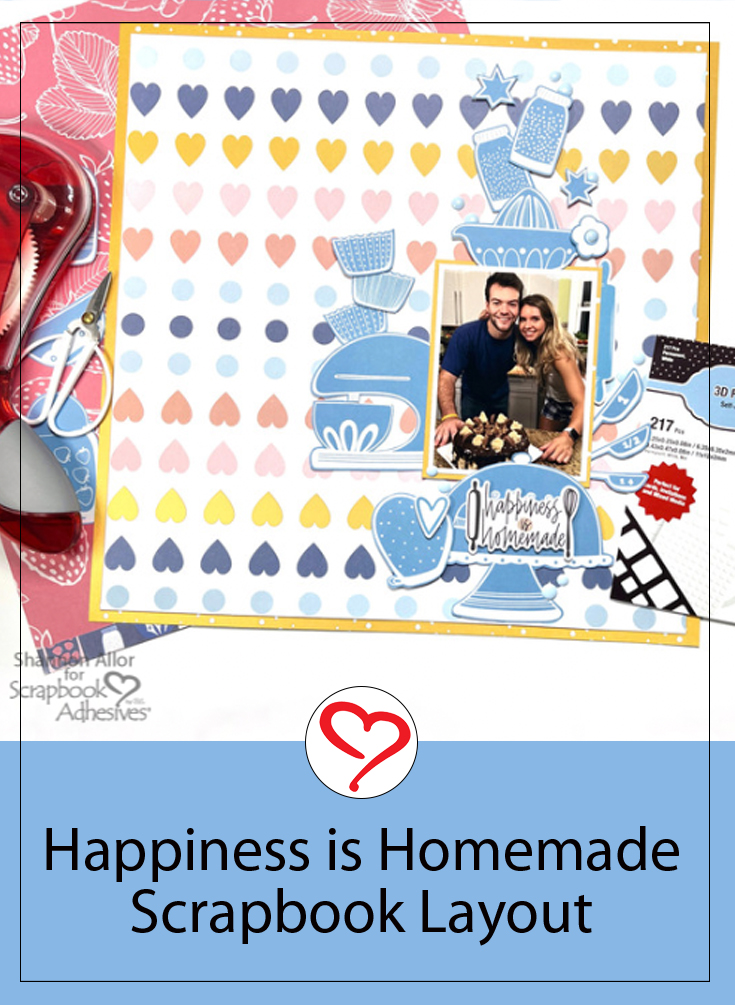
Hi, Shannon here today! With a combination of Fancy Pants Designs and Scrapbook Adhesives by 3L products, I am excited to share this fun Happiness is Homemade Scrapbook Layout with you today! For the background paper, I used a nice bright yellow paper for my mat to make the layout pop! I love to use lots of patterns and I was smitten with all of these colorful hearts.
Creating an Impact
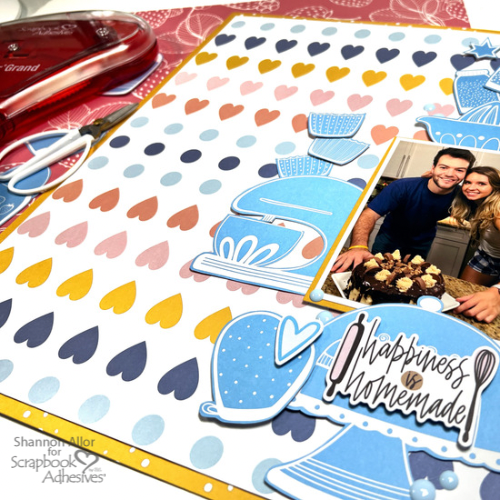
The background paper is quite busy but I still wanted to use lots of elements around my photo. I chose a monochromatic patterned paper and fussy cut a bunch of the elements. Then arranged them in a bit of a column down the page. Next, I grabbed my Crafty Foam Tape 108ft., 3D Foam Squares White Mix, and 3D Foam Strips to pop all of the elements up to create a nice amount of shadow.
Let’s Make the Photo Pop
The photo was matted with the same bright yellow paper. I used my favorite adhesive ever, the E-Z Runner® Grand Permanent Strips Dispenser, to make sure the photo and mat would stay put. Just love a trusty adhesive! It has 150 feet of double-sided adhesive so you can use it for a long time before you need to refill it!
I finished off this sweet layout with just a few enamel dots in light blue to continue the monochromatic embellishments.
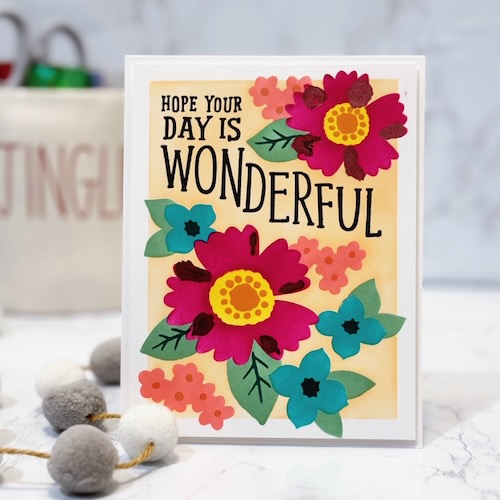
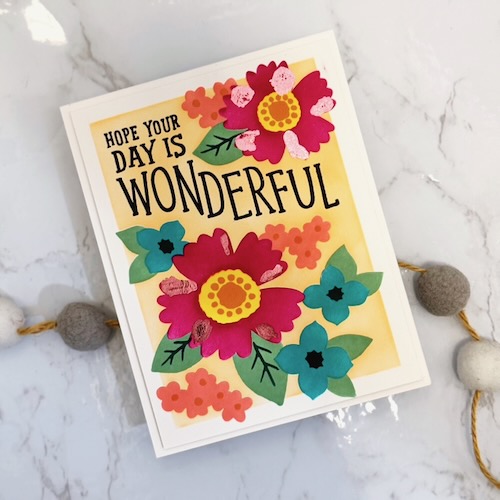
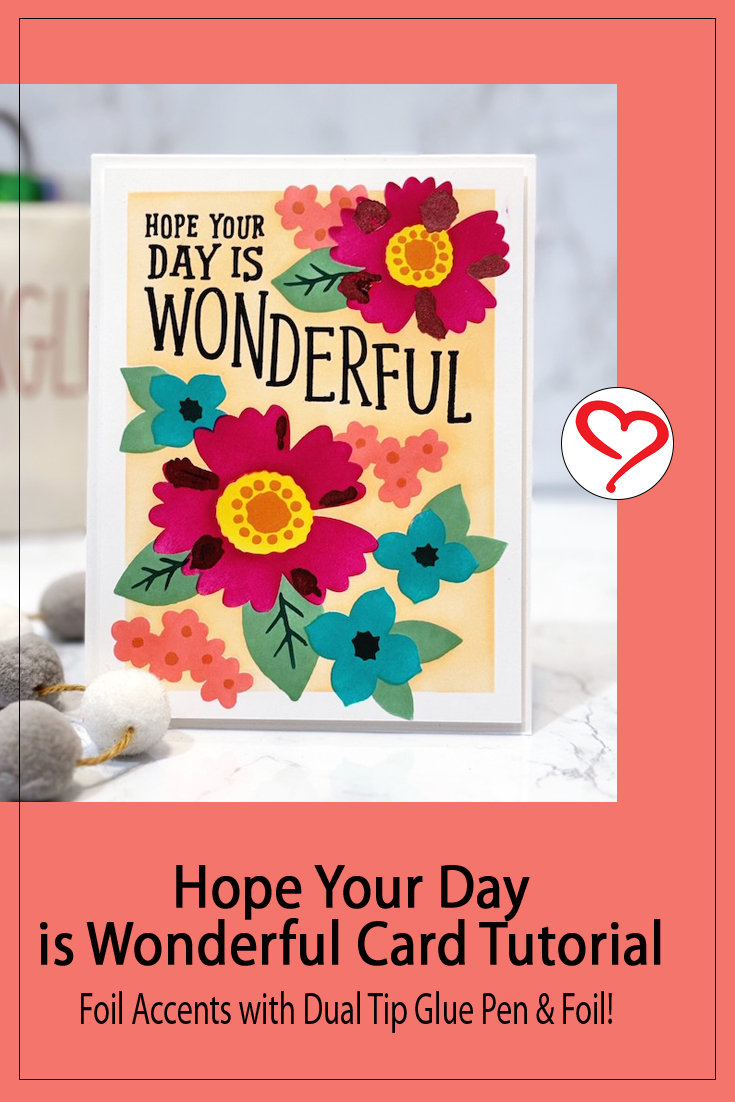
Hi, Jingle here with you today. I am super excited, as this is my very first post as a Design Team Member for Scrapbook Adhesives by 3L, to share this Hope Your Day is Wonderful Card! We are adding foiled accents using the Dual Tip Glue Pen for a very fun “Wear Your Adhesive on the Outside” technique!
Stencil and Stamp Your Day is Wonderful Card Panel
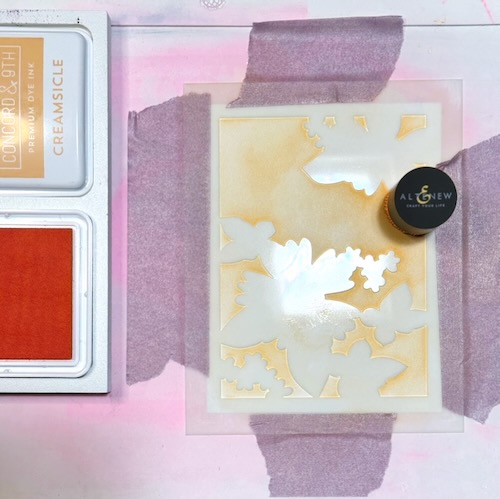
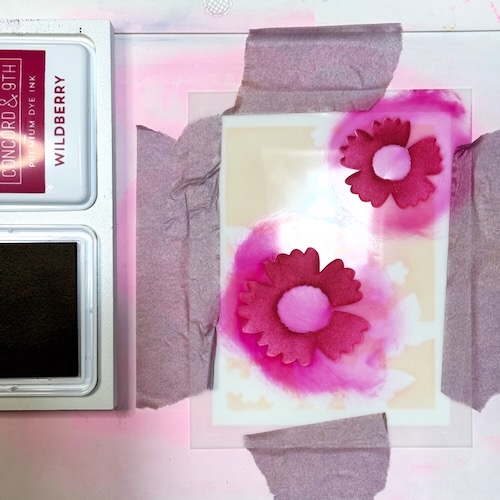
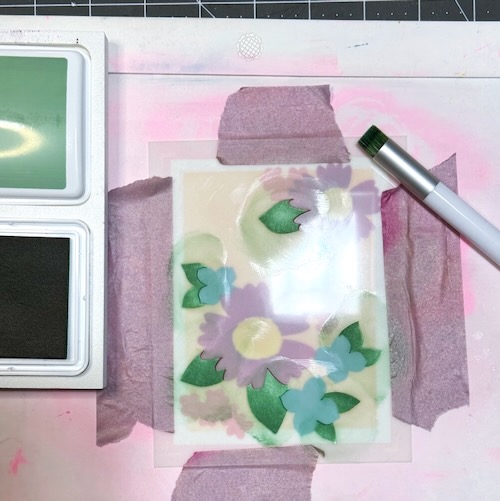
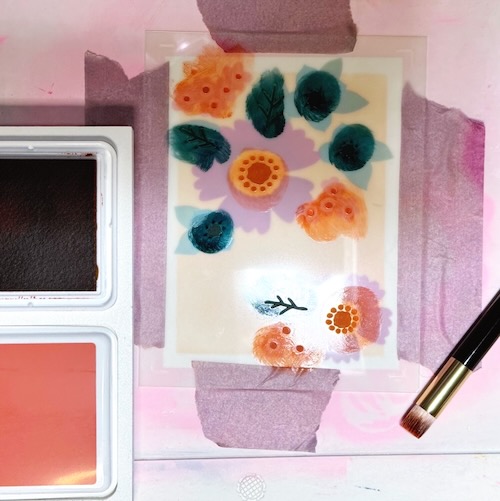
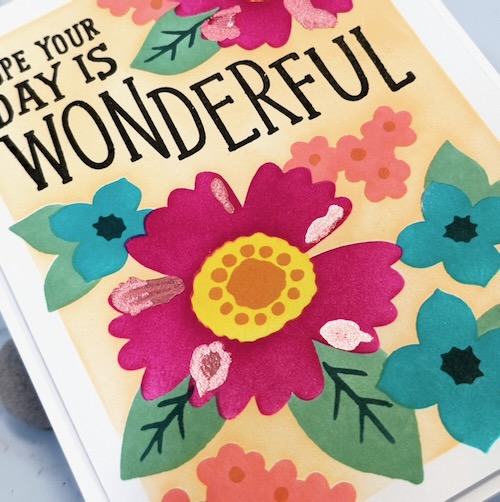
We are stenciling the entire panel with a layered stencil set. The first step is to ink blend the background and create a border around the panel. Going from the second stencil and beyond, these will ink the large flower shapes, the smaller flowers, the leaves, and lastly, the flower centers.
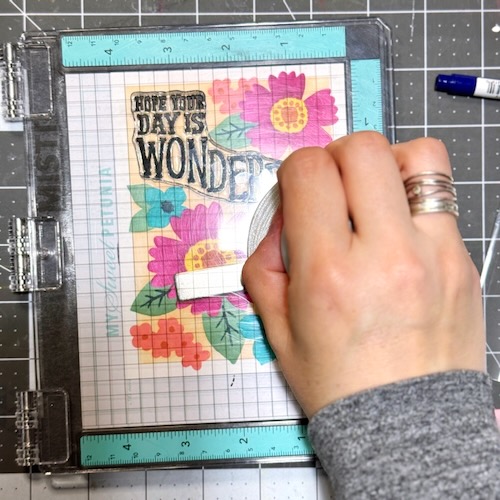
For the final addition before we start getting into the shiny stuff, use your stamping platform to stamp the sentiment onto the panel. This will complete the stenciling and stamping for the Hope Your Day is Wonderful Card Panel, allowing us to move on with the fun shiny stuff!
Wear Your Adhesive on the Outside with Dual Tip Glue Pen
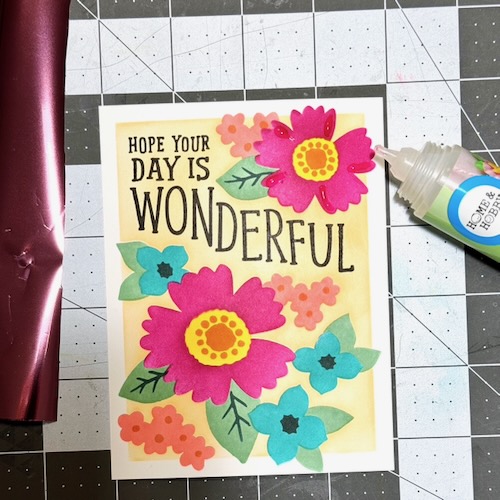
Now to this fun technique! Using the Dual Tip Glue Pen, add small bits of glue to highlight areas around the flower petals as shown below. These don’t have to be perfect and they will spread. This technique isn’t about precision, but rather the fun of seeing the result because it always turns out slightly different each time.
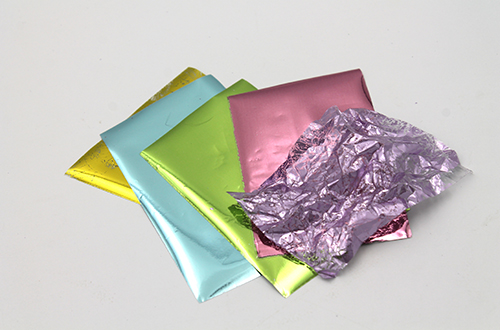
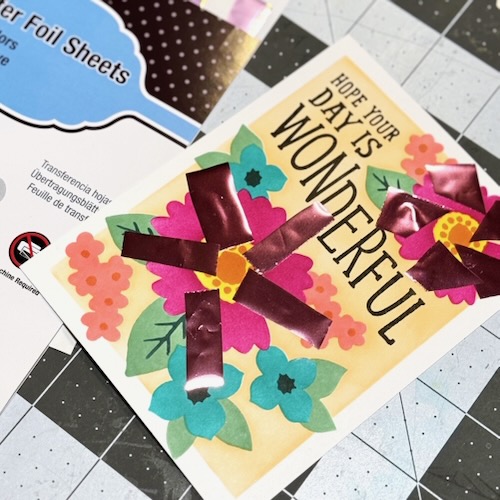
Cut a few pieces of foil (it’s okay to let the glue sit for a moment – it stays nice and tacky and that’s what we want) from the Metallic Transfer Foil Sheets in Pastel Colors pack. Lay the small foil pieces gently over each glue spot (make sure color side is facing you), and add gentle pressure to make sure you have complete coverage.
Allow to dry. Once completely dried, gently peel the foil off the panel to reveal the wonderful foil accents on your card!
Mount your panel onto a card base using Crafty Foam Tape White 108ft to complete your card. That subtle dimension really gives it that finishing touch!
I love this technique because you can use it with really ANY stamps, stencils, or other supplies. You have complete freedom to make it your own and have fun with it!
Thank you so much for joining me today and I can’t WAIT to see how you use this super fun technique!