Hi there and Happy New Year ! I hope you had a great holiday with your family.
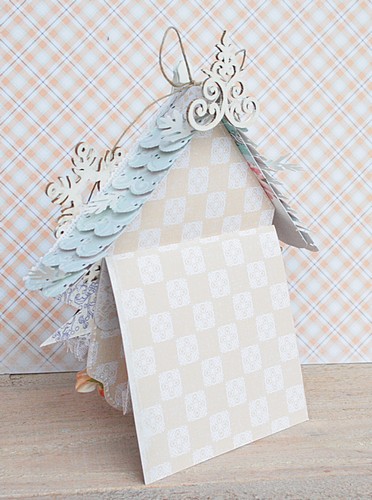
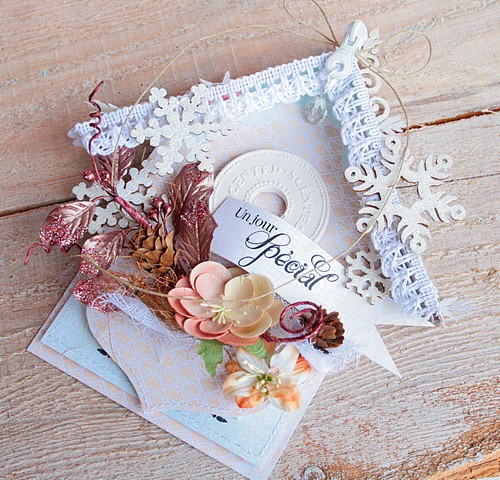
Today, I suggest you to create a card with a house shape. An original form to wish a happy New Year for example.

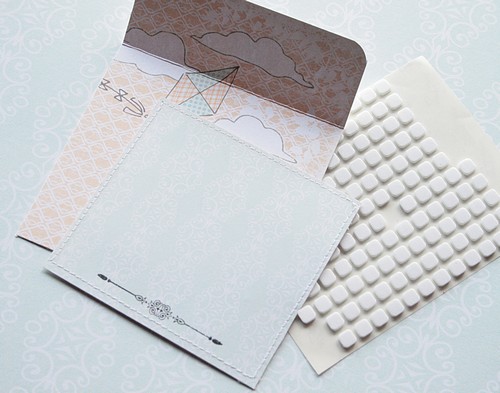
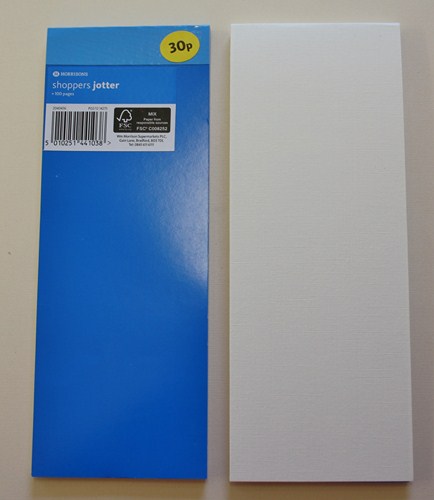
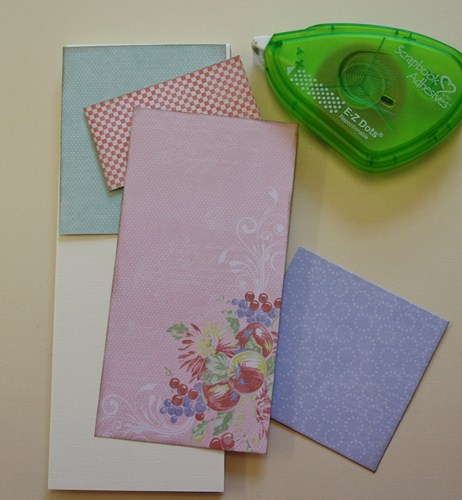
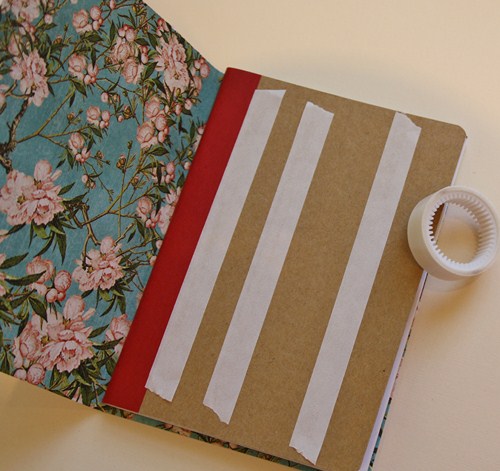
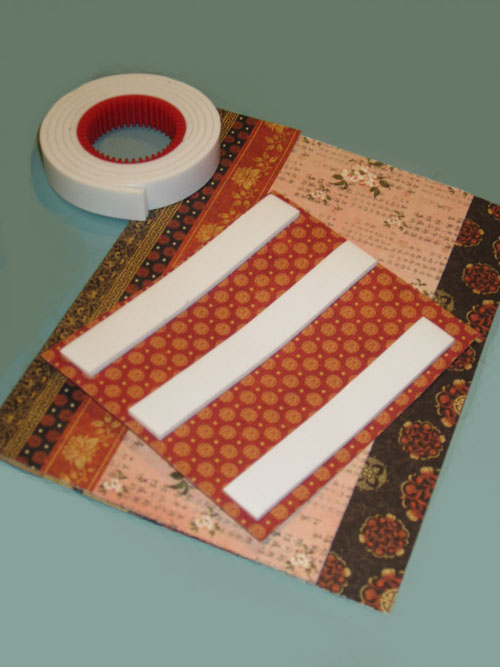
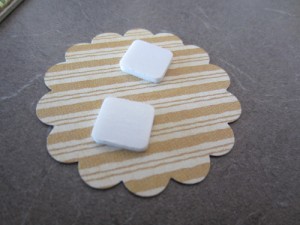
Cut a square of 4×4 inches. Secure it with 3D Foam Squares – White, Small on a rectangle of 5.5 x 4.3 inches folded to 1.5 inch.
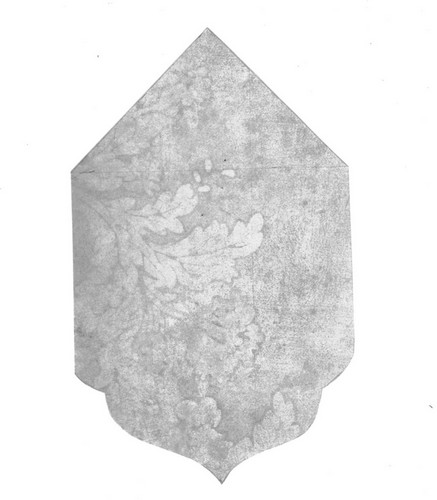
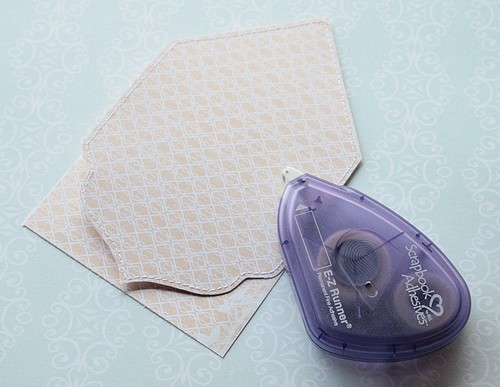
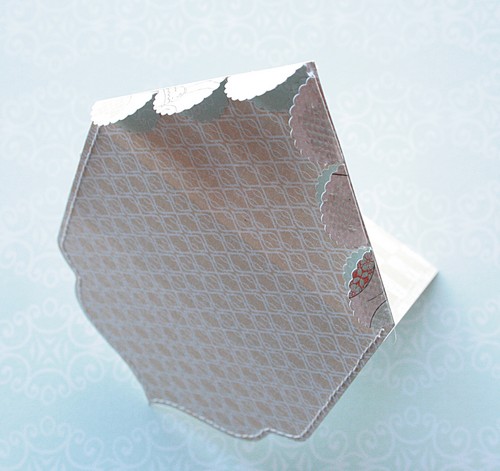
Cut in paper the following template
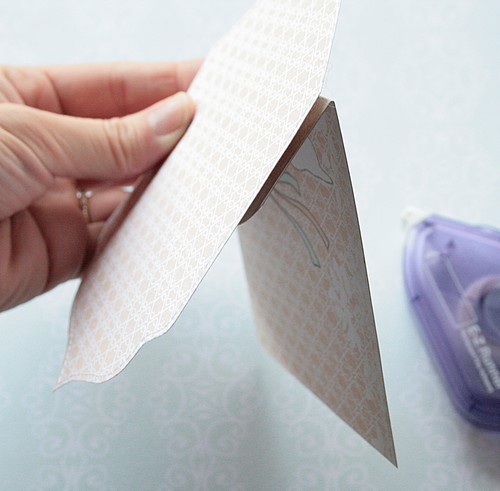
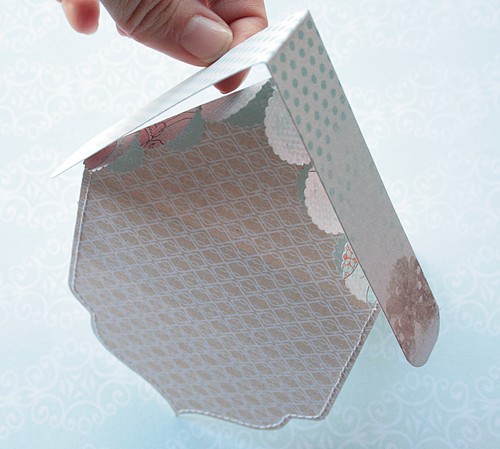
Attach the form on the folded rectangle cut above.
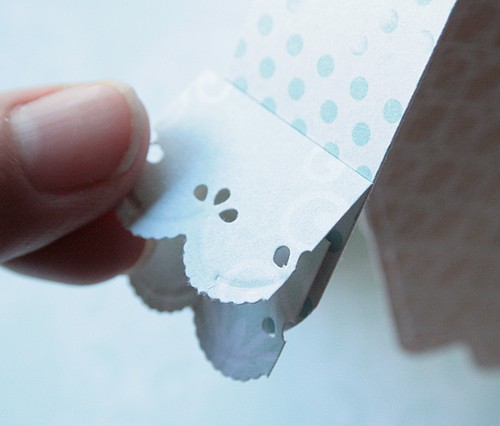
Punch with a punch border, several rounds and fold in half. Also cut a rectangle of 9 x 1.2 inches and fold in half to make the roof of the house.
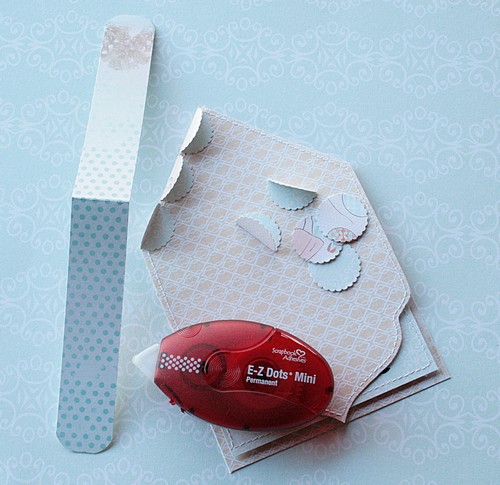
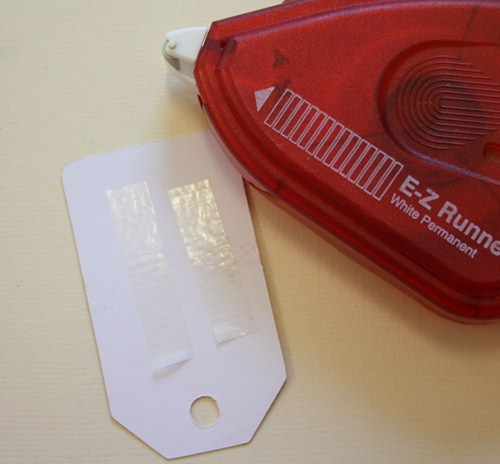
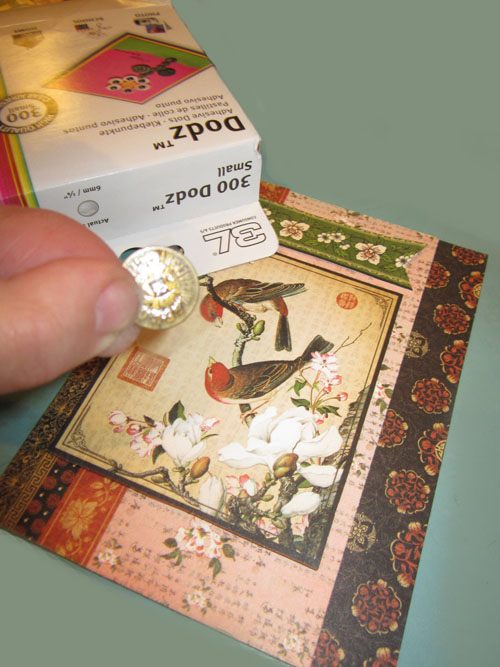
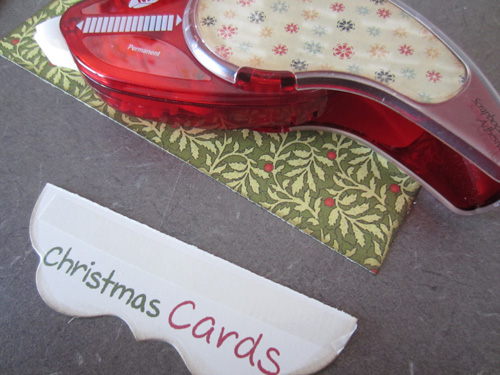
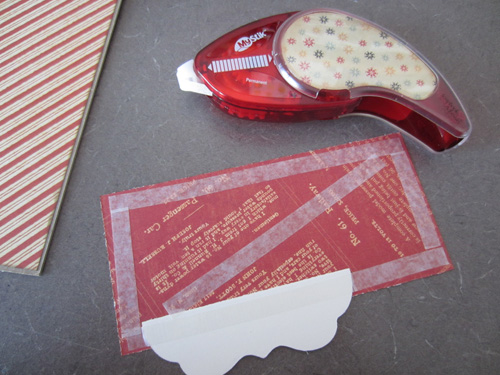
Apply E-Z Dots® Mini Permanent on the circles. Adhere half of the card and the other half of the rectangle forming the roof.
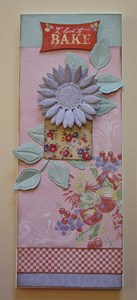
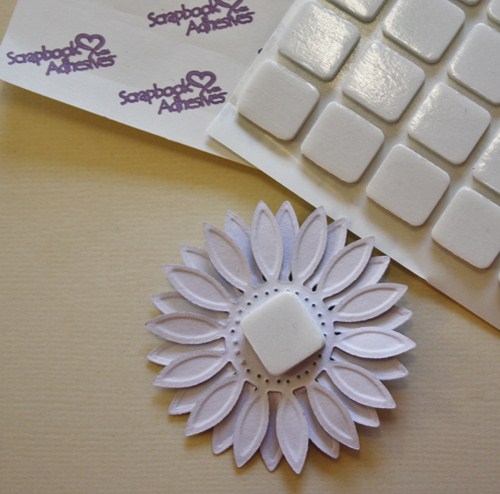
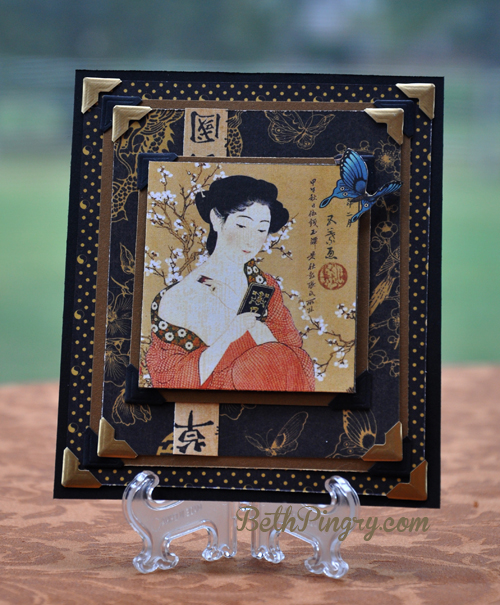
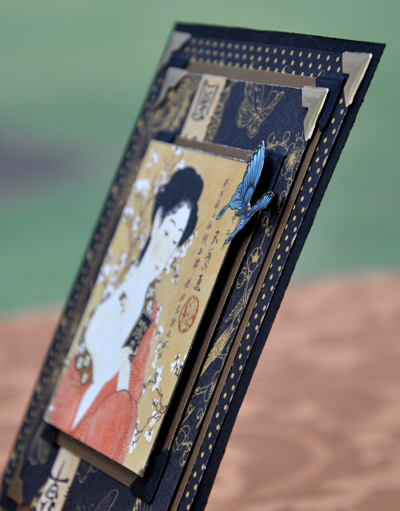
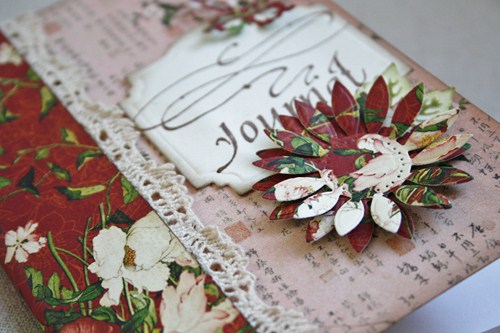
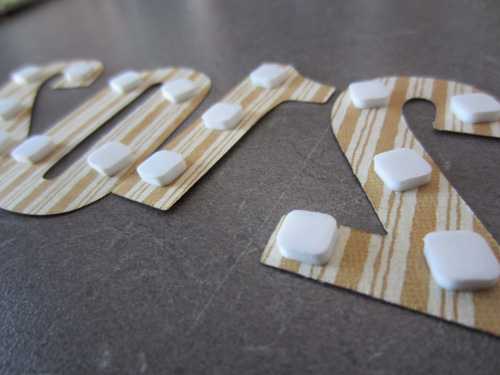
To form tiles, punch several lengths of paper and paste with 3D Foam Squares – White, Small like on the photos.
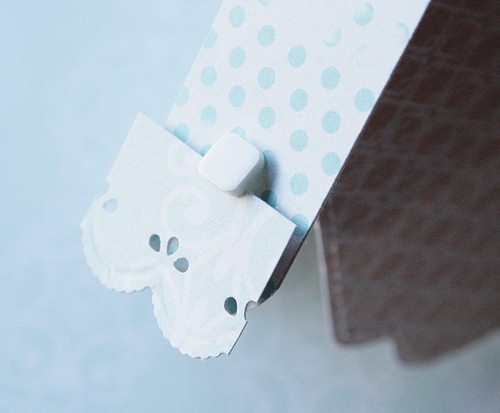

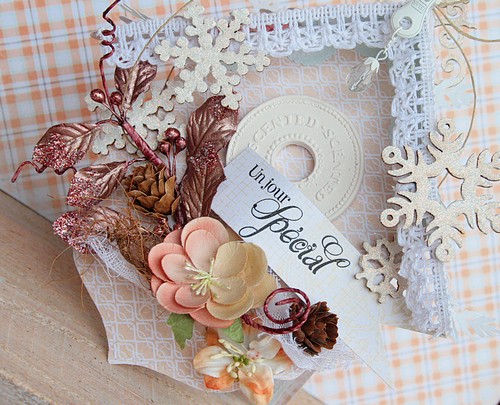
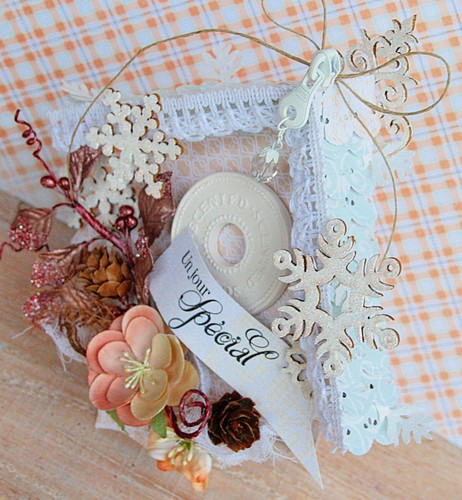
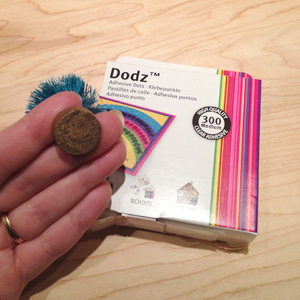
Finish by fixing decorations with DODZ™ – Medium .
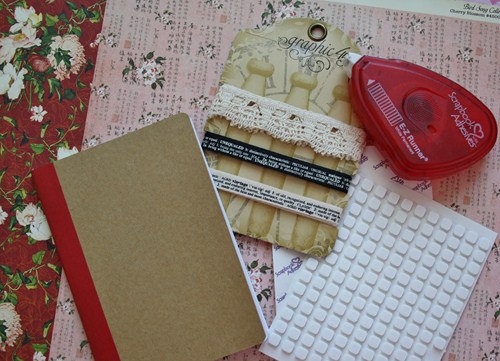
Supplies :
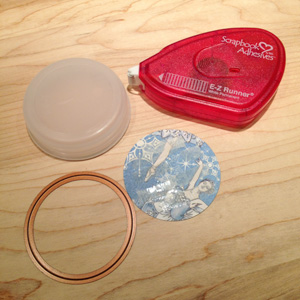
SCRAPBOOK ADHESIVES BY 3L™: 3D Foam Squares – White, Regular Size , E-Z Dots® Mini Permanent, DODZ™ – Medium.
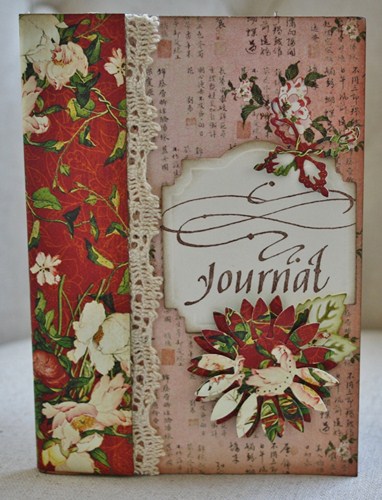
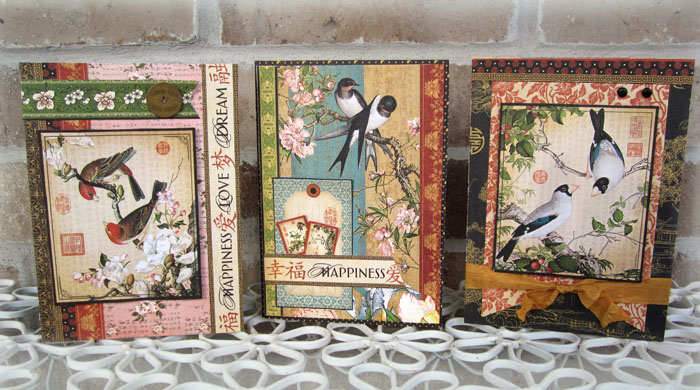
The ScrapCake papers,
Prima Marketing flowers, EmbelliScrap embellishments
Martha Stewart punch.
Thank you for stopping by our blog today!
Flo ~ Floliescrap Blog


