Welcome to Day 1 of our Blog Hop with Graphic 45!
Our first project is from AJ Otto


I LOVE patterned paper- there is SO much you can do with it! I decided to create an ornament using Graphic 45’s Nutcracker Sweet line. I made one like this several years back and thought it was time for a new one.
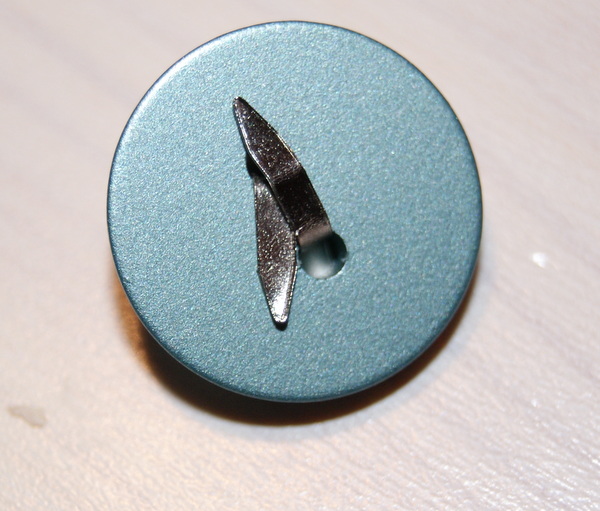
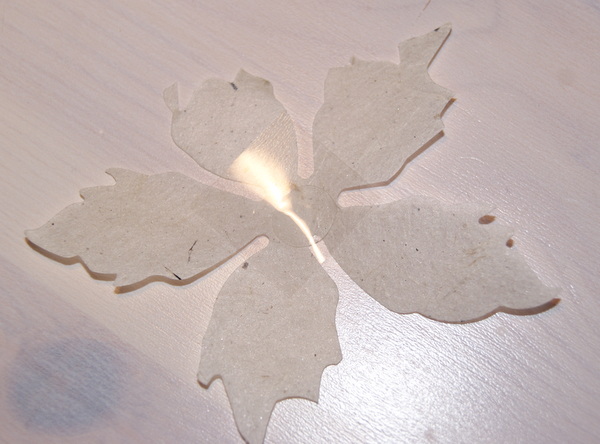
Cut your desired 12 X 12 paper into 4 X 4 squares. (This is the Nutcracker Sweet paper) There are 12 of those little rolled pieces, which came from 6 squares total, not even using a whole sheet of paper. Roll into a cone shape, tapering the ends. Adhere ends of cones together with Crafty Power Tape.
Using Spellbinders dies, cut/emboss two of your circle shapes from a complimentary patterned paper, (Gingerbread Delights here) piece. I cover the back just like the front so it’s pretty on both sides. One by one, adhere your cones to the center of the circle die cut with Crafty Power Tape. When complete, cover the flip side with the other circle.
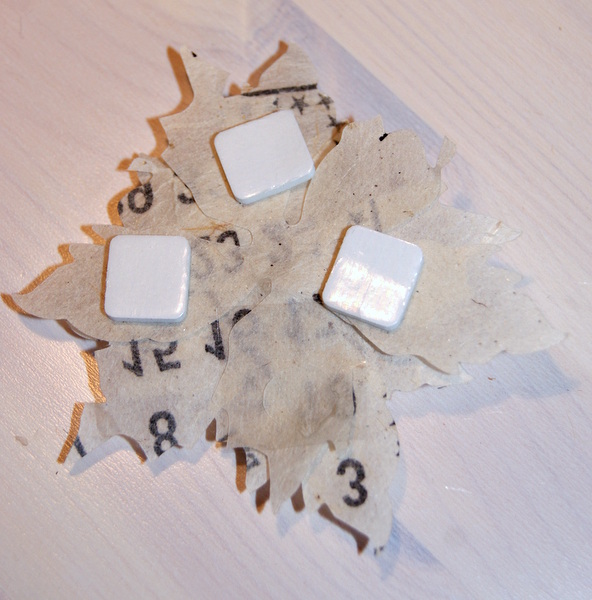
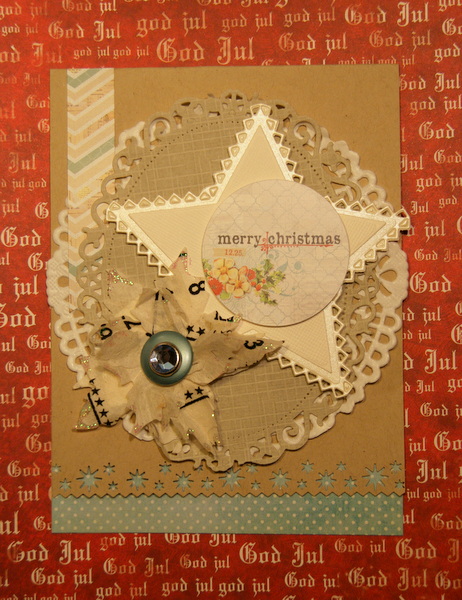
I die cut a scalloped circle from white card stock, and adhered to the striped circle with 3D Foam Squares.
I chose the cute mouse king image for the focal point from the Holiday Magic page, and adhered it to the white scalloped circle with more 3D Foam Squares. (Can’t use enough of these when adding dimension!! 😉
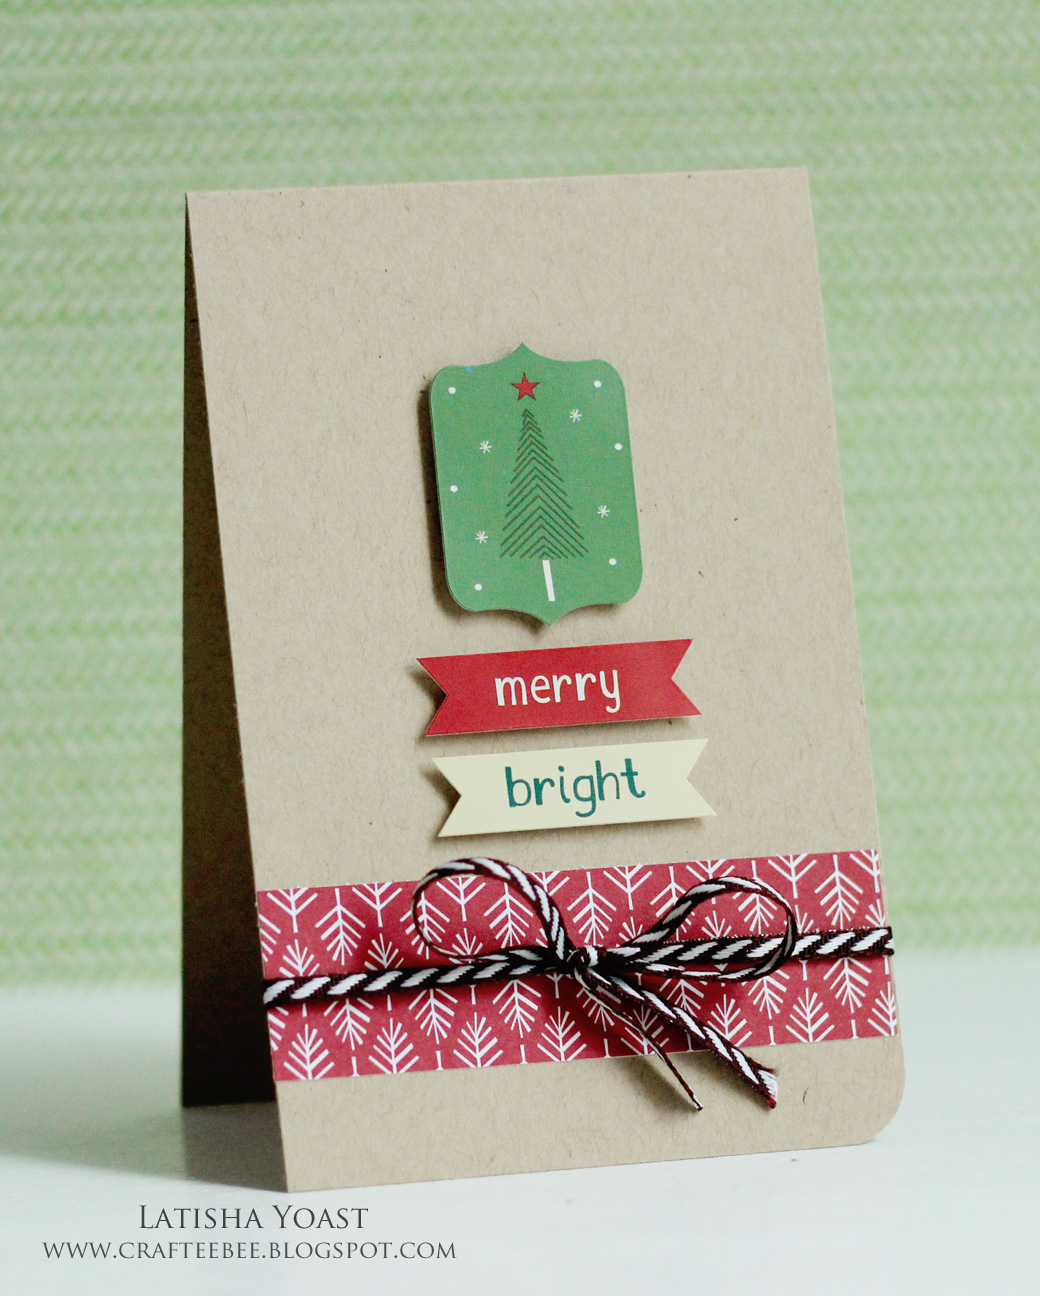
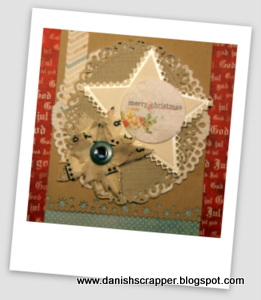
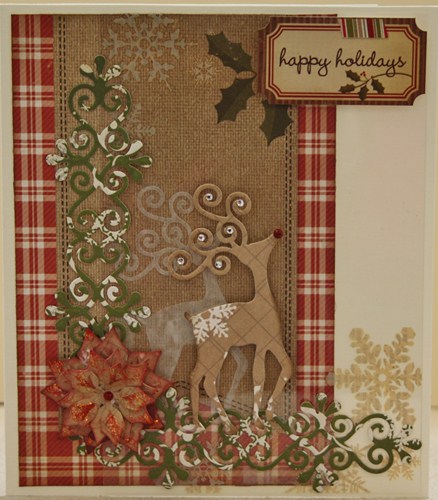
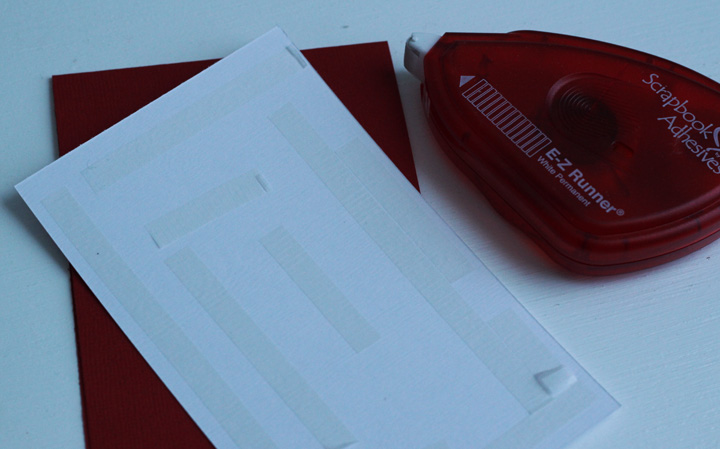
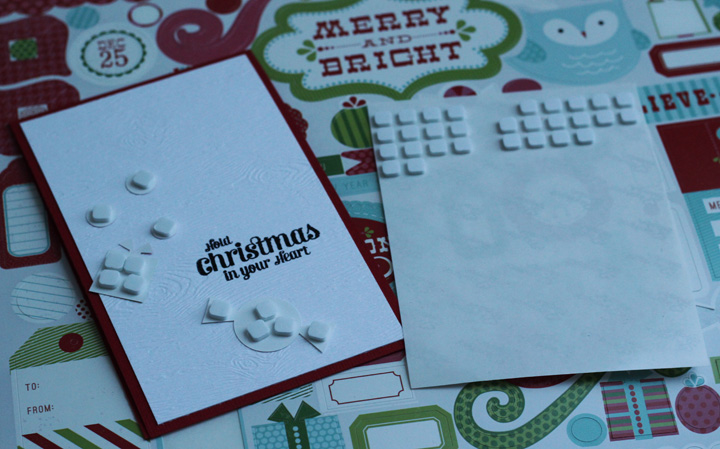
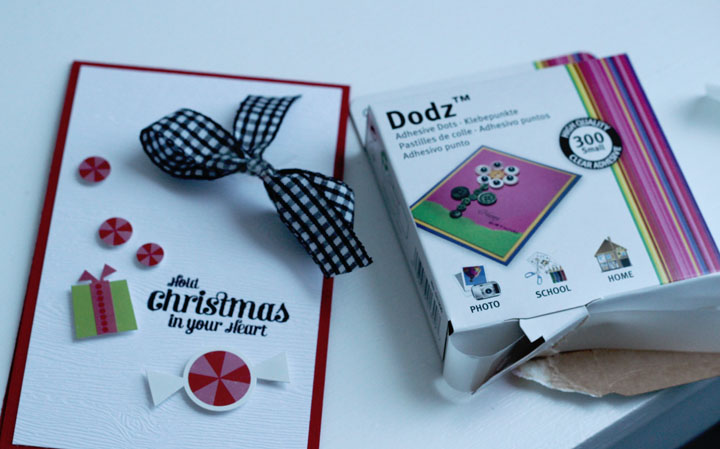
I had quite a bit of paper left over, (the green is the backside of the Holiday magic piece, and the Christmas is the front) so I whipped up a quick card to have on hand for last minute needs. I embossed the green layer with the EG-002 Dainty Dots M-Bossabilities folder, then adhered to the card with E-Z Runner tape. I attached the Christmas piece using 3D Foam Squares, and finished it off with a twine bow.

Our next project comes from Karin Strandby.

Its Karin here, and I’ve made a fat mini album with the awesome paper collection “A Ladies Diary” from Graphic 45. I have a bunch of pictures from a party with my friends and I decided to make this mini.


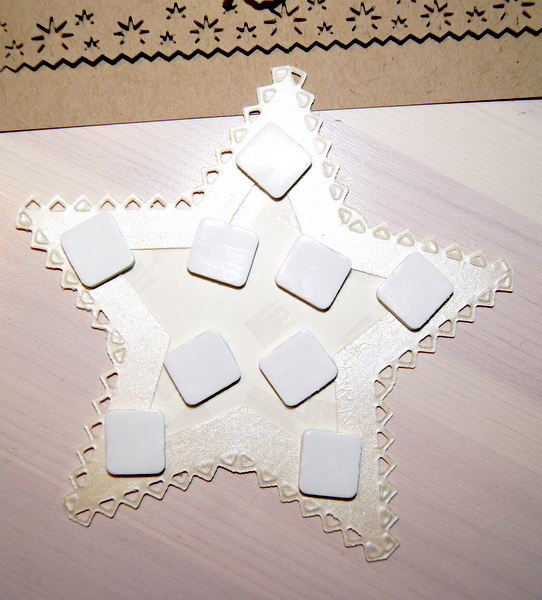
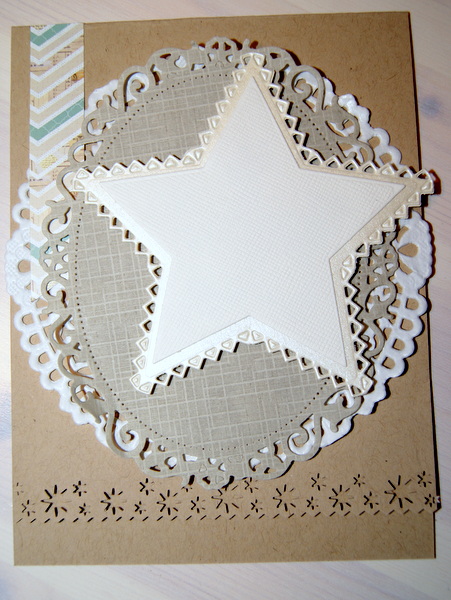
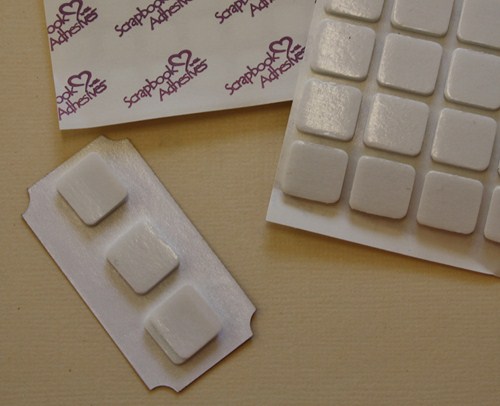
To give the dimension I always use 3D Foam Squares, which are available in different sizes and thicknesses. SO COOL!!

To adhere it all together, chipboard, design paper, pictures and ornaments I use Crafty Power Tape, MyStik® Permanent Strips and E-Z Runner®, all permanent adhesives.

A glimpse to the inside of the Fat Mini. The pages are pockets and tags with text about the party.

To get it more stable, I’ve sewn the pages to the back, through some eyelets.
 Before decorating with design paper I’ve made a frame to get a little distance, so the design paper lies nice over the cord. Maybe a little difficult to see because I’ve painted it black as all the other chipboard.