You are in our US store • Switch to Europe store

Give a little heart….

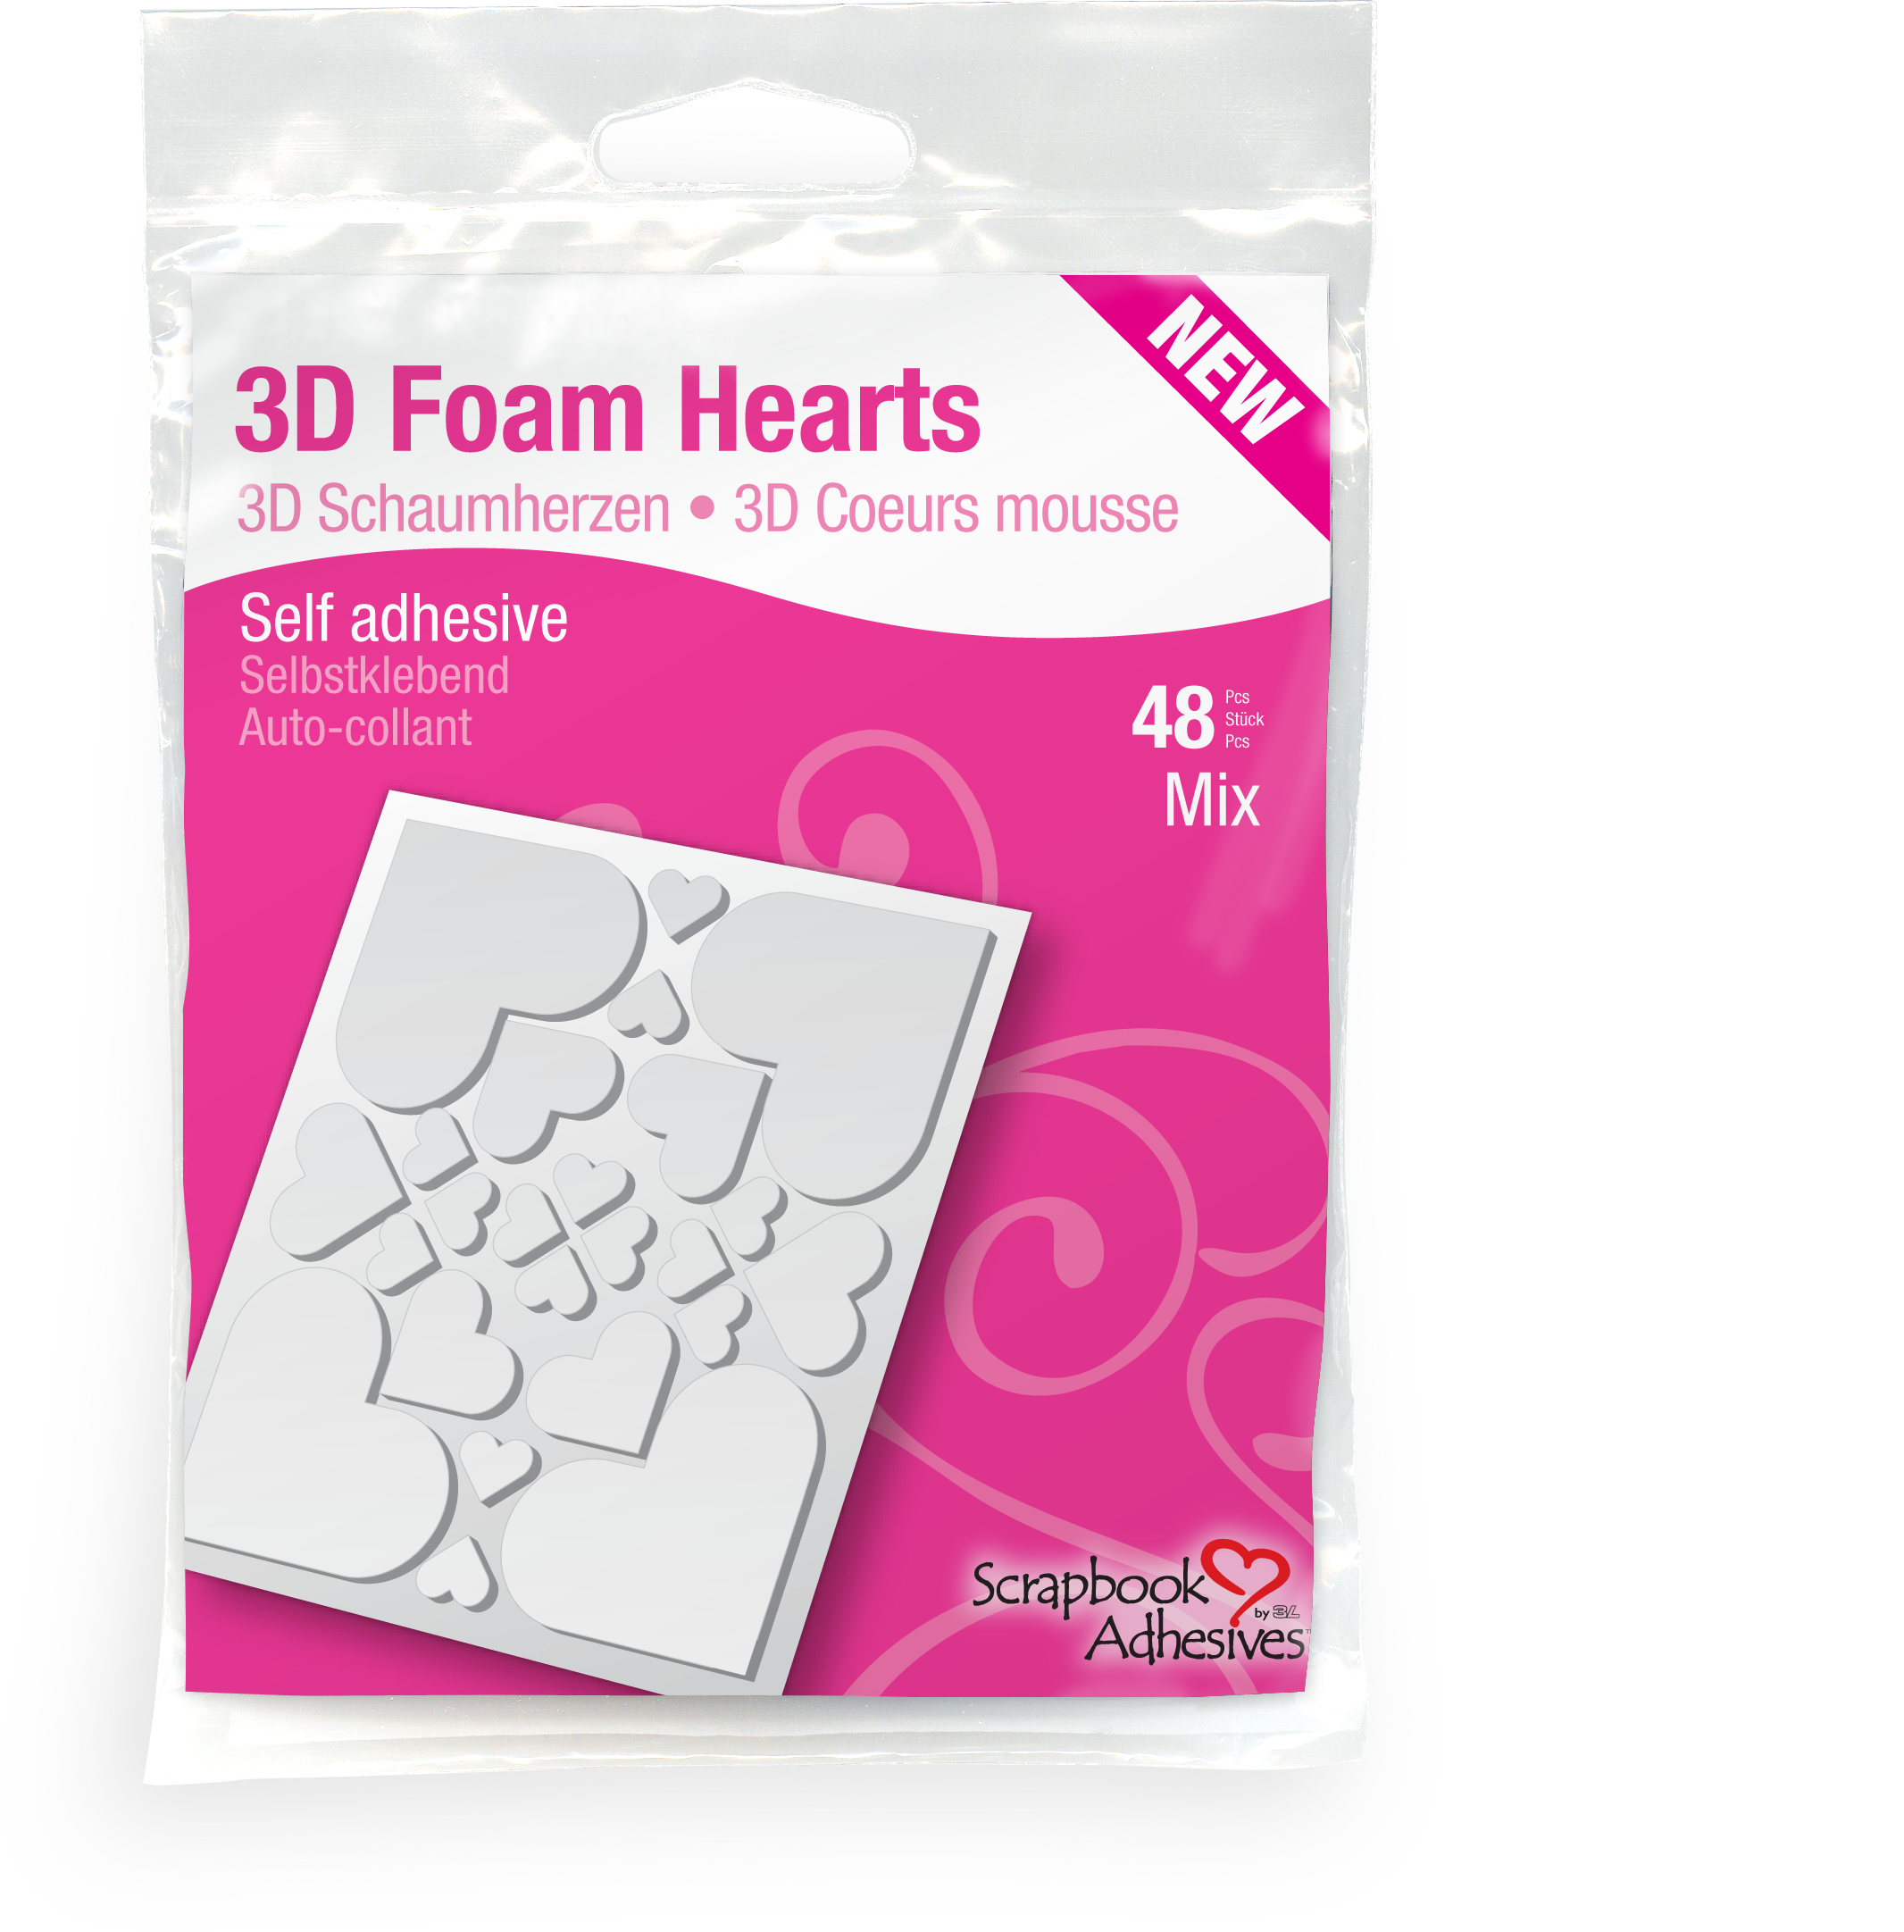
Hello – it is Christine here today and I’ve been fortunate enough to craft with the very new 3D Foam Hearts.  These are wondrous little beauties!

I decided to make a small gift bag, perfect for table favours or treat bags.  These are ‘glassine’ bags and available from many craft outlets.  I sliced a small portion off the top to make it straight.

To add interest I placed the bag inside an M-Bossabilities folder – Enchanted.

The pattern is embossed beautifully.
Using the new foam hearts, I removed the paper layer from a few of them and sprinkled over some embossing powder.

Tapped off the excess and then heat set with a heat gun.  The foam withstands the heat and the result is truly lovely – enamel looking.

For more decoration I cut/embossed some Jewel Flowers and Flourishes, adhered them with my E-Z Dots® Permanent.

On the reverse side I placed a loop of twine secured with a 3D Foam Square.

I assembled my bag adding a little name tag and bird die cut.Some close up pictures.  The foam heart secures the little bag firmly.

Such a fun product to make and use.Thank you for joining me today.  Here is a list of the super sticky products I have used:

E-Z Dots Permanent

Straight from CHA, 3D Foam Hearts!

Hello and welcome to the Crafty Power Blog!

Birgit here, just back home from CHA!

Today i want to share with you a canvas i created for the Scrapbook Adhesive by 3L® CHA booth using a new and awesome product: 3D Foam Hearts.

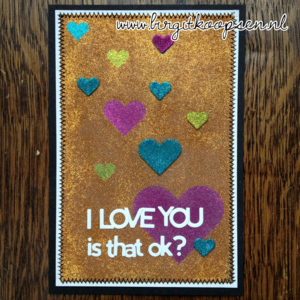
I totally fell in love with these hearts,! They are easy to use with embossing powders, glitter, flock and foils and give wonderful depth to your scrapbook pages, cards and mixed media projects.

3D Foam Hearts

I used embossing powder, foil and glitter on this canvas:

The background was created with Faber Castell Gelatos. To create the texture in the moon I run a piece of cardstock covered on the backside with an Adhesive Sheet through my Big Shot using Sizzix Texture Fades Embossing Folders 2PK – Rays & Retro Circles Set, then cut it in a circle and added to the canvas. I cheated on the globe 🙂 I found a picture on Google, printed and cut it out and then colored it in the right places with Gelatos to make it look hand drawn.

Thank you for stopping by today!

Happy crafting!

Birgit Koopsen

hugs and kisses

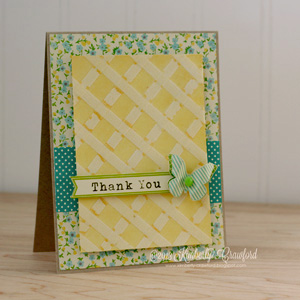
Happy New Year everyone! And with that, its time for Valentine’s Day! 🙂 Kimberly here with a cute card perfect for slipping into someone’s lunch box. Cute patterned paper, stickers, and adhesives from Scrapbook Adhesives by 3L made it quick and easy.

I love the dimension that the 3D Foam Squares add. Makes things just pop a little more off the card!

thanks for stopping by!

Kimberly Crawford

Supplies: Scrapbook Adhesives by 3L (E-Z Runner® ,3D Foam Squares Small White),

Patterned paper and stickers-Carta Bella (Alphabet Junction), Spellbinders Paper Arts-Labels Seventeen, Pearls-Want2Scrap

Visit our Website and Blog!
Sign up for our Newsletter so you never miss a contest or giveaway!

instagram purple icon facebook icon purple pinterest purple icon twitter purple icon YouTube icon blog subscription purple icon

If Life Gives You “Limes” Card

Who doesn’t need something bright and cheerful in the middle of winter? I love this Jillibean Soup line for just that reason… Cheerful!! The bow die is one of my designs from AccuCut.

I don’t know the last time I made a card that I didn’t use 3D Foam Squares to add dimension.  It’s amazing what a difference it makes. Love me some 3D Foam Squares!

Hoping your New Year is off to a wonderful start!

Vicki Chrisman

my blog: “This Art that Makes Me Happy”

Save

HOUSE CARD

Hi there and Happy New Year ! I hope you had a great holiday with your family.
Today, I suggest you to create a card with a house shape. An original form to wish a happy New Year for example.

Cut a square of 4×4 inches. Secure it with 3D Foam Squares – White, Small on a rectangle of 5.5 x 4.3 inches folded to 1.5 inch.


Cut in paper the following template


Attach the form on the folded rectangle cut above.


Punch with a punch border, several rounds and fold in half. Also cut a rectangle of 9 x 1.2 inches and fold in half to make the roof of the house.


Apply E-Z Dots® Mini Permanent on the circles. Adhere half of the card and the other half of the rectangle forming the roof.


To form tiles, punch several lengths of paper and paste with 3D Foam Squares – White, Small like on the photos.


Finish by fixing decorations with DODZ™ – Medium .

Supplies :
SCRAPBOOK ADHESIVES BY 3L™: 3D Foam Squares – White, Regular Size , E-Z Dots® Mini Permanent, DODZ™ – Medium.
The ScrapCake papers,
Prima Marketing flowers, EmbelliScrap embellishments
Martha Stewart punch.
Thank you for stopping by our blog today!
Flo ~ Floliescrap Blog

Altered Mirror

First of all HAPPY NEW YEAR EVERYONE!!! and welcome to the Crafty Power Blog!

Today i want to share with you an altered mirror:

This is a very cheap mirror from IKEA. I took the mirror part out, which is easy to do and put the wooden part on a piece of Adhesive Sheet 12×12“, then I put a piece of patterned paper on top and cut away the middle part and the edges with a sharp craft knife.

I used E-Z Runner® to apply the border strips around the mirror.

DODZ™-Medium where used to apply the flowers and 3D Foam Squares – Black Small for the little birdie.

And a closer look to the whole project:

Adhesive used:

All other products are from Prima Marketing.

Thank you for stopping by! Wishing you an inspiring and creative 2013!

Birgit Koopsen

New Year Notepad

Hello!  Christine here today and wishing you all a Happy New Year.  New Year is a time when a lot of us think about new plans and ideas and perhaps make lists, I’m a ‘list addict’!

One of my favourite things to do is to customise cheap notepads that you can purchase at local supermarkets.  I use the outer cover as a template and cover with plain cardstock.

Using scraps of pretty paper, I cut these into panel sections, ink the edges slightly and arrange with my with E-Z Dots® Repositionable – just in case I change my mind!

I’ve chosen to add some pretty die cuts created from SpellbindersJewel Flowers and Flourishes.  3D Foam Squares work perfectly on the back of these.

I switch to my E-Z Runner® and attach my paper and other decorative elements including tags.  The adhesive is in tiny strips so it can be used on the smallest embellishment too.

Within minutes you have a decorated notepad, a transformation from the cheap supermarket one!

A close up photo.

Thank you for joining me today – here are the super sticky products I have used.

3D Foam Squares RegularE-Z Dots Repositionable

Happy 2013!

Happy New Year from all of us at Scrapbook Adhesives by 3L®!

We thank you for your support this past year and look forward to a wonderful year of inspiration, techniques and fun in 2013! We’ve got some cool stuff to announce at the Craft and Hobby Winter Show in 12 days, so stay tuned! If you’ll be in Anaheim, be sure to visit us in booth # 1275 for a make and take project, demonstration and more!

Here’s a quick card to celebrate the new year!

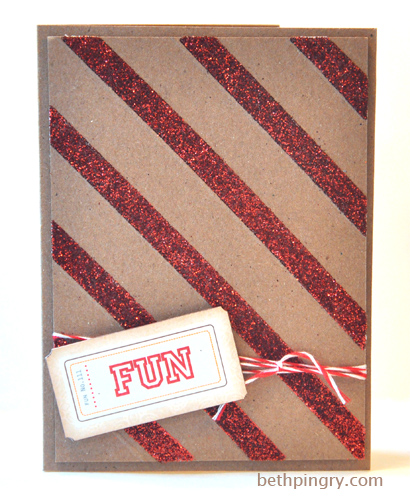
The detailed die cut on the base is adhered with an Adhesive Sheet, applied before it was die cut. The checker board die cut is adhered with E-Z Runner® Permanent Strips. For the large ribbon die cut I used 3D Foam Squares Regular Black.

The numbers are chipboard stickers, which I applied an Adhesive Sheet to, then applied glitter.

We wish you health, happiness and joy in 2013!

Beth Pingry (Be Sure to visit my personal blog today for an adhesive giveaway today, 1-1-13!)

Supplies Used:

Scrapbook Adhesives by 3L®:  

Authentique: Peaceful Collection patterned paper

Spellbinders: Labels Twenty-Two, Basic Lattice, Ribbon Banners LG

Cosmo Cricket: Ready-Set-Chip stickers

Gold Glitter, Cardstock, ink

Merry Christmas Snow Globe Tutorial

Merry Christmas! I hope that your holiday is warm and wonderful! Its Kimberly here sharing a tutorial for a snow globe holiday decoration.

This snow globe is easy to create with adhesives from Scrapbook Adhesives by 3L.

The snow globe has three parts; the globe, the plastic cap you see in the photo, and a base. This snow globe can be filled with water, but for this project, we’ll skip that.

Die cut patterned paper to fit the size of the base. Adhere it with the E-Z Runner® .

Gently apply paint to the tree. Set aside to dry for a few minutes.

Apply a Dodz™ Medium to the base of the tree.

Die cut two reindeer from cardstock. Adhere them together with 3D Foam Squares White Small.

Remove the backing from a Adhesive Sheet 4×6. Place the reindeer down onto the white side. Flip it over and rub the adhesive onto the reindeer. Remove the white sheet.

Poor the glitter onto the reindeer, burnish it, and remove the excess.

Place a Dodz™ Medium on the back of the reindeer’s head.

And adhere the reindeer to the tree, leaving his feet on the base.

Pour some cello glitter inside the globe.

Place the globe on the base (that the tree and reindeer is adhered to) and attach the base.

Cut a strip of patterned paper. Apply Crafty Power Tape to the entire back.
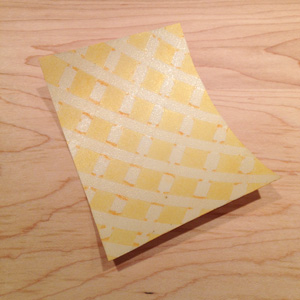
Ink the edges and stamp with a sentiment. Remove the backing and adhere the patterned paper to the base.

I know its after the season now, but if you find a few of these on clearance, pick them up and have fun creating projects that will be ready to decorate your home for next Christmas!

thanks for stopping by!

Kimberly Crawford

Scrapbook Adhesives by 3L 3D Foam Squares White Small, Crafty Power Tape, E-Z Runner®,Dodz Medium Adhesive Dots, Adhesive Sheets 4×6

Other: Patterned paper-Graphic 45 (Nutcracker Suite Collection; Snowflake Waltz, Land of Sweets), Spellbinders Paper Arts-Circles LG, Silhouette-Reindeer, Michael’s-Snow Globe, Cello Glitter, Ink-Ranger (Distress Ink; Frayed Burlap), Tsukineko (Memento; Tuxedo Black), Stamps-Hero Arts-Miracle of the Holiday

Save

Save

Save

Blog Hop Winner!

Wow, what a wonderful week of projects, inspiration and oh so many wonderful comments! Thank you so much for joining us all week long! And thank you to our friends at Graphic 45, we love working with you!

We randomly drew a comment from the week, and this is our lucky winner:

Maureen Hayes I loved both projects but was especially thrilled with the Christmas card holder because I really need one and this would be beautiful to make. Your adhesives look fantastic and so easy to use to create great projects that will stand the test of time! Thanks for joining forces with G45 to inspire us all!

Maureen, Please email me at BethPingry@3LCorp.com so we can get your prize out to you!

Stick with us, sign up for our free newsletter, follow us on Facebook, Pin us on Pinterest and watch us on YouTube!