You are in our US store • Switch to Europe store

Butterfly Hello

Latisha here with you today.  I hope you all are greeting today with a smile.  I know I am, well I’m trying to, this time change has my mind and body all whacked out.  It is hard to wake up in the morning when it is still pitch dark outside.

With that said, I am very happy that warmer weather is approaching, which means spring is right around the corner.  Some new product that I had ordered came in, and nothing inspires me more than working with something new.  Do you feel that way?  Here is a card I made, that reminds me of sunshine.
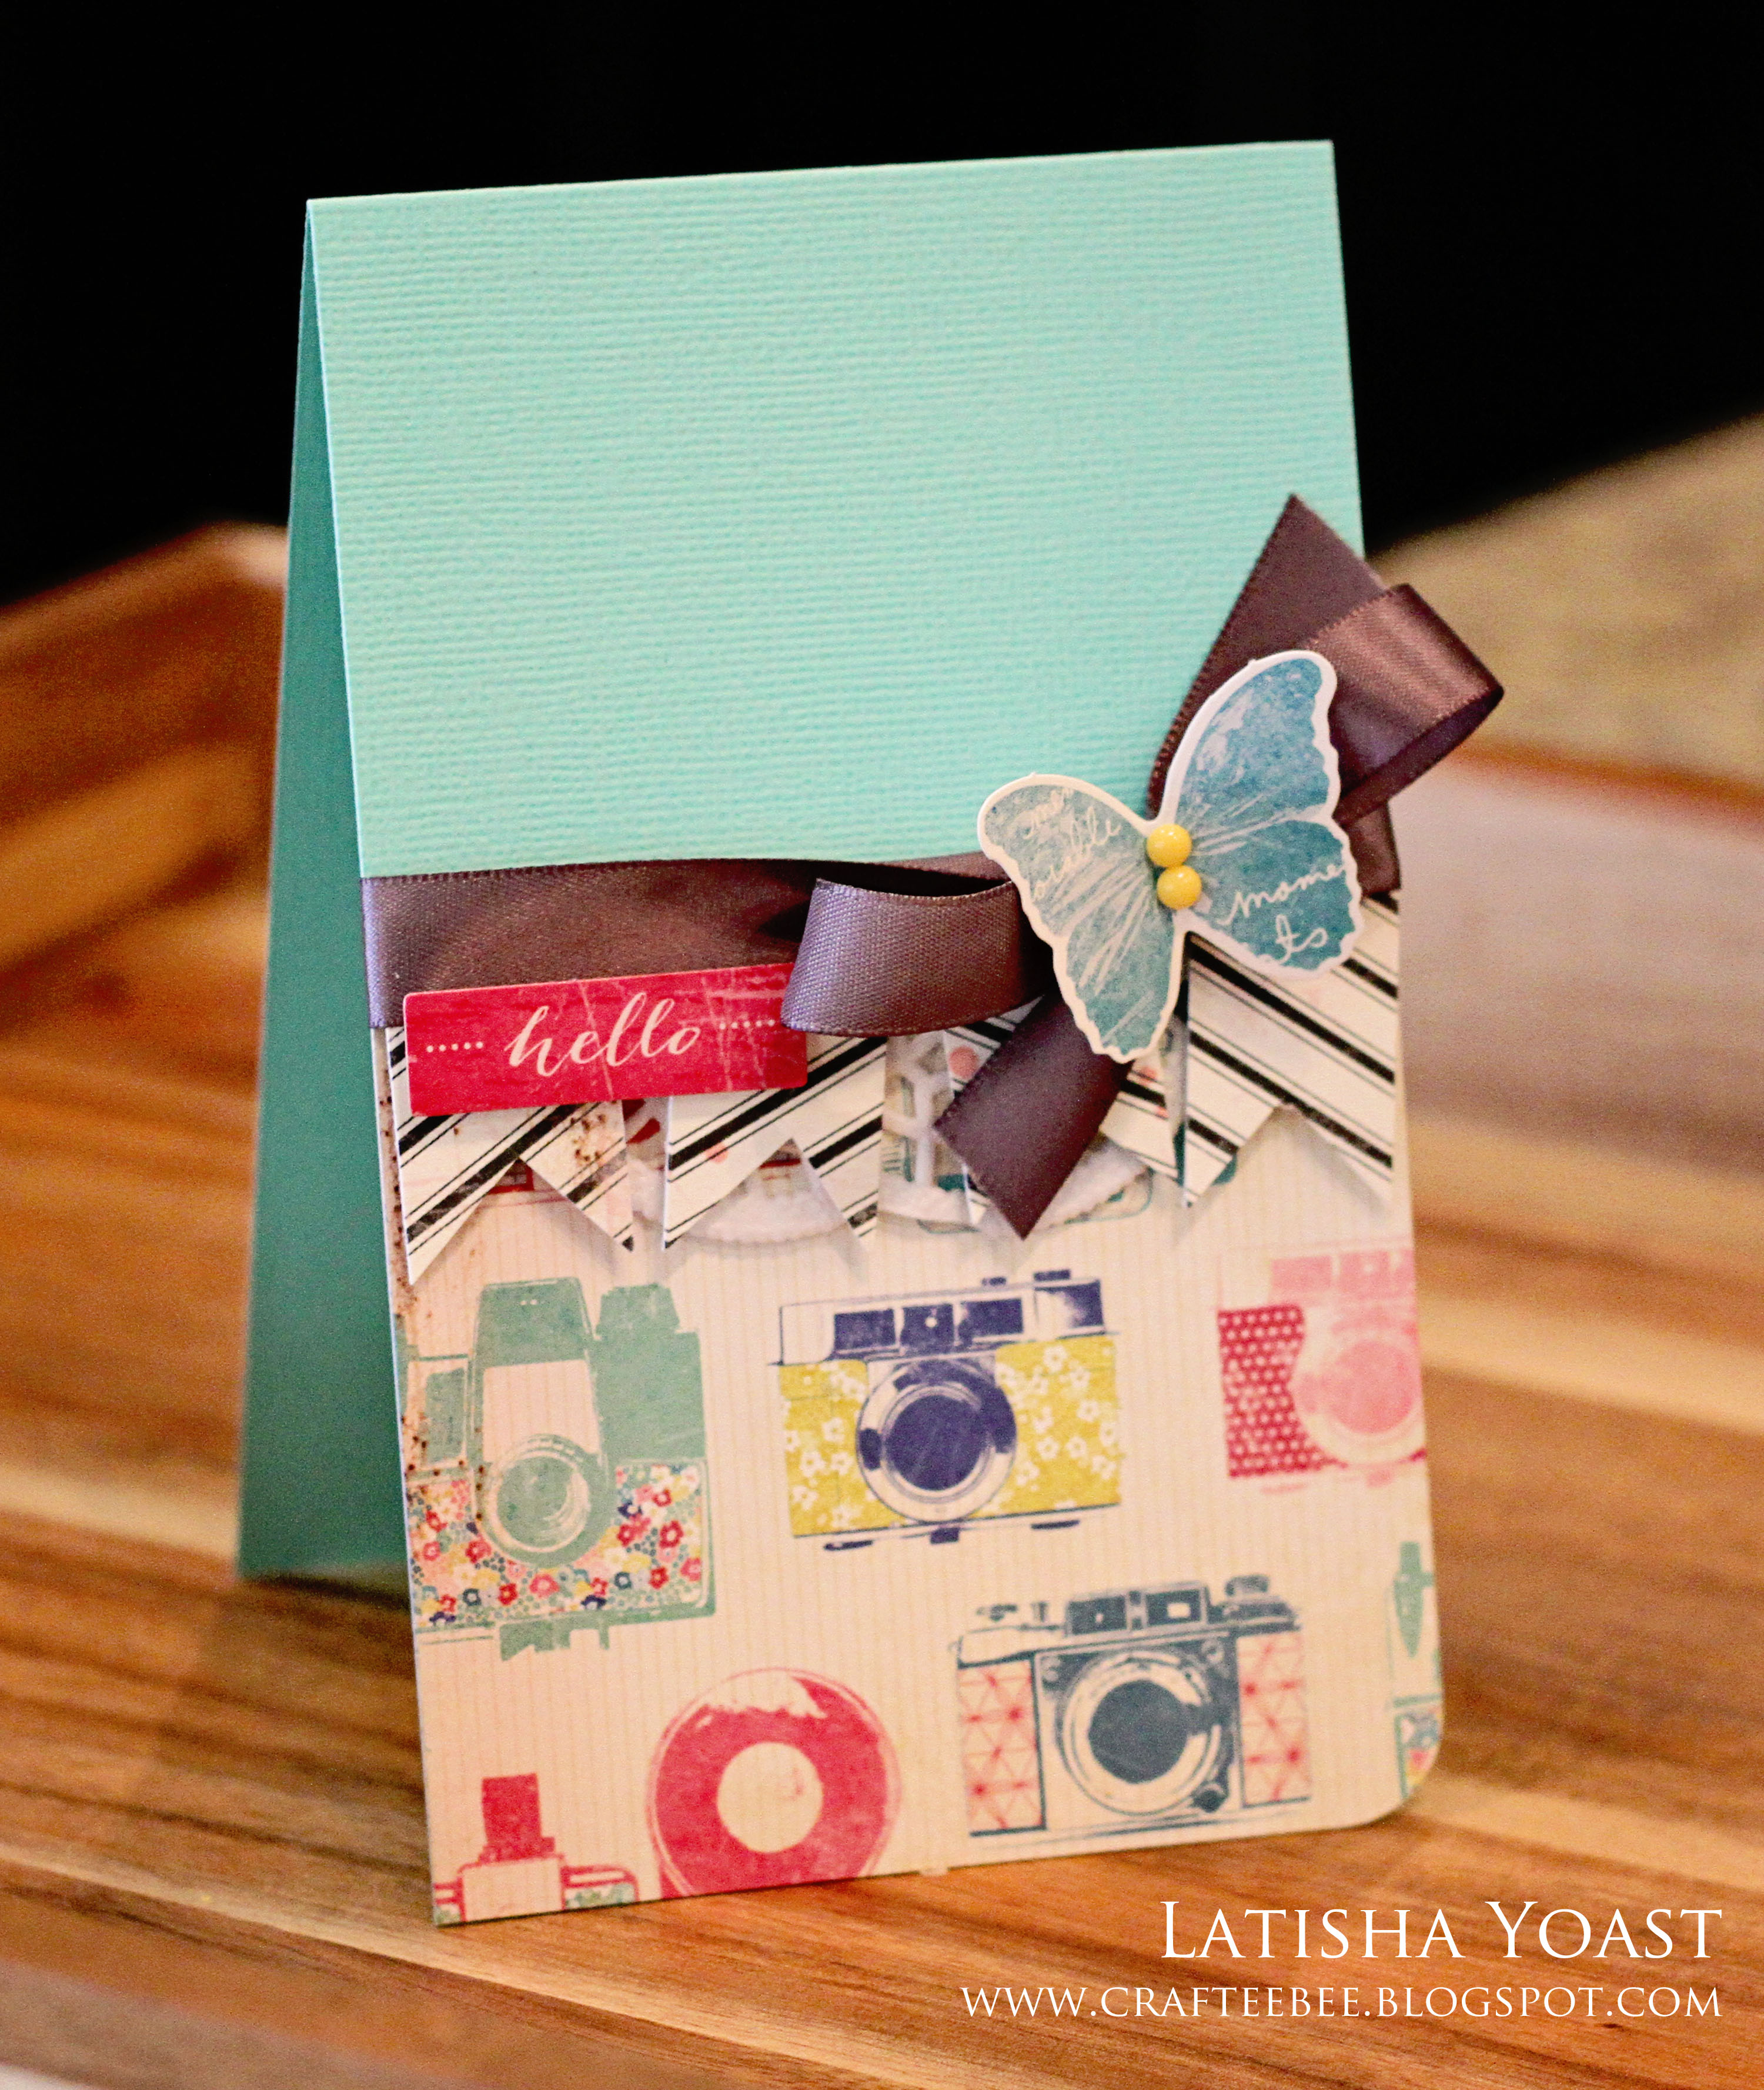
Have you seen the new refillable E-Z Runners?  I am always a little weary when I am using new product, but I have to say I am really impressed.  The E-Z Dots Permanent refillable dispenser felt really nice and comfortable in my hand, which was the first thing I noticed.  Then just like my favorite adhesive ever (the E-Z Runner), the adhesive glided onto my pattern paper like butter.  The other awesome feature, is that the different refills, can go into any of the refillable dispensers.  So far, I am really liking this adhesive, not to mention that it is the dots…love, love, love.
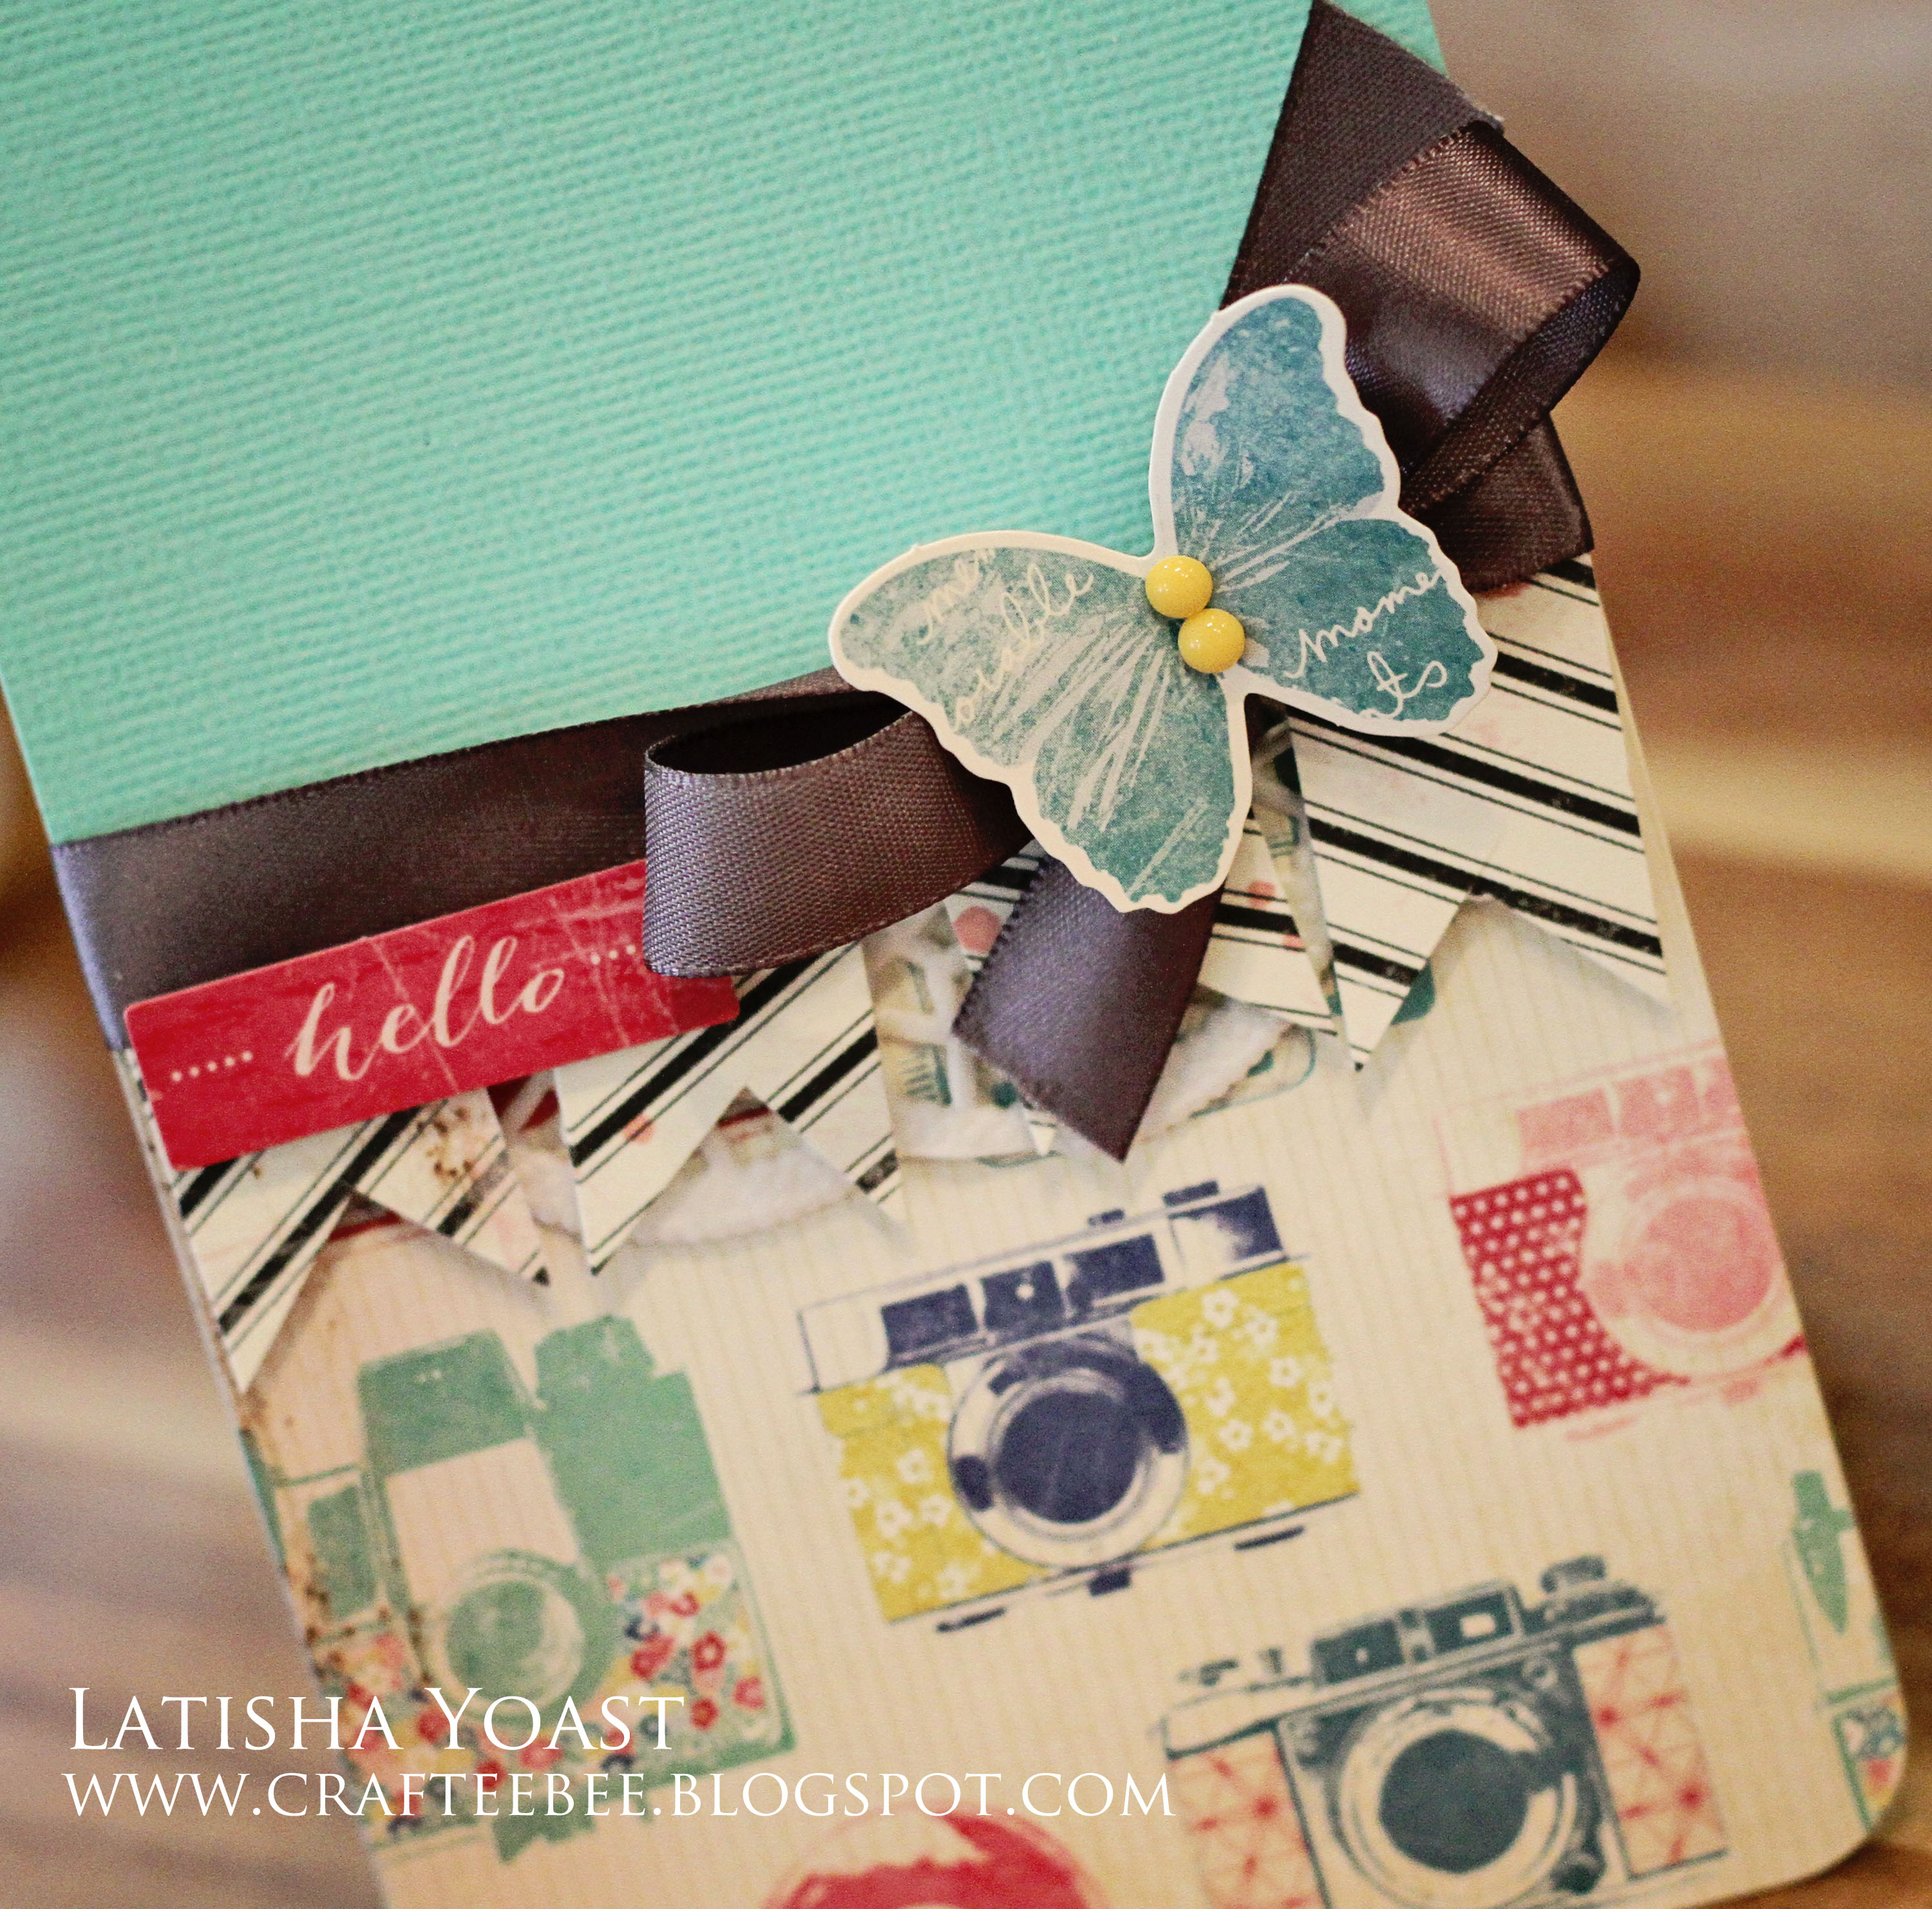
For this card, I used a few different adhesives.  I used the E-Z Dots Permanent refillable adhesive, to adhere the pattern paper, and doily to the card base.  To add the cute little pennants, those were adhered to the card using the 3D Foam Squares.  I used the foam squares to adhere the “hello” sticker as well.  Then I used the Dodz (small) to adhere the butterfly diecut to the ribbon.  The pattern paper & stickers, are the latest Maggie Holmes collection from Crate Paper.
Latisha Yoast

A trip to Milano

I’m doing Project Life this year and loving it.

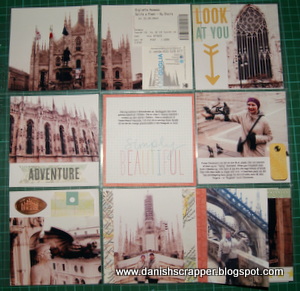
This is a page for my PL album that I did as an insert about a resent trip to Milano/Italy with my oldest daughter.

It was cold and snowing a little bit, but Oh so beautiful 🙂

I like to print my text for my album when I have a lot to say in a very little place !

And this is how I do it:

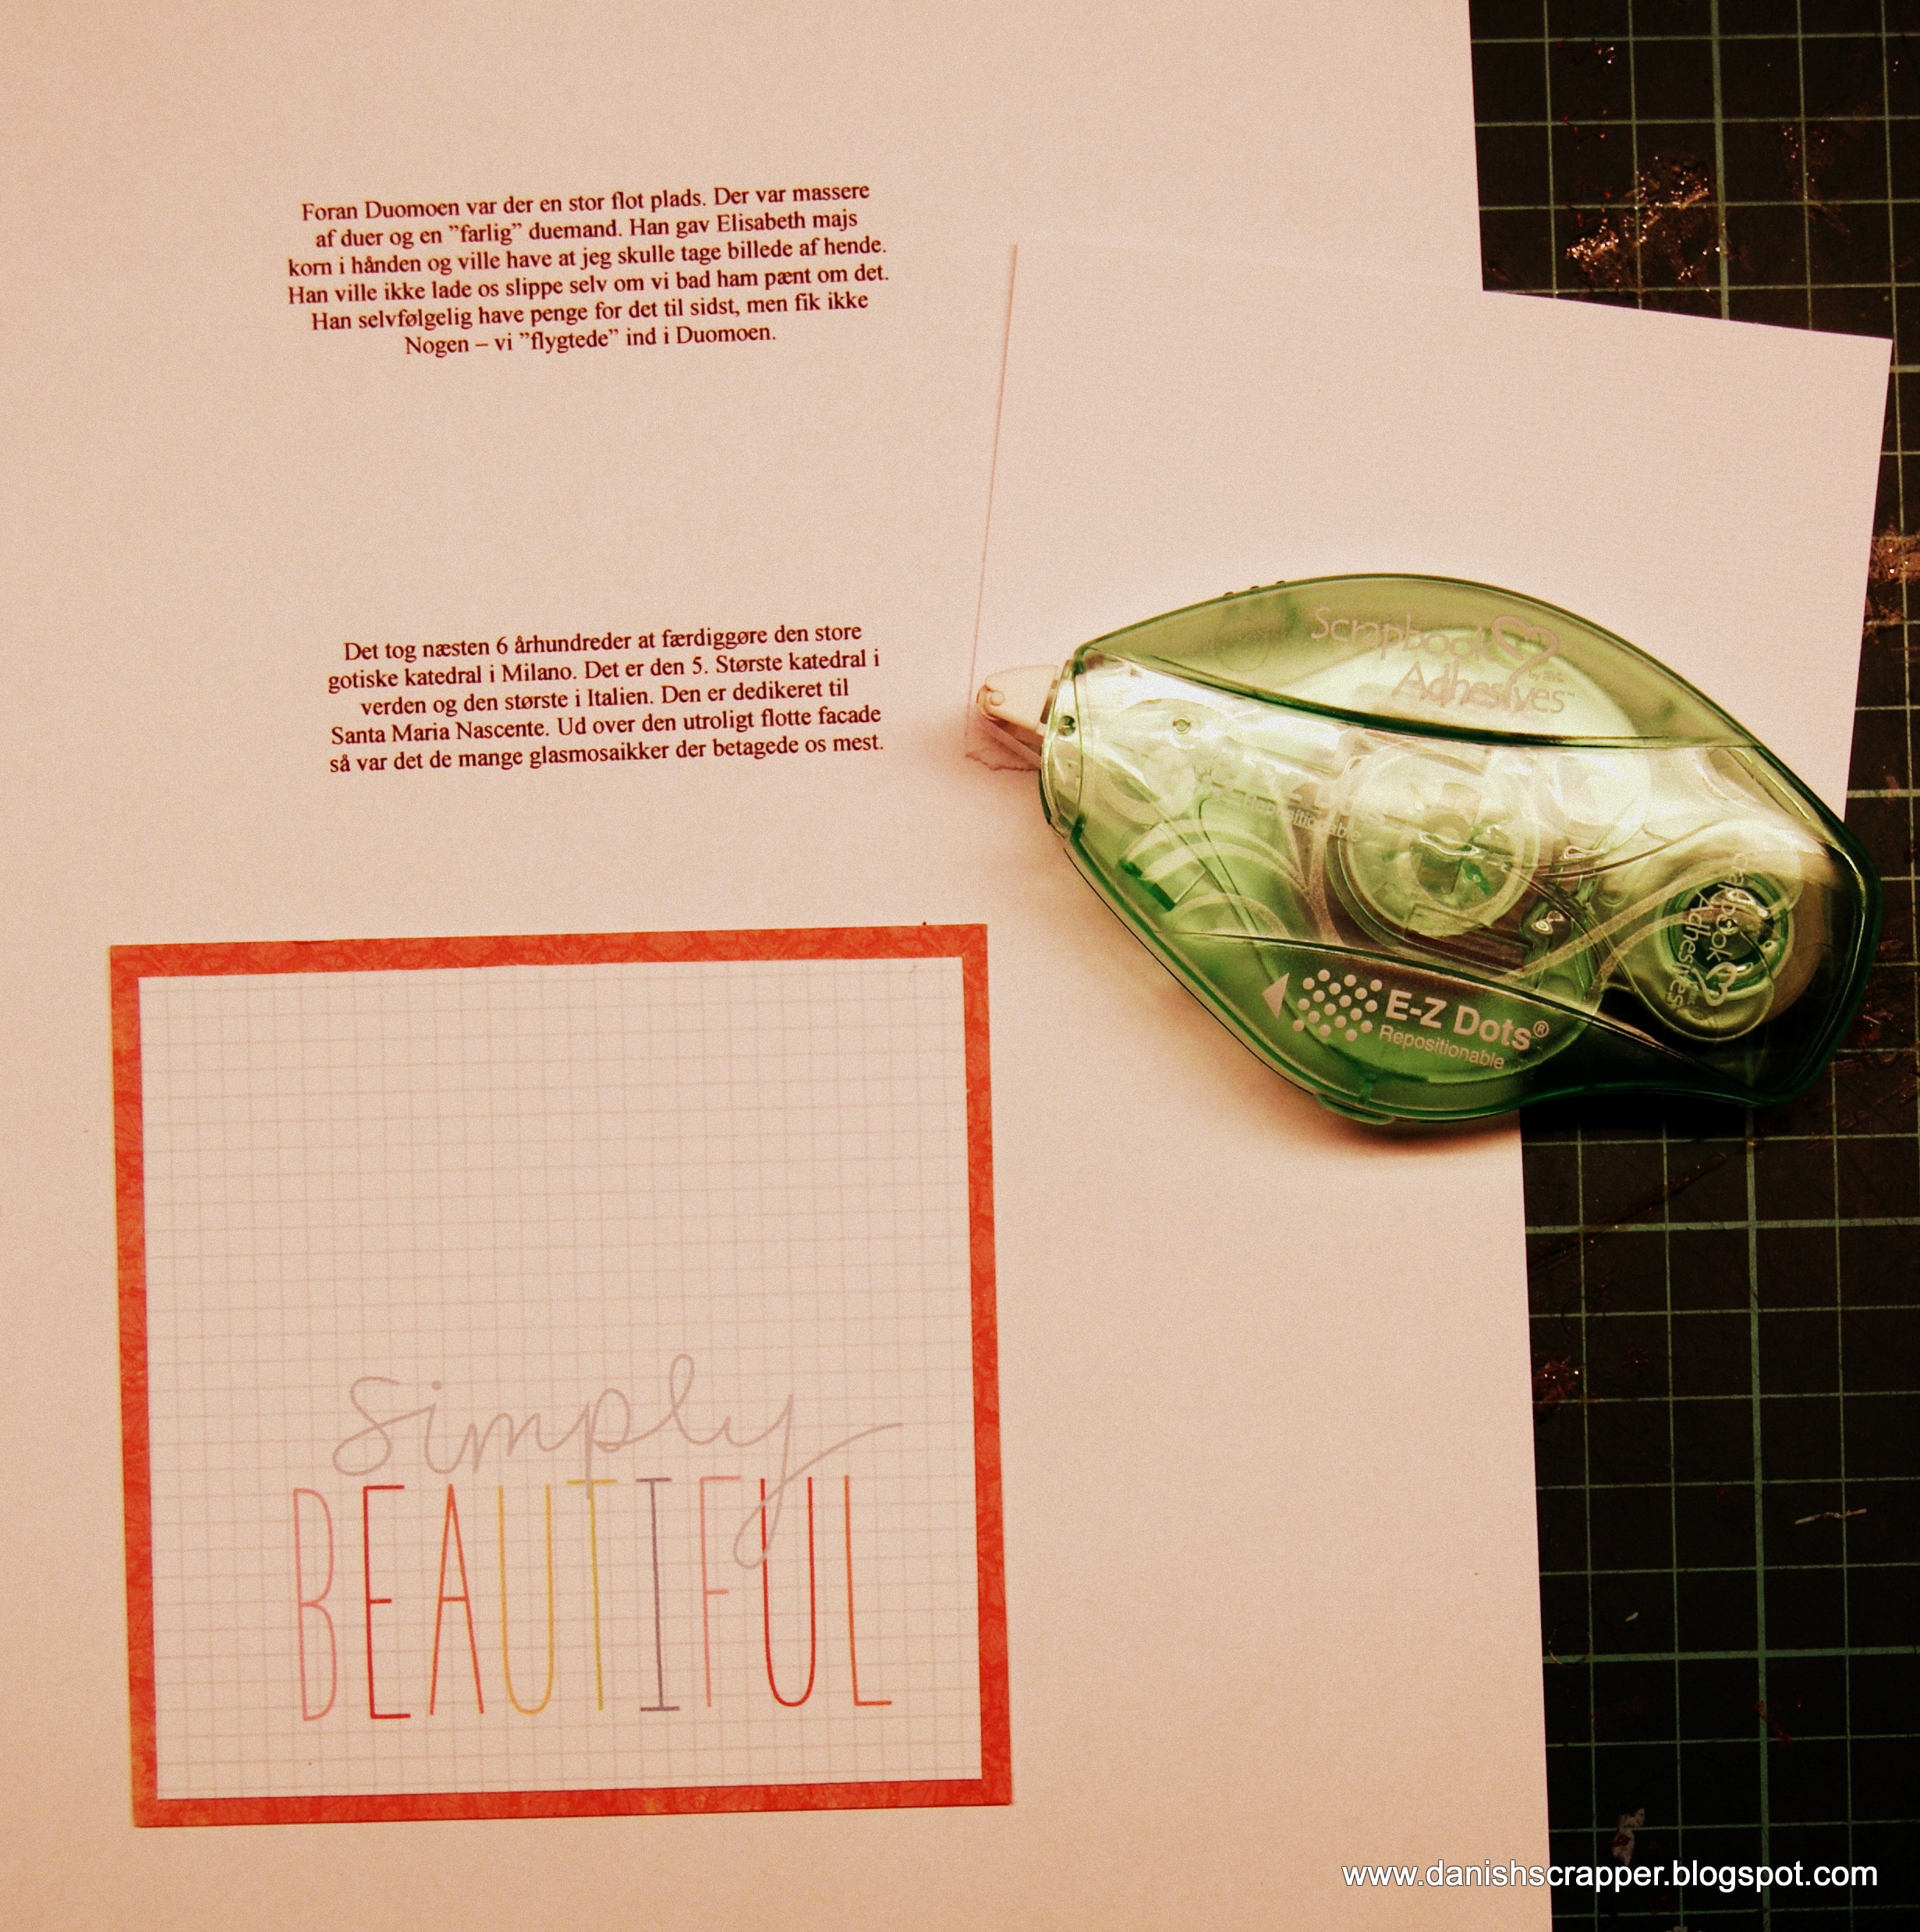
I type my text on the computer and print it on regular white copy paper.
Then I use my Green Repositionable E-Z Runner that I can now get in a new design with refills – how cool is that !

I place my cardstock, labels etc on top of my printed text on the paper and then I run it through the printer once again.

If you look closely on the PL page at the top, You’ll see that I used it twice and it allowed me to add much more text than if I had used my handwriting.

And everybody can read it……

Have fun creating today.

Iben

Save

Save

“Put Colors In My Life”


Hi there! Flo for another post today!
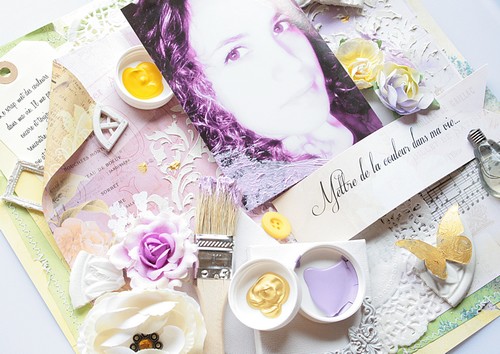
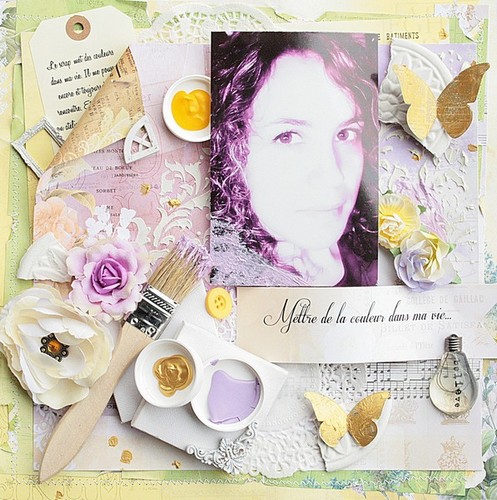
I present to you a page I made with the addition of paint and stencil called ‘Put colors in my life.”
A page that combines 3D elements around the theme of the painting. The selected photo is worked on software to give a violet color and remember the adding of color of the brush.


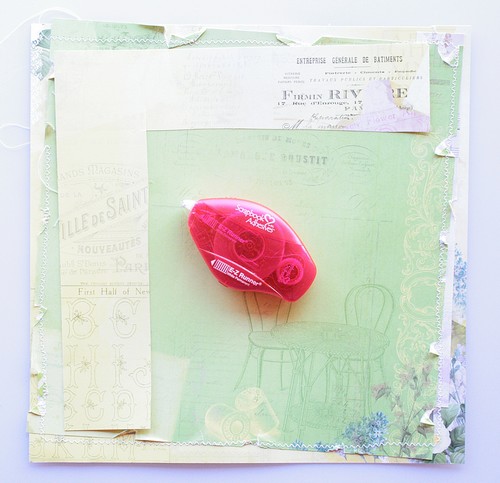
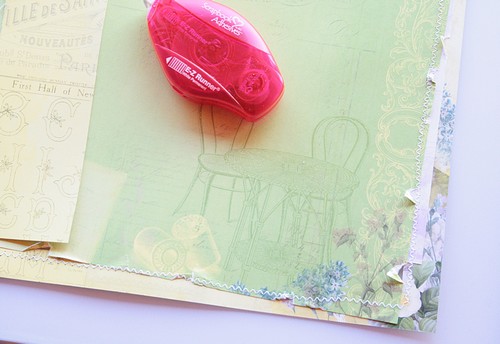
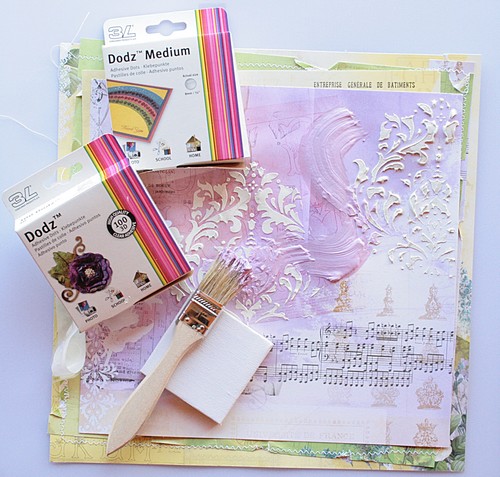
First I overlaid several papers, fixed with E-Z Runner® Permanent Strips – Refillable Dispenser- 49′ .

I added stitching all around.

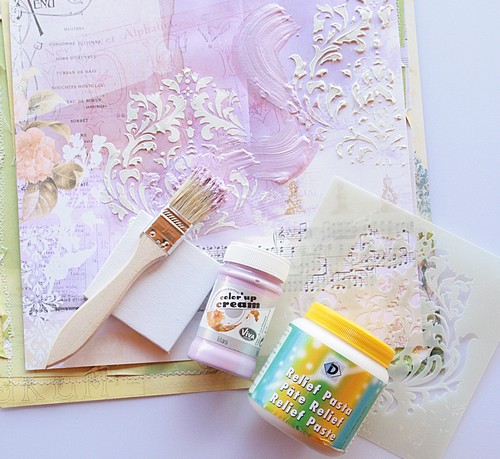
Then, I used stencils and relief paste.

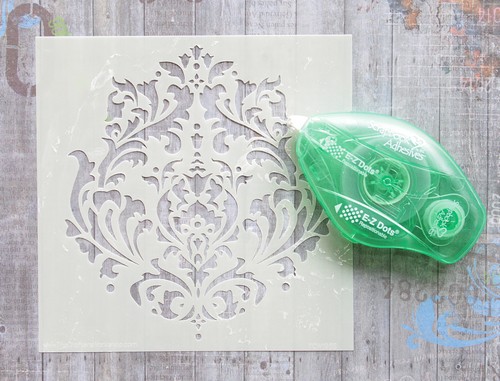
I used the E-Z Dots® Repositionable – Refillable Dispenser- to hold the stencil while applying the paint with a spatula.

Finally, I added various decorative elements, attached with DODZ™ – 3D and DODZ™ – Medium.

Other Supplies :

Bo Bunny papers

Prima Marketing and Melissa Frances embellishments

The Crafters Workshop stencil

Thank you for stopping by our blog today!

Flo ~ Floliescrap Blog

More…With Love!

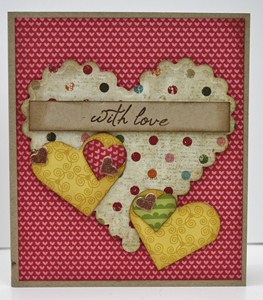
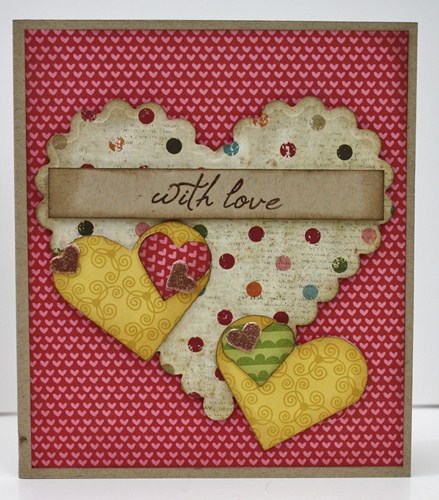
Hi, it’s Christine from the UK today and even though Valentine’s Day may have been and gone I still cannot stop using the wonderful 3D Foam Hearts!  Today’s card is speedy and suitable for many occasions.

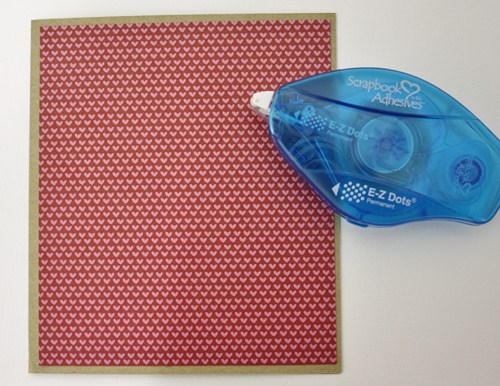
I’ve matted some Bella BLVD Christmas papers onto kraft cardstock using the new E-Z Dots® from the E-Z Runners® Refillable Family – I fell in love with using these dots when they were first released and now knowing they will be available as refillable is superb!

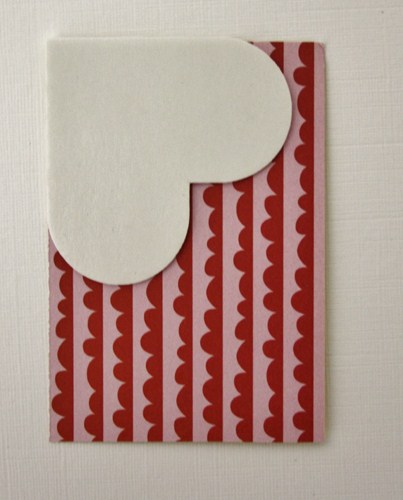
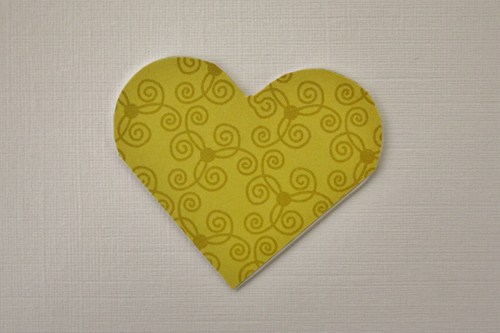
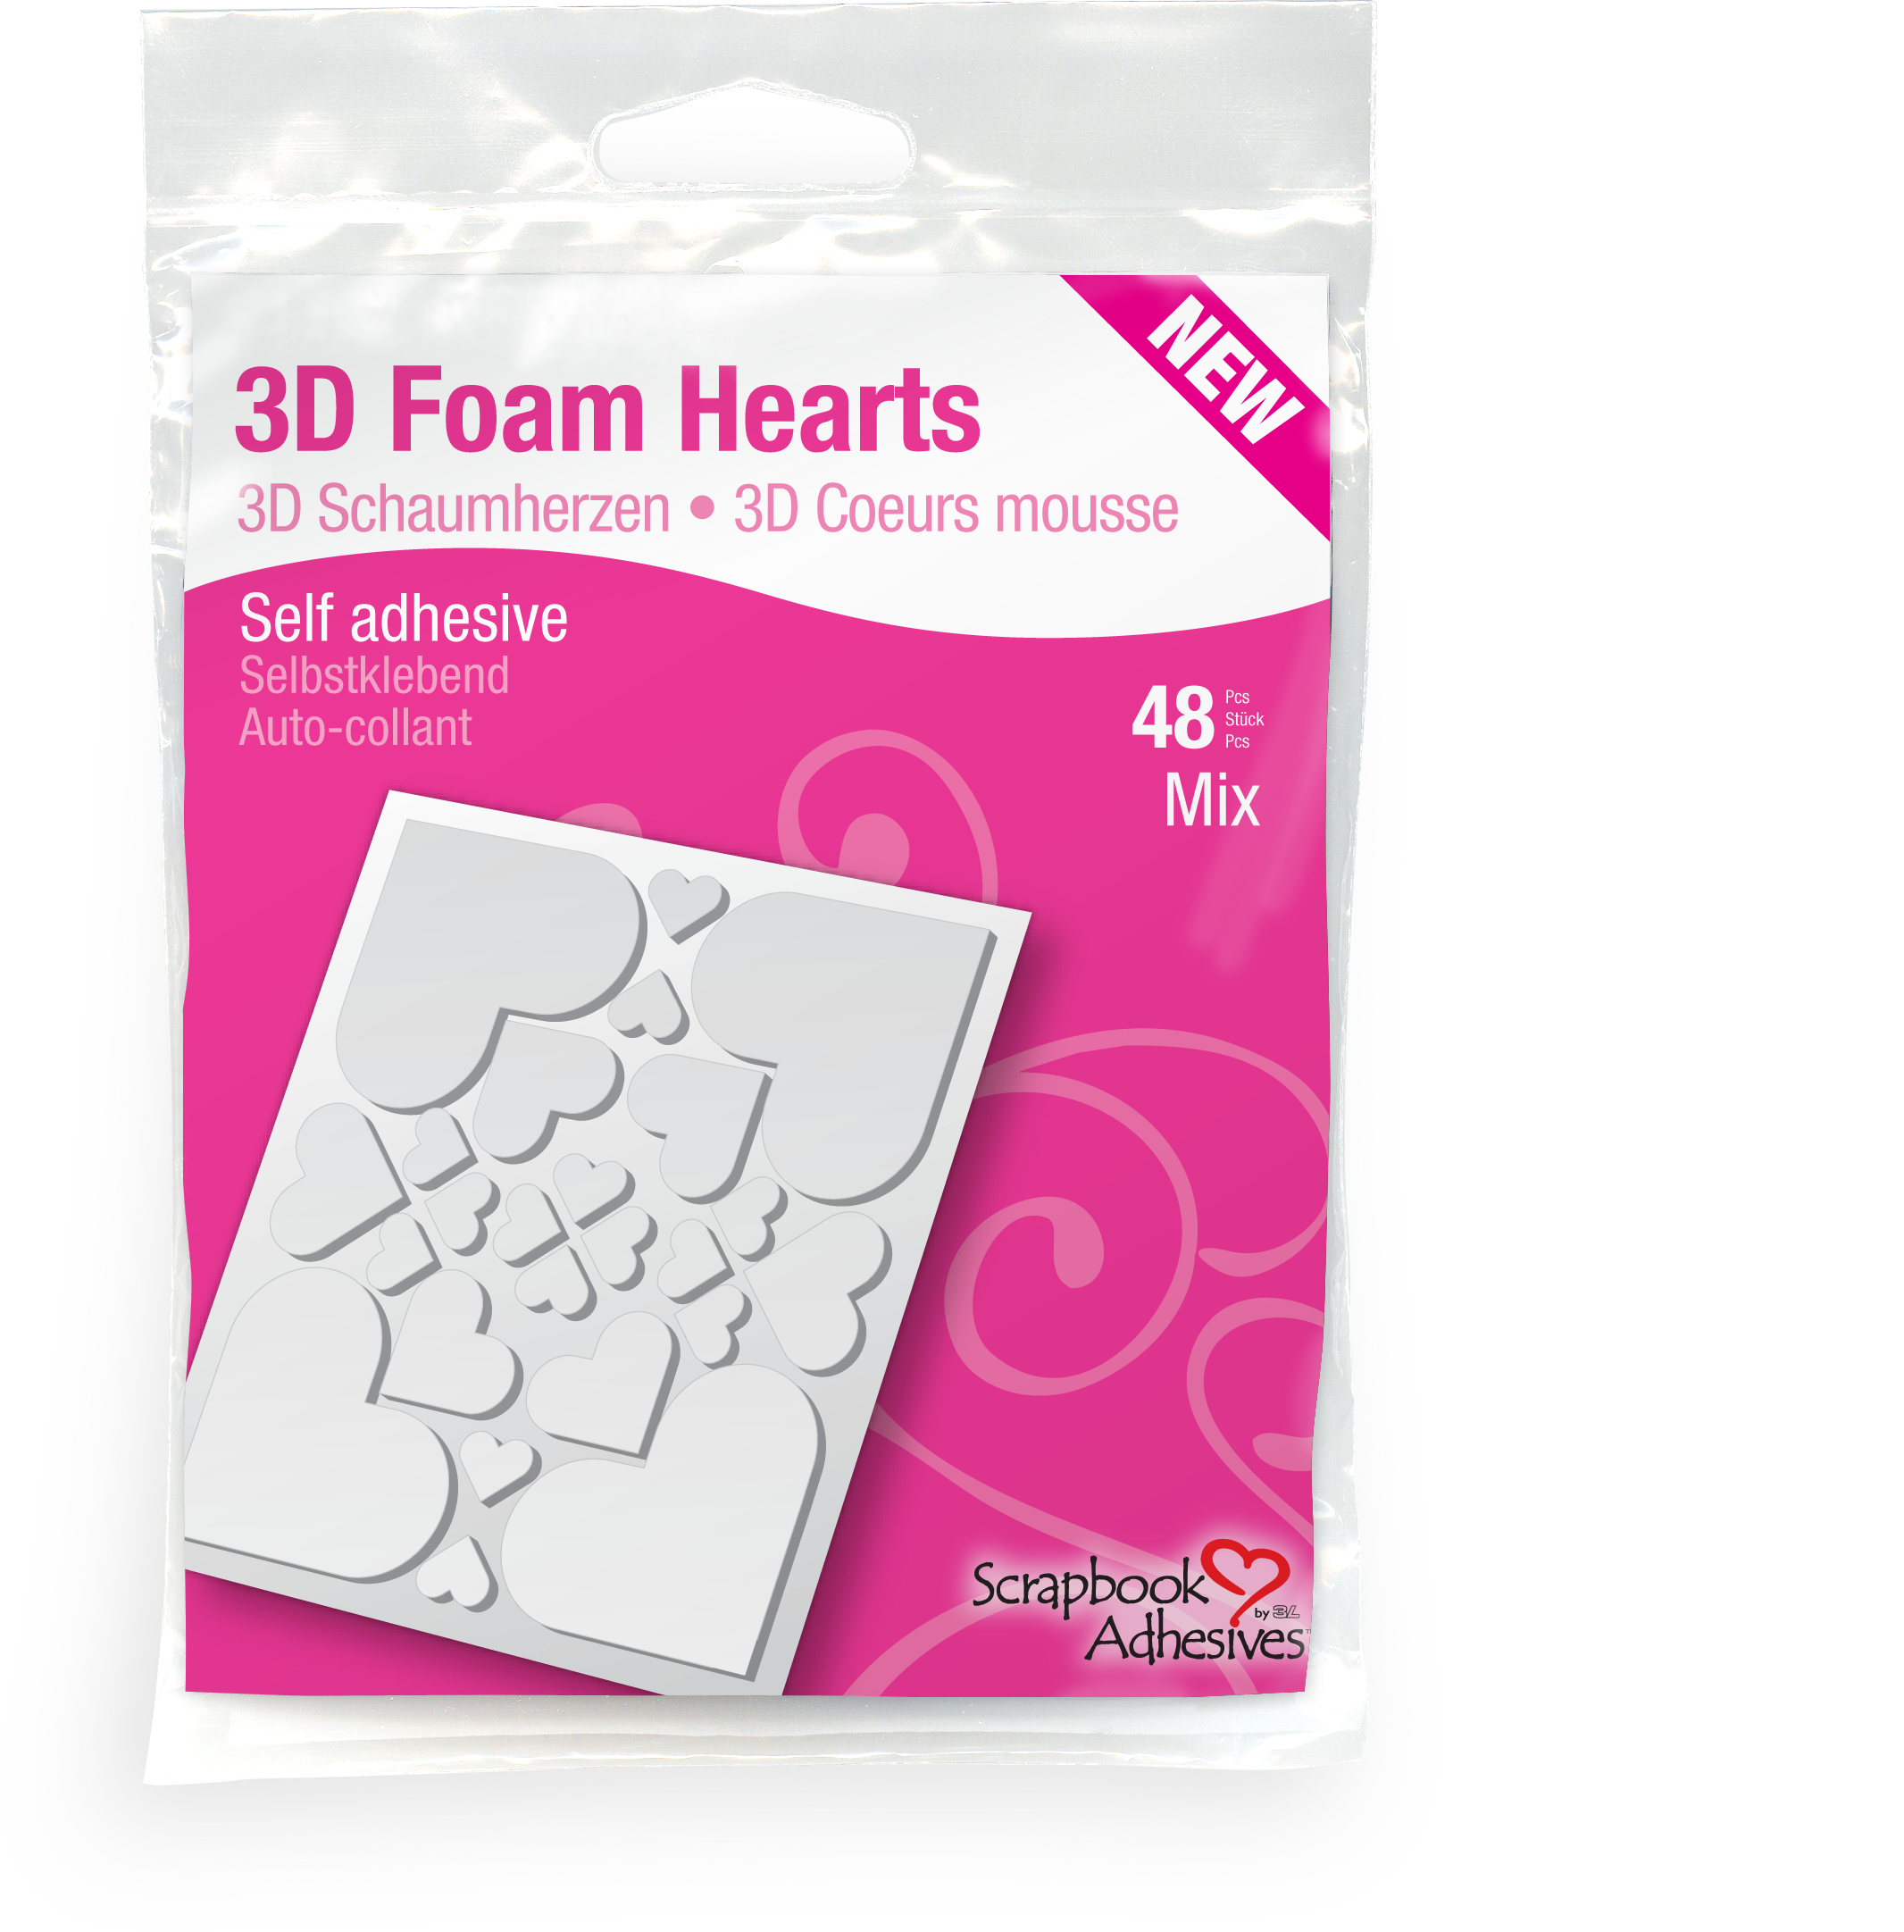
Using the larger hearts from the 3D Foam Hearts (remember they come in an assortment of sizes within the pack), I’ve peeled off one adhesive side and placed it onto patterned paper.
Trimmed away the paper and a perfect heart embellishment that coordinates with whatever papers I wish to use.

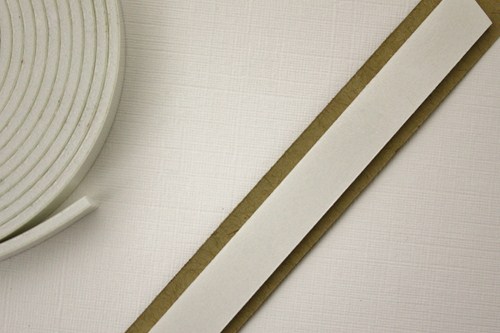
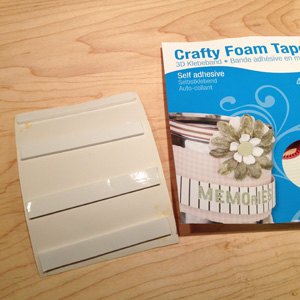
I’ve stamped my sentiment onto a strip of kraft card and applied Crafty Foam Tape to keep it in place and raised up.

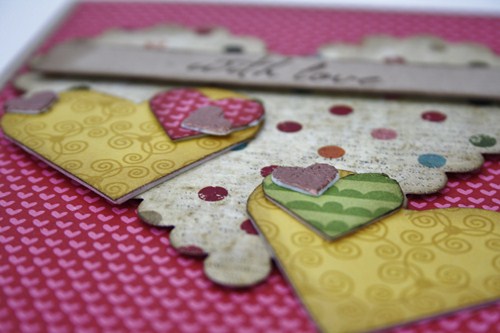
A Spellbinders Classic Scalloped Heart cut from Simple Stories paper for the centre and then I began to add lots of hearts including tiny ones that I have heat embossed with copper coloured embossing powder.
A ‘make in minutes’ and ideal for batch making.

Thank you for joining me today and here is a list of the super sticky products I have used.

3D Foam Hearts

Fun Stripes Card

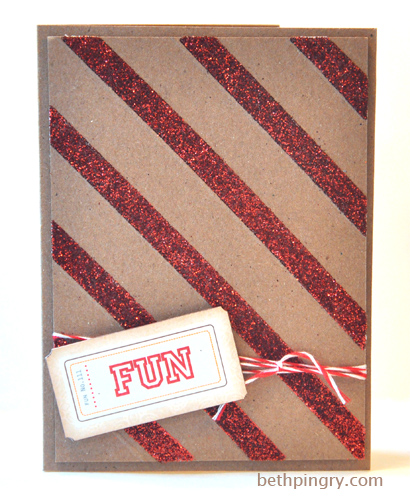
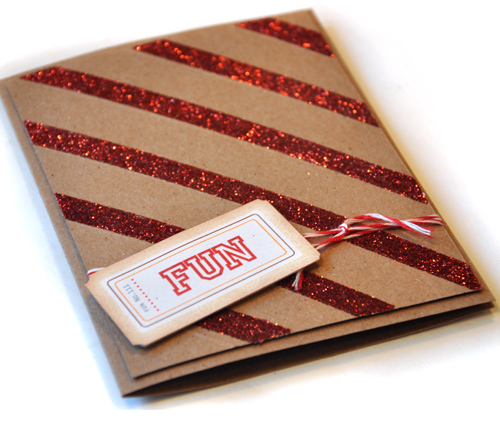
Hi, it’s Beth today! I have a card with fun and easy glitter stripes today, to show off the E-Z Runner®!

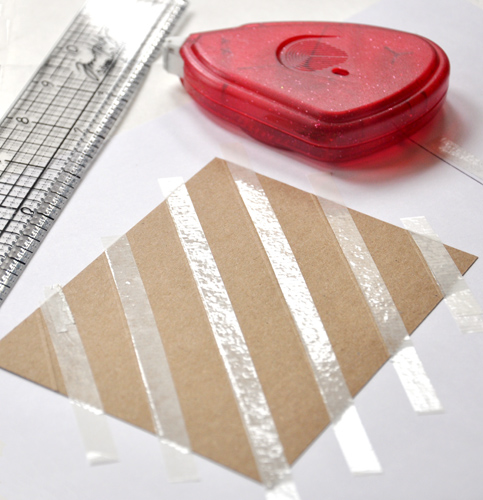
I started with a kraft cardstock base. I cut another piece of kraft about 1/4″ smaller on all sides. Then, instead of drawing diagonal lines, I used a scoring tool to make a guide for the lines. I used a ruler to keep the lines straight as I applied the E-Z Runner® Permanent Strips across the paper along the embossed lines. I messed up at the bottom, but I’ll cover that up!

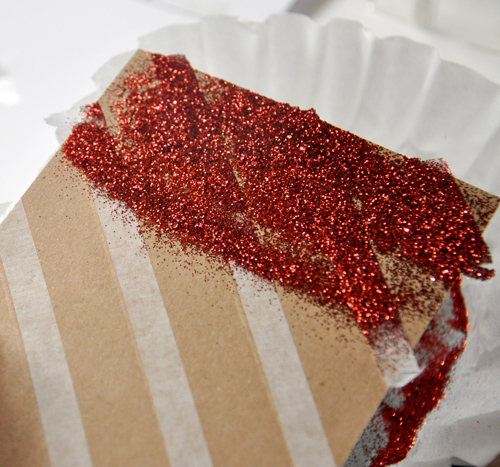
I removed the panel from the paper, and then added glitter and tapped off the excess. Then trimmed the excess adhesive from the sides. You can see that I use coffee filters to catch excess glitter, they’re cheap, and it’s easy to pour the excess back into the glitter bottle!

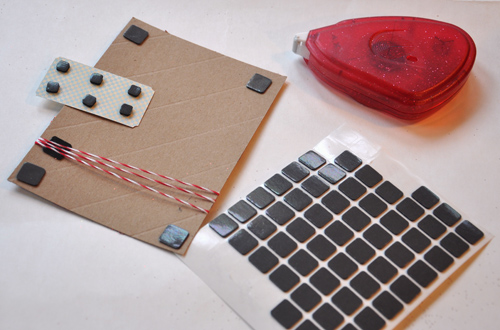
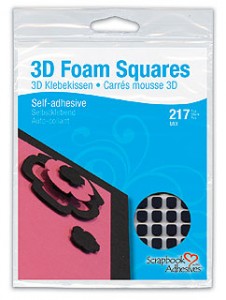
Then I added 3D Foam Squares to the back of the panel, and to the back of the ticket. I wrapped the panel with bakers twine and adhered it to the card base.

Viola!

Thanks for coming by today!

Beth Pingry

Supplies used:

E-Z Runner® Permanent Strips, 3D Foam Squares Black Mix

Kraft Cardstock, Red Glitter

Websters Pages: Game On collection, Catch Phrases paper

Emboss Resist with Crafty Power Tape

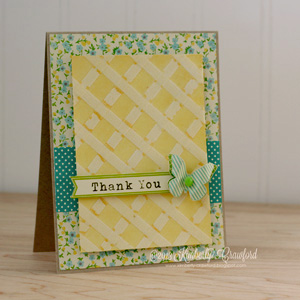
Hello! Kimberly here with a raging case of spring fever! Its time for bright colors and butterflies. The bright yellow mist that I have been playing with inspired me to try an interesting resist technique with Crafty Power Tape.

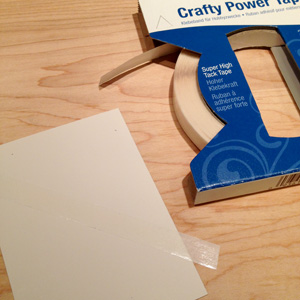
Start with a piece of white cardstock, cut to the desired size. Start applying Crafty Power Tape in a diagonal pattern, only going one direction to begin with. Remove the backing and repeat, going the other direction.

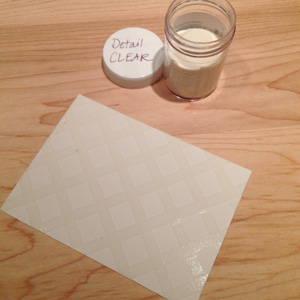
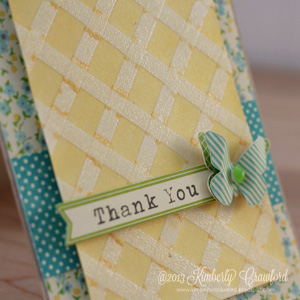
If you look closely, you can see the pattern created with the Crafty Power Tape. Once all the backings have been removed, apply clear embossing powder and heat set. The embossing powder will take slightly longer to melt on the tape, versus plain cardstock.

Then the real fun begins! Apply the color mist to the cardstock. Gently remove the excess mists with a paper towel.

One last tip for you. I find that cardstock really curls and bends when mists are applied. To keep the cardstock straight when adhered to the project, use pieces of Crafty Foam Tape across the back of the cardstock.

A close look at the embossed resist technique with Crafty Power Tape.

I hope this has inspired you to try different patterns on your next project! Imagine all the possibilities!

Kimberly Crawford

Supplies: Adhesives-Scrapbook Adhesives by 3L (Crafty Power Tape, Crafty Foam Tape White, 3D Foam Squares Small White, E-Z Runner®), Patterned paper-Jillibean Soup (Soup Staples II Turquoise Salt, Chilled Cucumber Soup Peeled Cucumber and Yellow Tomatoes) Label Sticker-Jillibean Soup (Soup Labels Card Sentiments), Color Mist- Heidi Swapp/Pink Paislee (Mustard), Embossing Powder-Stampendous (Clear Detail), Gem-Studio Calico

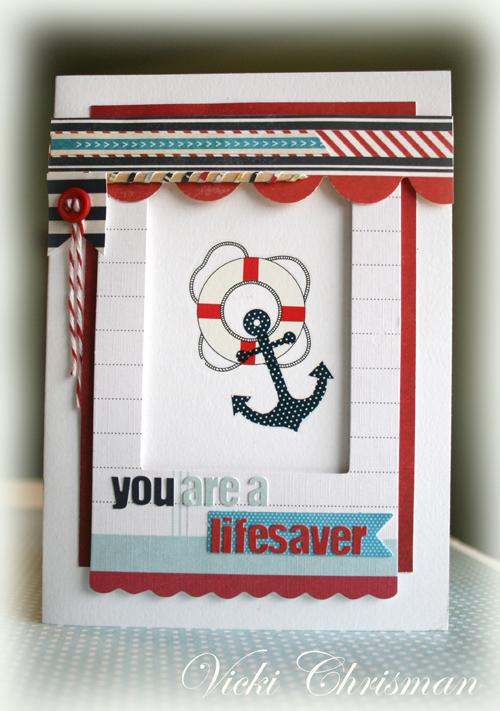
You are a Lifesaver

Hi there everyone. Vicki here to share a card with you today.  Do you have a person in your life that you just know if you call for a favor, will help you out in a heartbeat?  Well, my sis is just that person for me.  Just this week she’s taking me and picking me up from the airport, to make things a bit easier for us.  She’s always there for me if I need her.  I picked her up a little gift and wanted to make her a special card to go with it.  I thought this would be fitting.

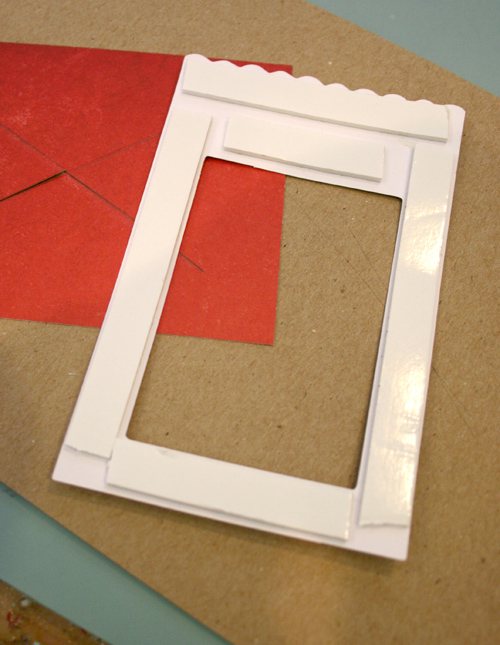
I used the Fancy Pants “Down by the Shore” collection for this card, and some of my favorite Scrapbook Adhesives by 3L adhesives.  I thought I’d show you how I used each of these adhesives for the specific jobs I wanted them to do while creating this card.  I rarely make a card with out using Crafty Foam Tape or 3D Foam Squares for Dimension, simply because I think dimension adds so much interest.   Here I used Crafty Foam Tape to lift the frame from the card.

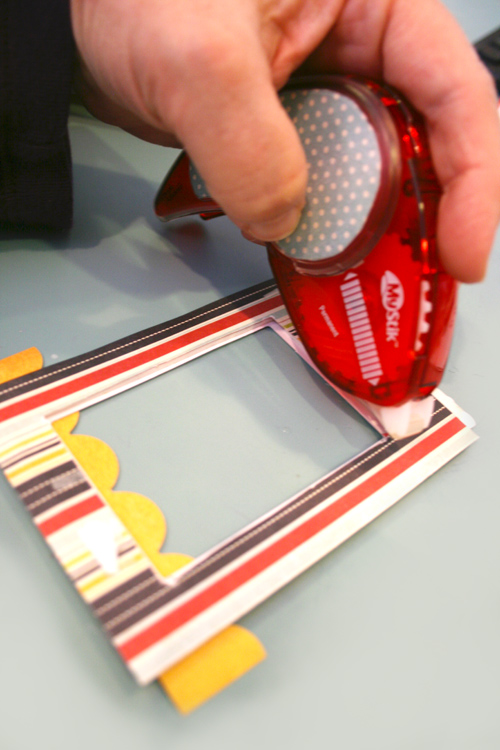
I used MyStik™ Permanent Strips Dispenser for my general adhesive for assembling my card.

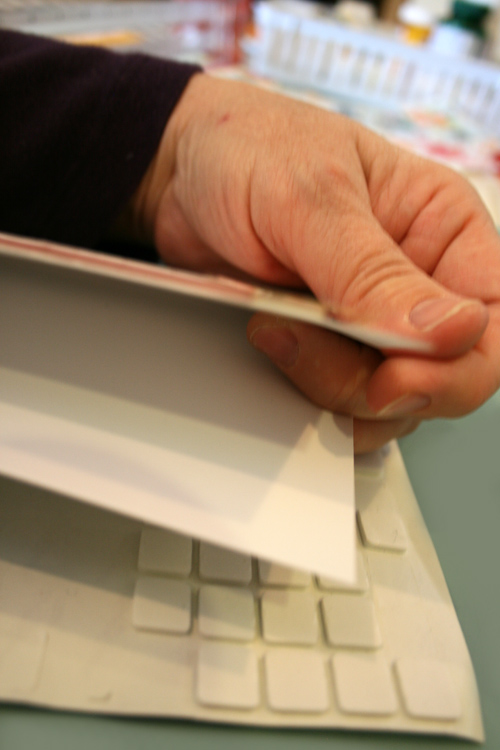
Since the border I added across the top started on the frame and then ran across the width of the card, going past the raised frame, I used my 3D Foam Squares, to add one to each side to keep the border level all the way across.

Once again…. an adhesive to fit each job perfectly!

Thanks for stopping by!

Vicki

by blog: “This Art That Makes Me Happy”

Crafty Foam Tape White 13" 3D Foam Squares RegularMyStik Permanent Dispenser

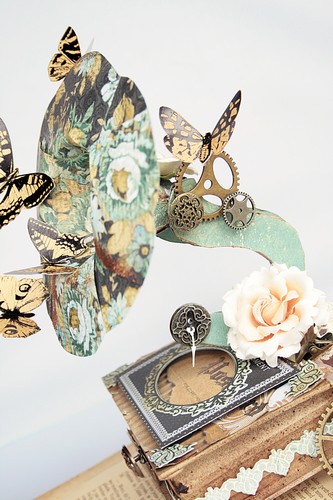
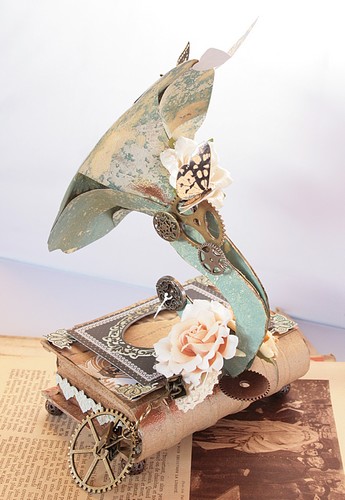
Phonograph

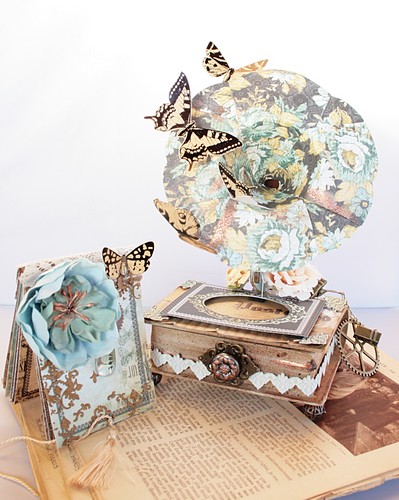
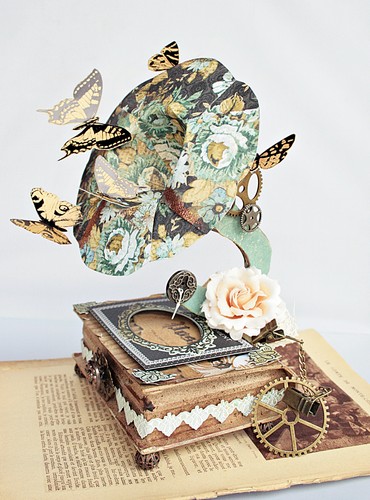
Hi there! Flo here for another post today! I love recreating vintage objects with paper.

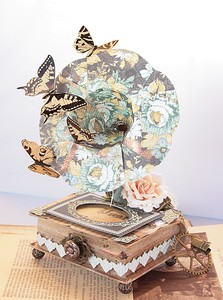
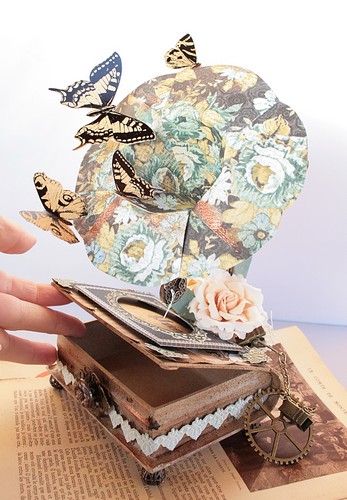
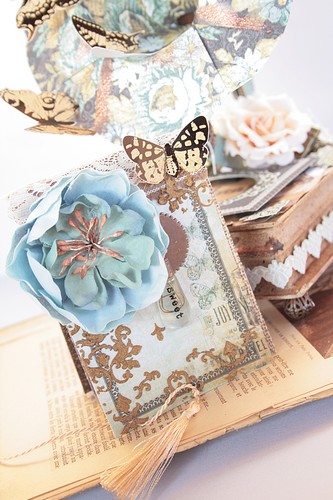
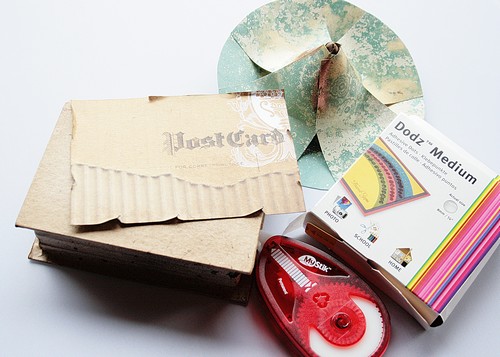
I wanted to make a phonograph with an altered box. It is due to the different Scrapbook Adhesives by 3L® products that I could do this project.

Here is the result.

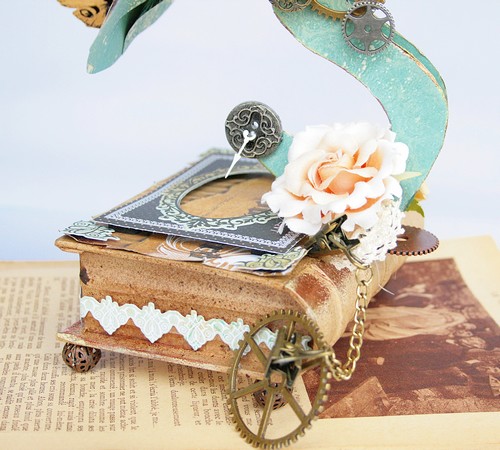
The cone and decorations are attached thanks to DODZ™ – 3D, papers with MyStik™ Permanent Strips Refill,

Shaped elements with E-Z Dots® Permanent,

3D cuts with 3D Foam Squares – Black, Regular Size .

Other Supplies :

Kaisercraft papers

Prima Marketing embellishments

Thank you for stopping by our blog today!

Flo ~ Floliescrap Blog

With Love…

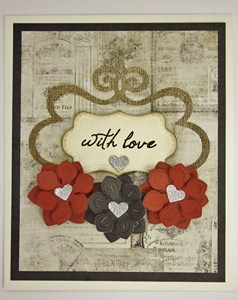
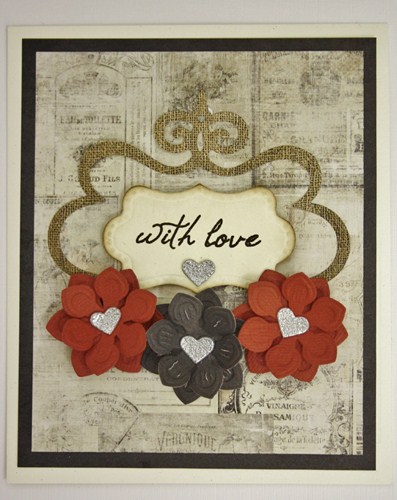
Hello, Christine here today and sharing with you a ‘With Love’ card featuring the brilliant new 3D Foam Hearts.

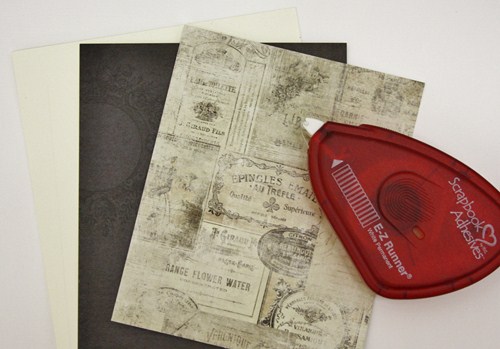
I’ve selected a cream card base and then used the very vintage Glitz – French Kiss papers.  Matting is perfectly and speedily done using my E-Z Runner® – Permanent.

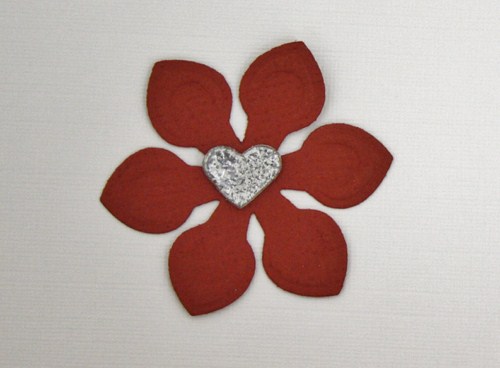
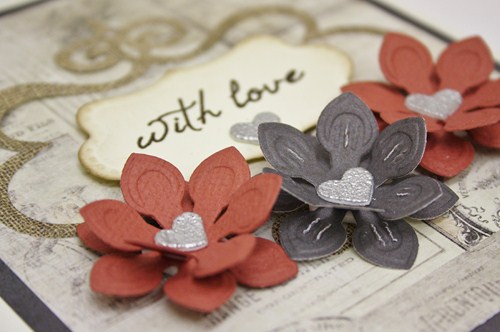
For my flower centres I used 3D Foam Hearts, the tiny ones – so useful that there is a choice of three sizes for different projects.  I applied some silver embossing powder to the sticky surface and heat set, I love the effect – metal like.  The flowers are SpellbindersJewel Flowers and Flourishes.

The pretty scroll is created with Spellbinders Twisted Metal Tags and Accents.  I assembled my card raising my flowers up a little with 3D Foam Squares.

A close up photo of those super little hearts…I truly love them!Here is a list of the brilliant sticky products I have used.  Happy crafting!

I Love You Is That OK? – A Shiny Card

Hello and welcome to the Crafty Power Blog today!

Birgit here with a shiny card to share.

I know Valentine’s Day was 3 days ago but do we really need Valentine’s Day to tell our loved ones how we feel? Exactly! 🙂

I added Silk Microfine Glitter from Elizabeth Craft Designs straight to an Adhesive Sheet, Adhesive Hearts and 3D Foam Hearts. Let me guide you through the creative process.

First cover a piece of cardstock with an Adhesive Sheet 4″x6″

Birgit koopsen - i love you card - step 1

Then I take a couple of the protection backing pieces of Adhesive Hearts (I hold on to them while creating with the Adhesive Hearts for this purpose) and place them on the card covered with the Adhesive Sheet. This way you create a mask that is easy to remove because of the non-sticky surface.

Birgit koopsen - i love you card - step 2

Birgit koopsen - i love you card - step 3

Cover the card with the Silk Microfine Glitter and tap off the excess. Use a soft brush to remove the left over glitter. First the glitter seems a bit dull and transparent. You have to rub it in with your finger tip and you will create a lovey shine. Best part? There will be no losse glitter left. The receiver of the card will not be covered in glitter after opening the envelope!

Birgit koopsen - i love you card - step 4

Birgit koopsen - i love you card - step 5

Now carefully remove SOME of the hearts (I used a paper piercer to lift them up), sprinkle with a second color of glitter, tap off the excess and rub it in again.

Birgit koopsen - i love you card - step 6

Birgit koopsen - i love you card - step 7

Birgit koopsen - i love you card - step 8

Continue with different colors until all hearts are covered.

Birgit koopsen - i love you card - step 9

When I was finished I thought my card needed some more depth so I added a couple of 3D Foam Hearts and covered them with glitter too.

Birgit koopsen - i love you card - step 10

Then I added my card to a slightly bigger piece of white cardstock using the E-Z Dots ® Repositionable. Perfect for me since I never get it straight the first time. And since I went around the edges of the card with my sewing machine there was no need to use a permanent one. Finally I backed the card with black cardstock and created a sentiment with sticker letters.

Birgit koopsen - i love you card - close up

Tip: Don’t throw away the protection sheet of your Adhesive Sheet either. You can die cut shapes from it and use them as masks the same way I did with the hearts 🙂

I hope you enjoyed this little turorial!

Wishing you a lovely sunday and happy crafting!

Birgit Koopsen

Adhesives used in this project: