Hello Everyone,
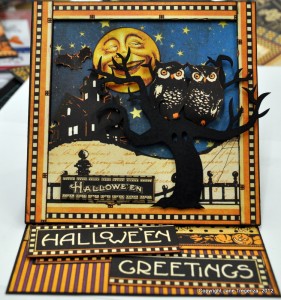
Its Jane Tregenza from Australia. Today I have a Halloween card to share with you. We don’t really do Halloween in Australia, but it is slowly creeping into our culture. It is always hard to create Halloween projects as I don’t have any photos of my kids celebrating Halloween. I just love all the papers and embellishments that come out every Halloween. For this project I have used Graphic 45 papers from their new Happy Haunting Collection.
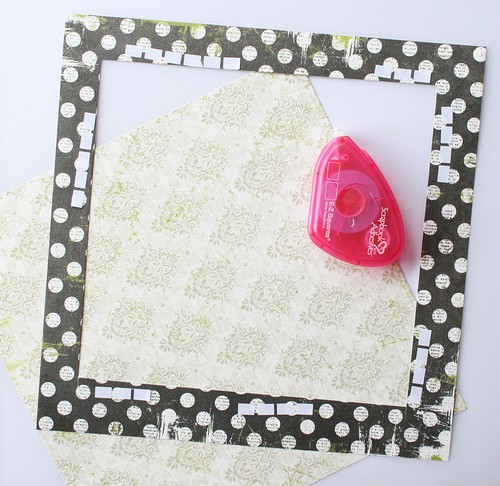
I made a card using black cardstock. I cut a piece 6 inches by 12 inches and folded in it half. I cut another square – 6×6 inches and worked on it first. This is the front of my card. The other piece is the base of my card. I will work on the side bottom bit later on.
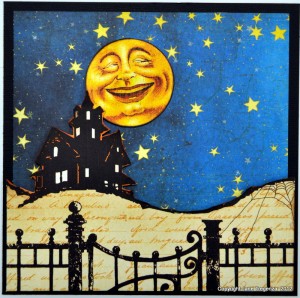
I cut the house, hill and fence from “Fright Night” and used my 3D Foam Squares – Black, Variety Pack to adhere it to a square of “Jolly Jack-O-Lantern” print paper.
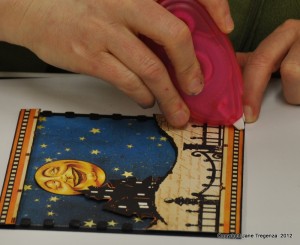
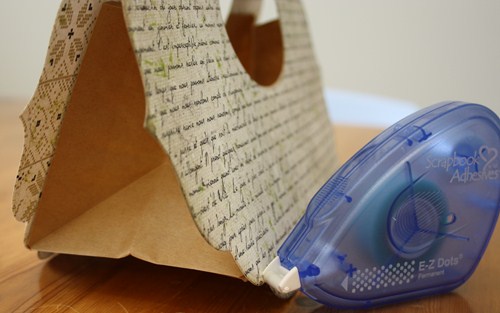
I used the large sized one to attach the piece to the front of my card. I then cut out a man in the moon image from “Man in the Moon” and tucked it under my house, I was given a E-Z Squares, I have not ever used this kind of tape runner before, so I was keen to give it a go. It worked like a treat. I used it to adhere my man in the moon to my card. I found the tabs work so well. The runner let me use only one or more if I wanted to. I even found that I could lift the tabs of with a finger and place them exactly where I wanted them.
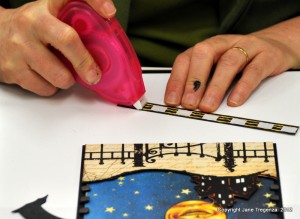
I wanted a border around the front of my card. I cut four pieces from a sheet of “Fright Night”. I wanted the border to be raised up and create a mini shadow box. I used the E-Z Squares again to add the border to the bottom of my card. This bit of the card was already raised up with foam squares.
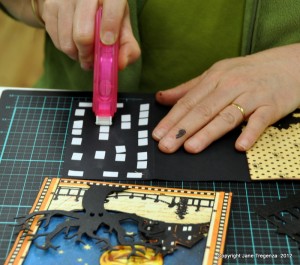
At the top of the card I added a row of little foam squares from my 3D Foam Squares – Black, Variety Pack. I like using the black squares, as I find on projects that are darker in colour they don’t show as much as white ones. I added my top strip of boarder onto the squares.
For the two sides of the card I used the E-Z Squares for where the border was to go onto the print paper. I added a row of small foam squares on the sky part to raise the boarder up.
I added my print border. I repeated the same process for the other side of my card front.
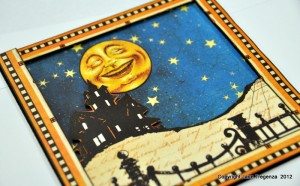
You can see here how the frame at the top and sides of my card is raise up, but the border sits flat on the bottom of my card.
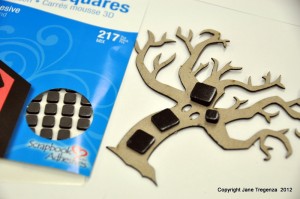
I used some Halloween Chipboard pieces; I sprayed the chipboard black with spray paint. Because I wanted the tree to be raised up over the frame. I needed to put one foam square high at the bottom of the tree and two foam squares high at the top of the tree.
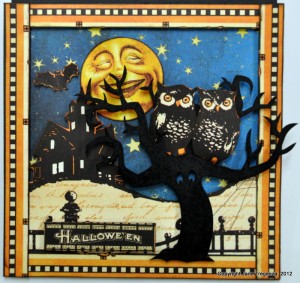
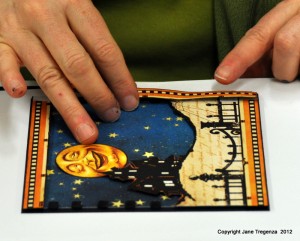
I cut out some owls and a bat from my “Fright Night” print paper and added them to my card front using the 3D Foam Squares.
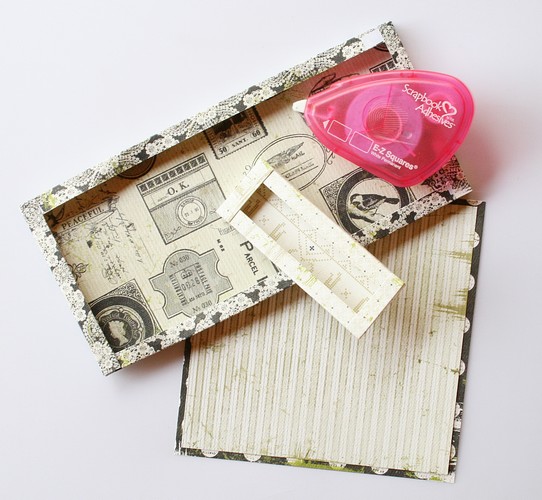
I used my 6x 12 inch piece of cardstock. I folded it in half with the fold at the top of the card. For the inside of my card, I cut a piece of “Word Play” for the stripe at the bottom of my card and added a piece of “Jeeper’s Creepers” for the spiders at the top of my card. I cut a piece of pumpkin border to hide the join. I used my E-Z Squares to attach all the pieces to the bottom square of the inside of my card. The tabs work so well and made the job quite quick.
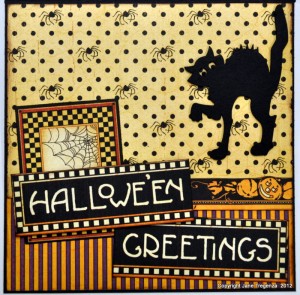
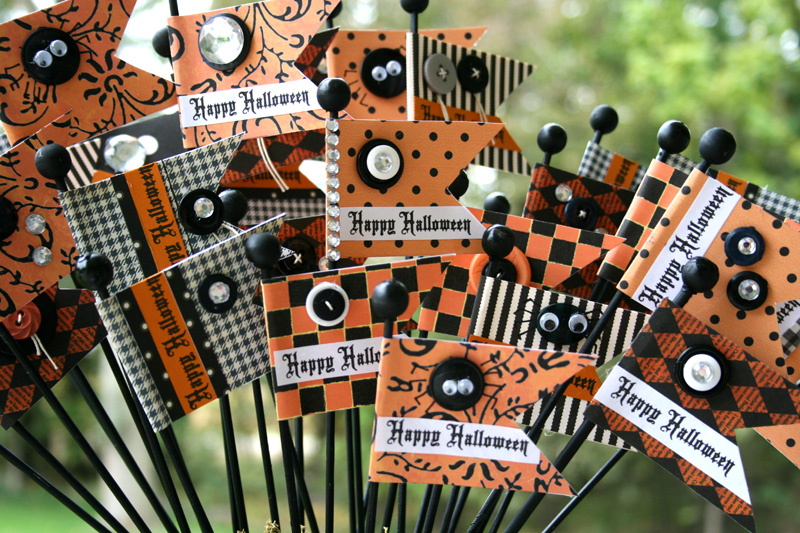
I cut a playing card from “Jeeper’s Creepers and the Halloween Greetings from “Fright Night”. The greeting was too long, so I cut it in half and added the Halloween onto my card with foam squares.
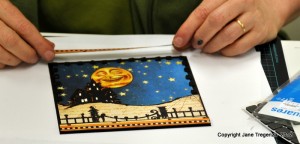
Now it was time to add the front of my card to the base of my card. It is a easel card. So the front of the card is able to stand up on the inside of the card. To make this work, all you do, is use your 6 inch x 12 inch piece of card stock. You should have folded it in half already. Fold the top half of the card back on it’s self and using your E-Z Squares add some tabs to the piece (it should be 3 inch x 6 inches). Attach your card front to it and stand your card front up, resting it on the bottom inside of your card.
thanks so much for looking
hugs
Jane
Visit our Website and Blog!
Sign up for our Newsletter so you never miss a contest or giveaway!


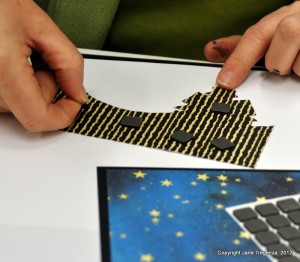
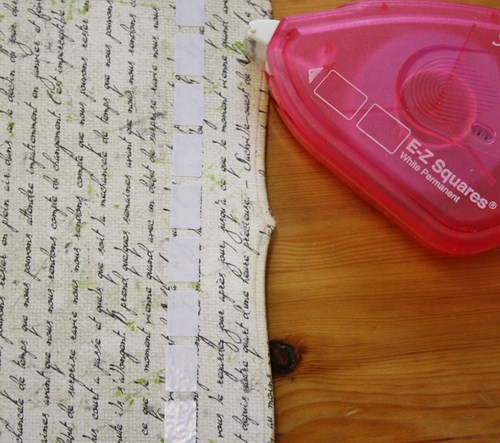
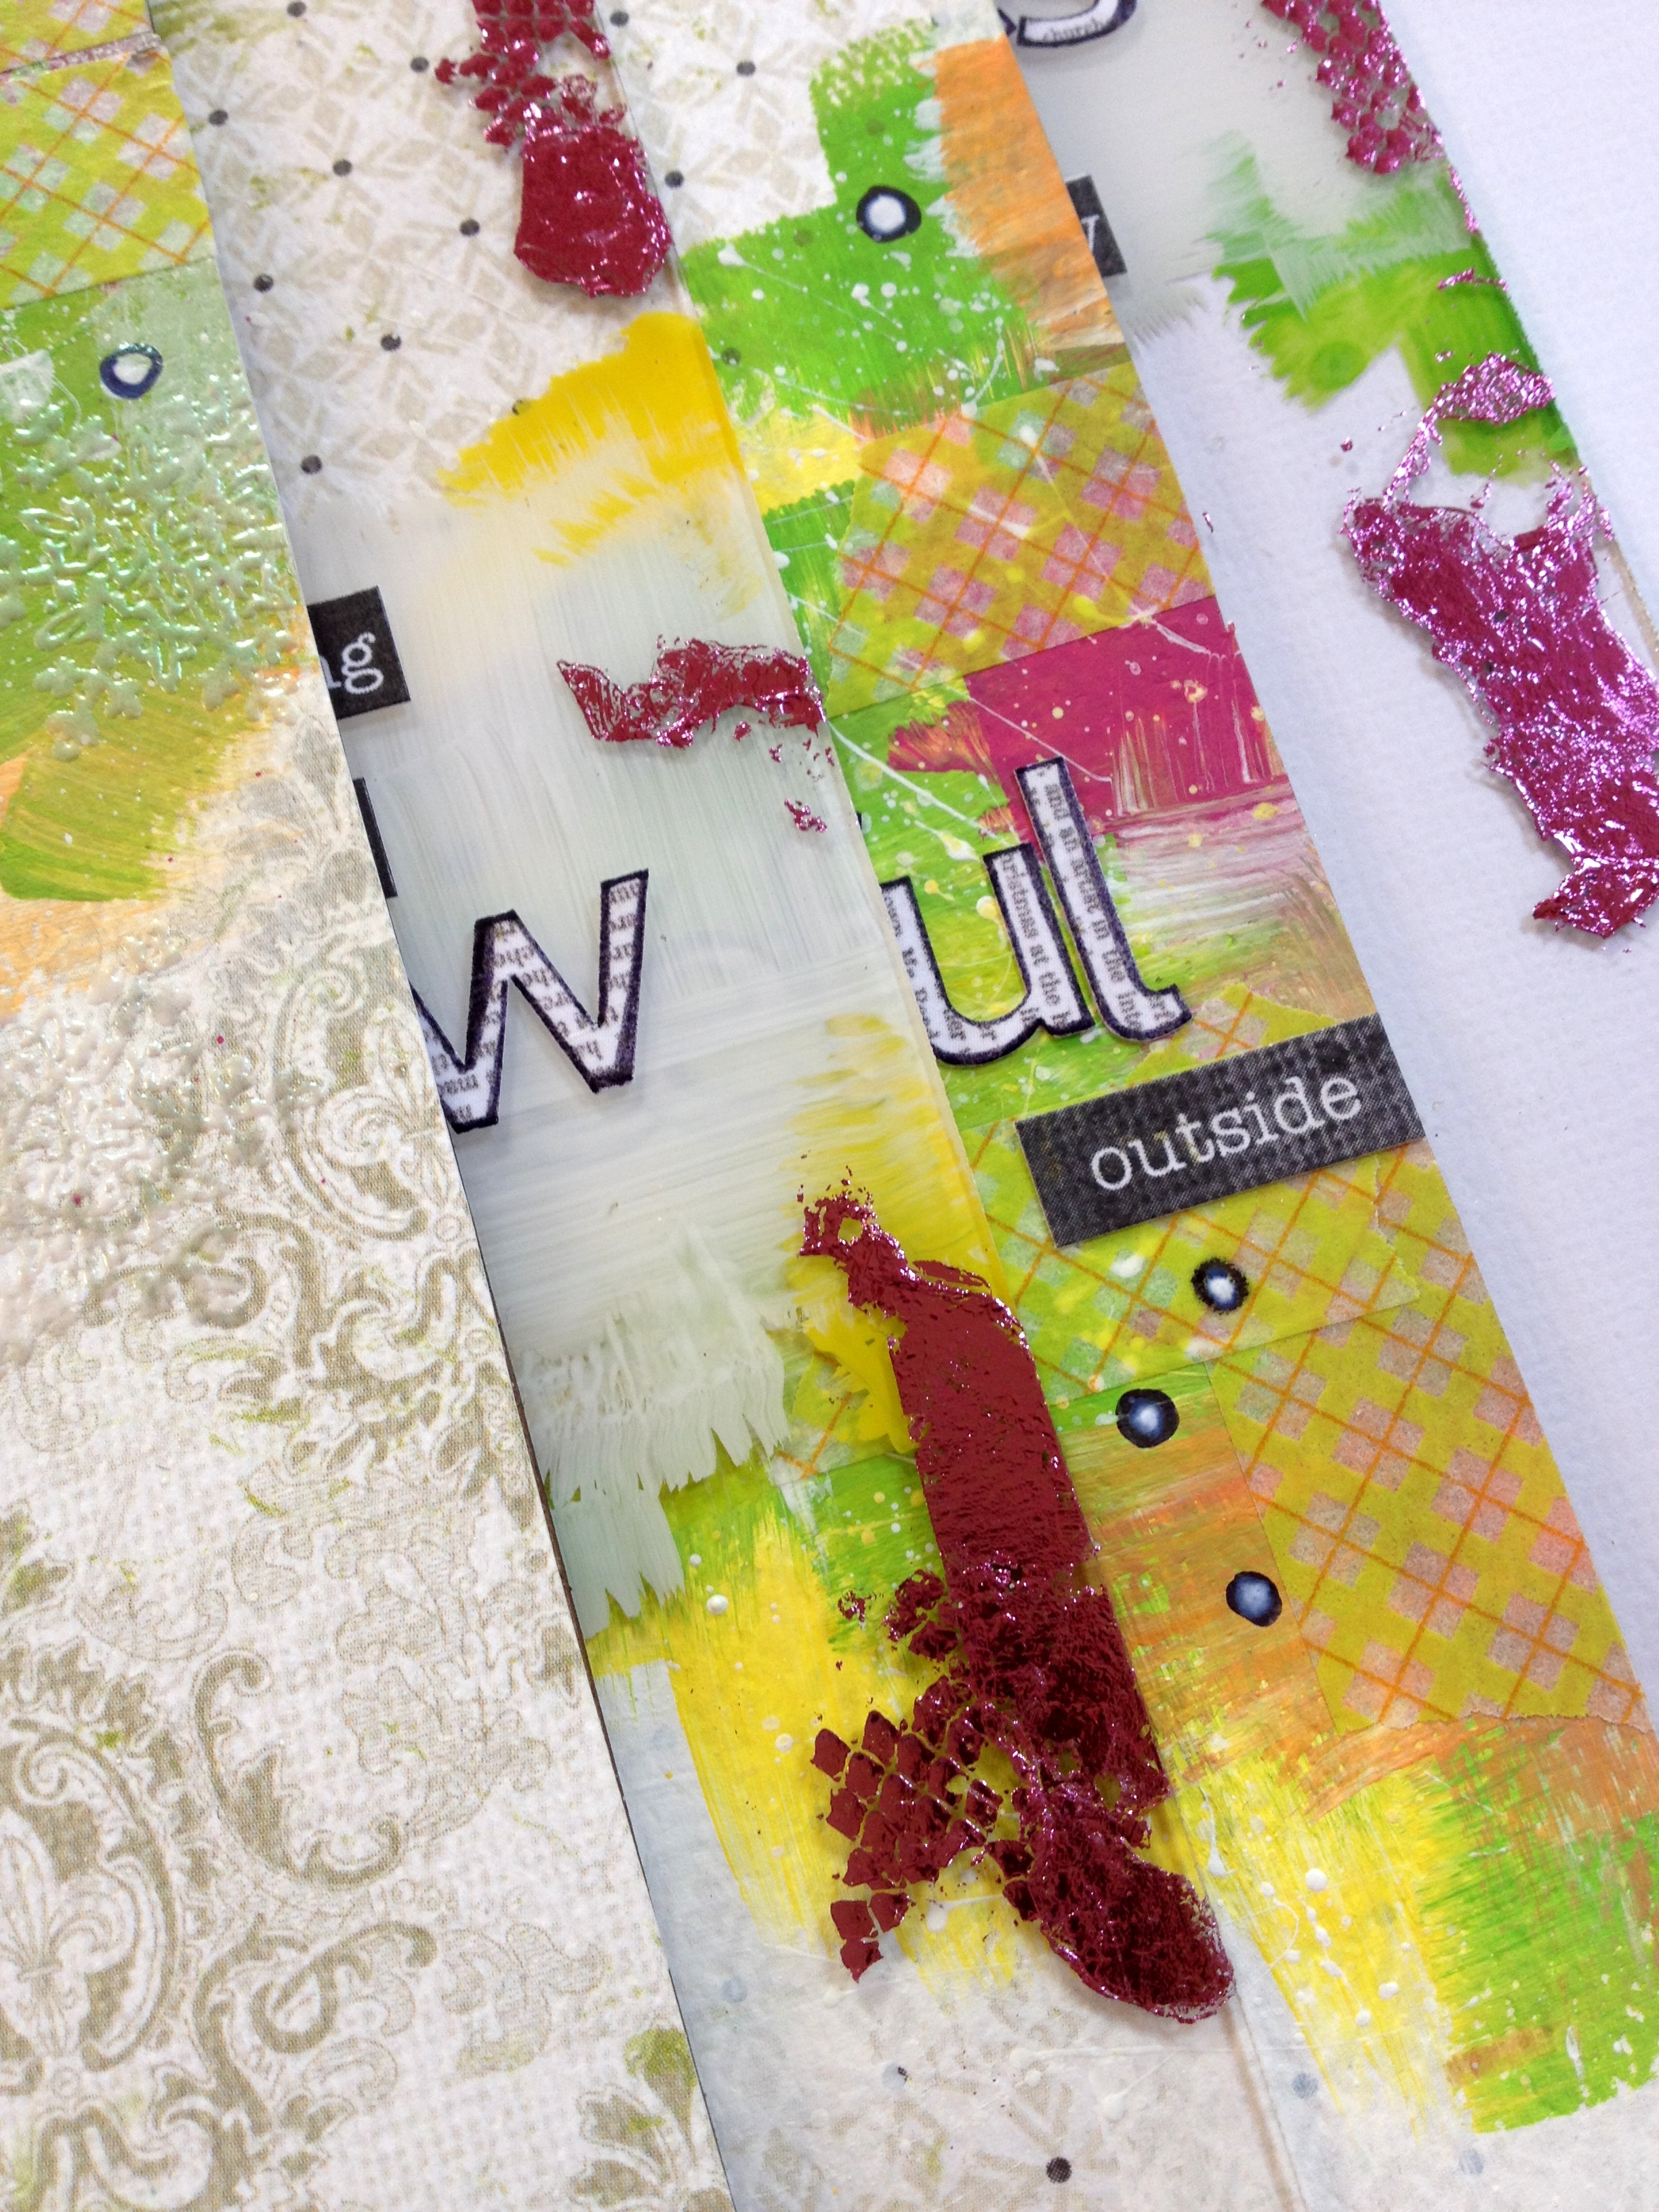
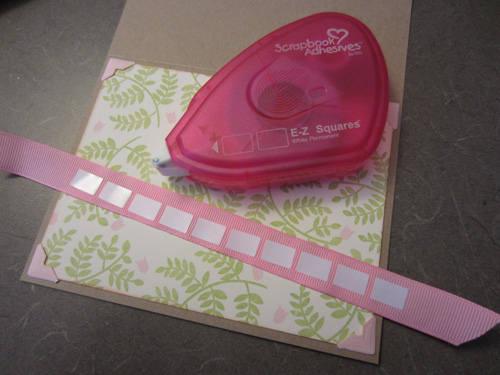
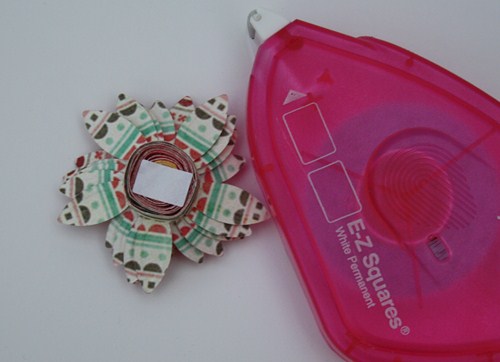
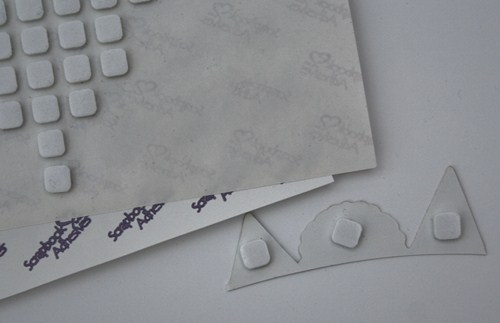
 Of course I used my pretty pink E-Z Squares for my general adhesive, but…..
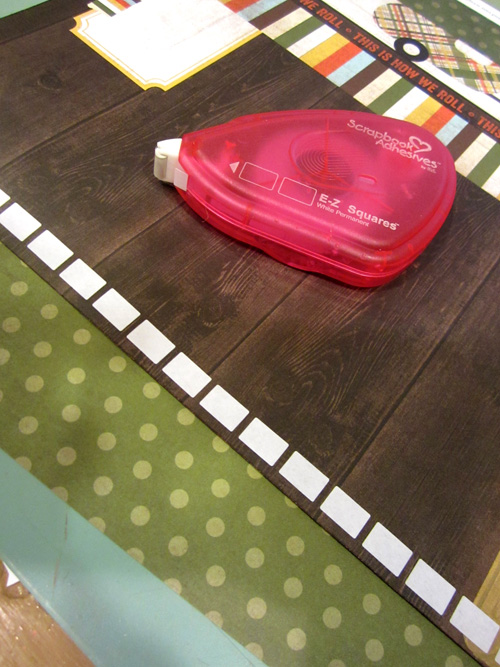 I also used it to add a bit of texture and dimension. How? Well, I take one tab from the dispenser like this.
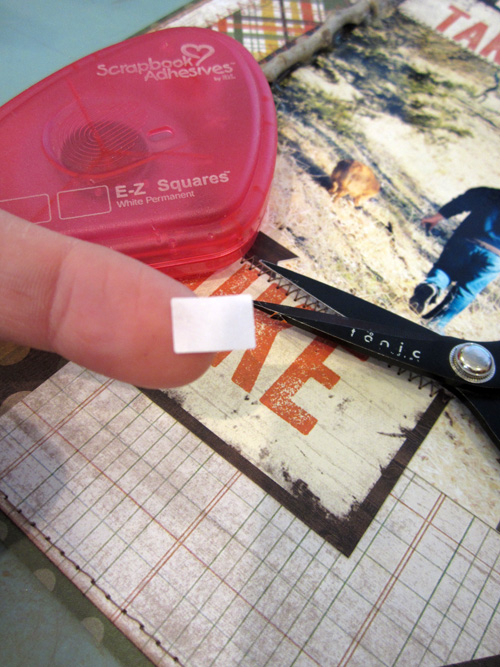 I then cut one end into a “V”, to give it a pennant look.
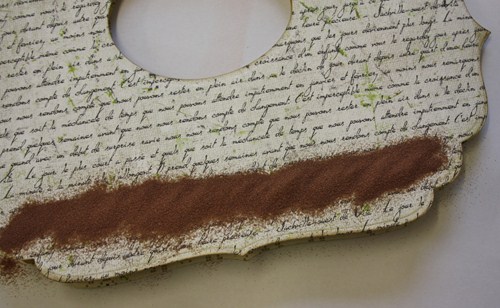
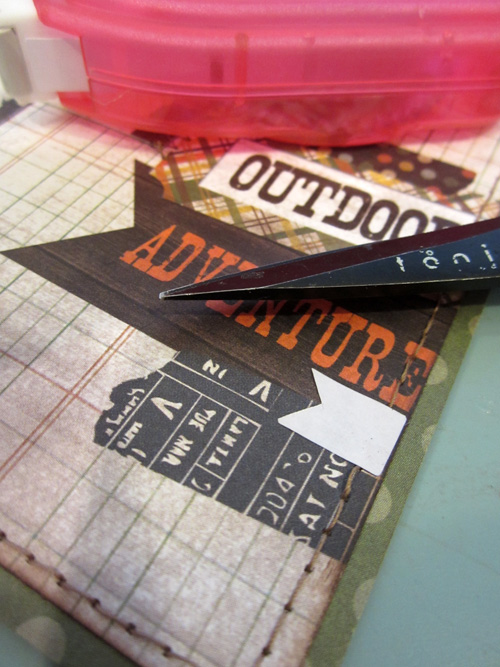 I then sprinkled embossing powder onto it. ( I don’t heat it), I just leave it as is. If you have Fun Flock or a similar product that works great also.
 a fun addition to your page.
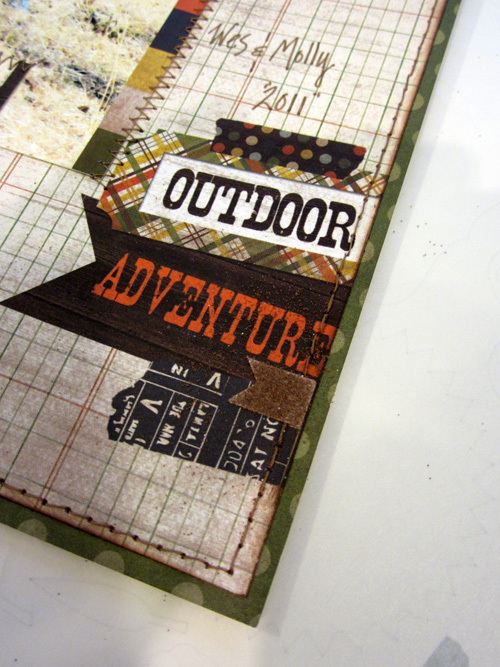 I also added a stick to my page. I used DODZ Medium to hold the stick into place and then I added the twine.
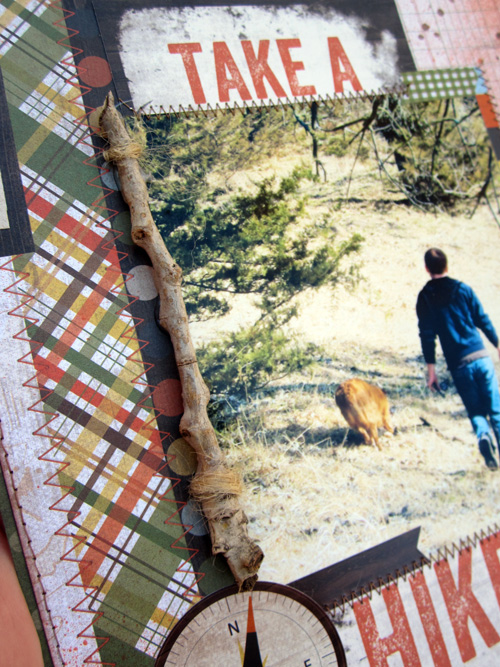


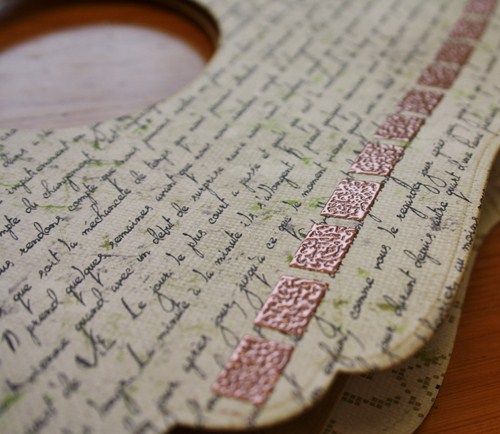


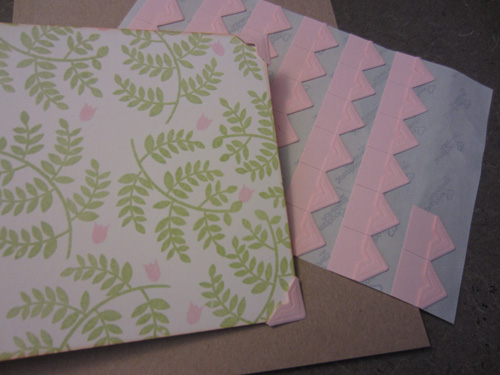 Note: the pink corners are sold out, but you can color the white corners!
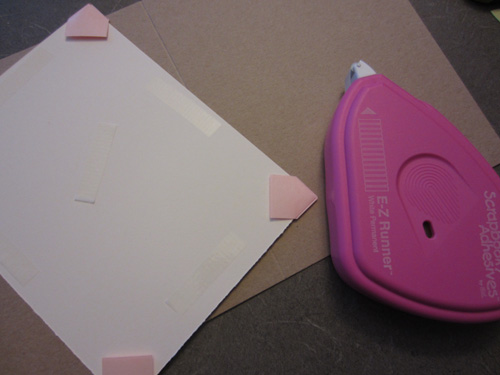


