You are in our US store • Switch to Europe store

December Daily, A Christmas Journal

Hi there, Birgit here today with some Christmas inspiration.
It’s already December. Christmas is approaching quickly and I decided to join Julie Fei-Fan Balzer’s December Daily to record all the fun and stress of this festive month.

Today I want to share with you how I created the cover of the journal that I will be working in this month.

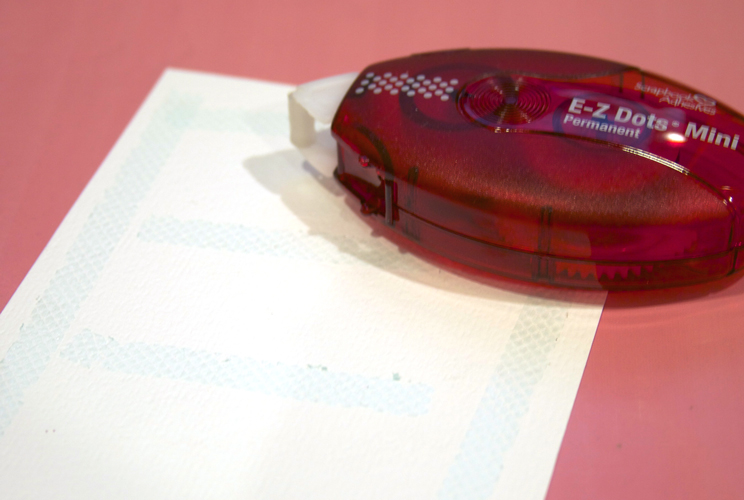
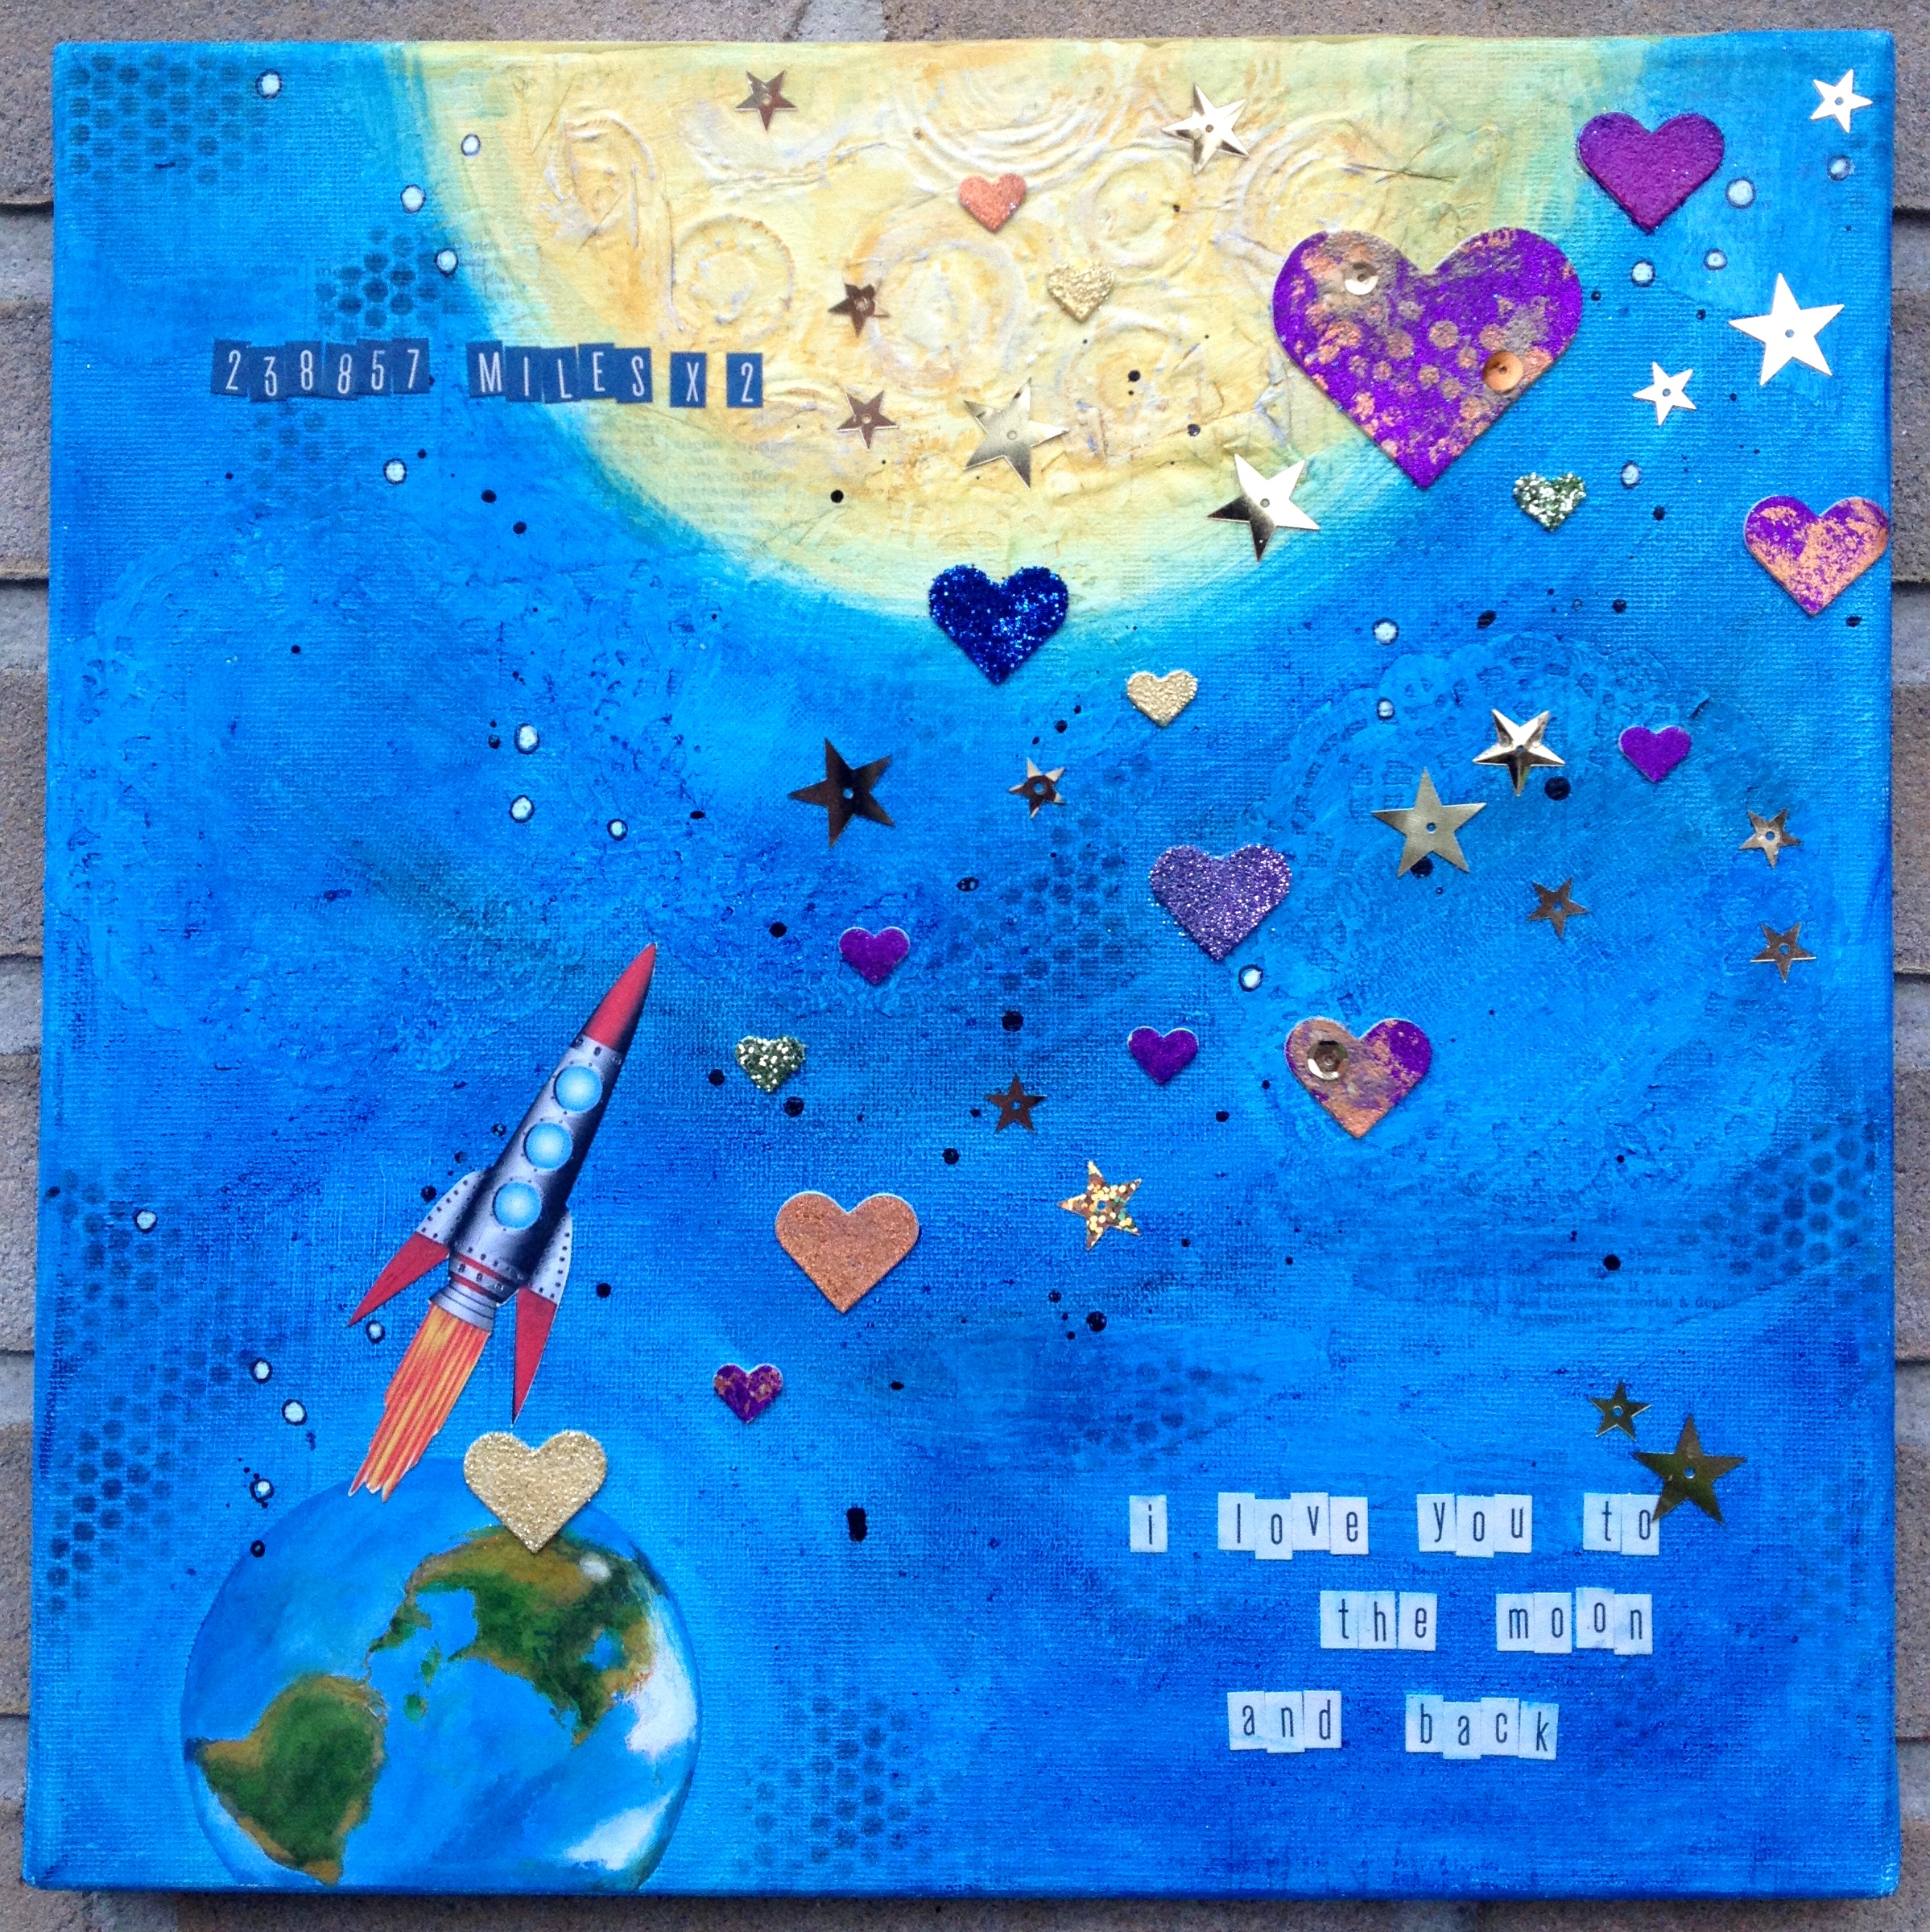
First I covered the book cover with an Adhesive Sheet and applied the background paper. If Adhesive Sheets are used between the chipboard and the paper it will keep the paper from curling and wrinkling when working on it with fluids later. So that is very helpful for especially mixed-media crafters. Then I sprayed with spray paint through a stencil, let the spray paint dry and put the stencil back on top of the sprayed image. I added E-Z Dots® Permanent in the open spaces of the stencil, then removed the stencil and added WOW! Fab Foil to the adhesive.

Keep adding Fab Foil until the cover is not sticky anymore to make sure all the adhesive is covered. I applied all paper pieces using E-Z Runner® Permanent. I added white splatters of acrylic paint and then sequins using E-Z Dots® Permanent again. This is a perfect adhesive to add small shapes since the dots will only stick on the surface of the shape and there will be no adhesive in the open spaces.

Finally I created some shiny snowflakes. I created a little stencil by punching a snowflake from a piece of cardstock and used the negative to add modeling paste. While the modeling paste was still wet i sprinkled glitter on top.

I finished the cover with a little tag and sticker letters. If I use sticker letters on an album cover I always add some extra adhesive since the tend to fall of easily. I used the E-Z Runner® Permanent for that.

And here is a closer look at the cover:

Thank you for stopping by! Wishing you all a wonderful and creative December!

Birgit Koopsen

Adhesives used in this project:

Adorable Reindeer Card

Hello, it is Christine here today sharing a very festive card featuring a rather adorable reindeer.

To create my card I gathered together my cardstock, patterned paper  and transparency from Simple Stories – Handmade Holidays,  die cuts from Spellbinders Frosty Forms and Layered Poinsettia.  I am using my E-Z Dots® Repositionable – this is so I can rearrange my card design until I am completely happy.

Once I’ve decided on my design I switch to my E-Z Runner® and begin to stick down all my card elements.

For extra dimension 3D Foam Squares are invaluable.

Here is the finished card.

A close up of the pretty poinsettia.

Now all I need to do is put my Christmas tree up!  Here is a list of the brilliant sticky products I have used:

E-Z Dots® Repositionable

E-Z Runner Permanent Strips

3D Foam Squares Regular White


Save

Save

For a Christmas Card Swap

Each year I create cards for a Christmas Card swap with friends from a crafting group. I started my cards, and I thought I would share them!

Beth Pingry Christmas Card 1

I’m using the Graphic 45 8×8″ paper pad Nutcracker Sweet. While at first intimidated by the larger images and patterns, I’ve come to love these paper pads, they are actually easy to create with!

On this card I have layered patterned paper with a fussy cut ballerina, a printed label and a printed border. The Visions of Sugar Plums label is adhered with Thin 3D Foam Squares. I added one to the foot of the ballerina then trimmed around it, and then adhered her with 3D Foam Squares. That way the foot was the same height as the body! See how easy this is?

The next card uses regular size 3D Foam Squares for the nutcracker, Thin 3D Foam Squares for the border, and E-Z Runner® Permanent Strips for the background papers.

See, anyone can do this, and the cards look great, will go through the mail great (3D Foam products retain their shape!) and will bring holiday cheer to my friends!

Have a great Saturday!

Beth

Supplies:

Scrapbook Adhesives by 3L®:

E-Z Runner® Permanent Strips, Thin 3D Foam Squares, 3D Foam Squares Regular White

Graphic 45 Nutcracker Sweet 8×8″ papers

Cardstock

Christmas In Your Heart

Hello, Latisha here! I have yet to decorate my house, but I have started on my Christmas Cards. Today, I have a quick and easy card to show you, on how to add some dimension to your projects, with some of your everyday scrapbook supplies.

Start by creating your card base, in this case it is 3 3/4 inches by 6 inches.  I trimmed a piece of white textured card stock to 3 1/2 inches by 5 3/4 inches, and adhered it to my card base using Scrapbook Adhesives by 3L E-Z Runner®.

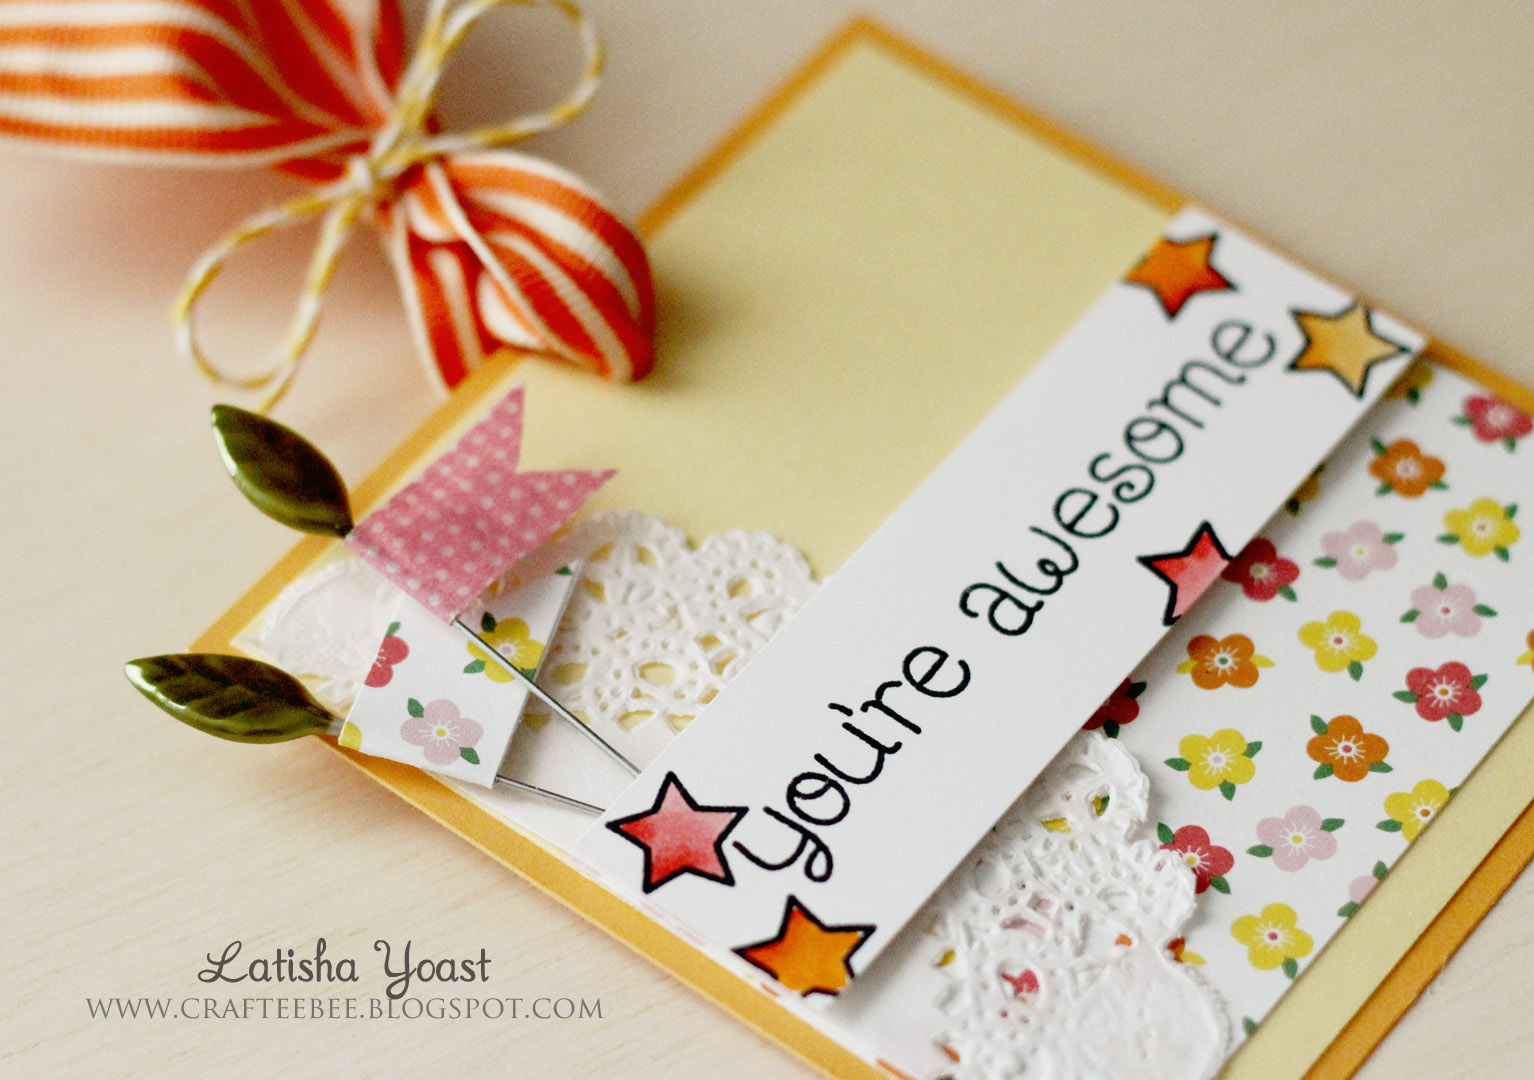
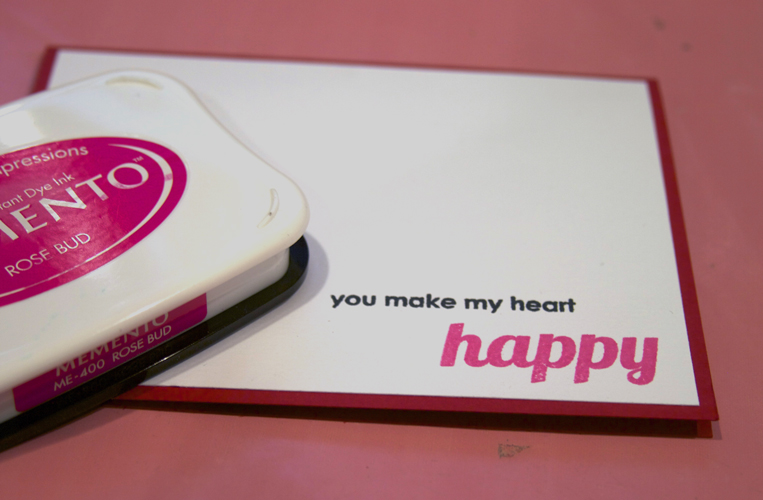
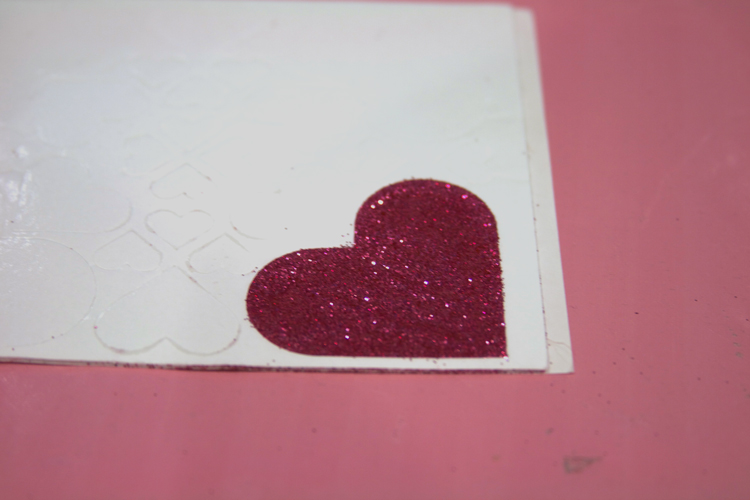
Next, I stamped my sentiment and selected the stickers I wanted to use.  I placed 3D Foam Squares White Small on the back of the stickers an applied them to the card.

Finally, I tied a bow using gingham ribbon, and placed a Adhesive Dots Small on the back of the bow, to adhere to the card.

The finished product, quick, easy and oh so cute!  With your favorite Scrapbook Adhesives by 3L product, card stock, stickers and ribbon, you can finish your Christmas cards in no time at all!

Latisha Yoast

Supplies Used:

Adhesive Dots Small, 3D Foam Squares White Small, E-Z Runner®.

Waltzingmouse stamps, Bazzill Basics cardstock, Carta Bella papers

Visit our Website and Blog!
Sign up for our Newsletter so you never miss a contest or giveaway!

instagram purple icon facebook icon purple pinterest purple icon twitter purple icon YouTube icon blog subscription purple icon

“Hello New Day” Wall Art

Today I thought I’d share a new piece of wall art I just finished.  I seem to have a little stash of inexpensive frames in my closet.  I put photos up for a while and when I’m ready for a change…. it’s easy peasy.  I pop the back off, grab some paper and my adhesives and get started.

I use my E-Z Runner® to put my general pieces together.

When I have pieces that I’m going to machine stitch into place, I use my

E-Z Dots® Repositionable to hold them in place while I stitch.    And I also used it to create that  fun little  border of  glitter.

I just run the dispenser around the edges where I want the border.

Sprinkle some fine iridescent glitter over it.. and then tap off the excess  glitter.

And there you have it.

And…. finished and in a frame.  A fun inexpensive way to change things up a bit.

Supplies:

E-Z Dots® Repositionable, E-Z Runner® Permanent Strips

Fancy Pants Designs  “The Good Life Line”

Clearsnap Glitter

Frame- General

Thanks so much for stopping by!

Vicki

by blog: This Art that Makes Me Happy”

Save

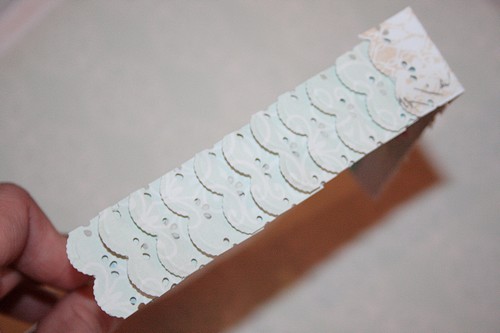
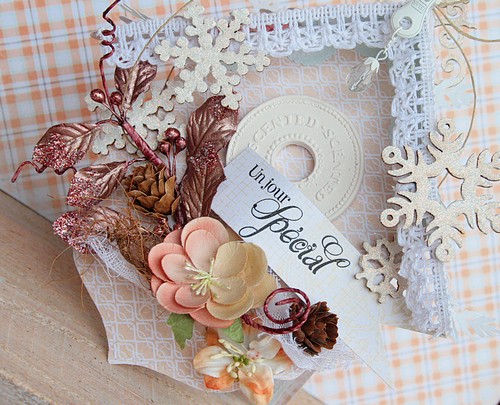
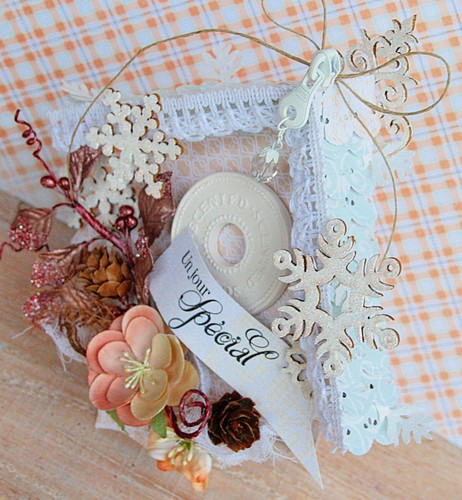
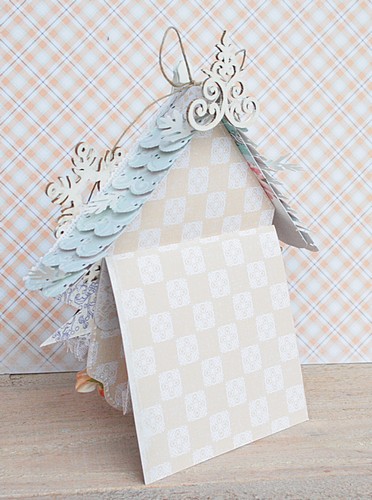
CHOCOLATE BOX FOR CHRISTMAS

Christmas is approaching, it’s time to give gifts!
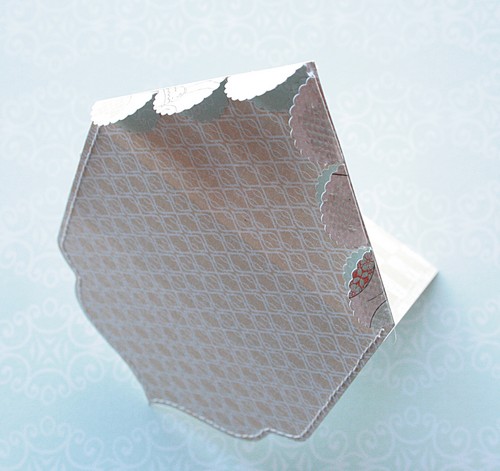
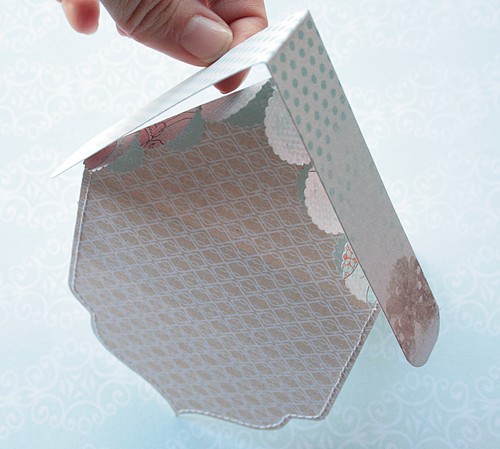
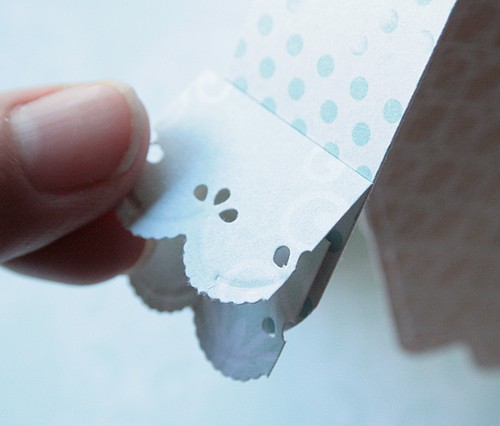
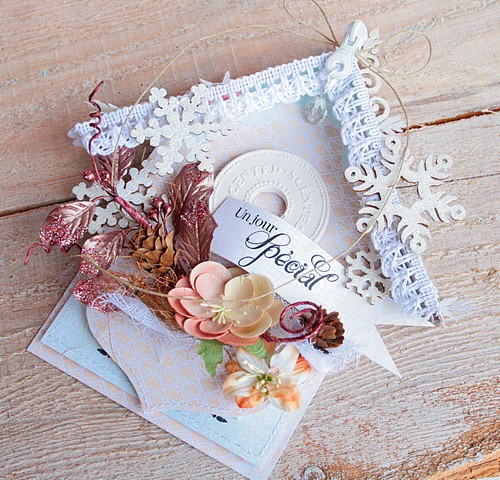
An original present to offer to the schoolteacher of my son. A chocolate box in a little a house, inspired by the incredible artist Julie Haymaker Thompson.


All boxes are created using Simple Stories papers « Handmade Holiday » collection
and Scrapbook Adhesives by 3L adhesives, E-Z Runner®.
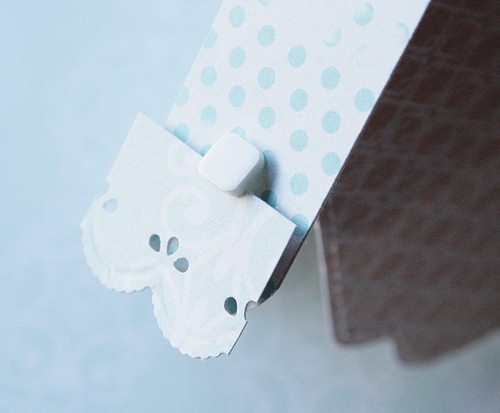
Embellishments are fixed with DODZ™ – Small and DODZ™ – Medium.

Supplies :
SCRAPBOOK ADHESIVES BY 3L™: E-Z Runner®, DODZ™ – Small and DODZ™ – Medium.
Simple Stories papers.
Prima Marketing flowers and resin embellishment and EmbellicSrap snowflake.
Handmade paper clay embellishments.
Thank you for stopping by our blog today!
Flo
Floliescrap Blog

Peaceful Card

Hello, Christine here today to share with you a ‘Peaceful’ card made from the very lovely Authentique Peaceful papers.  A simply constructed card of panels of paper but with the pretty addition of Parisian Accents from Spellbinders

I cut a panel to mat to the base of my card using E-Z Runner® – this is a double-sided strong permanent adhesive so I’m guaranteed my paper will stay in place.

To add dimension to my die cut I used 3D Foam Squares – Black.

To construct my decorative paper panels I switched to MyStik Permanent Strips Dispenser – as you can see from the little bit of the handle, I’ve customised mine.

Within a short time I had created a ‘tweet’ little card!

A close up picture.

Thank you for stopping by today.  Before I go, here are the brilliant sticky products I have used.

Happines Is In The Heart – A Step-By-Step Tutorial

Hi there, Birgit here today with an oldy goldy 🙂

The project I’m sharing is not new. It has been on my blog quite a while ago. But since there are some fun masking techniques in there that might be interesting for you, the Crafty Power Blog readers, I thought I’d share it here with you today.

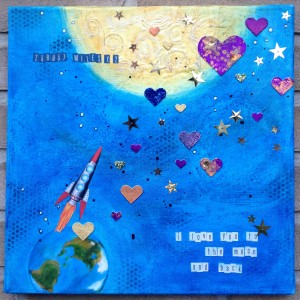
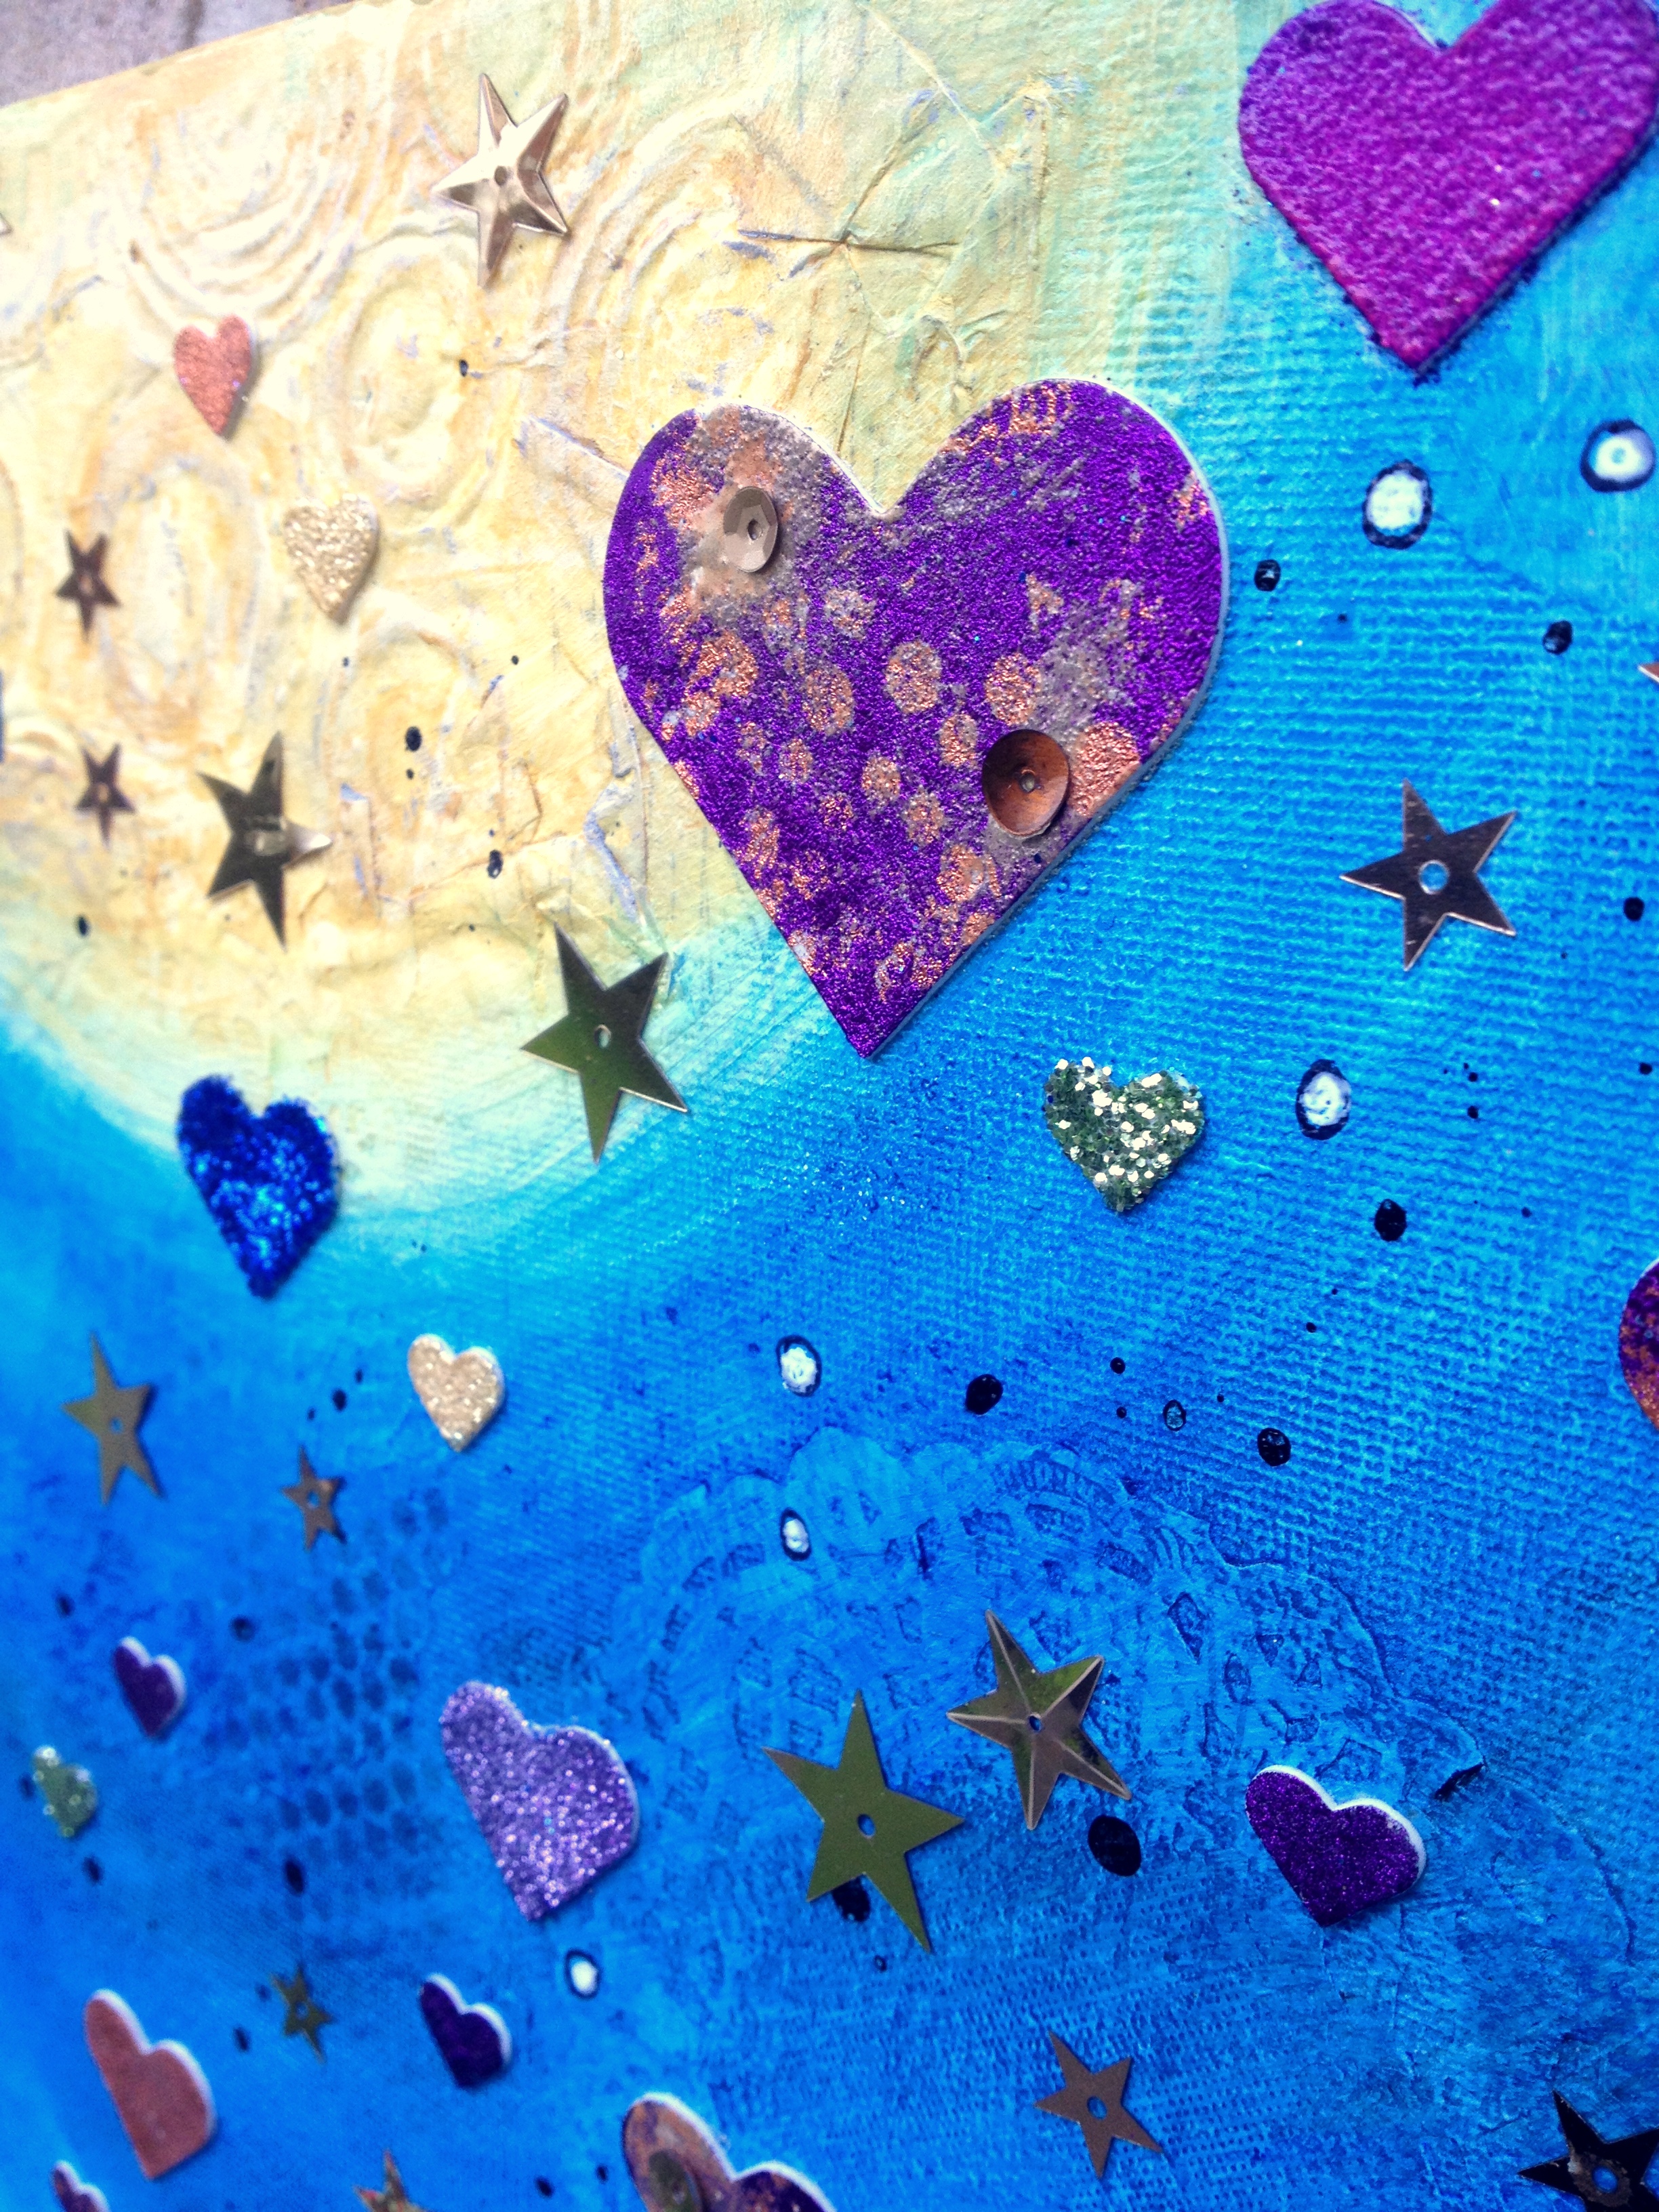
I created this art journal page using MyStik™ Permanent Strips Dispenser, MyStik™Repositionable Dispenser and Adhesive Sheets 4″x 6″.

If you are interested in how I created this page you can watch the step-by-step tutorial here:

http://youtu.be/5_ez8BjA0Js

I hope you enjoyed this little video!

Wishing you a wonderful weekend!

Birgit Koopsen

Holiday Bell Ornament

Hi it’s Beth, and I have a holiday home decor project today!

Beth Pingry Holiday Bell Ornament

With just a die cut flower, ribbon, and a large bell, I  crafted this adorable Christmas ornament. The poinsettia is layered with 3D Foam Squares and is held to the metal bell with Dodz 3D.

Thanks for visiting!

Beth Pingry

Supplies: Scrapbook Adhesives by 3L®: 3D Foam Squares, Dodz 3D

Dodz

Glitter Accents and Stamped Images

Hi! Its Kimberly and today I am showing a card made with some darling Lawn Fawn stamps, with images popped up by 3D Foam Squares, and a special accent added with 4×6″ Adhesive Sheets.

I thought it would be fun to accent only certain parts of the butterfly with glitter. So the butterfly was stamped twice, once onto patterned paper, and once onto a 4×6 Adhesive Sheet. I stamped onto the white side of the sheet.

You can see the trimmed, patterned paper butterfly on top. Underneath is the Adhesive Sheet butterfly. I cut out only the parts I wanted-the parts that would get glitter.

I removed the yellow backing  from the Adhesive Sheet and applied it to the patterned paper butterfly. After gently rubbing the paper, it was lifted off. Sorry for the lousy photo, but I wanted you to be able to see where the adhesive was applied. Then glitter was applied over the adhesive and burnished. The excess was tapped off.

For the rest of the card, the images were stamped onto patterned paper and cut out. The yellow flower and grey leaves were foam mounted with 3D Foam Squares White-Small.

Adhesive Sheets 4 x 6

Hope you try adding glitter or flock accents to your stamped images using Adhesive Sheets!

Kimberly Crawford

Supplies: Scrapbook Adhesives by 3L (3D Foam Squares White-Small, 4×6 Adhesive Sheets), Stamps-Lawn Fawn (Flutter By), Patterned paper-Basic Grey (Serenade 6×6), Cardstock-Bazzill, Ink-Tsukineko (Memento; Grey Flannel, Tuxedo Black)