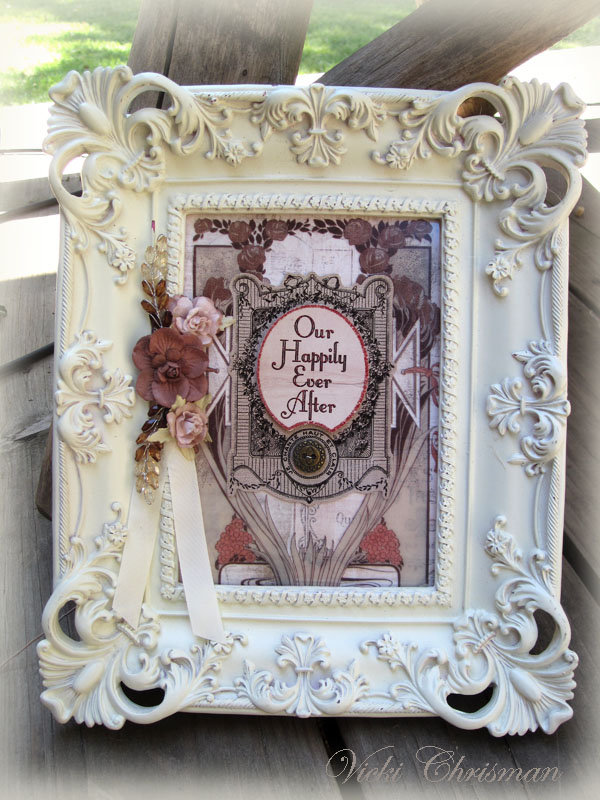
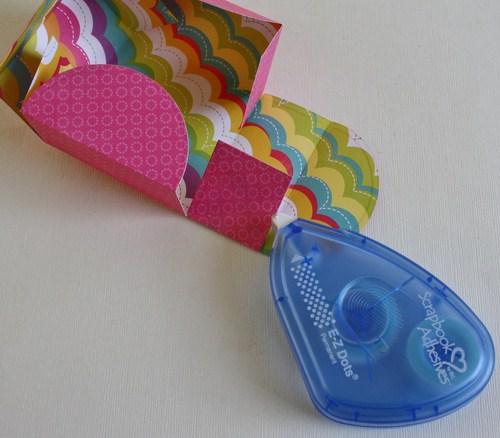
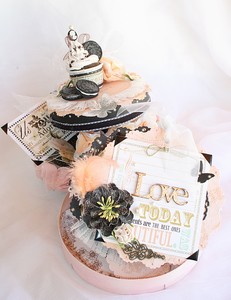
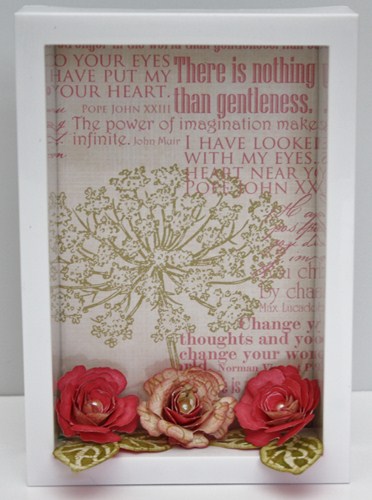
Hi, it’s Christine here today. I’ve chosen to decorate a small white box frame, it’s really straightforward and with the new E-Z Dots® Permanent, it is speedy too!

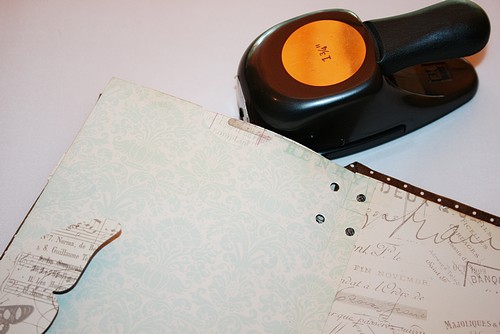
Firstly remove the back and glass from your frame.
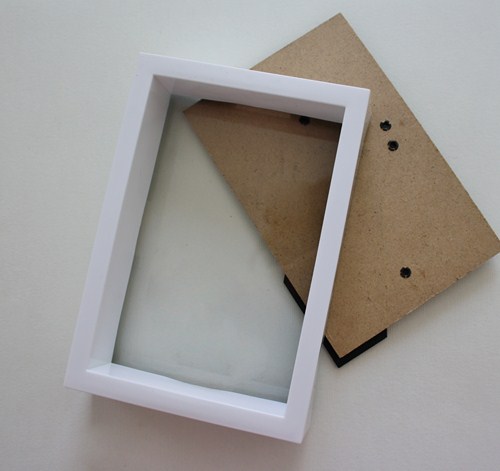
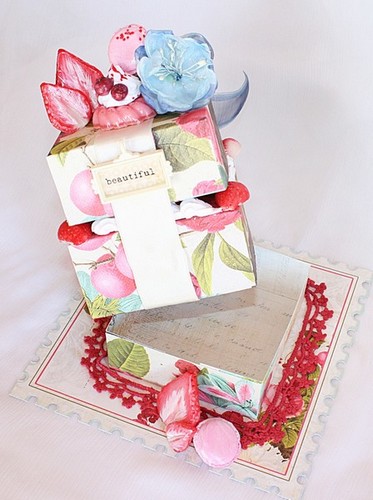
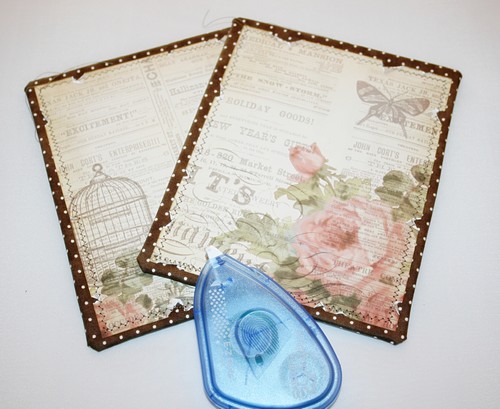
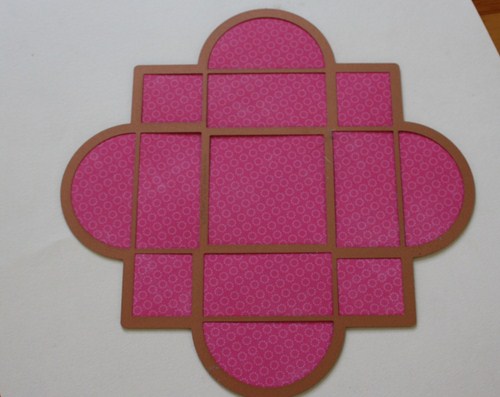
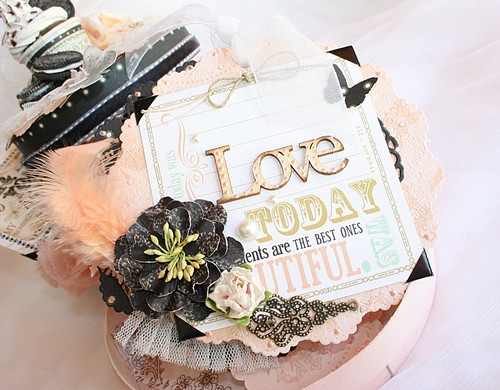
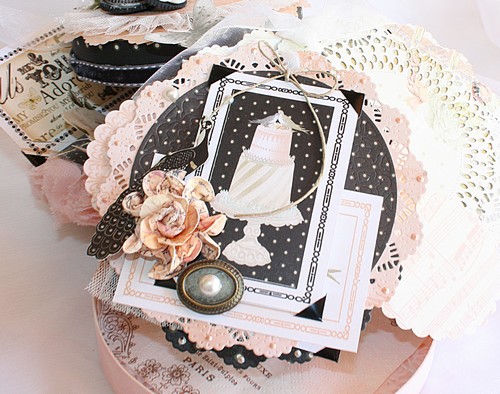
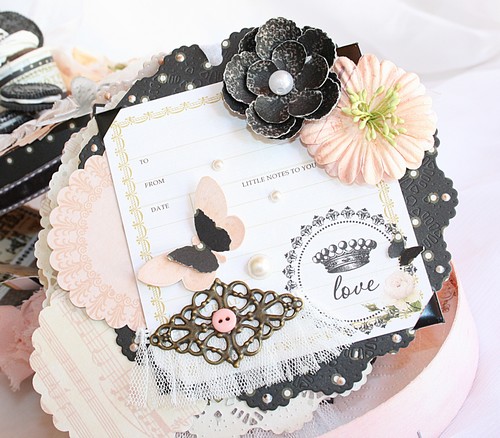
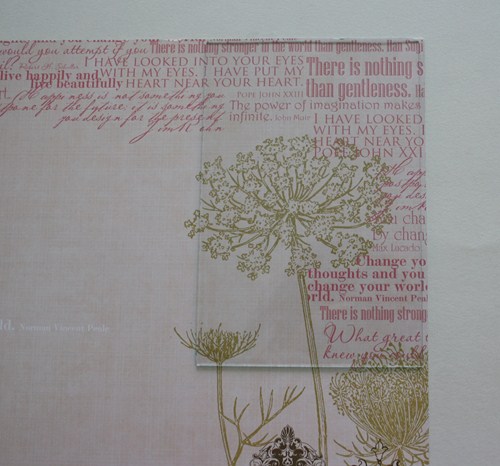
Carefully use the glass as your guide to cut a background from patterned paper. I used Webster’s Pages – Messages to You collection.
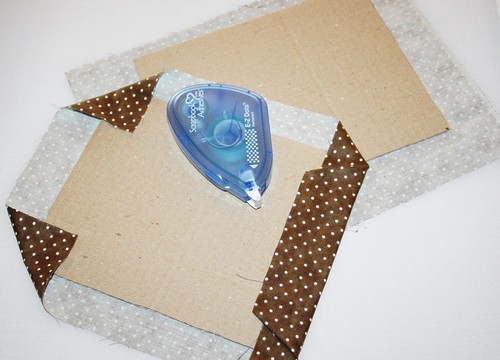
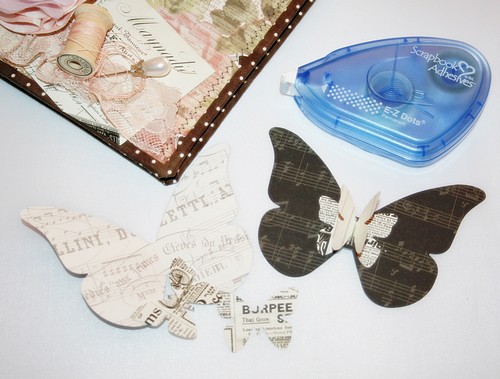
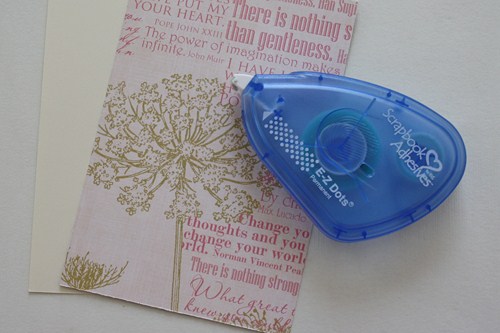
Using your E-Z Dots Permanent, adhere the patterned paper to a piece of cardstock, cut to the same size, this just strengthens it a little.
Insert glass and replace back onto frame. You are now ready to decorate.

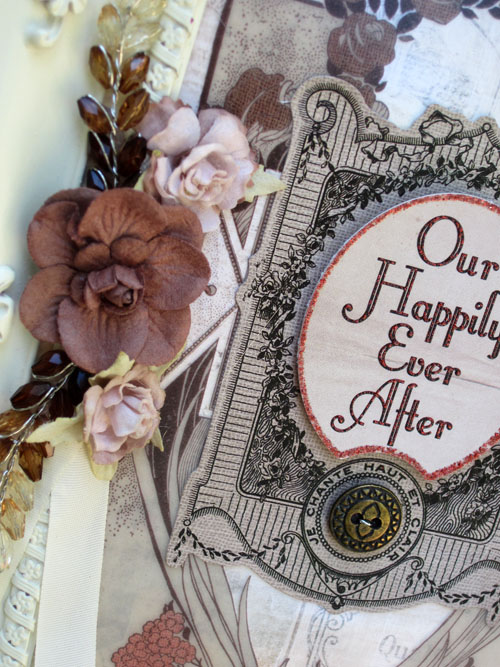
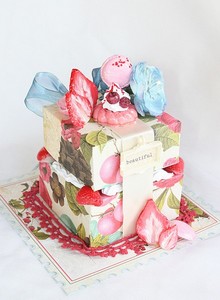
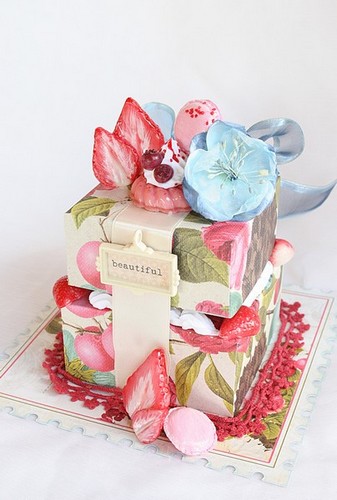
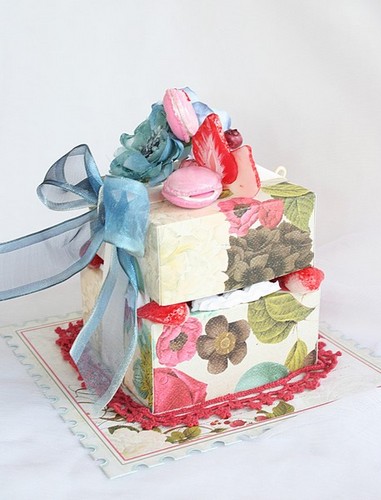
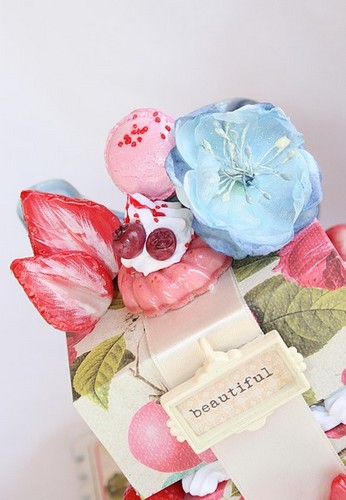
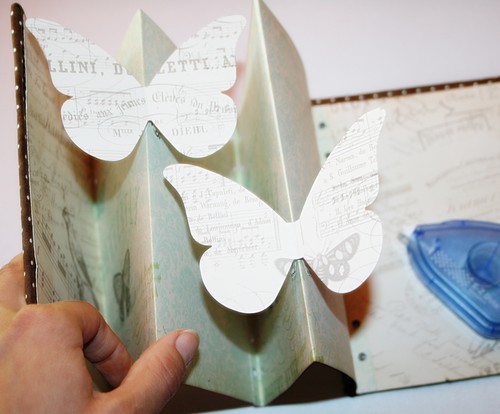
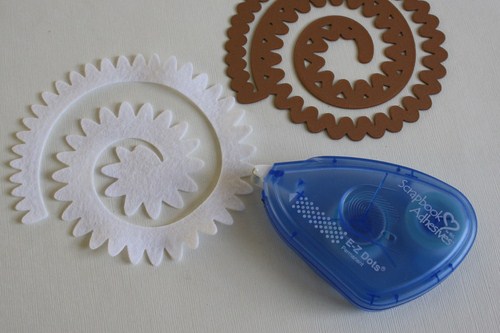
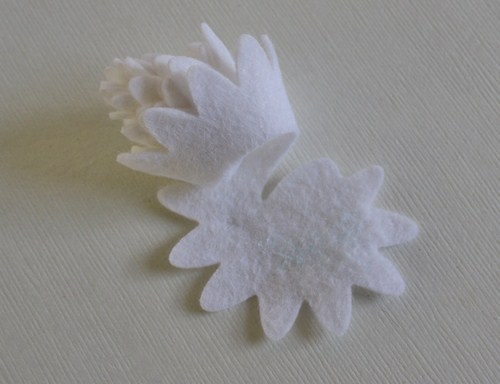
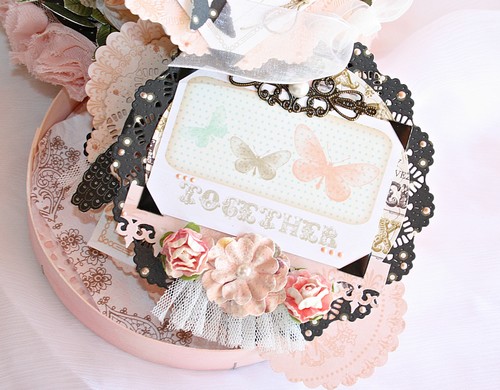
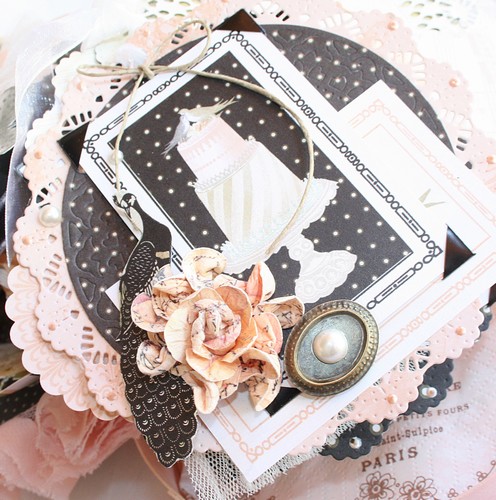
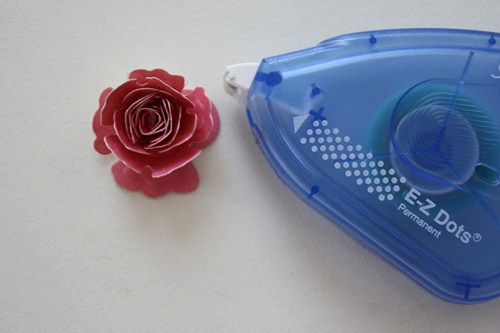
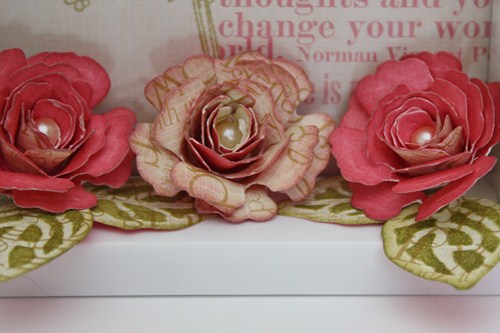
I’ve chosen to make some pretty flowers from Spellbinders™ Bitty Blossoms. You can use your E-Z Dots Permanent because it adheres to tiny areas as well as large.
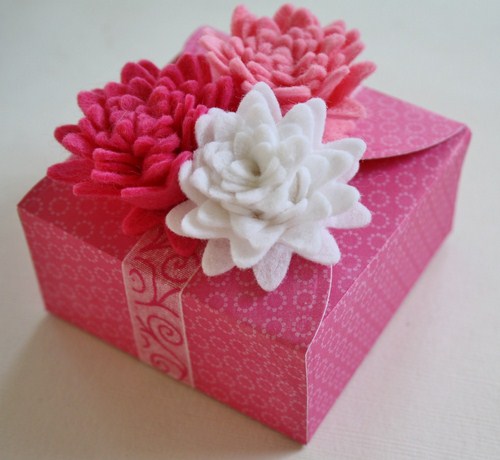
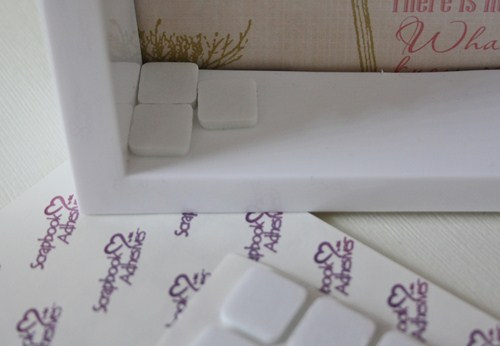
I’ve placed some 3D Foam Squares – White into the corners of the frame. This allows me to build up a base for my flowers.
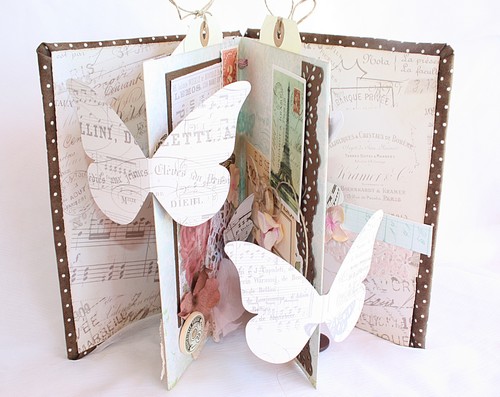
I’ve added some leaves and pearls to the flower middles.
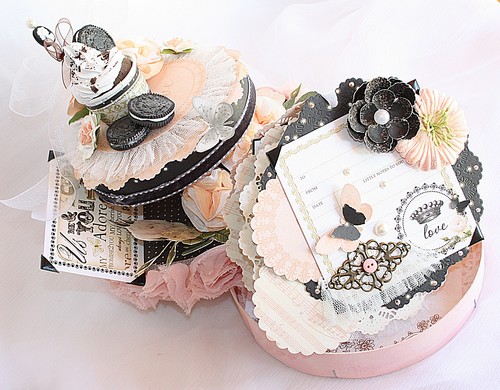
And it is complete – simple, speedy and pretty – a great gift!
Thank you for stopping by today. I’ve listed the brilliant sticky products I’ve used.