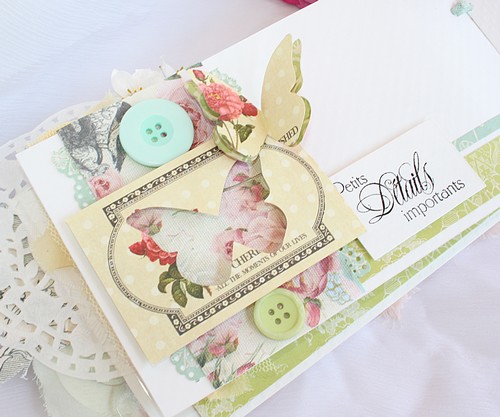
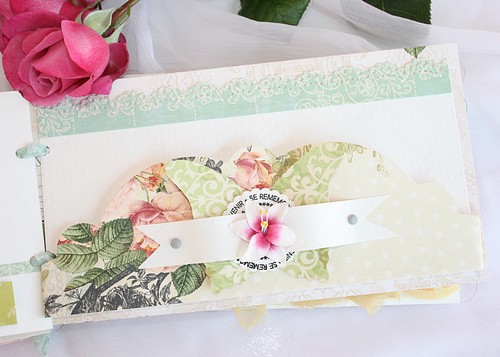
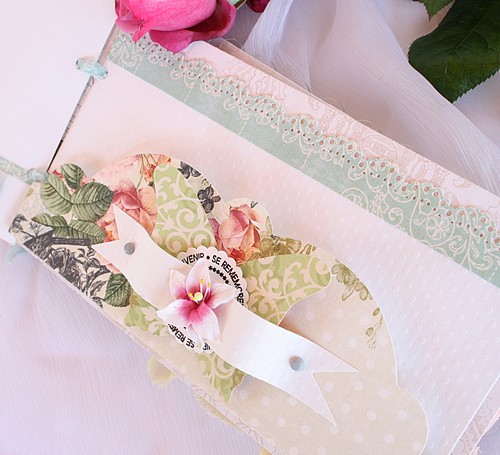
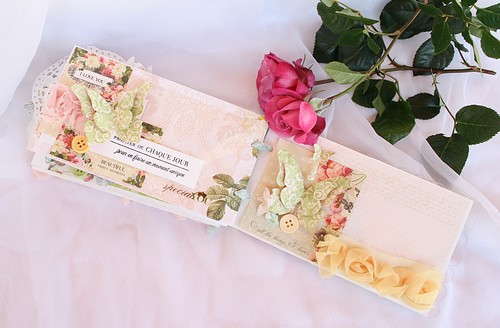
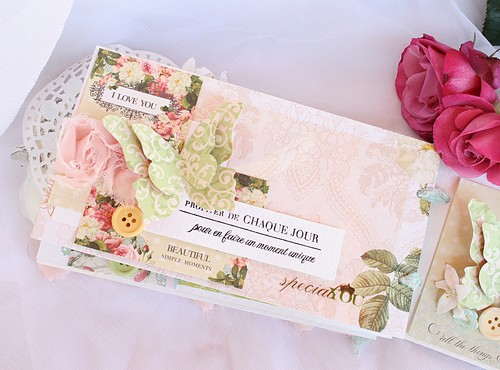
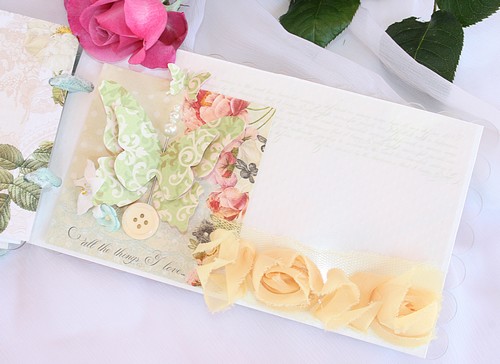
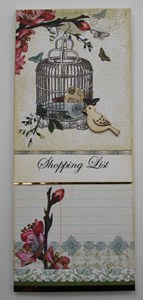
Hello again, today I’m back with a pretty shopping list. Grocery shopping can be a chore so to make it a little bit nicer how about a pretty shopping list!
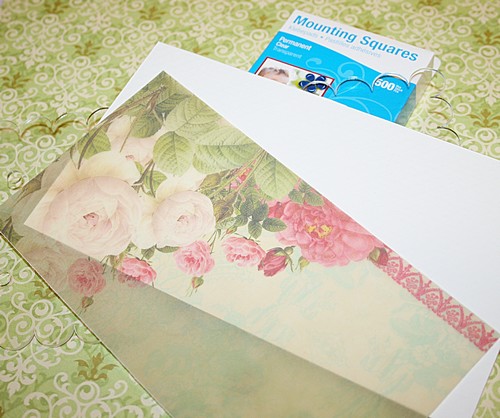
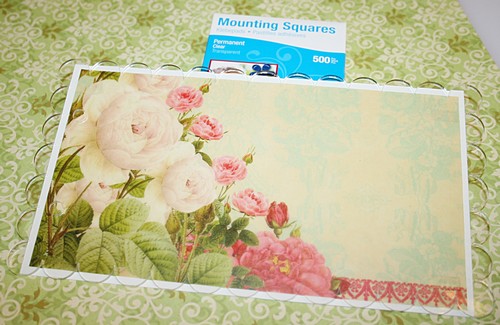
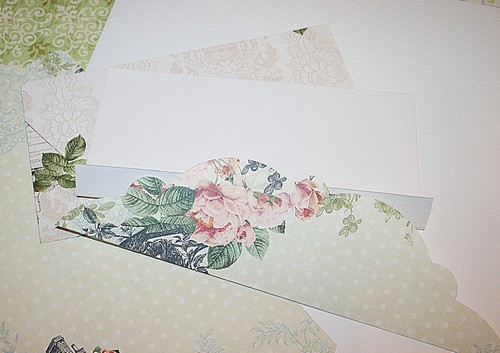
I found a slim notepad that was ideal for a shopping list, it measures 8″ long. I cut a piece of cardstock and patterned paper the same width but 10″ long. I’ve used Webster’s Pages – Everyday Poetry collection.
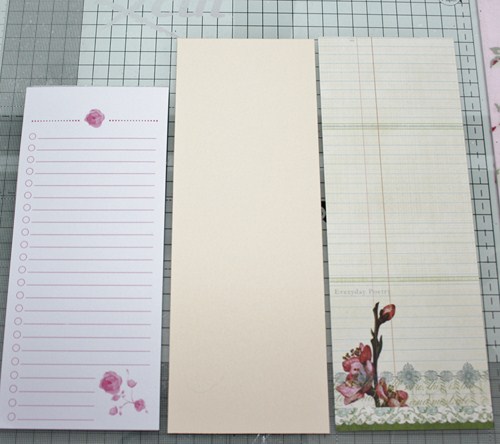
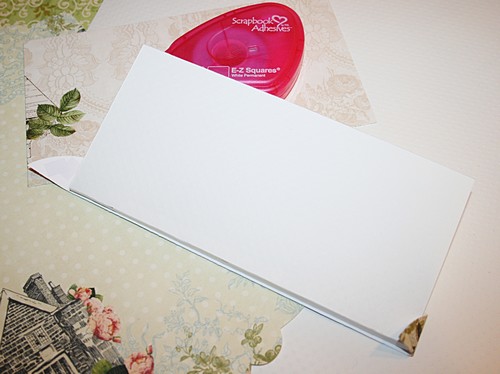
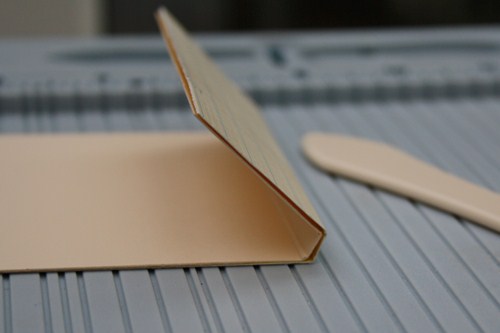
Score and fold twice so that it wraps over the top of your slim notepad.
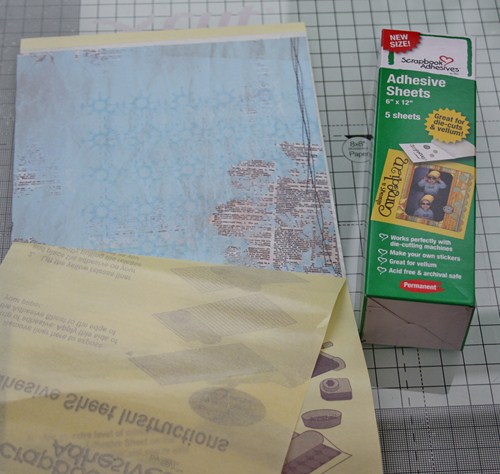
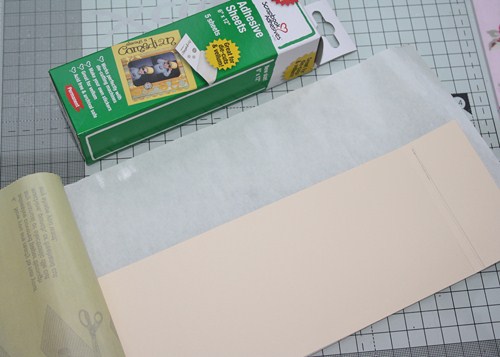
Adhere the paper to the cardstock using an Adhesive Sheet.
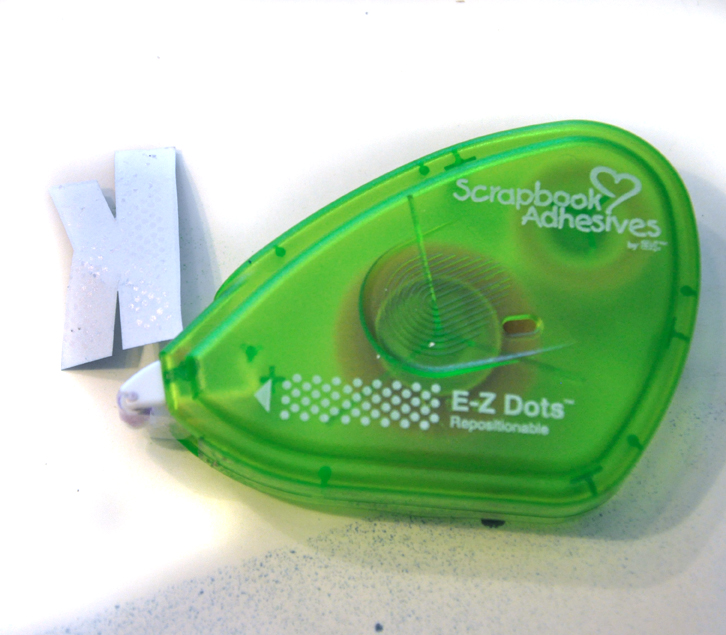
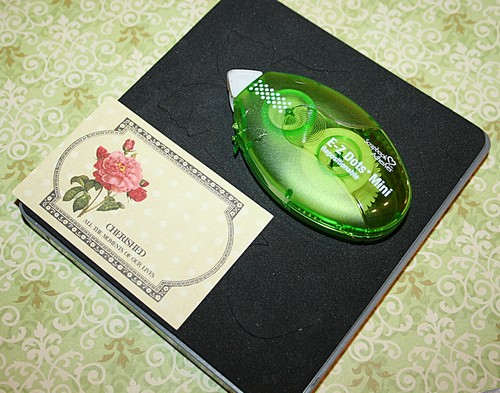
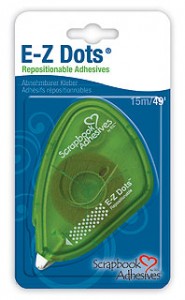
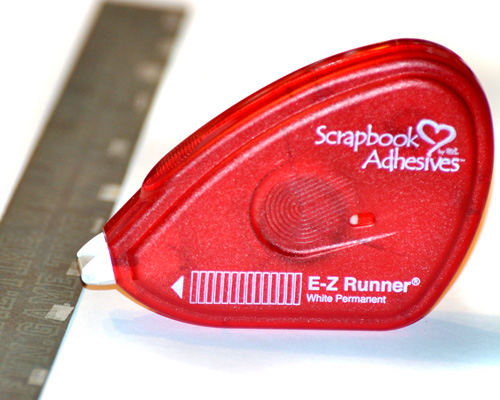
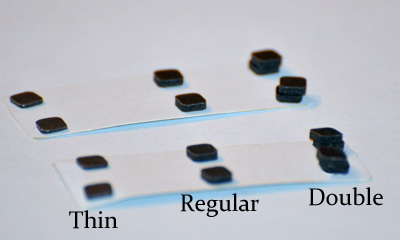
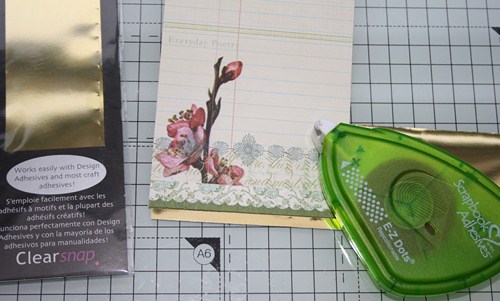
To ‘glam’ my shopping list I chose to add a line of Craft Foil in gold along the bottom edge – be sure to use E-Z Dots Repositionable® – it allows you to tweak the thin foil until it is exactly right without tearing it.
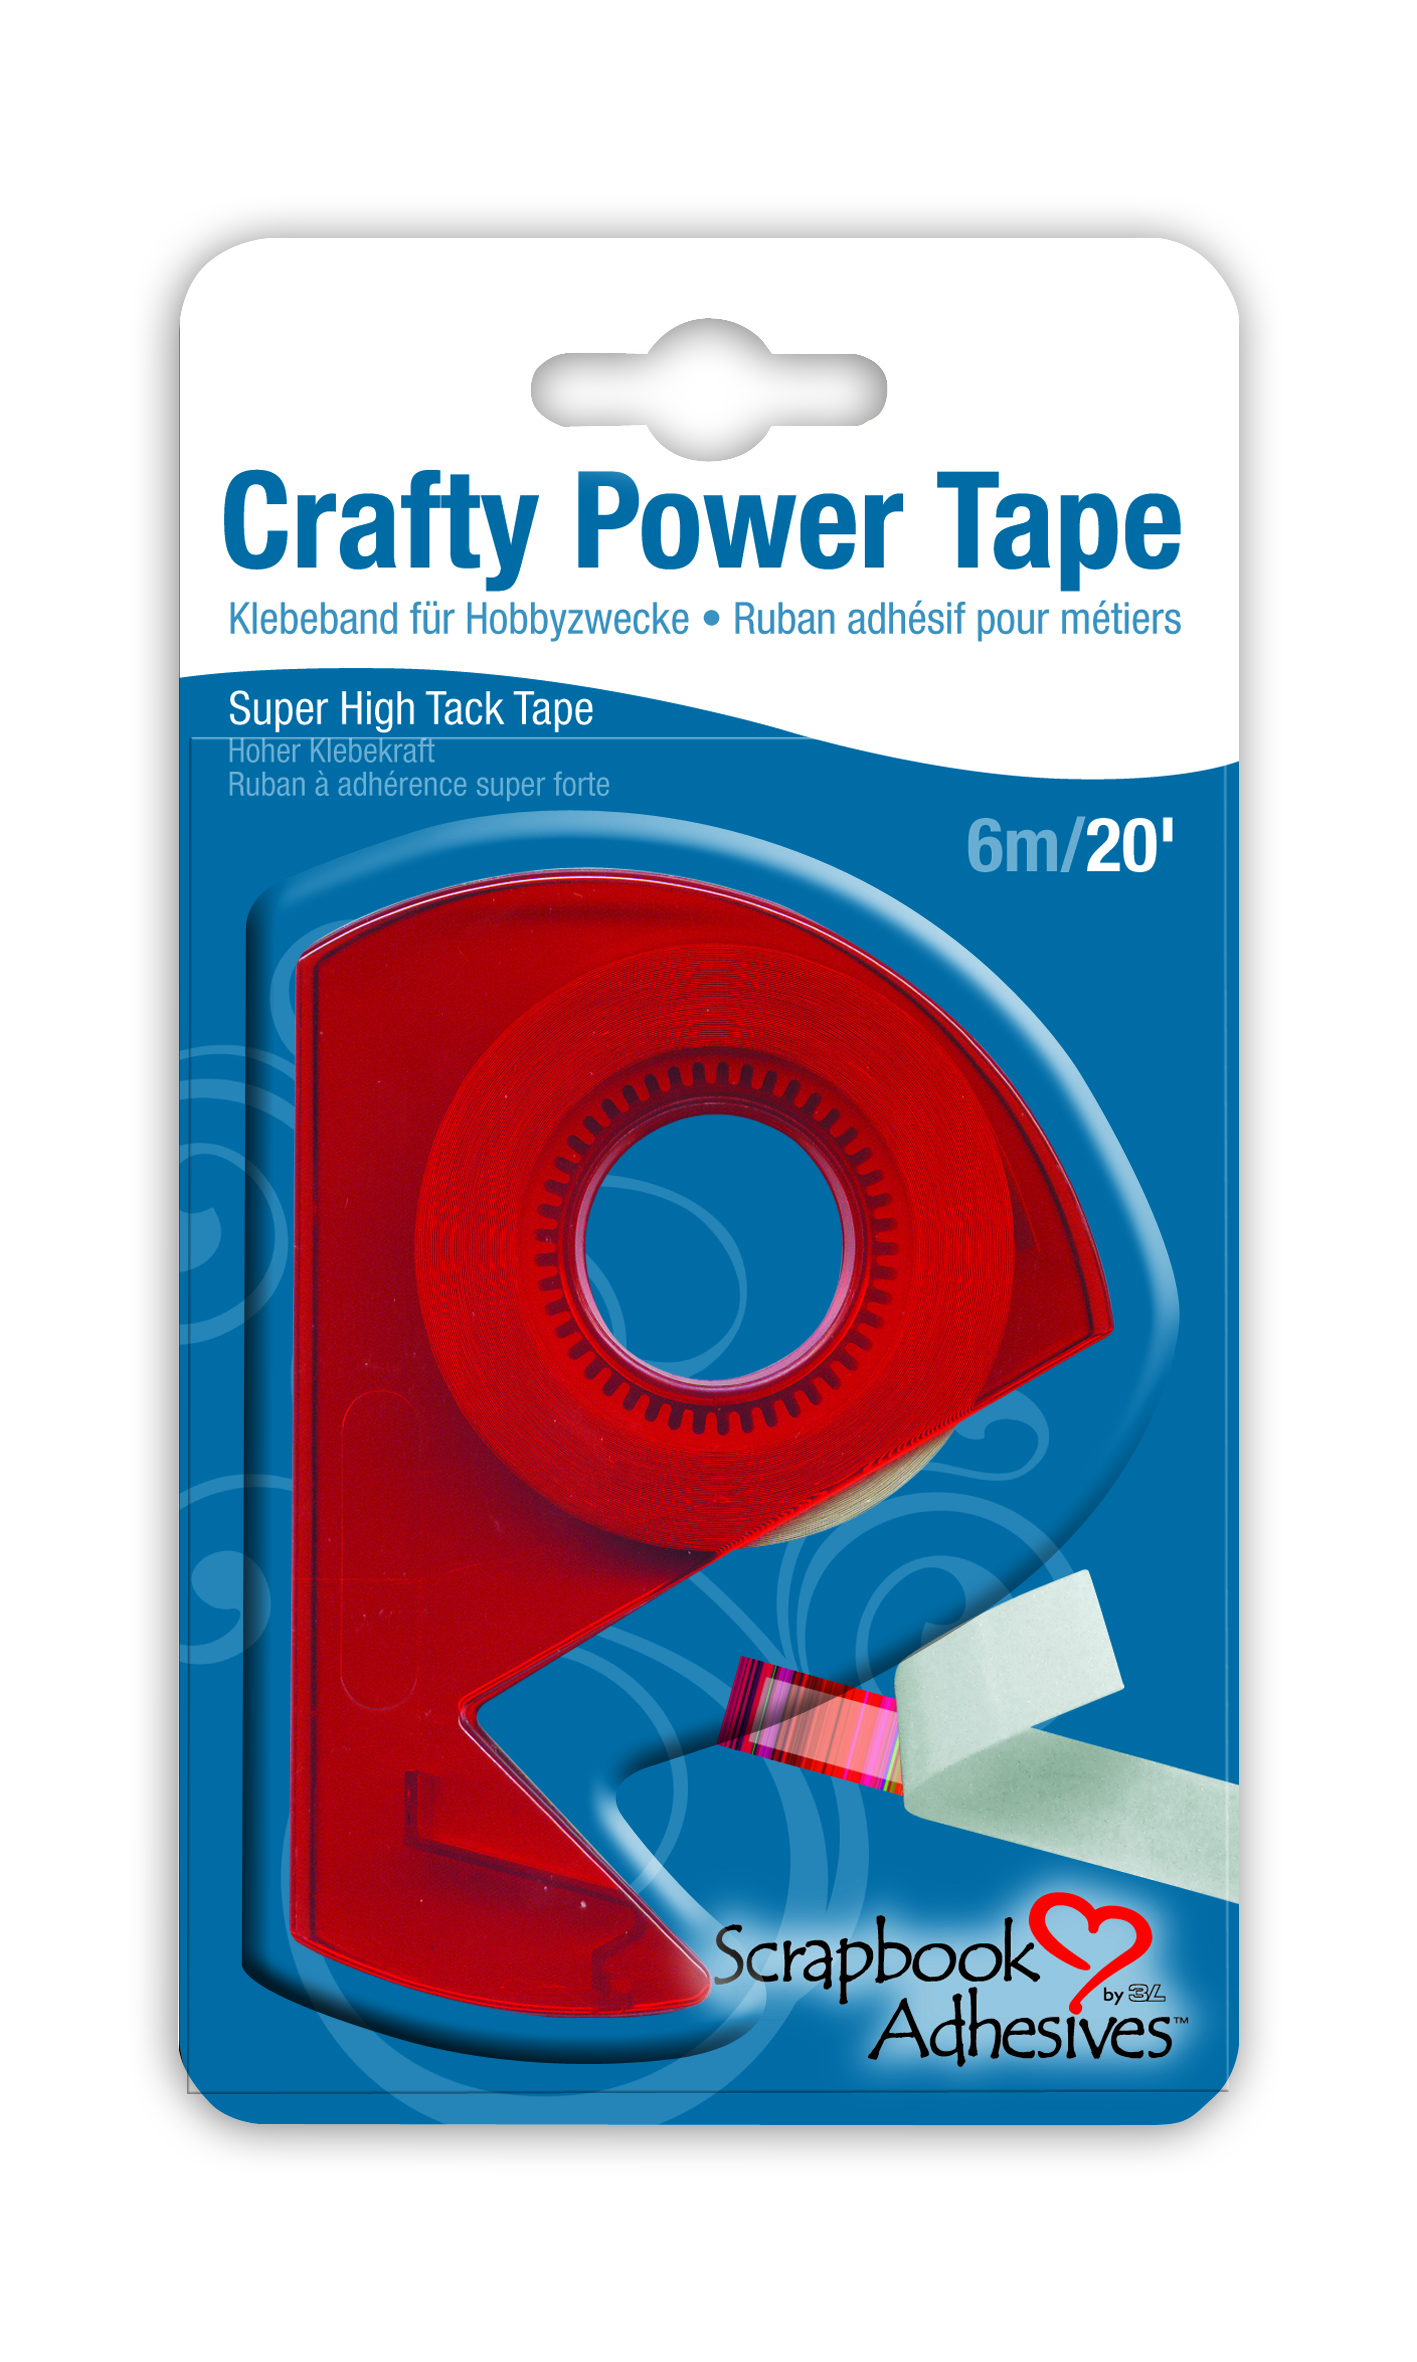
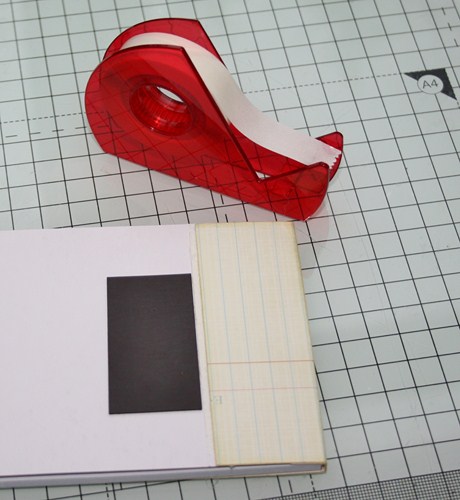
Flipping the notepad over, firmly stick the flap using Crafty Power Tape, I’ve also used some to attach a magnet. This will hold it very firmly.
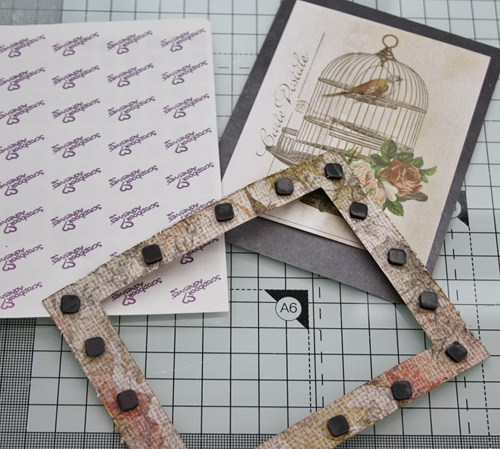
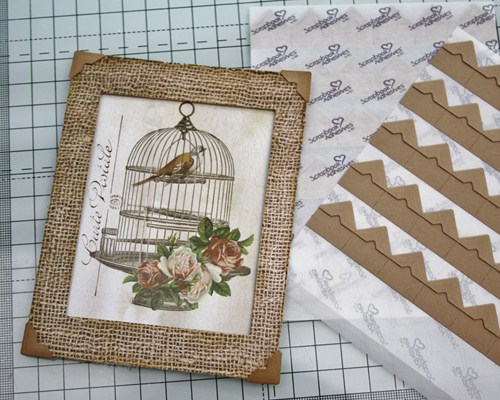
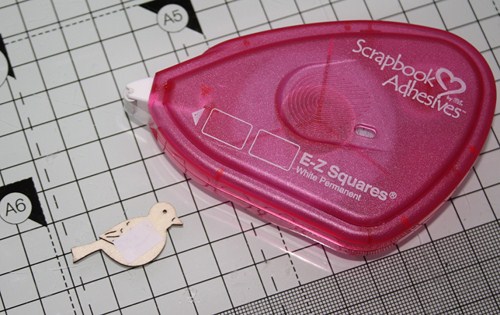
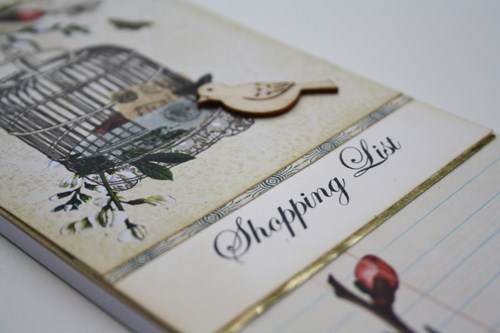
I’ve decorated the front cover with more Webster’s Pages – Everyday Poetry and, as a cute final touch, added a small wooden bird. Using E-Z Squares® Permanent there is no chance of it flying away!
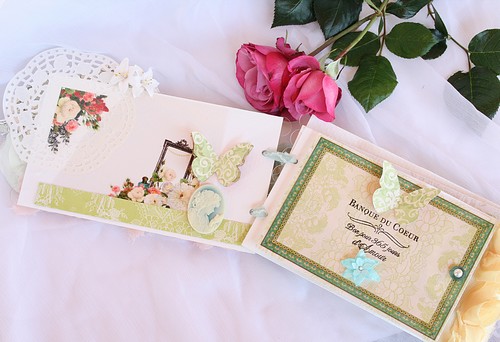
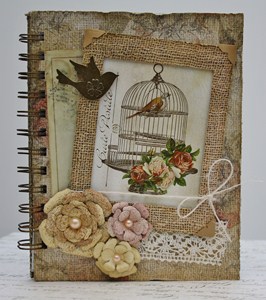
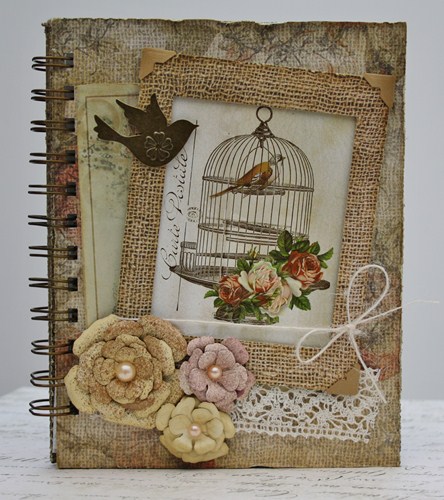
And here is the finished item, I think it will make shopping much prettier!
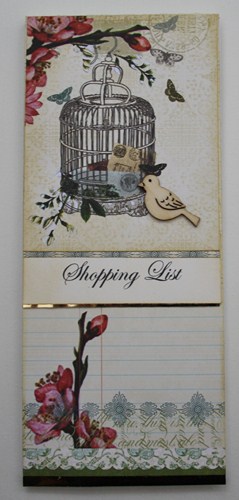
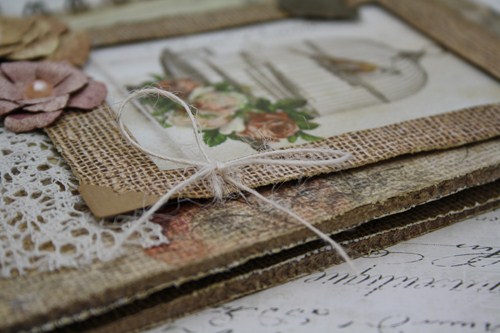
A close up too.
Happy crafting and just before I go here is a list of the products I have used: