Thanks for joining me today. I posted a blog post during our fun Fancy Pants blog hop, and I guess photobucket just decided not to let me share some of my images. So I am going to redo it today with lot’s of photos. fingers crossed.a couple images repeat, but I think you will be glad you stayed for the ride. 🙂
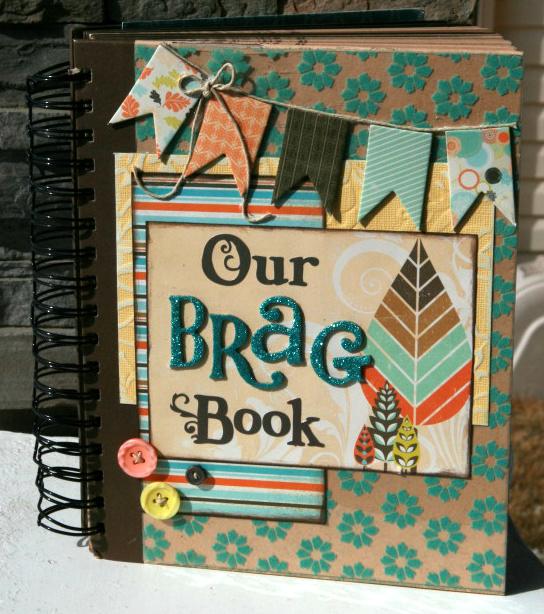
When I was creating this brag book I focused on sharing how versatile the Adhesive Sheets were. (My preference being the 12×12 size). There is no adhesive out there that compares to how flawless they adhere things and as well to being completely hidden. I use them for EVERY single transparency, vellum and photos.
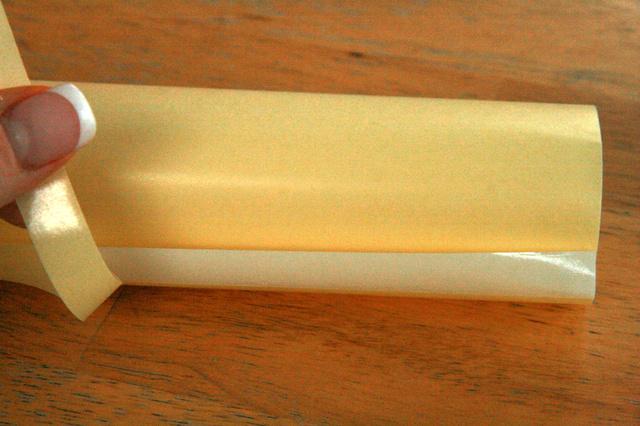
 Let’s begin with how to adhere the Adhesive Sheets to the transparency. At one end of the sheet is a little 1/2″ strip that peels off. I peel that off and then line up on the pp as best as I can. This is going to determine how well you cover the page.
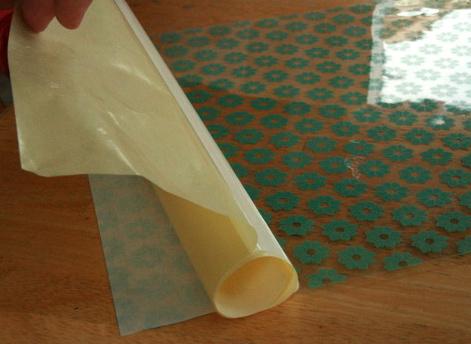
 When adhering it, make sure you slowly unroll the adhesive, rubbing the whole way to try and avoid air bubbles.
 Once you are done, rub it all over to make sure the adhesive has adhered. You can see, I do have a few wrinkles along the bottom, just make sure you give a little extra rub.
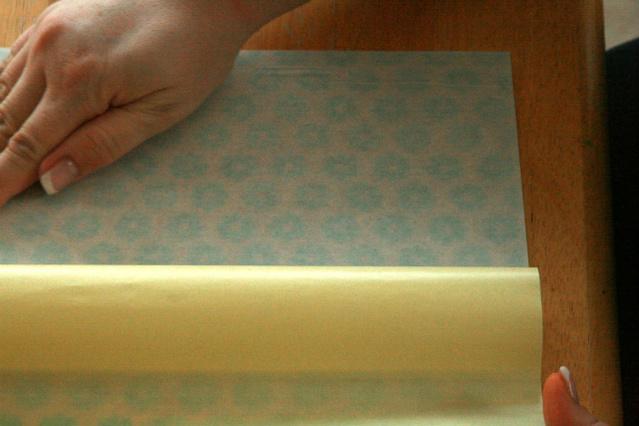
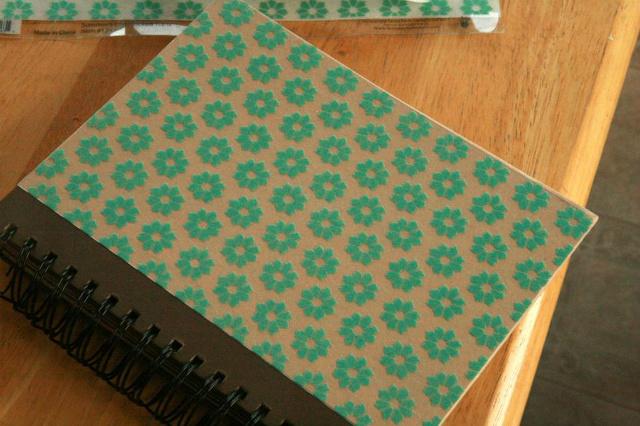
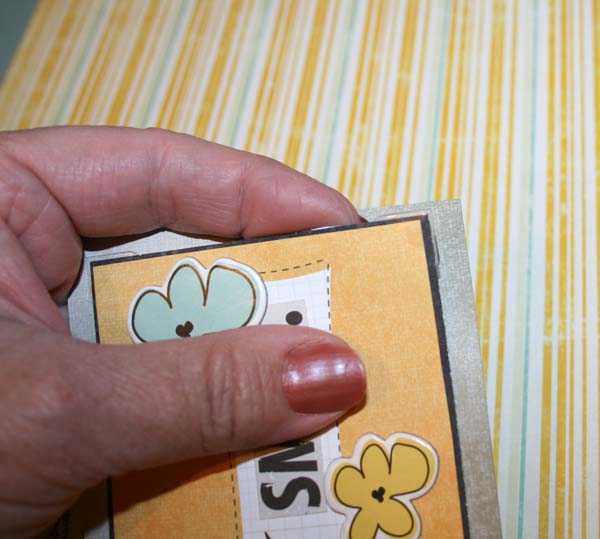
Now let’s adhere it to the Kraft book. Yes! You can adhere it to coloured paper and still have the flawless coverage as you would if you put it on white.
 When I cover transparencies, I ALWAYS cover the entire 12x 12 even though I know I might not need it. In this case I only needed 2/3 of the transparency, but it is super easy just to get it done at the same time. Now I have extra ready to go to decorate in the album.
Taking some of that extra,
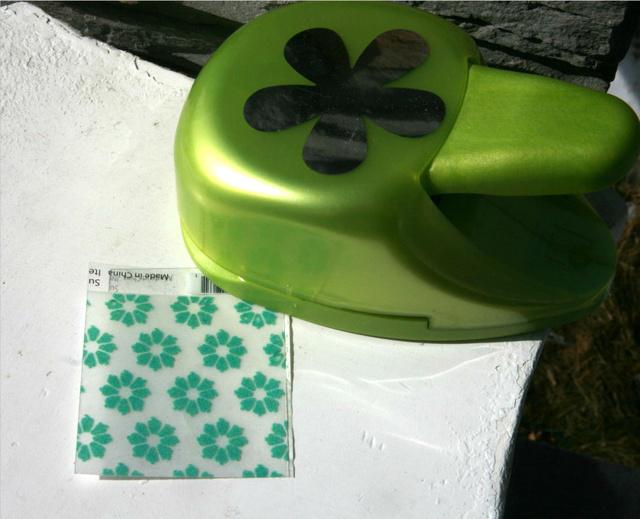
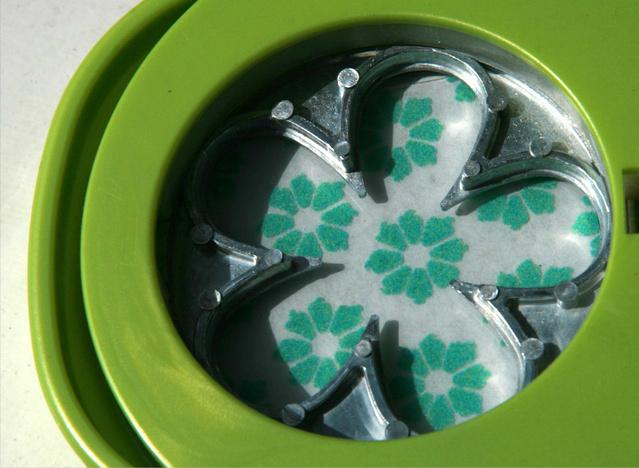
I took my EK Success flower punch and punched some flowers. Don’t be rough as the transparencies could get stuck in the punch, just be firm.
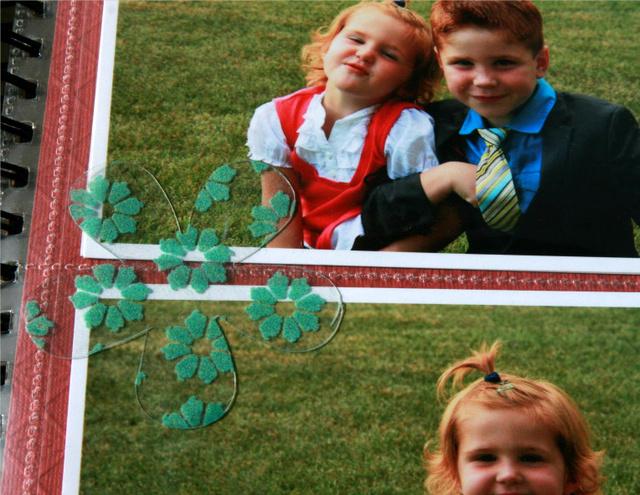
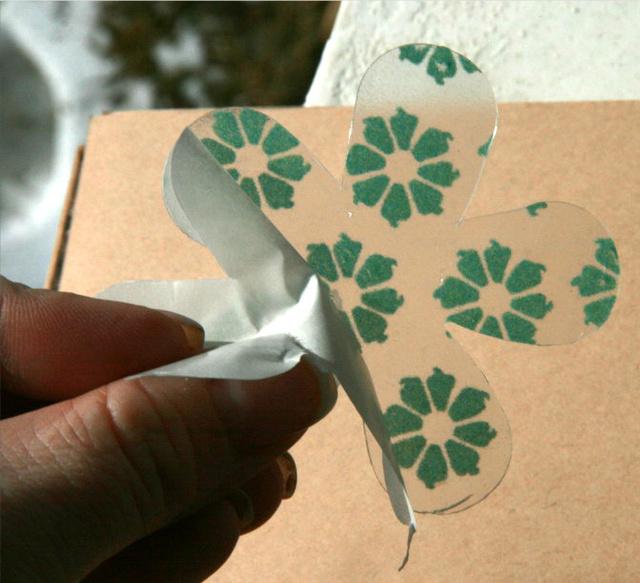 Now see, you can’t see it at all on the photo page protectors. It makes it so easy to jazz up an ordinary photo holder album.
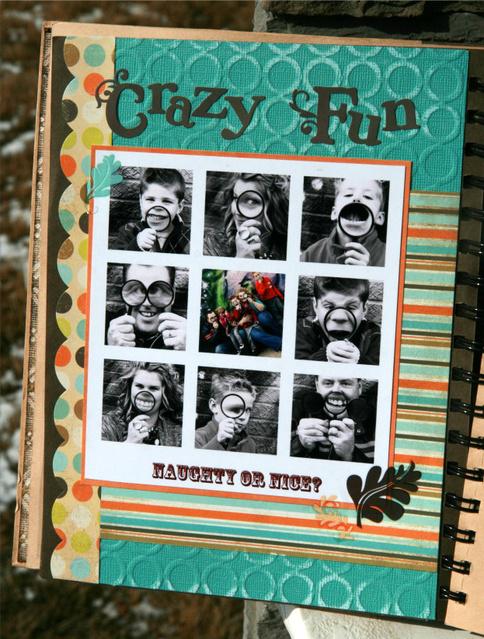
 Now I want to show you a few more pages of this album. It’s a work in progress, my plan is to add photos from birth to ? (whenever it fills) featuring some of our faves over the years.
For the following page, I just needed to use my MyStik Permanent adhesive as it was just paper on paper application. Quick & Easy. You will notice that all the cardstock I’m using is Core’dinations. If the embossed pattern is large, I switch and use my Crafty Power Tape as it is a little more flexible to get in the grooves with a stronger hold as well.
 This was fun decorating the pockets.
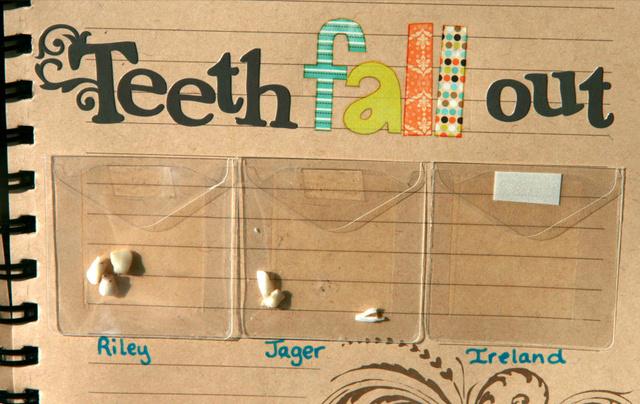
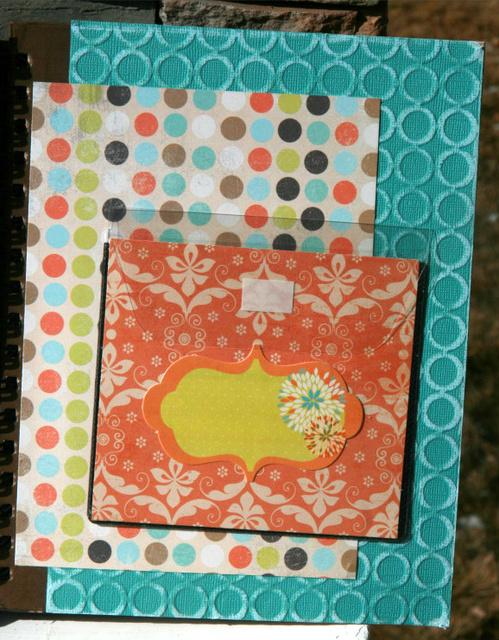
This page was created to some of the kids teeth. The different sizes of the Keepsake Envelopes is so AWESOME!!!! Perfect for small items like this.
 I also know I want to put my favourite images on a disk so that we never lose them, so I made the inside back cover special and decorated it. That is my favourite thing about our CD holders, is that they have extra room to customize them.
 Thanks for sticking around for this long post. I had so much fun making it and I hope you walk away feeling comfortable to try the little “Extras” that Scrapbook Adhesives by 3L makes. I find that is one thing they rock at, making adhesives perfect for all the different tasks.
Leica Forrest
Save
Save

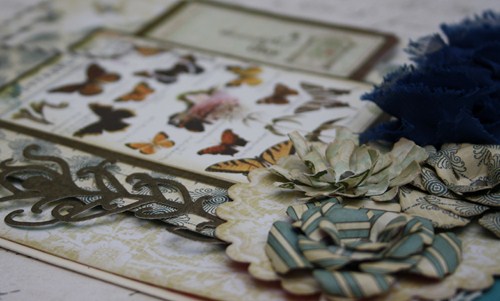
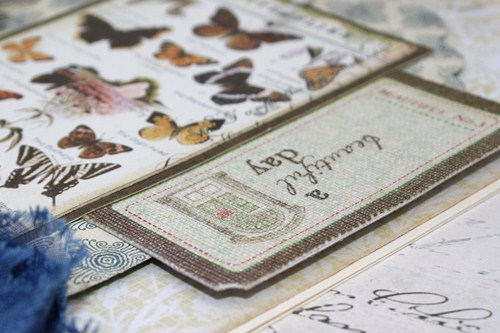
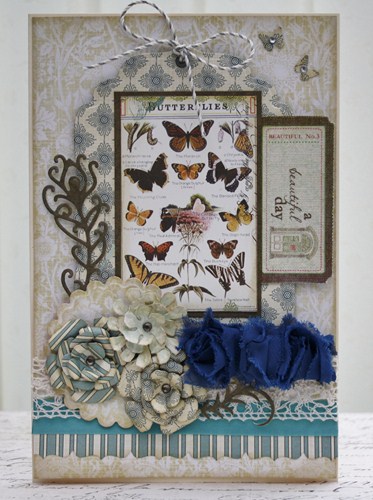
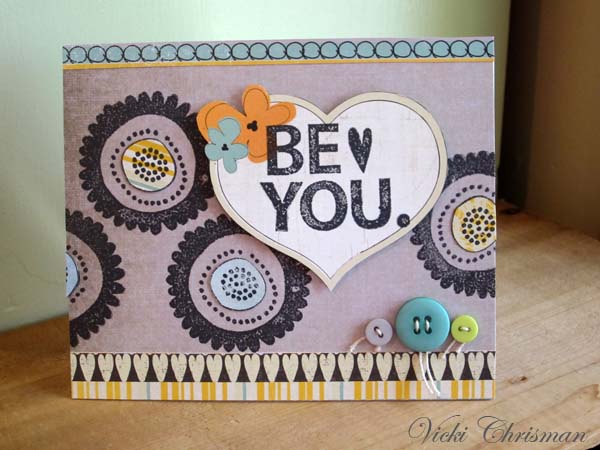
 I used the gorgeous papers and products from Webster’s Pages – Everyday Poetry collection. I created a card that is, to my mind, a little like a mini scrapbook layout – I kept adding more and more!
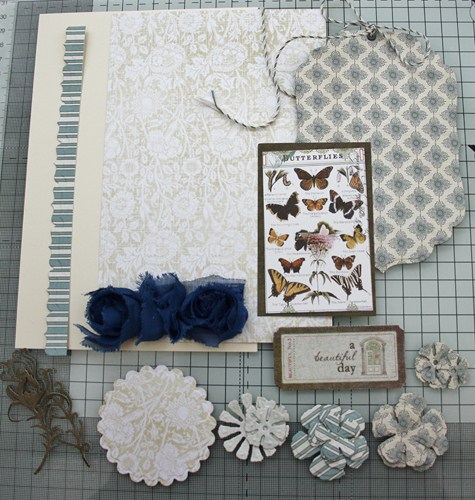
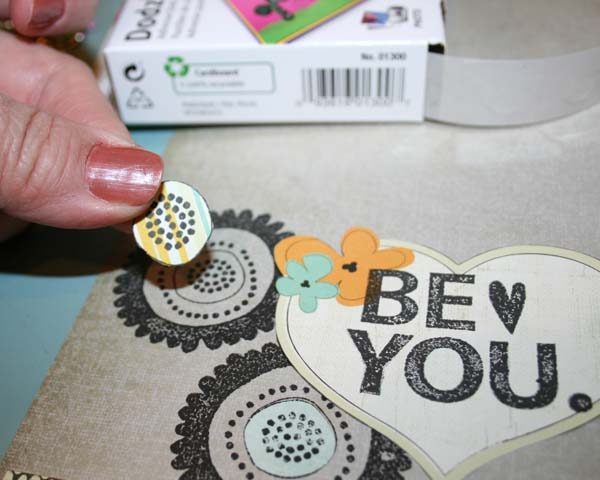
 For my central tag I wanted to add dimension so I went straight to my 3D Foam Squares, I keep a supply of these permanently on my craft desk as they are so easy to use and I can be guaranteed of their permanence. Crafty Power Tape is perfect for the final assembly of my card onto plain cream card stock.
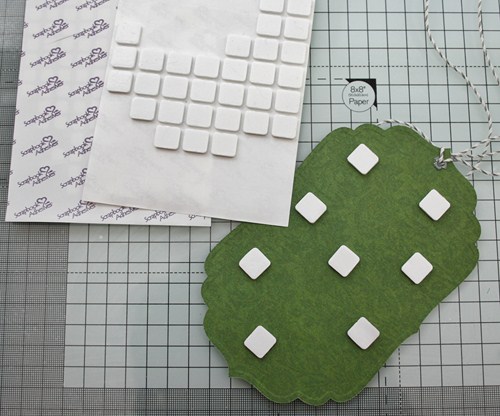
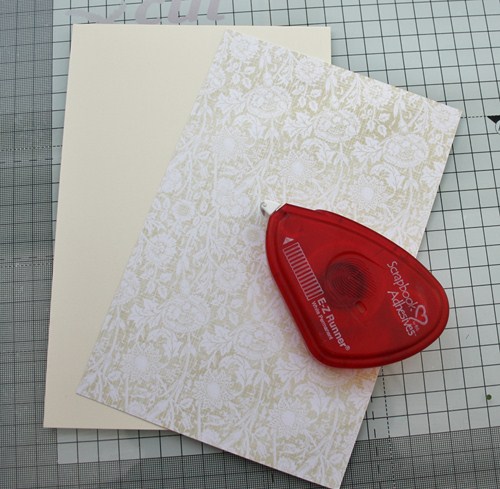
 Place your die template of choice cutting side up on your base plate. Make sure to lay your folded card stock on top of the die, folded part of the card inside the cutting edge as shown. This will create your shaped card base.
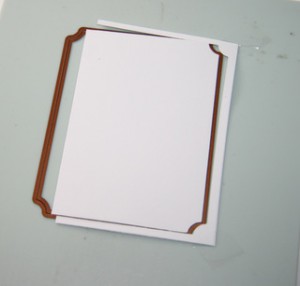 This should be the what you have after cutting.
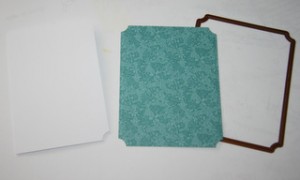 Die cut and emboss your card front from patterned paper and the same die. Die cut a piece of white cardstock with a slightly smaller die, set aside.
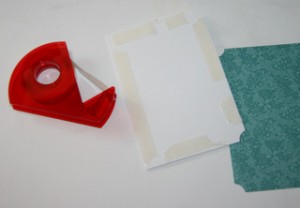 Place strips of
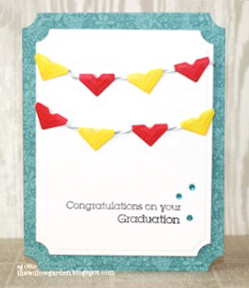
 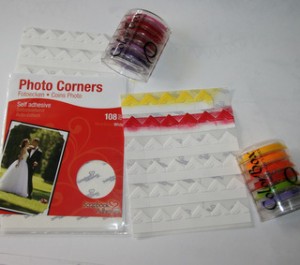 Pick your ink colors for the banners, and ink the
 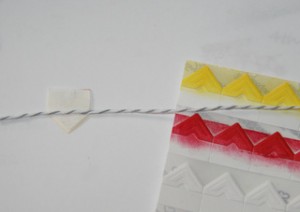 Take one
 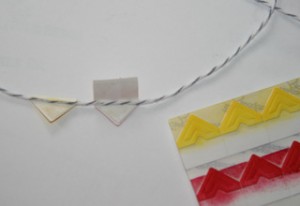 After trimming the square down, fold the what’s left of the flap over the string. Since the Creative Photo Corners are self-adhesive, it will hold itself to the twine. Repeat as needed with alternating colors.
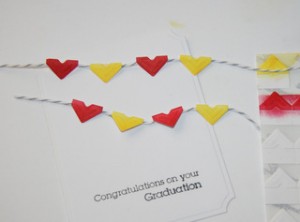 Now you have self adhering banners. Place them on your stamped layer, and secure the twine to with Crafty Power Tape on the backside of the cardstock.
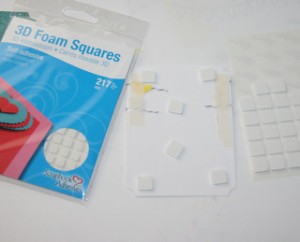 Attach

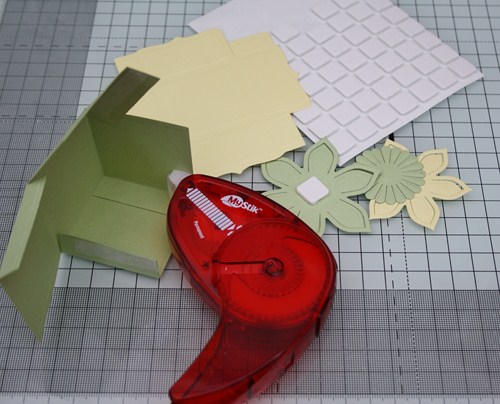
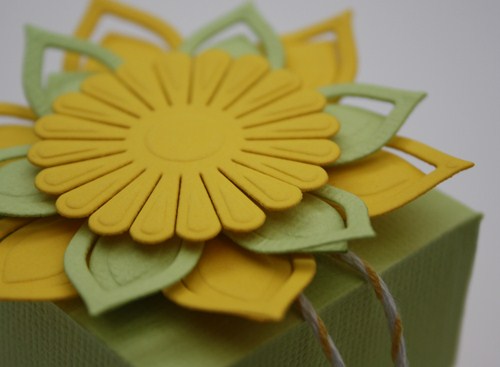
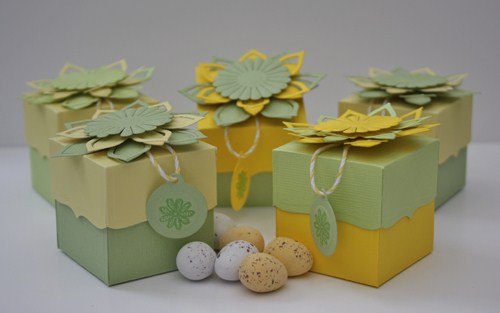


 Purse Card Tutorial

 A
A