Hi it’s Beth! Today’s card says Love You, but you can make the design for just about any occasion. Just change up the stamped sentiment and colors! Let me show you some of the details.
 First I have layers of Blue, Black and Red papers mounted with an E-Z Runner® onto the white card base. I used Classic Black Photo Corners on the red paper and Classic White Photo Corners on the black paper, I love the design they make when stacked.
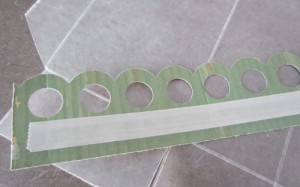
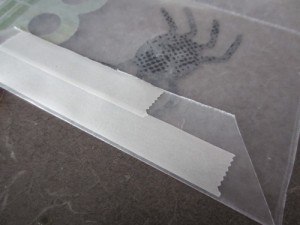
 Next I applied a row of Click ‘n Stick™ White Mounting Squares across the card and added black glitter (Just like Kristen did on the Happy Thanksgiving blog post). After giving it a good massage I shook off the excess for a nice clean line of sparkle. Above that I adhered a strip of textured ribbon.
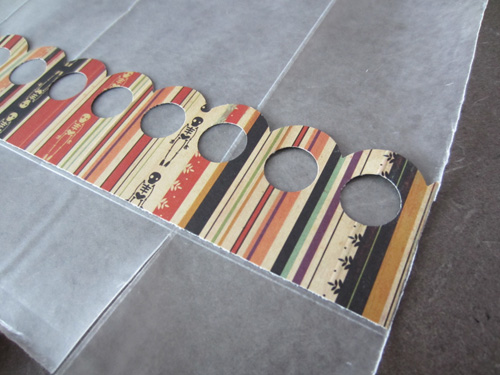
 Crafty Power Tape holds the ribbon firmly. Just above I added a die cut with a stamped sentiment, lifted off the red paper with 3D Foam Squares. I used the same blue paper as the background, and I used black ink to unify the color scheme.
Change up the colors for the seasons or events and for a fast and fun card!
Supplies:
- SCRAPBOOK ADHESIVES BY 3L: Essential Adhesive Kit (includes all the adhesives I used on this card!)
- WorldWin Papers: Cardstock
- Spellbinders: S4-346 Labels Twenty-Two
- Waltzingmouse Stamps: Seasons of Love – Tags
- Quick Quotes: Cherry Truffle paper
- Sparkle N Sprinkle: Black Glitter
- Clearsnap: Colorbox Black Pigment ink
- White Ribbon: unknown
Thank you for stopping by!
Visit our Website and Blog!
Sign up for our Newsletter so you never miss a contest or giveaway!


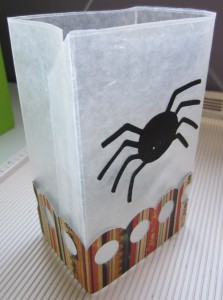
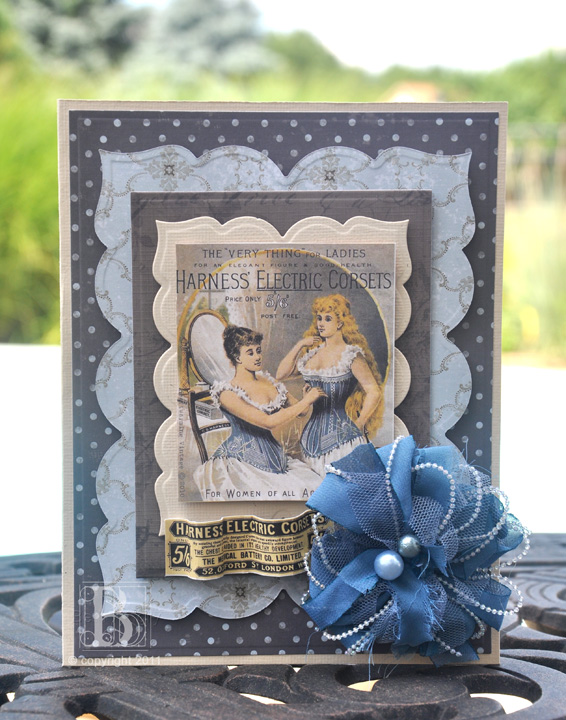
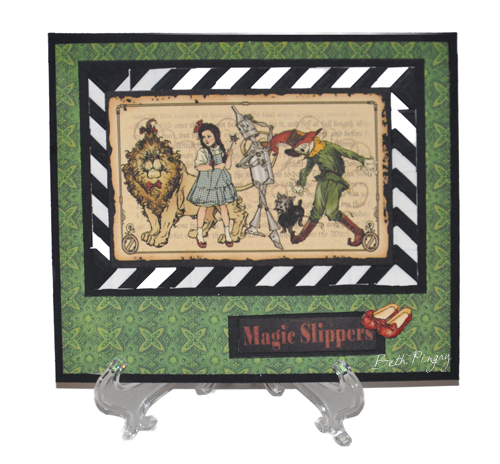
 I die cut the focal point image, then stacked it onto layers of die cuts, with black cardstock and then coordinating Steampunk Debutante papers. Each layer is adhered with Crafty Foam Tape. The Crafty Foam Tape adds dimension, and allows me to cut the tape to the exact size I need.


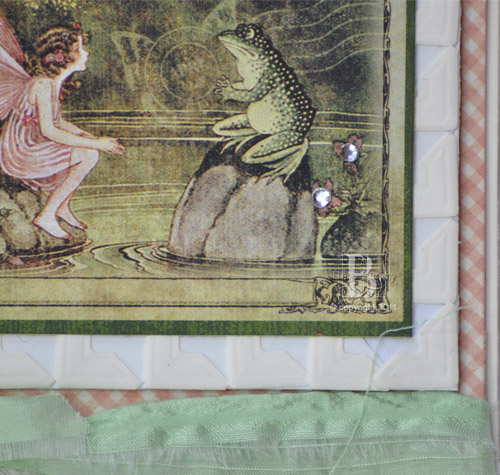
 I love (sigh) the Curtain Call papers (and well, all of the papers) from Graphic 45. The patterns lend themselves to so many different projects, with a nice mix of patterns and images in many sizes.
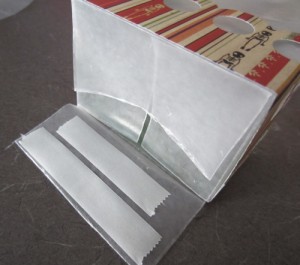
 Most significantly, the Photo Corners align at the center when the card closes.
 The Photo Corners were positioned so that the adhesive ‘back’ sides were facing up, and the ‘tab’ part is adhered to the inside flap, then covered with the patterned paper.


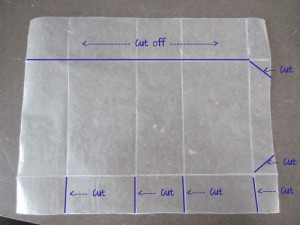
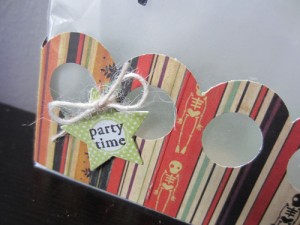
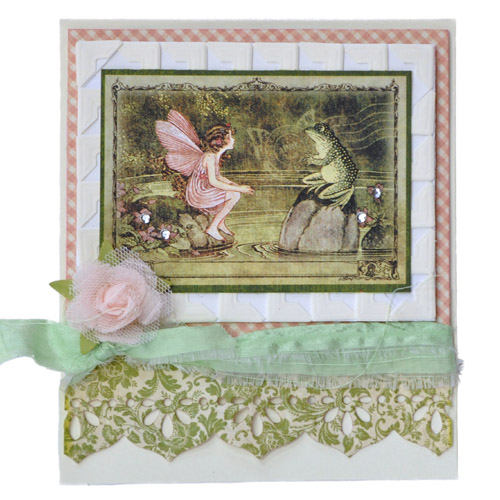 I cut out the image from the patterned paper pack and then cut out a mat about ½-inch wider and longer than the frame.