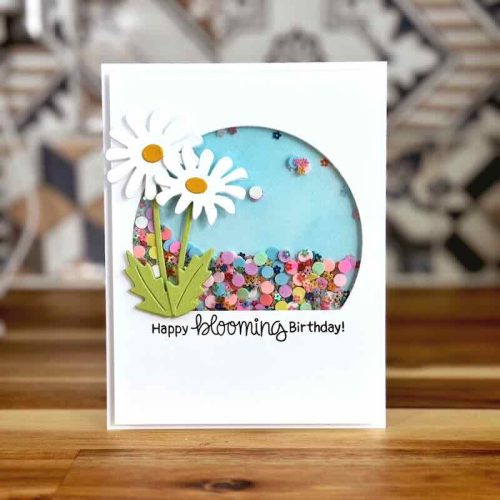
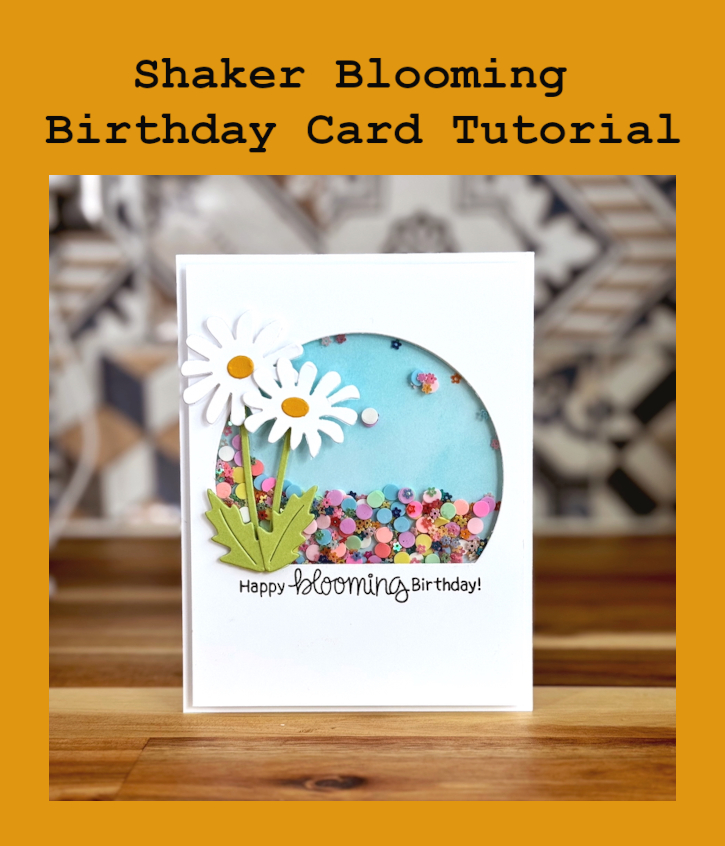
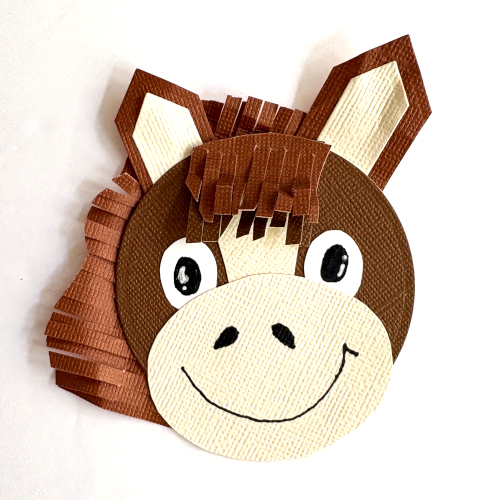
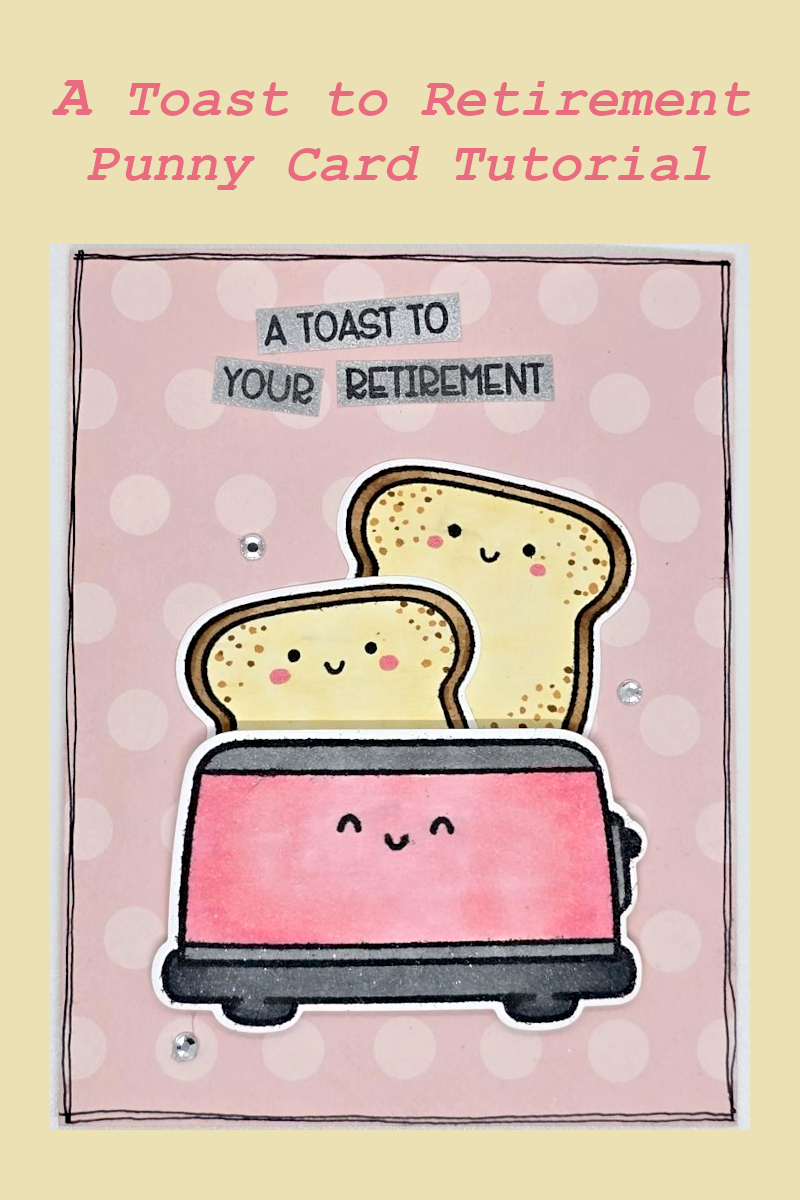
Hello crafty friends! It’s Kristin with my very first project for the Scrapbook Adhesives by 3L Design Team. I am so excited to be part of this amazing team! This month, I have a friend that is retiring and was inspired to make this simple, but oh so adorable A Toast to Retirement Card.

Toast to Retirement Card Base & Stamp Details
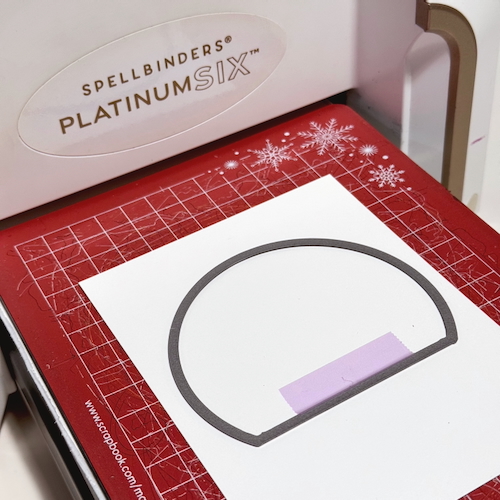
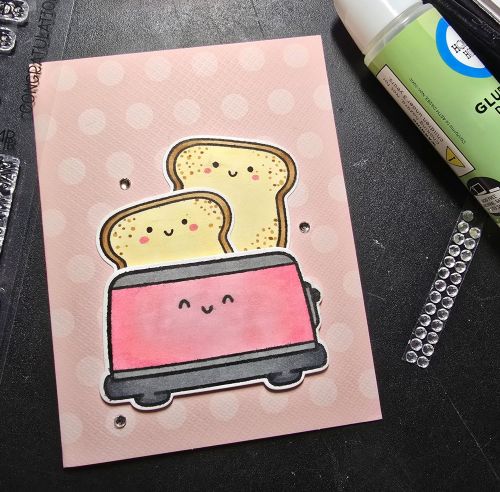
For the card base, I used a 4.5” x 6.25” pink polka dot card base from a kit. It went so perfectly with the vibe I was going for. Used a stamp positioner to stamp all my images and sentiment with the black ink on white cardstock. Then die-cut the shapes with its matching craft dies.
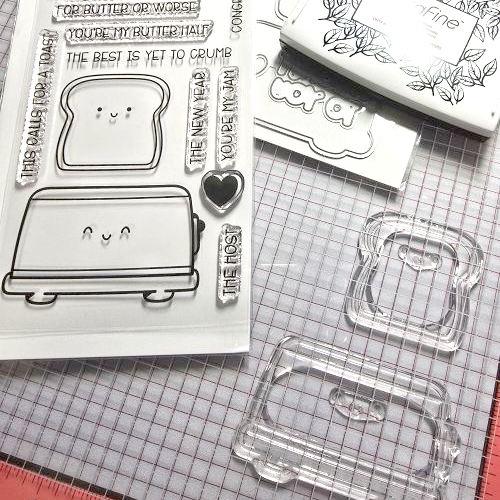
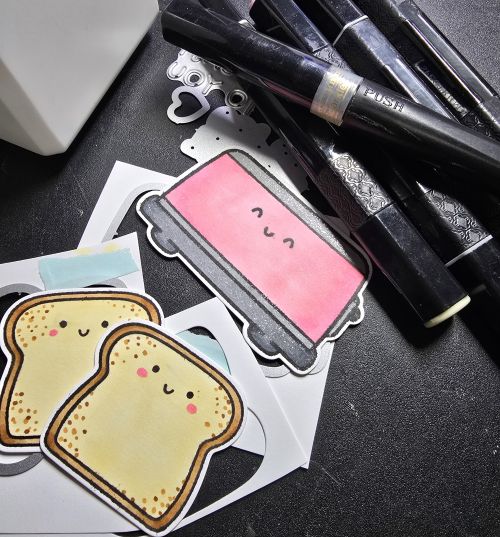
To color the stamped images, I used Spectrum Noir alcohol markers and for the toast, some Spectrum Noir Crystal Clear Sparkle was added to give it a “metal” or “polished” look to it.
Toast to Retirement Sentiment
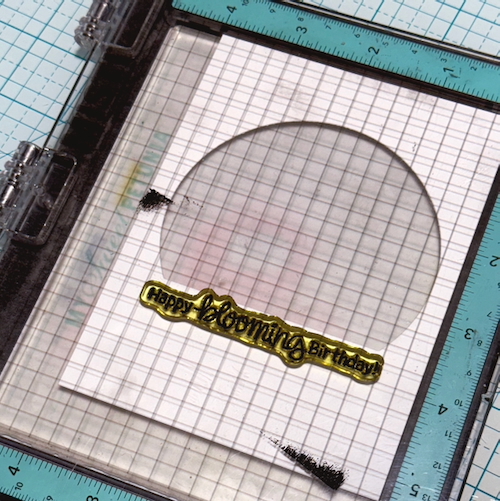
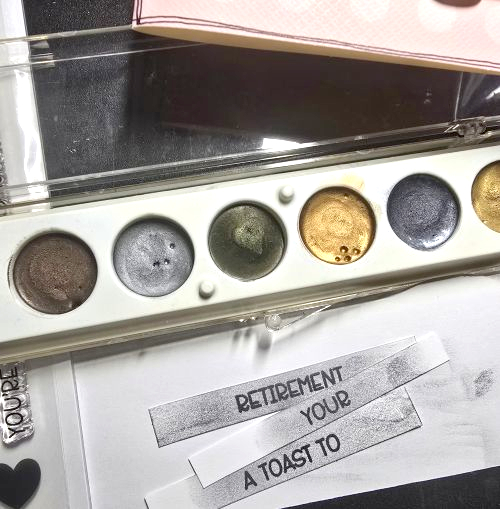
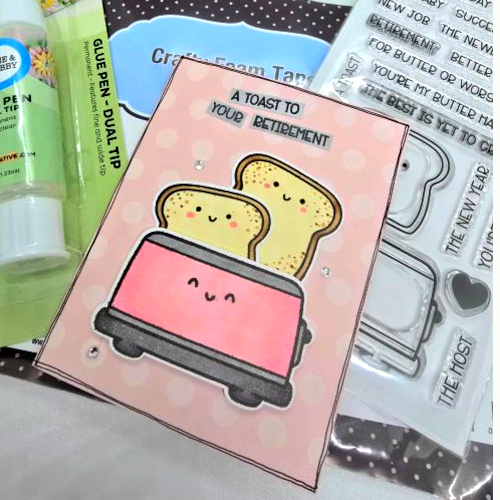
Stamp the greeting with black ink on white cardstock and trim down to a strip. However, it was stark white and didn’t quite match the look of the card. So, back to my stash and found my metallic rub-on paints to alter the cardstock color. After testing on a scrap piece, I covered my sentiment strip and it was perfect!
Assemble the Card
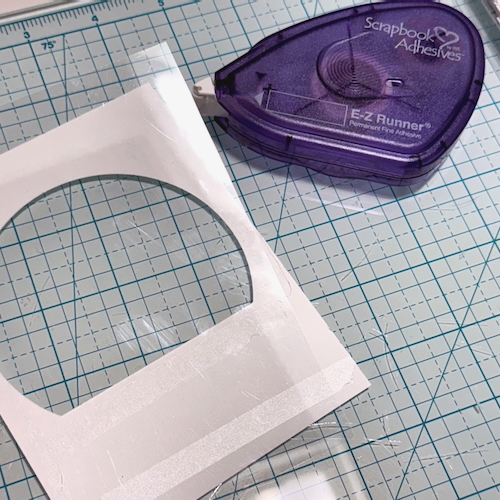
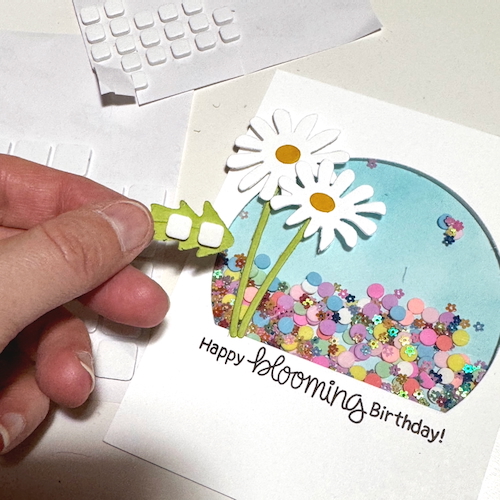
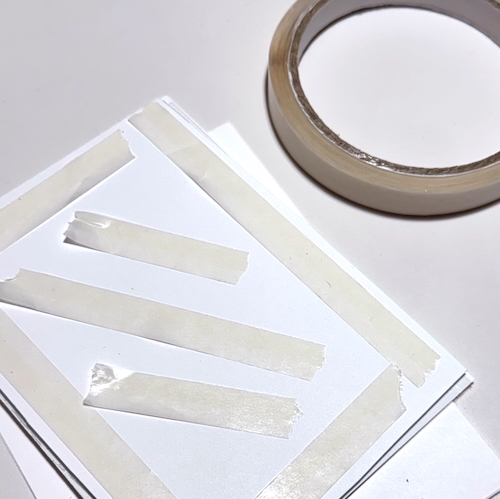
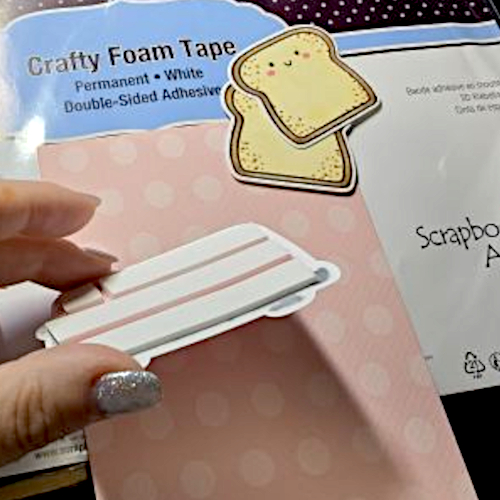
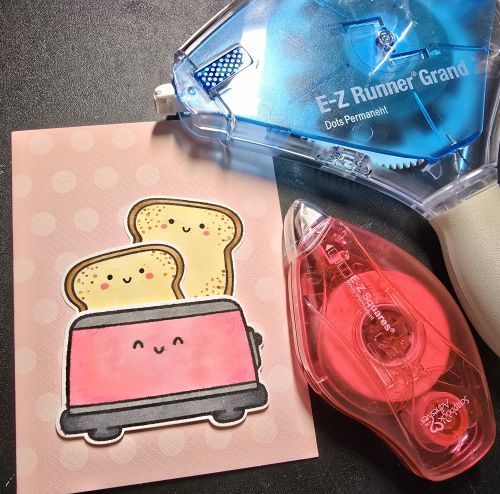
The toaster was popped up with the Crafty Foam Tape White 54ft and I used the E-Z Runner® Grand Permanent Dots Refillable Dispenser to tuck the toast pieces behind the toaster. For the sentiment strips, I adhered them with the E-Z Squares® Refillable Dispenser above the stamped image ensemble.
Finishing Touches
Randomly place a teeny tiny amount of glue from Dual Tip Glue Pen on three spots on the card and added the rhinestones. To anchor the card, a border was added around the card by using my Sharpie Ultra Fine Point Marker. What do you think?
I hope you’ve enjoyed this Toast to Retirement Card tutorial and that it inspires you to find things in your stash of supplies to use again. Happy New Year and thank you for visiting!
Kristin Rizzo
Creative Time: 45 mins
Skill Level: Intermediate
Materials Needed:
Scrapbook Adhesives by 3L®
E-Z Runner® Grand Permanent Dots Refillable Dispenser, Crafty Foam Tape White 54ft. and E-Z Squares® Refillable Dispenser
HomeHobby™ by 3L
Other: Craft Dies & Stamp: Trinity Stamps (This Calls for a Toast Stamp & Die Set); Ink: Tsukineko (Versafine in Onyx Black); Paint: Craft-T Products Inc. (Metallic Rub-Ons: Earth Tones Kit #2); Markers: Sharpie (Ultra Fine Point), Spectrum Noir (Crystal Clear Sparkle Marker & Alcohol Markers); Stamp Positioner: My Sweet Petunia (MISTI); Pink Polka Dot Card Base; Clear Rhinestones
Click Preferred Retailers List
Save to Pinterest!
Visit our Website and Blog!
Sign up for our Newsletter so you never miss a contest or giveaway!