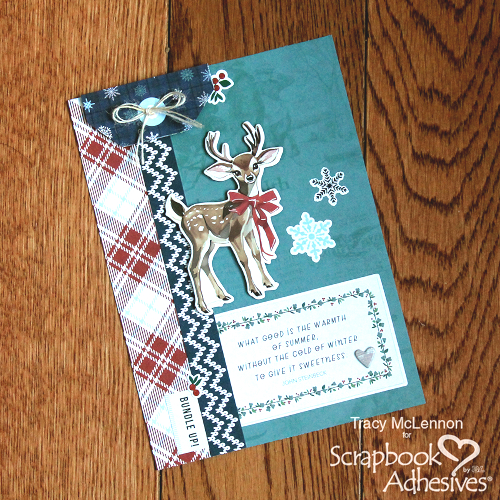
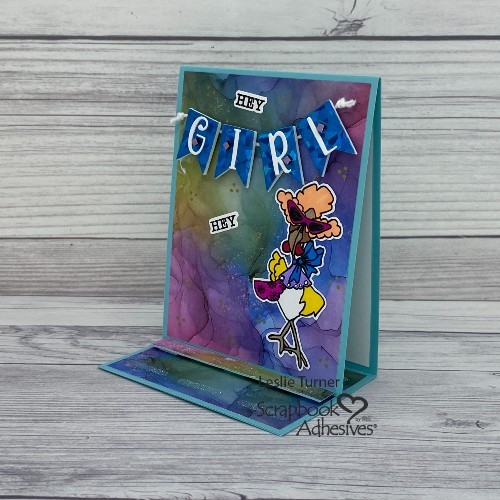
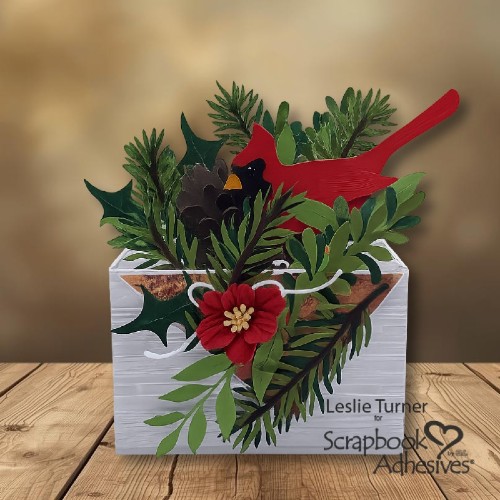
Hi friends, happy Friday! I hope you’re having a great week and seeing some pretty Spring weather! Do you struggle with sympathy cards? Admittedly, they don’t come easy for me. Leslie here, sharing a sympathy card… one that’s a little different from the ordinary. I used an SVG cut file and transformed it from a winter-themed card into a sympathy box card. Of course, I used a few of my absolute favorite adhesives to put it together. Box cards are a great option because the recipient can display them as long as they’d like.
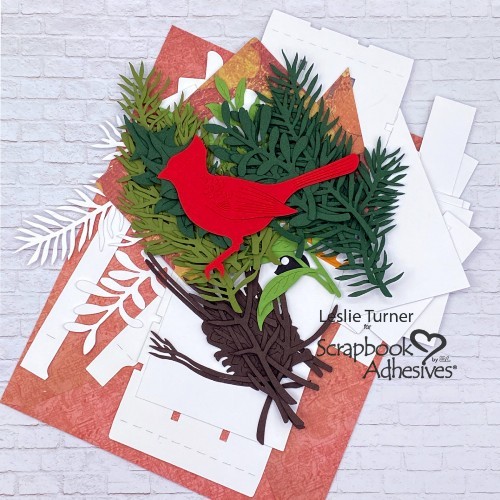
Cut the Pieces
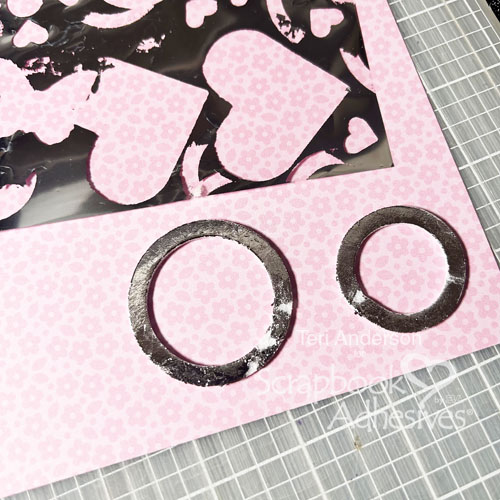
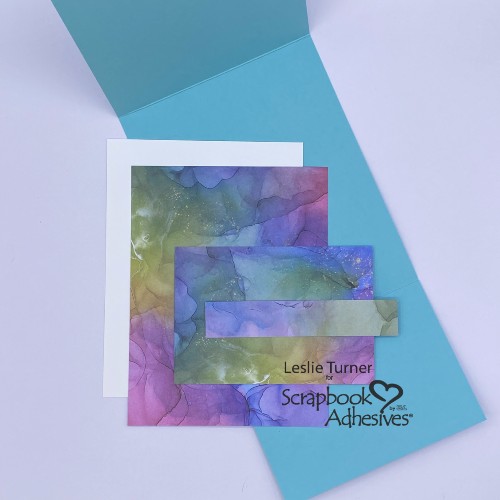
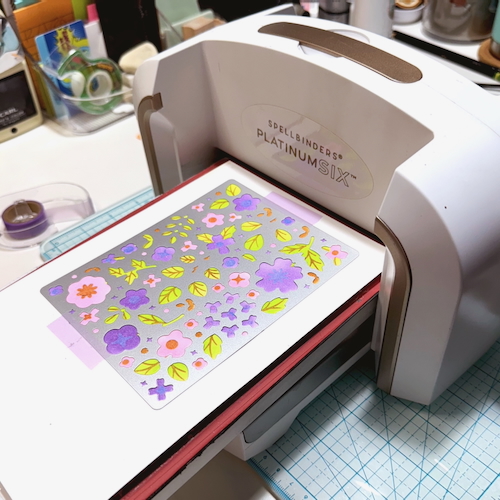
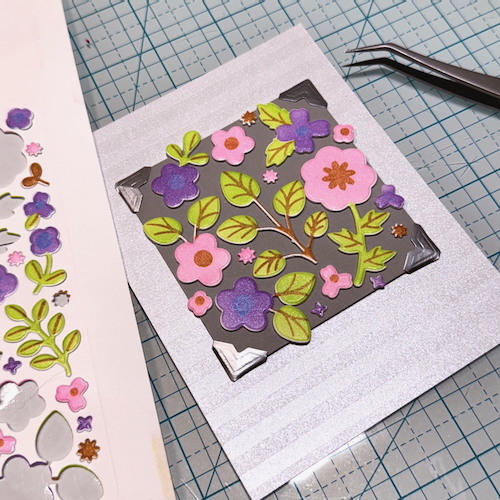
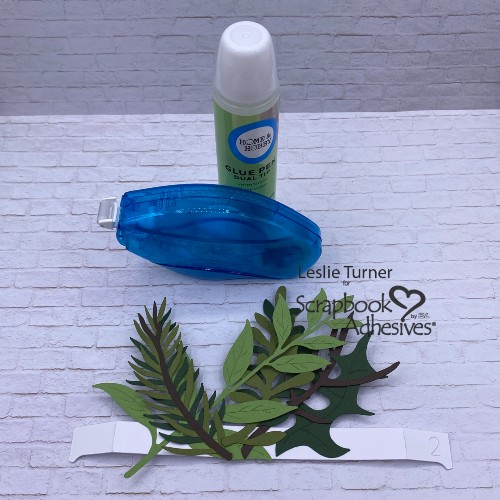
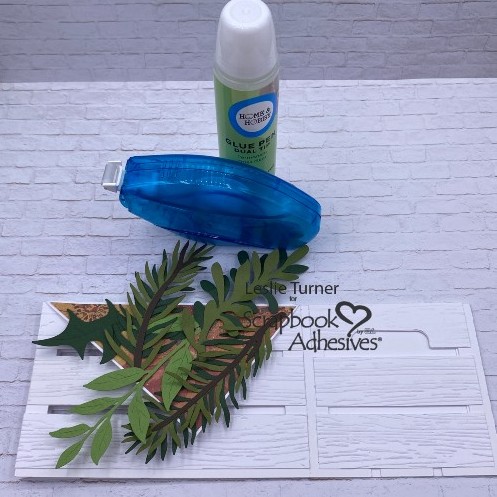
Using my Cricut Explore Air 2 and an SVG cut file in my stash, I cut all the pieces for the sympathy box card. As noted above, this card was designed to be more of a wintery card with berries and such. To transform it into a sympathy card, I omitted some of the greenery and cut extra pieces of others. So it will be a ‘fluffy’ card!
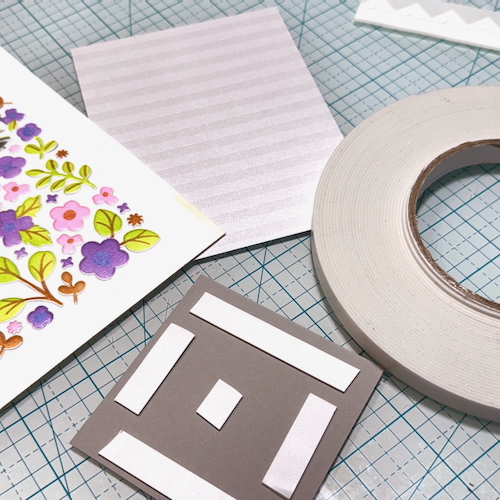
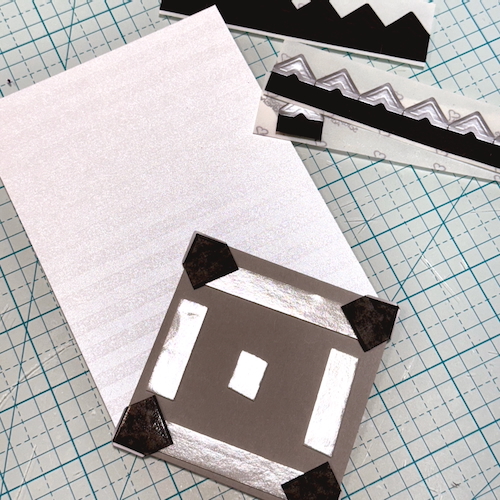
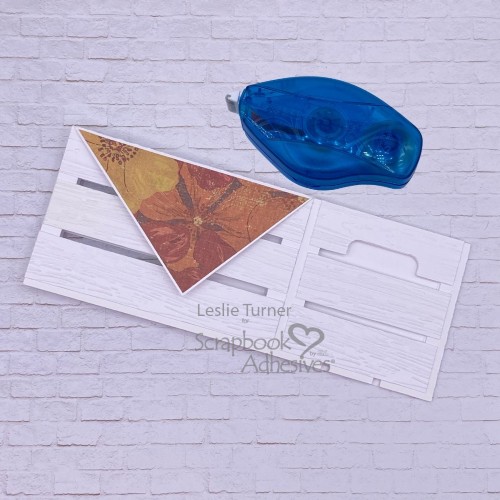
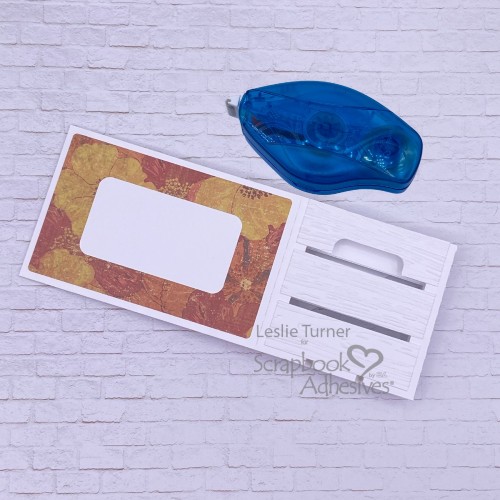
Assemble the Crate Base
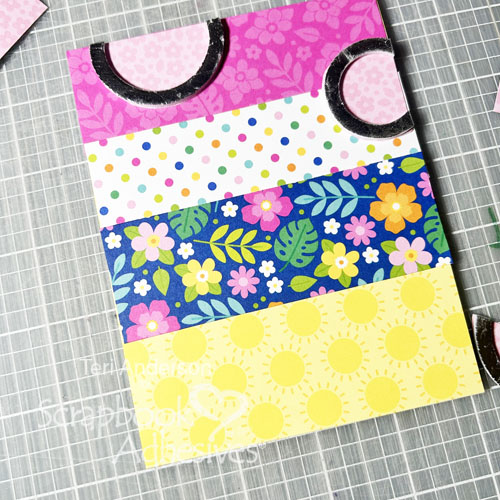
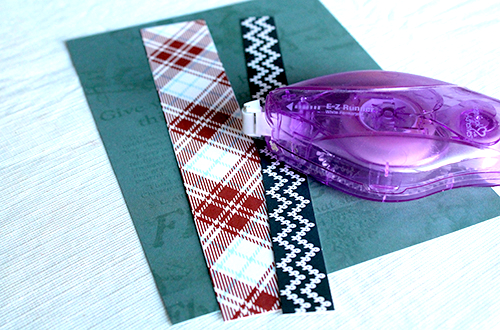
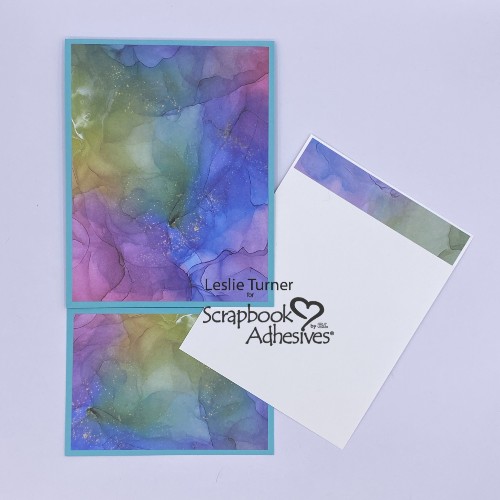
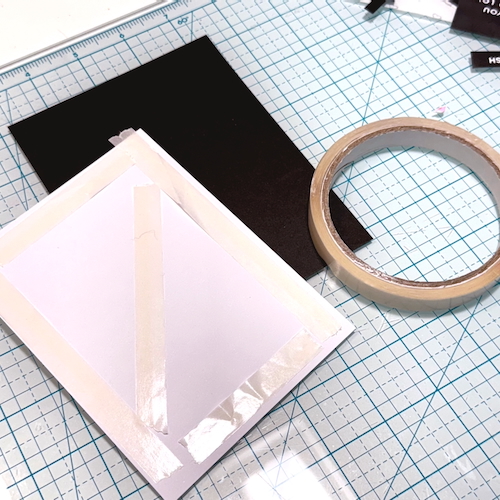
For texture, I ran the rectangular layers through my die cutting machine with a wood grain embossing folder. These were adhered with E-Z Dots® Permanent Refillable Dispenser, along with the patterned paper layers.
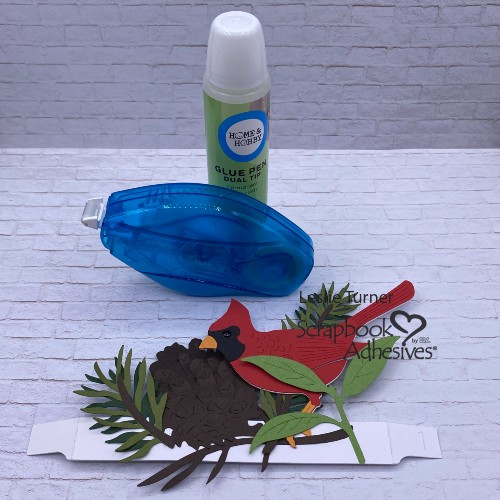
Adhere the Cardinal & Greenery
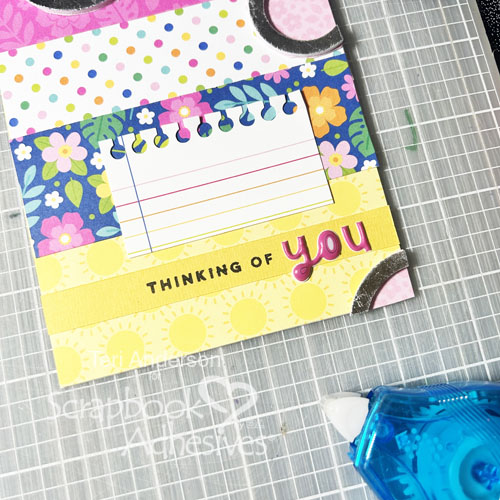
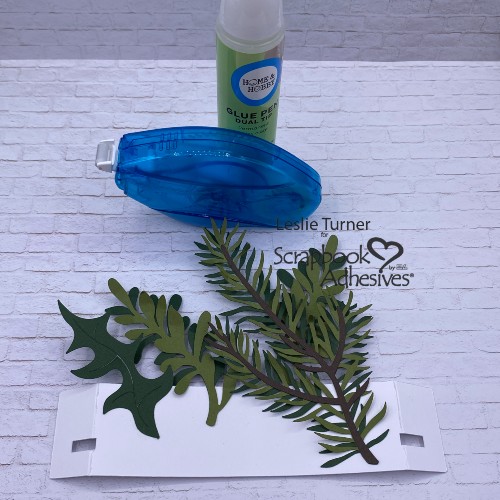
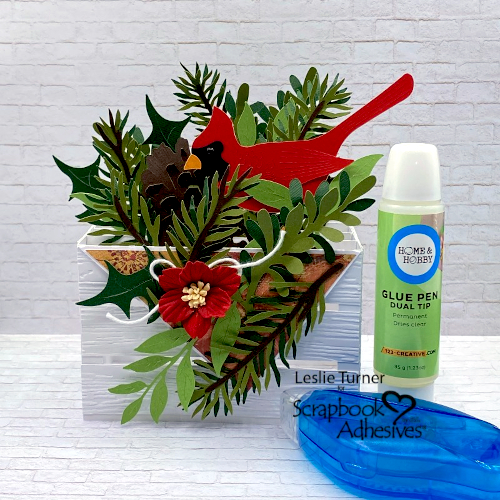
Using the Dual Tip Glue Pen and E-Z Dots® Permanent Refillable Dispenser, I adhered the cardinal and greenery. Started with the first and second inserts.
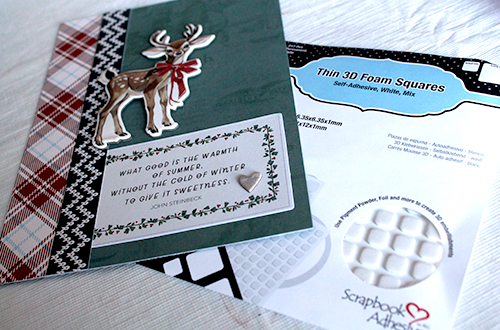
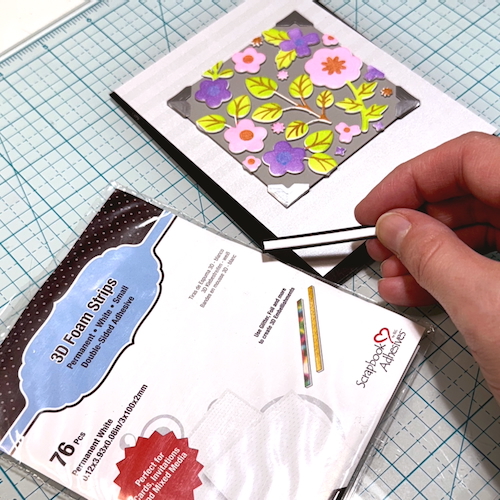
Next I moved to the third insert and then the flap on the box card front. Just for a little extra stability, I affixed the flap to the card base using 3D Foam Squares White Mix.
Complete the Sympathy Box Card
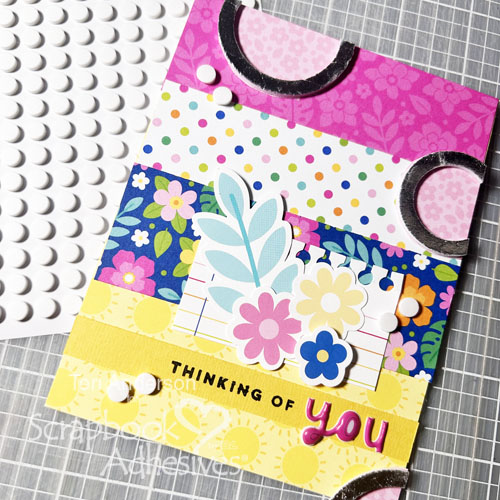
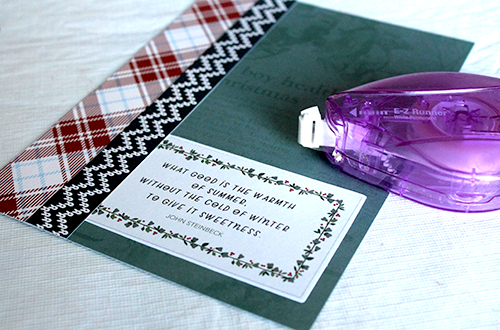
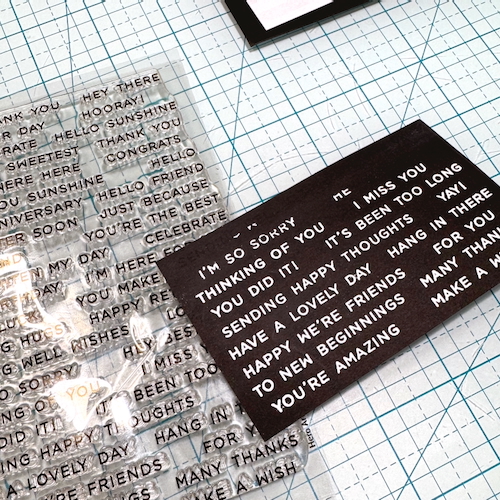
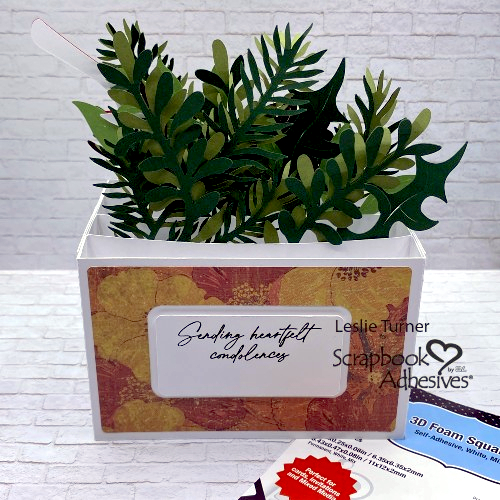
Time to adhere the inserts and close up the sympathy box card. Also added a flower and twine bow to the front. Lastly, I added a stamped sentiment to the back which I popped up on 3D Foam Squares White Mix.
Thanks for visiting!
Leslie
Creative Time: 90 mins
Skill Level: Intermediate
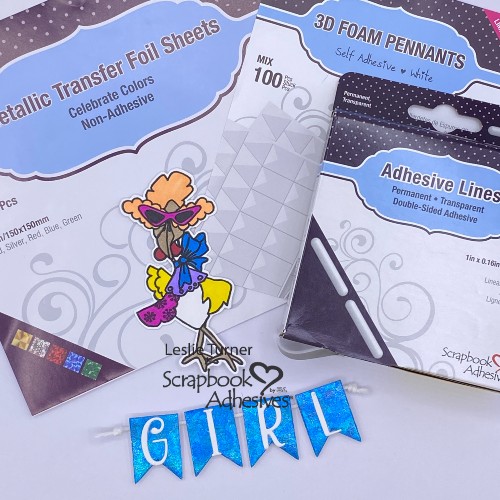
Materials Needed:
Scrapbook Adhesives by 3L®
E-Z Dots® Permanent Refillable Dispenser
3D Foam Squares White Mix
HomeHobby™ by 3L
Dual Tip Glue Pen
Other: Cardstock: CutCardStock Cougar Smooth White; Pop Tone Black Licorice, Red Hot, Hot Fudge, Orange Fizz, Gumdrop Green, and Jellybean Green; and Kale Green
Paper: The Paper Shelter Tattered and Worn 12×12 Paper Pad
Stamps: Honey Bee Stamps Heartfelt Condolences Stamp Set
Ink: Versafine Onyx Black Ink
Dies/Punches: SVG Cuts Cardinal Crate Box Card SVG Cut File
Accessories: Cricut Explore Air 2, MISTI, Big Shot, Crafter’s Companion Wood Grain Embossing Folder, Keep It Simple Back To Basics Black Enamel Dots, Doodlebug Design Lily White Doodle Twine, Pink Paisley 5th & Monaco Flower Embellishment
Click Preferred Retailers List
Save to Pinterest!

Visit our Website and Blog!
Sign up for our Newsletter so you never miss a contest or giveaway!