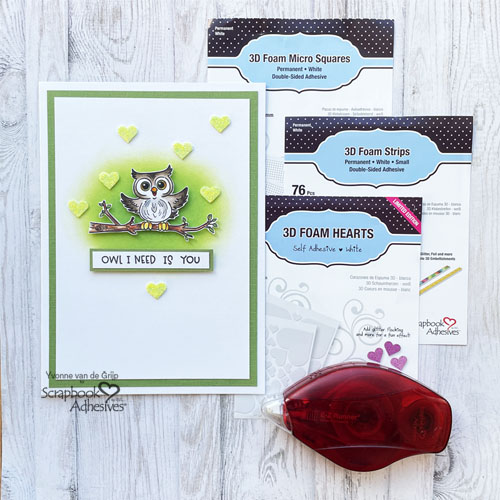
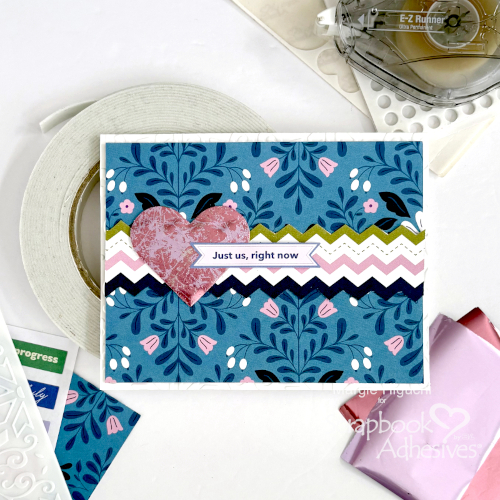
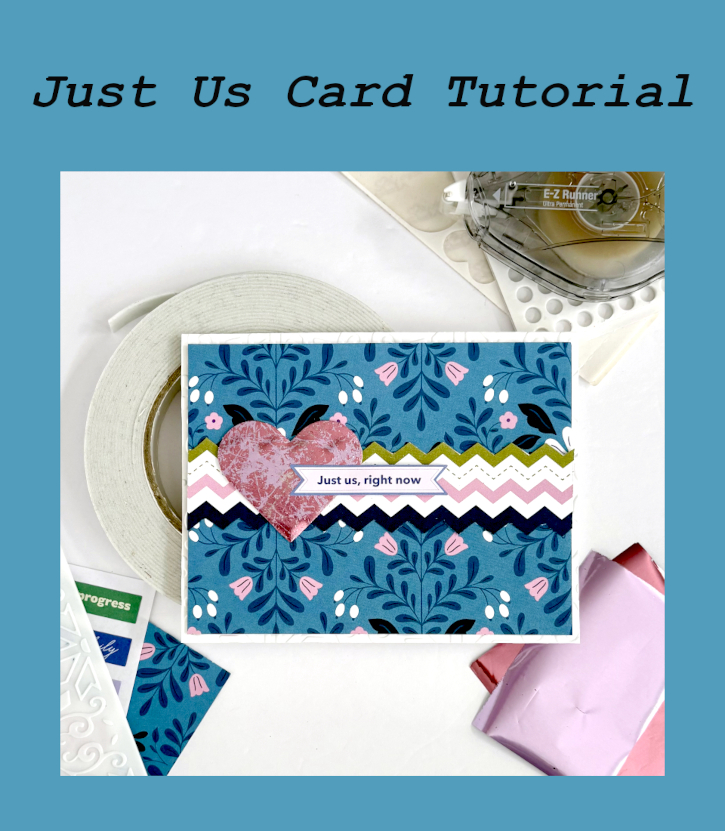
Sometimes, you just need a card for…just because. So I created a card for my hubby to express my appreciation for everything he’s done for me and our sons! Hi, Margie here today to share Just Us Card featuring the Wear Your Adhesive on the Outside technique with the 3D Foam Hearts. Let’s Go!
Just Us Card Layers
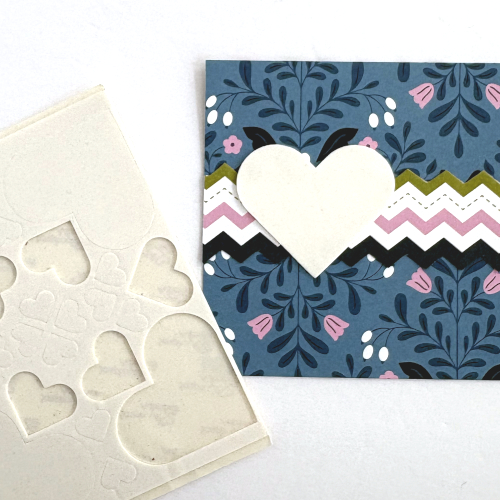
For the card panel, I cut 4 x 5.25-inch patterned paper. The border was the back side of the paper and was fussy cut to follow the zig zag design. Adhere the border in the middle of panel with the E-Z Runner® Ultra Strong Refillable Dispenser. Place the largest heart from the 3D Foam Hearts towards the left end of the border.
Wear Your Adhesive on the Outside with the 3D Foam Hearts
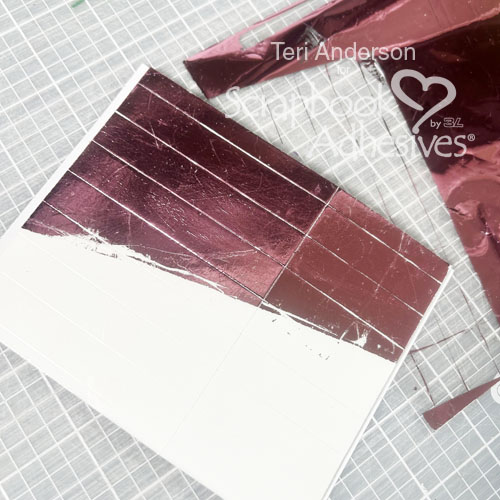
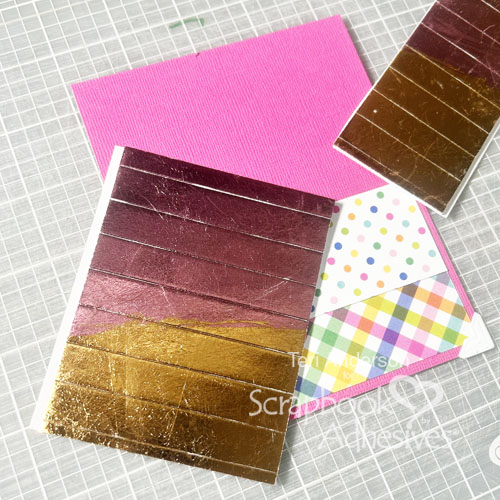
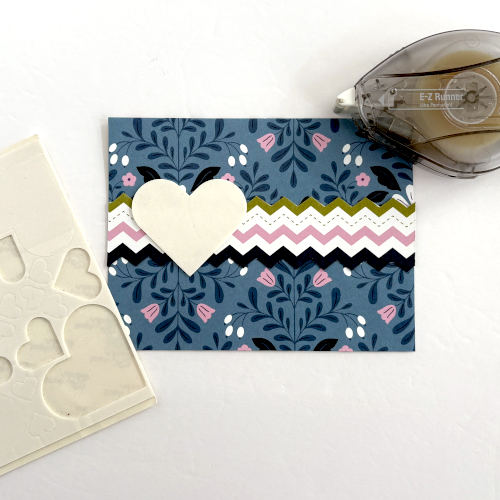
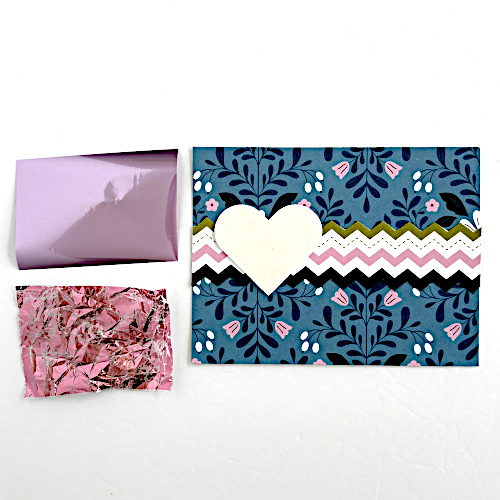
My favorite way to customize my accent is to use the 3D Foam shapes and the many choices of foils. I decided to use two different colors (pink and lavender) from the Metallic Transfer Foil Sheets Pastel Colors. Designer’s Tip: Trim the sheets just enough to fit your shape.
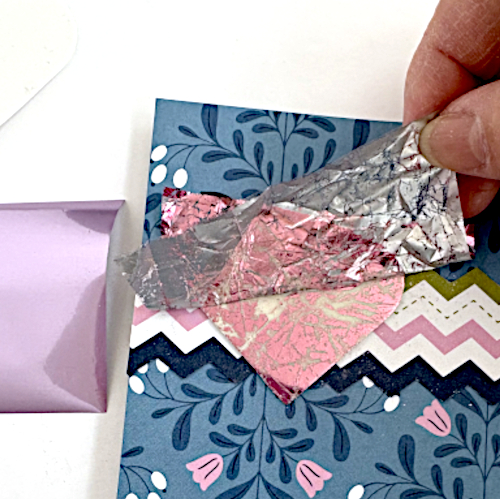
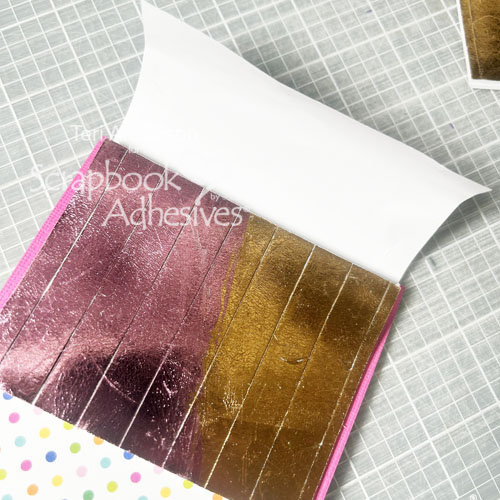
Remove the top liner of the 3D Foam Heart, wrinkle the pink foil and place it (color side facing you) over the exposed adhesive. Rub to transfer the color to the heart. Peel off to reveal the color and its distressed lines (aka exposed adhesive).
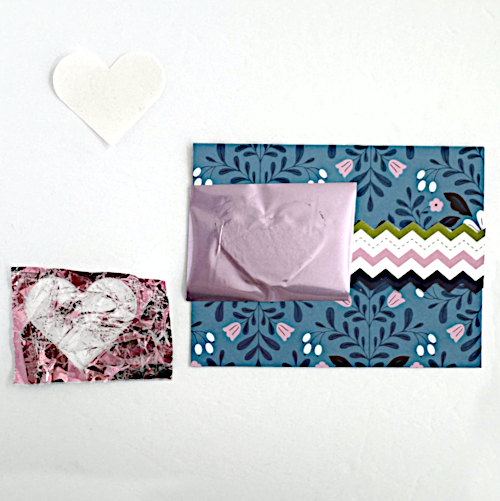
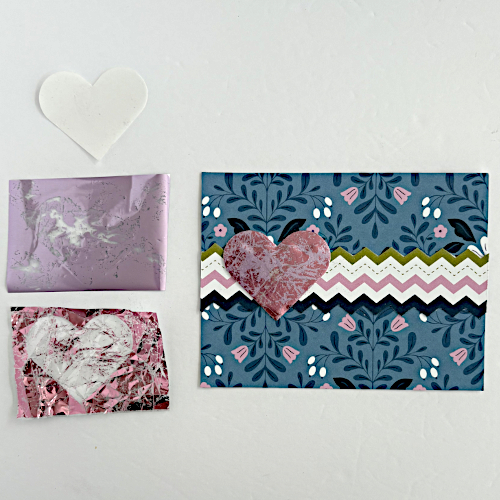
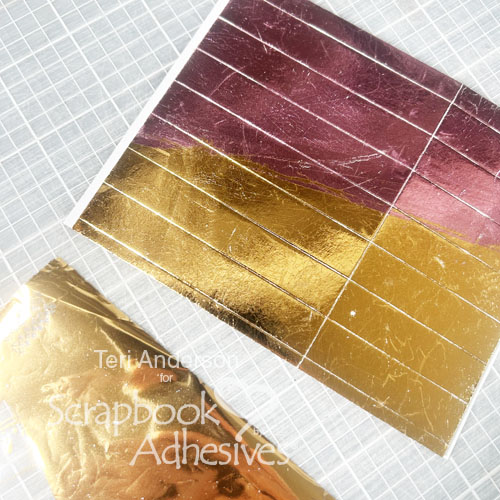
Next, place the solid lavender foil over the distressed 3D Foam Heart and rub to transfer the color (it will fill in the distressed areas). Reapply the foil in missed areas.
Assemble the Card
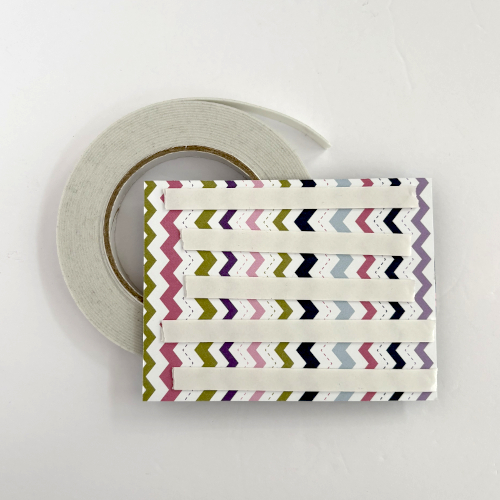
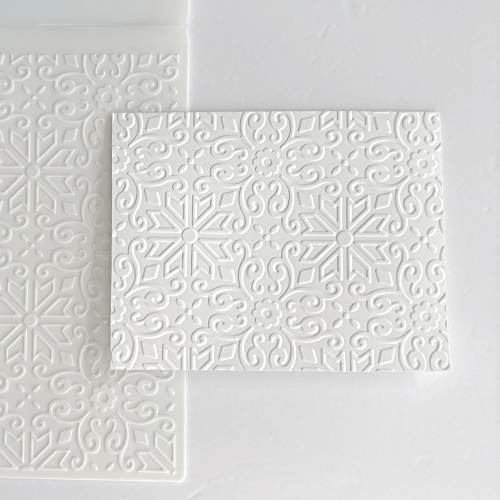
Add several strips from the Crafty Foam Tape White 108ft. on the back of the panel. This adhesive not only gives a subtle lift (1/32″ – half of 1/16″) but stick to textured surfaces like this embossed card base. Yes, I embossed the card base because I felt it was too boring. LOL! Designer’s Tip: Lightly mist the card base with water for a crisp pattern.
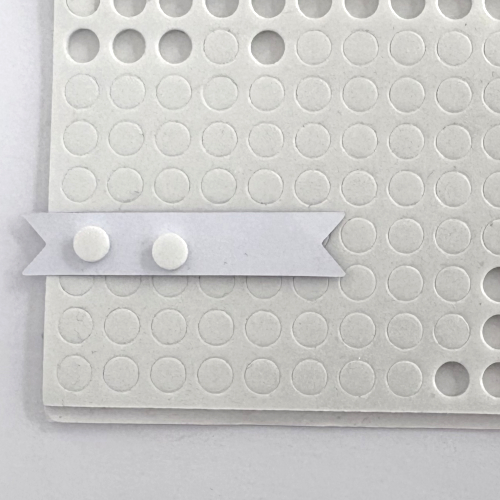
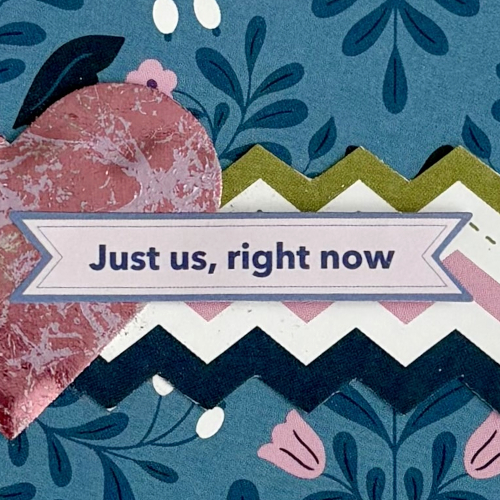
Using one of the sentiment stickers, I added the small 3D Foam Circles White Mix on the back – the side where the heart wasn’t located…remember, the heart is also foam. Now, it’s ready to be hand delivered!
Thanks for visiting!
Margie Higuchi
Creative Time: 25 mins
Skill Level: Intermediate
Materials Needed:
Scrapbook Adhesives by 3L®
E-Z Runner® Ultra Strong Refillable Dispenser
Metallic Transfer Foil Sheets Pastel Colors
Other: Patterned Papers + Stickers: PinkFresh Studio (Lovely Lane Collection by Paige Evans); Embossing Folder + Water Mister: Spellbinders Paper Arts; White Cardstock
Click Preferred Retailers List
Save to Pinterest!
Visit our Website and Blog!
Sign up for our Newsletter so you never miss a contest or giveaway!