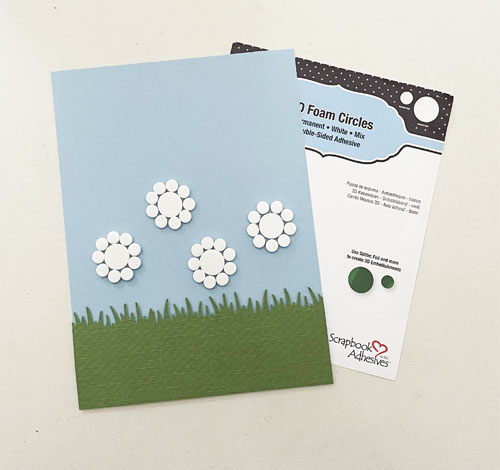
Hi everyone, Yvonne here with a cute Glittered Friendship Kitty Card. I made my own glittered background using the technique called Wear Your Adhesive on the Outside.
This fun technique is easy to do, so also suitable for beginner cardmakers. I would love to share how I made my card. Wanna join me?
Glittered Friendship Card Panel
First trim a piece of yellow patterned paper to a rectangular size. This will be the top card panel of the Glittered Kitty Card. Now draw glue lines and dots over the panel using the Dual Tip Glue Pen.
Next sprinkle holographic glitter all over the card panel and tap off the excess glitter. Now let dry. The technique letting your adhesive shine is called Wear Your Adhesive on the Outside.
To embellish the card I used die cut images. Simply adhere the images onto the card using 3D FOAM. Then cut a sentiment banner from patterned paper (using scissors) and adhere onto the card using 3D Foam Squares White Small.
And voilá, your Glittered Kitty Card is ready. I hope you enjoyed this tutorial and wish you happy crafting!
Other: Patterned Paper, Elements + Sentiment: Doodlebug Design (Pretty Kitty Collection, Pretty Plaid and Polka Dots); Holographic Glitter; Paper Trimmer; Scissors; White and Pink Cardstock
Hi, Ali (FunAdventuresWithAli) here today! Spring has finally arrived, and I couldn’t be more excited to share this cheerful Spring Together Cut File Page with you! There’s something so refreshing about this time of year—the bright colors, the hint of sunshine, and of course, all the little moments that make spring feel magical like an afternoon tea with a special friend! From the moment we walked in, we were completely smitten. It was decorated with the cutest clouds and umbrellas, creating the most whimsical, cozy atmosphere. It truly felt like stepping into a storybook!
Spring Together Layout Design
To capture that same playful, rainy-day charm. I started with an umbrella cut file that instantly reminded me of the bakery décor. To bring it to life, I used bright, polka dot patterns to back each umbrella, using the E-Z Runner® Grand Permanent Strips Refillable Dispenser.
Give Them Dimension
To give the design some dimension and movement, I added my favorite Crafty Foam Tape White 108ft. behind the cut file. This little detail makes the umbrellas feel like they’re gently floating down from the sky, almost as if you’re watching a spring shower in motion. I topped each umbrella with a Doodlebug gem for a touch of sparkle—like tiny raindrops catching the light.
Make a Scene
Add 3D Foam Squares White Mix behind those sweet smiling clouds to give them a soft, puffy look and arranged them to create a light, airy background. Place two border stickers to the top and bottom for an outdoor spring scene. Pop up the ephemera with 3D Foam Squares White Mix to create layers and depth, and used 3D Foam Squares Micro White to lift that delicate butterfly so it looks like it’s fluttering right off the rooftop.
Every detail came together in a way that makes this layout feel full of life, texture, and movement—and I truly adore how it turned out. It perfectly captures not just a memory with a dear friend, but also the joy and playfulness of the spring season.
Wishing you all a beautiful spring filled with colorful blooms, sunshine, and sweet moments worth remembering 🌸
Thanks for visiting! Ali Skifton (FunAdventuresWithAli)
Hello sweet friends! It’s Kristin here to share another fun layout. There’s nothing quite like capturing a magical moment at Walt Disney World—especially in front of Cinderella’s Castle! Today, I’m excited to share this 12×12 scrapbook layout titled Smile, Say Cheese Layout featuring a photo of my sister and me soaking in the magic together. This layout combines dimension and texture using some of my favorite products by Scrapbook Adhesives by 3L.
Creating Smile Say Cheese Layout Foundation
To begin, I selected papers and embellishments that are colorful and playful patterns that perfectly complements the joyful energy of our photo. I secured layers of patterned papers behind the photo shaker frame using the E-Z Runner® Grand Refillable Dispenserto create depth while keeping the design balanced and clean.
Crafty Foam Tape White 108ft was used to lift key elements off the page. Adding dimension is one of my favorite ways to bring a layout to life, and foam adhesive makes it effortless. By popping up layers and embellishments, I was able to create visual interest without overwhelming the design.
A Fun Shaker Element
The focal point of this layout is a handmade shaker embellishment by using a chipboard frame. First, I backed the frame with clear acetate and added a shaker mix filled with fun, colorful bits that match the theme. Build a well behind the frame with 3D Foam Strips – it ensures the shaker mix have room to shake!
Once sealed, I adhered my photo to the shaker and then to the page, using Extreme Double-Sided Tape 1/4in. The result is a playful, interactive element that draws the eye to the photo and adds movement to the layout.
Add the Details
To enhance the magical feel, I incorporated a Mickey Dotz from Shimmerz Paints. This small accent added a pop of dimension and shine, tying the theme together. I scattered a few embellishments around the page to guide the viewer’s eye and maintain balance.
For the title, I used 3D Foam Squares White Mix on the back of “Say Cheese” to make it stand out. I positioned it on the frame to anchor the design and reinforce the joyful moment captured.
Final Thoughts
Foam adhesive was used strategically throughout to create layers and dimension without bulk. This “Say Cheese” layout is a perfect example of how dimension and interactive elements can elevate your scrapbook pages. If you’re looking to add a bit of magic to your next project, try incorporating a shaker element and dimensional adhesive.
Happy scrapping & thank you for visiting! ✂️✂️✂️ Kristin Rizzo
Other: Other: Patterned Papers + Embellishments: Simple Stories (Say Cheese at the Park Collection); Mickey Dotz Round Castle Embellishment: Shimmerz Paints; Shaker Mix: Paper Rose
Hi, Judy here today… Wishing you a Lovely Day with this pretty Lovely Flowers Card. Lots of gold embossing including the frame made with 3D Foam Frames, gold on embossed background and flowers with gold stamping and centers made with 3D Foam Circles Black Mix. Giving you a wonderful mixed media vibe!
Prepare Card Base
Form a 4.25 x 5.5 inch side fold card from 5.5 x 8.5 inch piece of cream cardstock.
Cut piece of khaki brown cardstock 4.25 x 5.5 inches. Place in Lattice embossing folder and pass through die cutting machine to emboss. Trim to 4 x 5.25 inches. Lightly rub Versamark ink pad along edges of embossed panel, cover with gold embossing powder, remove excess and heat emboss. Apply adhesive on back with E-Z Runner® Ultra Strong Refillable Dispenser and fasten to card front.
Gold Frame
Cut piece of textured cream cardstock 3.75 x 4.75 inches.
Take sheet of 3D Foam Frames and peel liners from 2nd and 3rd largest frames. Lay 3D Foam Frames sheet on work surface and place face down cardstock over it. Press cardstock to stick to frames which have liners removed. Gently pull 3D Foam Frames sheet away from cardstock so that 2 frames are left stuck to it. Cover frames with gold embossing powder, remove excess and heat emboss. Carefully trim away cardstock along edge of frame. Apply adhesive to back with E-Z Runner® Ultra Strong Refillable Dispenser and fasten on card.
Flowers
Cut piece of brown cardstock 4 x 6 inches. Fasten Adhesive Sheets 4 x 6in. to it and rub well with bone folder. Peel off liner and press coffee stained book page on it. Trim book page even with cardstock. (Designer Tip: An old book page is quite fragile. By fastening it to cardstock, it keeps the vintage charm and is sturdy enough to die cut)
Stamp 3 flowers and 4 leaves with Versamark ink. Cover with gold embossing powder, remove excess and heat emboss. Use coordinating die and die cutting machine to cut out each flower and leaves.
To color flowers and leaves, use water brush to pick up color from tip of Distress Watercolor Pencils. For flowers, use Victorian Velvet on large, Tea Dye on medium, and Chipped Sapphire on small. Color leaves with Shabby Shutters and add a touch of Ground Espresso. Rub each one gently with dry paper towel to remove any paint from gold embossing. While flowers and leaves are damp, curl petals and shape leaves. Allow to dry or use heat tool to dry.
Remove large circle from 3D Foam Circles Black Mix and place on center of small flower. Fill center of large flower with small circles from 3D Foam Circles Black Mix and put 3 small circles on medium flower. Peel liners from each flower center, cover with gold embossing powder, remove excess and heat emboss with heat tool.
Stamp verse on cream cardstock with black ink and cut apart between each word. Cut pieces of Thin 3D Foam Squares White Mix to fit on back of each word. Peel liners from each one and fasten words on card
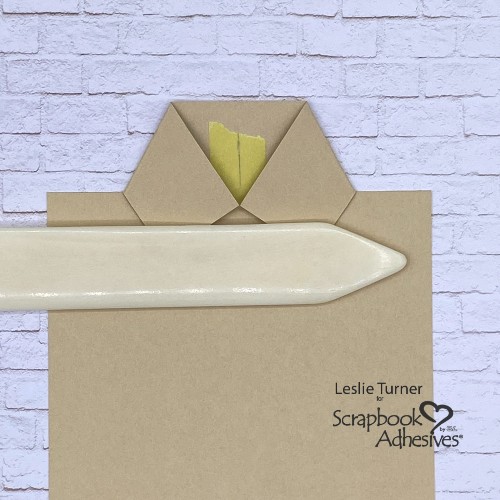
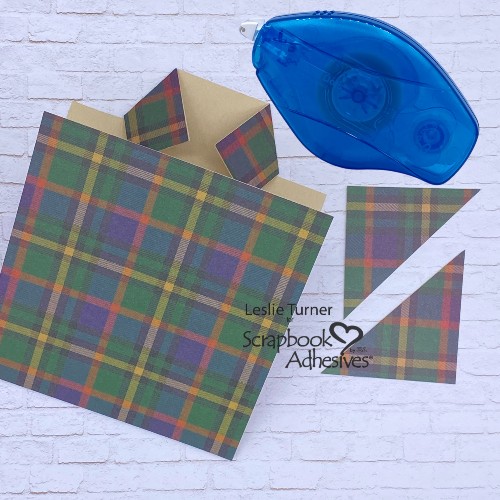
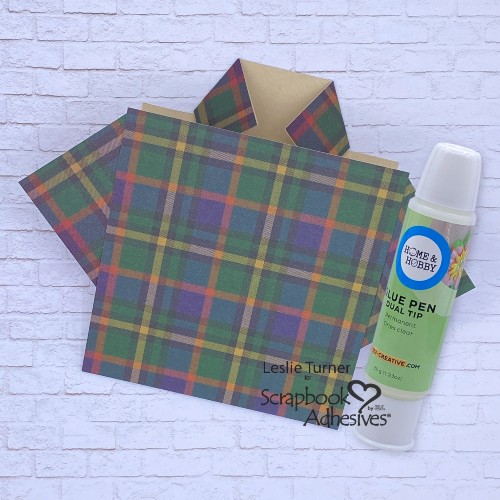
Hi friends, happy Friday! I hope you’re having a great week and seeing some pretty Spring weather! Do you struggle with sympathy cards? Admittedly, they don’t come easy for me. Leslie here, sharing a sympathy card… one that’s a little different from the ordinary. I used an SVG cut file and transformed it from a winter-themed card into a sympathy box card. Of course, I used a few of my absolute favorite adhesives to put it together. Box cards are a great option because the recipient can display them as long as they’d like.
Cut the Pieces
Using my Cricut Explore Air 2 and an SVG cut file in my stash, I cut all the pieces for the sympathy box card. As noted above, this card was designed to be more of a wintery card with berries and such. To transform it into a sympathy card, I omitted some of the greenery and cut extra pieces of others. So it will be a ‘fluffy’ card!
Assemble the Crate Base
For texture, I ran the rectangular layers through my die cutting machine with a wood grain embossing folder. These were adhered with E-Z Dots® Permanent Refillable Dispenser, along with the patterned paper layers.
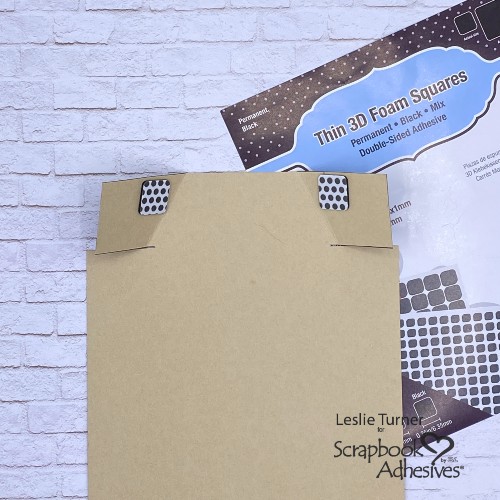
Next I moved to the third insert and then the flap on the box card front. Just for a little extra stability, I affixed the flap to the card base using 3D Foam Squares White Mix.
Complete the Sympathy Box Card
Time to adhere the inserts and close up the sympathy box card. Also added a flower and twine bow to the front. Lastly, I added a stamped sentiment to the back which I popped up on 3D Foam Squares White Mix.
Other: Cardstock: CutCardStock Cougar Smooth White; Pop Tone Black Licorice, Red Hot, Hot Fudge, Orange Fizz, Gumdrop Green, and Jellybean Green; and Kale Green Paper: The Paper Shelter Tattered and Worn 12×12 Paper Pad Stamps: Honey Bee Stamps Heartfelt Condolences Stamp Set Ink: Versafine Onyx Black Ink Dies/Punches: SVG Cuts Cardinal Crate Box Card SVG Cut File Accessories: Cricut Explore Air 2, MISTI, Big Shot, Crafter’s Companion Wood Grain Embossing Folder, Keep It Simple Back To Basics Black Enamel Dots, Doodlebug Design Lily White Doodle Twine, Pink Paisley 5th & Monaco Flower Embellishment
Hi, Jingle here today sharing a Bright and Cheerful Birthday Shaker Card with you. It’s full of super fun dimensional elements with a shaker feature – perfect for anyone who loves to celebrate BIG + SHINY!
Make the Birthday Shaker
To create a shaker, I used the super handy 3D Foam Frames as the base. Some tiny heart and star sequins make for a simple, but super pretty backdrop for the overall card design. Crafty Foam Tape White 54ft allowed the remainder of the patterned panel to pop off the card base perfectly!
The 3D Foam Pennants make the perfect celebratory topper for this design. Again, these are covered with the super shiny foil to really make the card extra fun. A bit of twine runs behind the pennants to bring it all together.
A super fun Happy Birthday message grounds this design. You can easily switch this up to a congratulations or other fun celebratory message that suits your recipient.
Thanks so much for stopping by and for making my time on this team so delightful! I hope you are inspired by this design and I can’t wait to see what you create!
Hi, friends! Do you like to make handmade cards? Teri here to show you how to make create some one-of-a-kind accents (Wear Your Adhesive on the Outside technique) with 3D Foam Shapes and Metallic Transfer Foil like this Circled Thinking of You Card. These accents will kick up your card designs to another level of fun! I’ll also show you how to make a super fun card!
Wear Your Adhesive on the Outside with 3D Foam Circle Frames
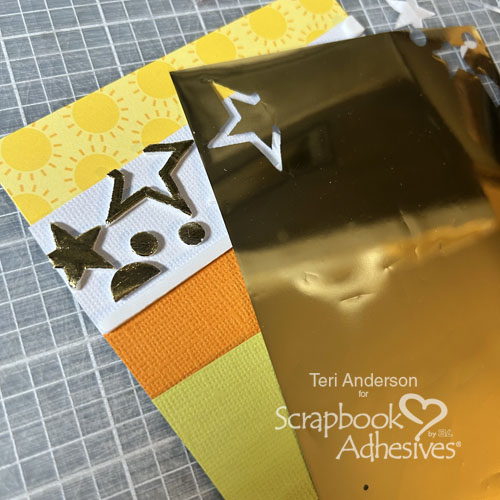
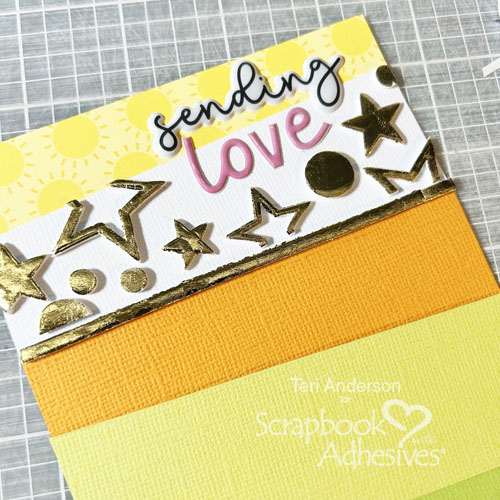
Place a couple 3D Foam Circle Frames on a scrap of patterned paper. Then I took a piece of silver foil from the 3D Holiday Embellishment with Foil (leftover from another project) and placed on top of the foam circle frame (after I took the top liner off). Rub to transfer foil to the frames (color side facing you) and peel off the foil to reveal the color. Reapply the foil in missed areas. Cut the circles out and use them as accents on your card base.
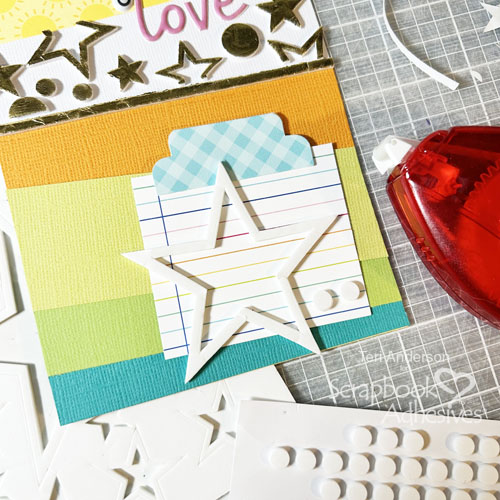
Add Elements to the Circled Thinking of You Card Front
Make Faux Brads with Wear Your Adhesive on the Outside Technique
Create a few faux brads around the card front with small 3D Foam Circles using the Wear Your Adhesive on the Outside technique. Simply repeat the foiling steps from above. So easy and no special tools – perfect for beginners or those who are short on time!
I hope you enjoyed learning about how to make your own one-of-a-kind accents with the Wear Your Adhesive on the Outside technique. Plus how to make today’s Circled Thinking of You Card. Let me know by leaving a comment if try any of today’s tips.
Hello crafty friends! Tracy here, and today I have a sweet and Simple Winter Card to share. Here are all of the details on how I created it.
Simple Winter Card Front Layers
Make a 5×7 white cardstock card base and the patterned paper layers for the front of the Simple Winter Card. Adhere these layers to the card base using the E-Z Runner® Micro Refillable Dispenser. Add the die cut sentiment piece to the bottom of the card front, again securing with the E-Z Runner® Micro Refillable Dispenser.
Chipboard Focal Point
Sometimes I find that chipboard stickers don’t always stick. So I chose to add even a little more dimension by using Thin 3D Foam Squares White Mix to add the deer to the simple winter card. I also added a chipboard sticker to the sentiment piece.
Add Embellishments
Add a tag top to the top of the card front using 3D Foam Squares White Regular Size. This creates a little more dimension between pieces on this simple winter card. Add a burlap string bow to the tag piece. The final touches are to add a few more coordinating cardstock stickers to the card.
I hope my Simple Winter Card tutorial inspires you to dig through your stash and use them up for a wonderful card creation!
Hi friends! Ali here from FunAdventuresWithAli, and today I’m excited to share a festive So Lucky Happy Layout that celebrates one of my favorite spring holidays—St. Patrick’s Day! This page documents a fun outing with my friend Sheri, and it’s one of those memories that just makes me smile every time I look at the photos.
So Lucky Happy Story
Sheri and I decided to celebrate by heading out for a Shamrock Shake at a cute little café. It was such a fun treat! Not only was the shake delicious, but they decorated it in the most festive way. It came topped with a sour rainbow strip, a green Rice Krispie treat, and even a gold coin. It was such a creative and playful presentation, and of course we had to snap a few photos before enjoying it. These little outings always make for the best scrapbook memories.
So Lucky Cut File
The focal point of this layout is a cute cut file that says “So Lucky.” I backed the main title with a piece of striped patterned paper to give it a bright and colorful base. For the shamrocks in the design, I used two different green patterned papers to add a little variety and dimension while still keeping the overall look cohesive. The adhesive I used for these steps is the E-Z Dots® Repositionable Dispenser. It does two things, hits the cut file (skipping over gaps) and papers can be pulled off to be repositioned again.
The Photo Placement
To highlight our photos, I created a collage using three pictures of Sheri and me dressed in our festive green outfits. And can we talk about those shamrock shades? They were too cute not to feature! To make the title stand out over the photo collage, I used my favorite Crafty Foam Tape White 108ft. The foam adhesive adds the perfect amount of dimension and really helps the title pop off the page.
Finishing Off the Page
Add more pieces of Crafty Foam Tape White 108ft. behind the larger green shamrock in the upper right corner of the photos to stand out as an additional design element. Layering dimension throughout the page helps guide the eye and gives the layout a little extra interest.
Use the 3D Foam Squares Micro White to pop up smaller elements such as the flowers, a green beer icon, a gold coin, and the word “Happy.” These elements helped me complete the title phrase “So Lucky Happy,” which perfectly sums up the feeling of the day.
Lastly, I sprinkled a few enamel dots around the page. Enamel dots add just the right amount of texture and color without overwhelming the design. They’re always one of my favorite finishing touches!
This layout makes a great project for beginner scrapbookers or anyone looking for a fun and quick page design. Using foam adhesives and layering a few simple embellishments can really elevate a layout without making it complicated. I hope everyone had a little good luck and enjoyed celebrating St. Patrick’s Day this year! It’s always fun to document these small moments and festive outings, especially when they include good friends, cute accessories, and yummy treats.
Thanks so much for stopping by and visiting the blog today!
Some photos instantly take you back to a moment. This 12×12 Loved This Day Layout captures one of those memories and celebrates sister memories, magic and one unforgettable moment in front of Cinderella’s Castle. ✨ For this magical scrapbook layout, I used adhesives from Scrapbook Adhesives by 3L allowed me to confidently layer, lift, and sparkle every element without worrying about anything shifting over time.
The pastel tones and subtle prints enhance the fairy-tale feel without overpowering the photo. By layering patterned papers and popping select elements up with 3D Foam Squares White Mix, I created depth that draws the eye straight to the photo of us “holding” Tinker Bell. ✨
Adding Sparkle and Dimension
Disney layouts need sparkle! ✨ Mouse rhinestones were added for a subtle magical shimmer using my Dual Tip Glue Pen. Next, I added stickers for playful accents and for extra security, I added E-Z Runner® Petite Permanent Dots Refillable Dispenser behind them. Finally, I chose a Mickey mouse shaker mix for the interactive texture to add to the shaker.
Make the shaker feature with the 3D Foam Strips. The 3D Foam Squares White Mix elevated some of the sticker elements. The added dimension makes the layout feel alive — almost like pixie dust is floating across the page. ✨
If you love creating dimensional scrapbook layouts with cut files, shaker elements, and layered embellishments, high-quality adhesive makes all the difference. Have you scrapped your favorite Disney World memory yet? I’d love to see how you use dimension and sparkle on your magical layouts!
Happy scrapping & thank you for visiting! 💕✂️ Kristin Rizzo