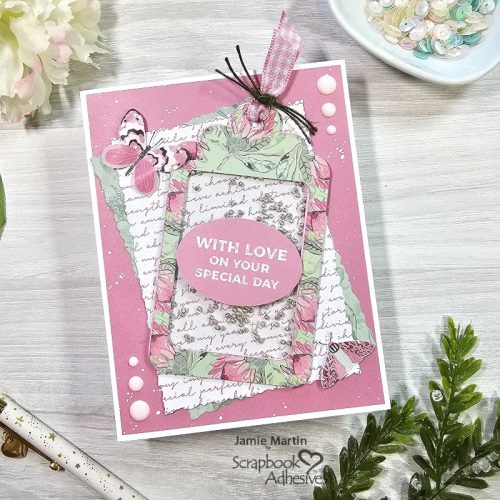
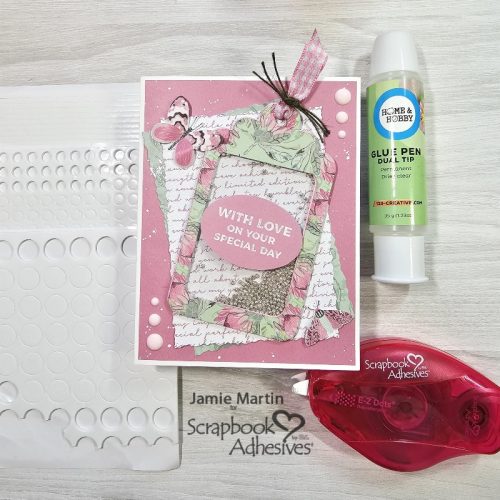
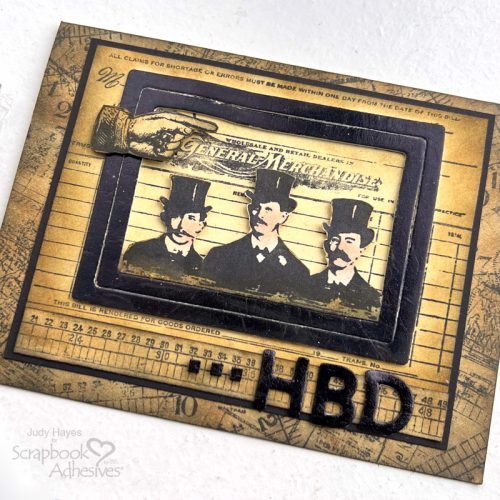
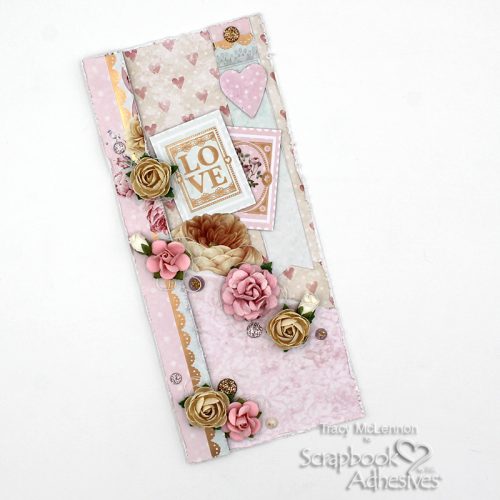
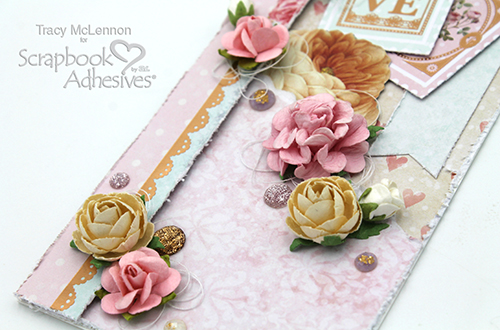
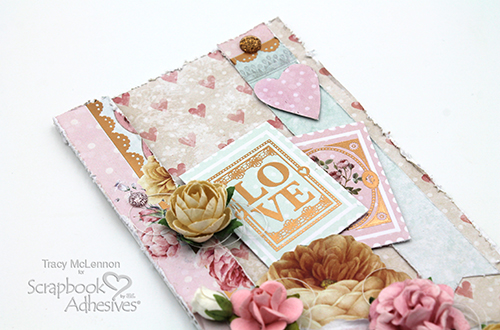
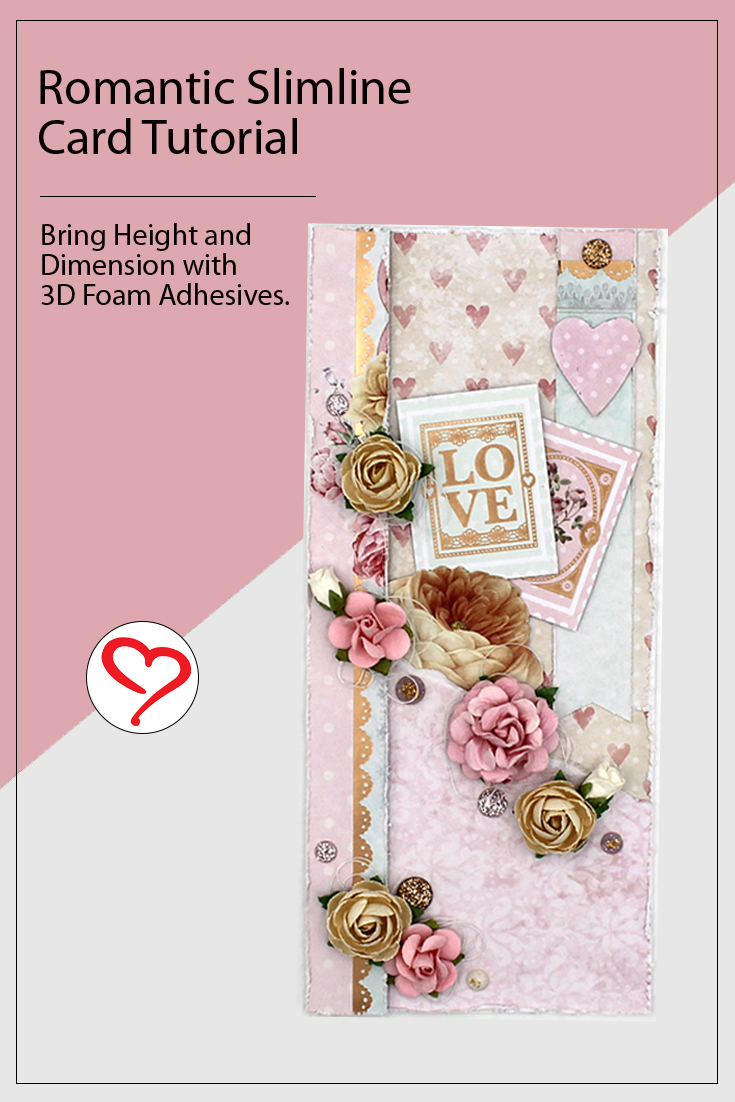
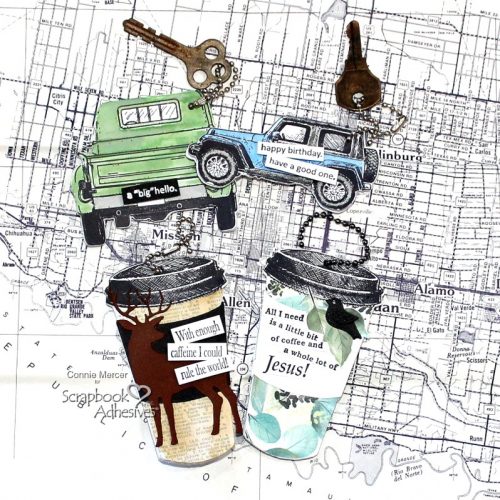
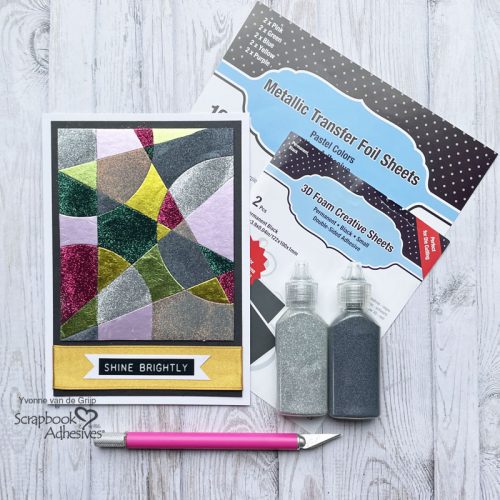
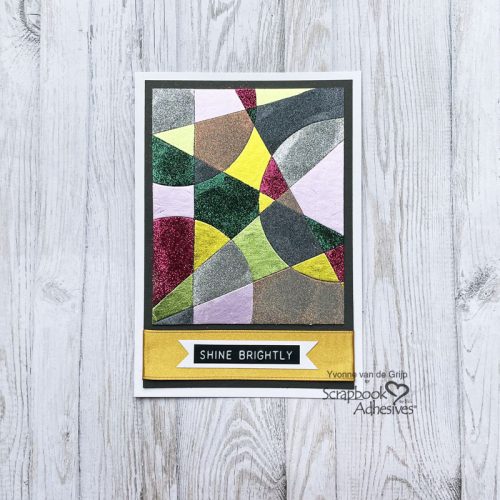
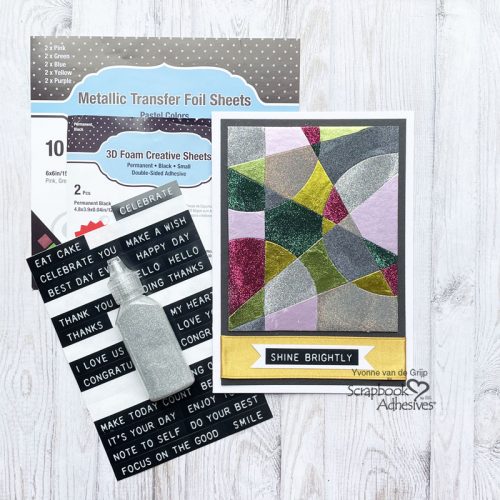
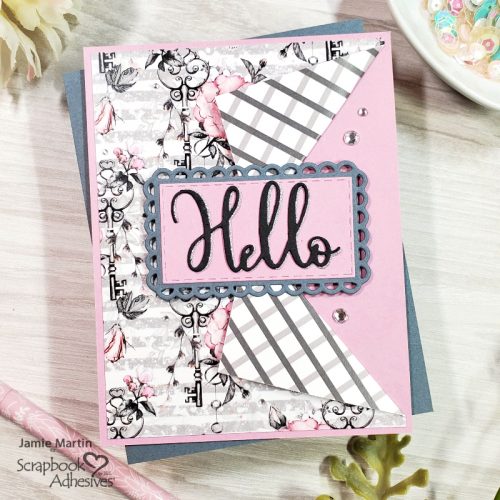
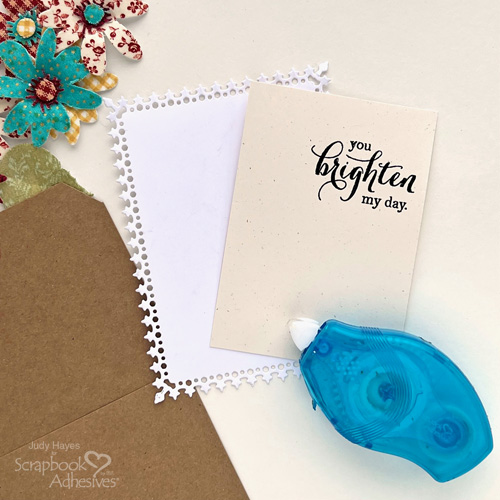
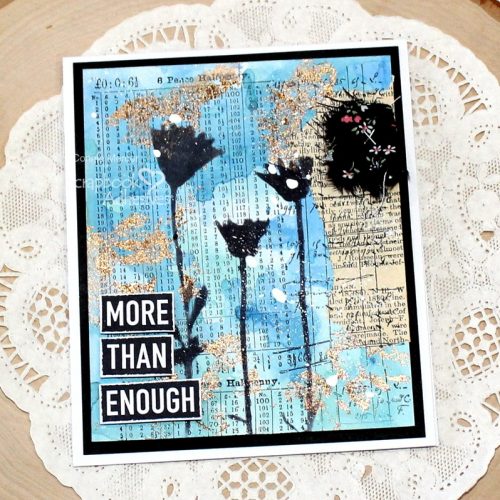
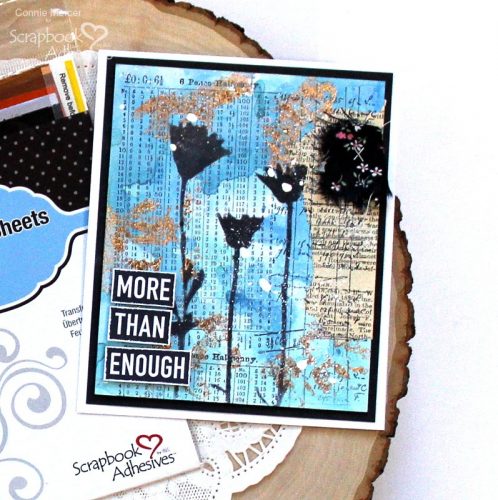
Hi, Connie here with a mixed media More Than Enough Card to share. Use adhesive on the outside, along with stencils and stamps to create a wonderful dimensional card. Featuring the Adhesive Sheets 4×6, Metallic Transfer Foil Sheets Nature Colors, and 3D Foam Strips, it’s a great place to start. Let me walk you through a short tutorial.
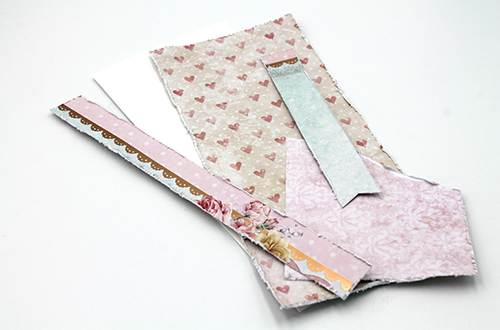
More than Enough Card Background
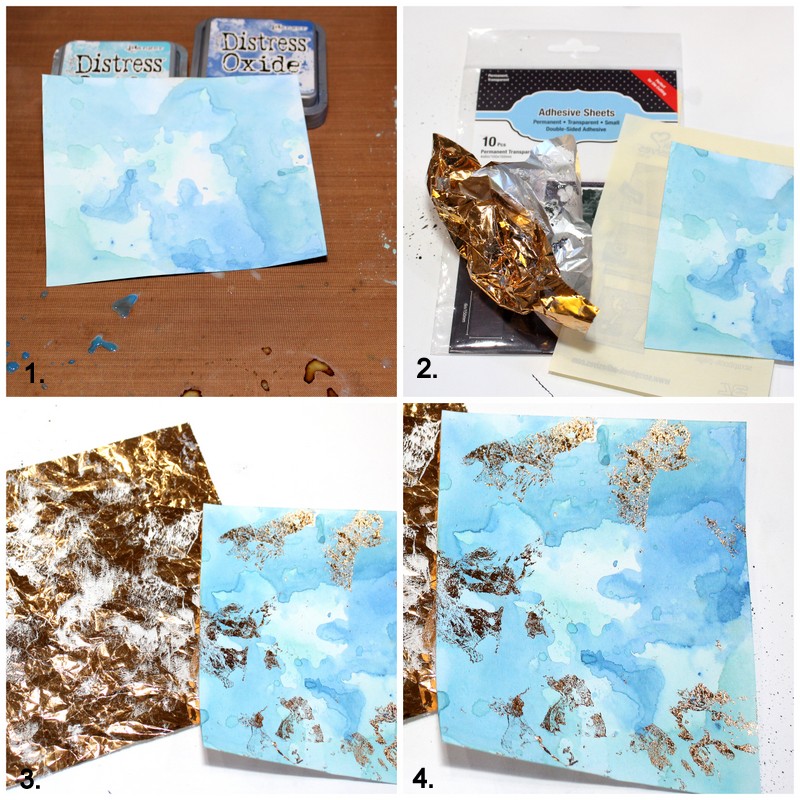
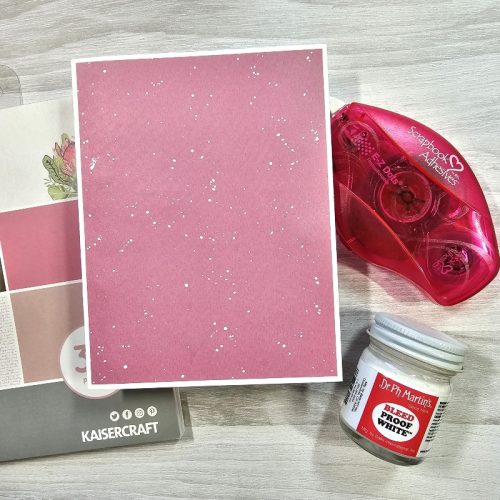
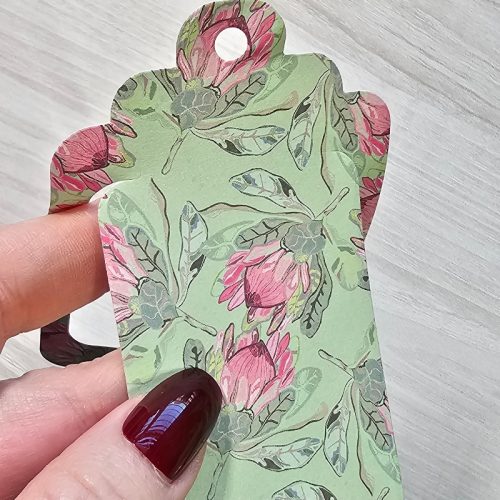
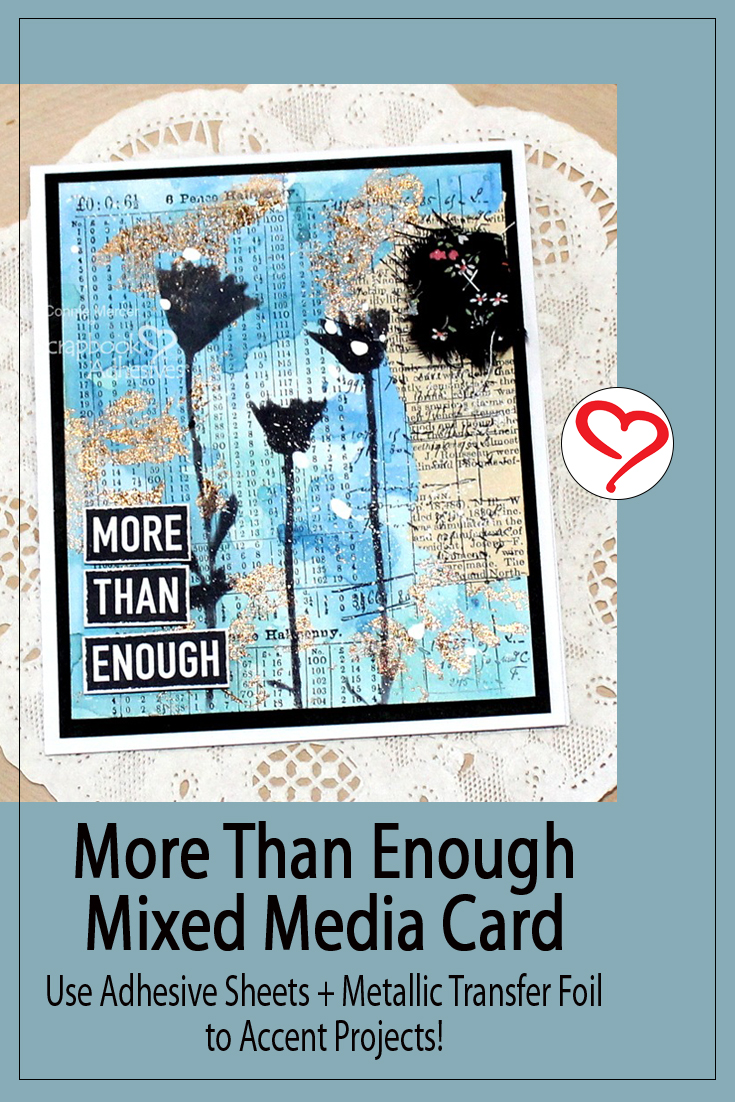
- 1. Distress card front on heavy mixed media cardstock using Distress Oxide inks (I went with blue tones).
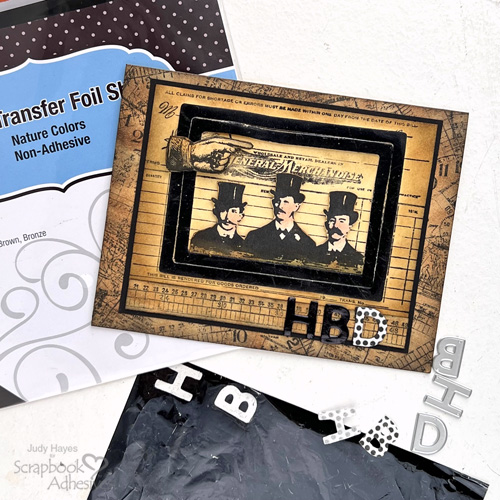
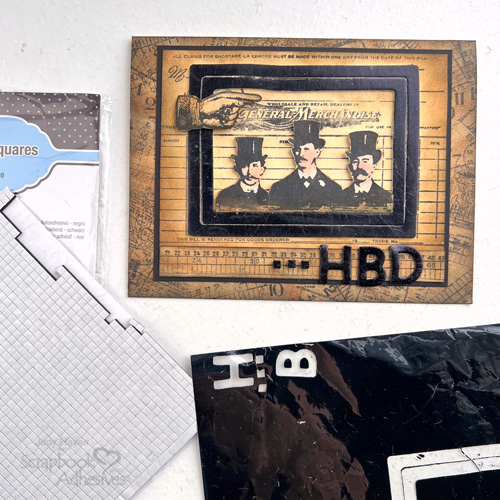
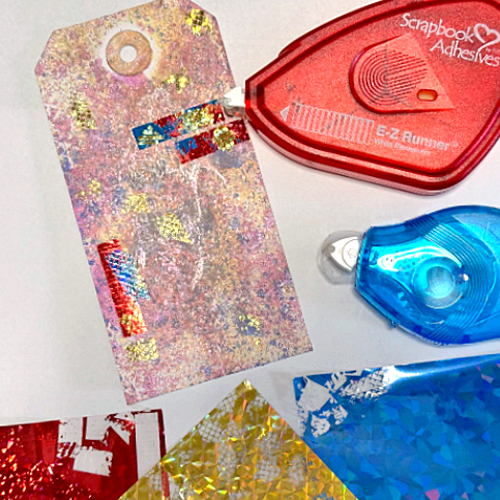
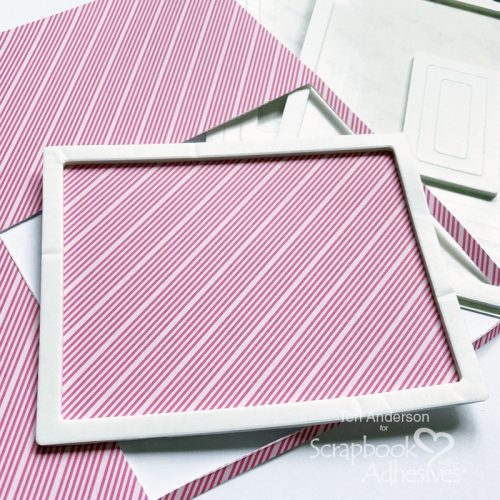
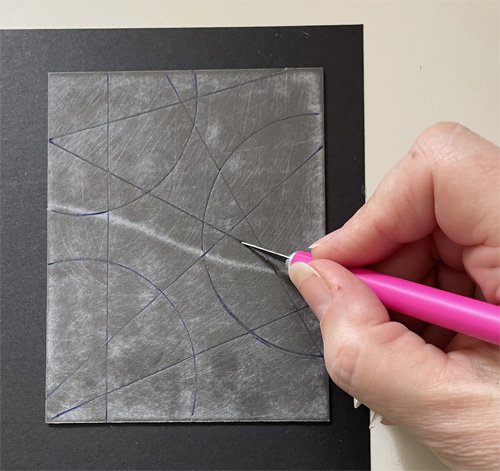
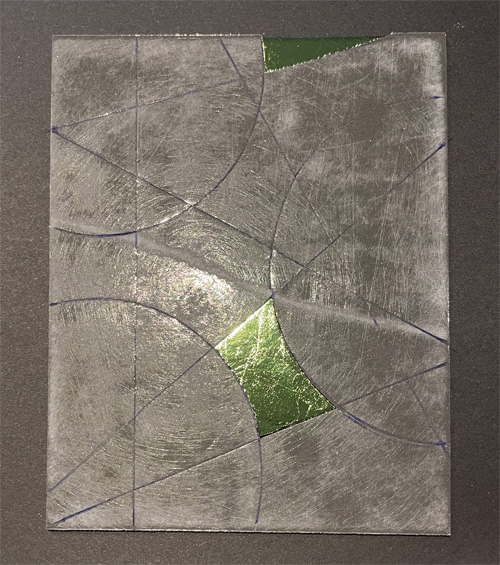
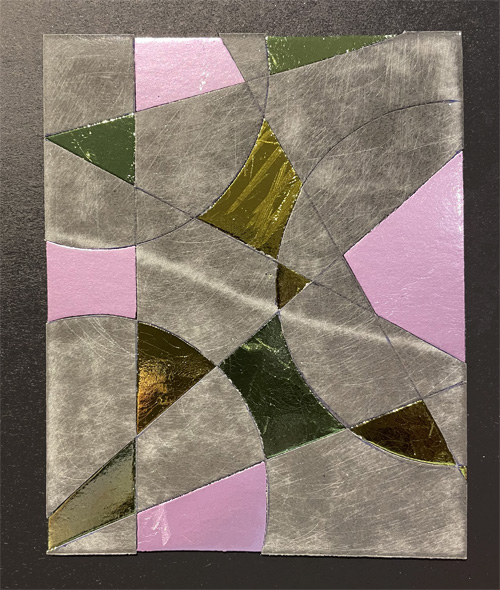
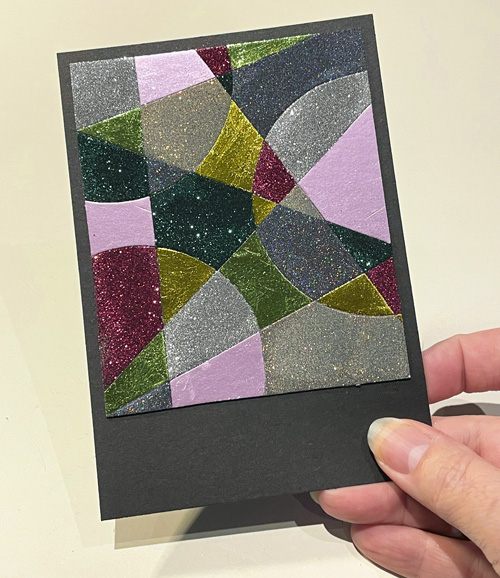
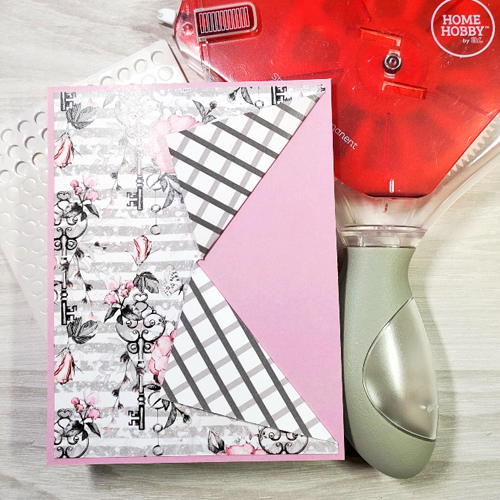
2. Add portions of the Adhesive Sheets 4×6 randomly on the card front. Crumple up the bronze color from the Metallic Transfer Foil Sheets Nature.
3. Place over the exposed adhesive (color side UP). Pull up to reveal the wonderful results! Repeat until your desired look.
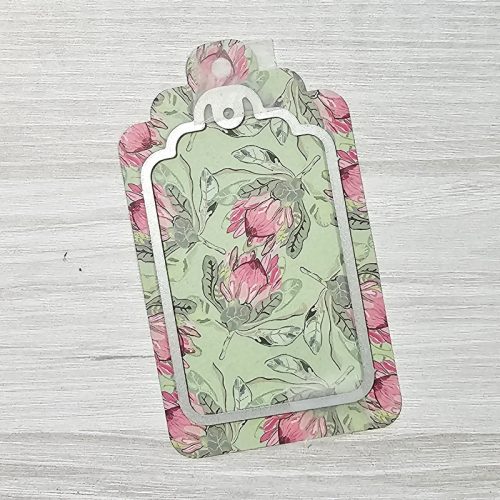
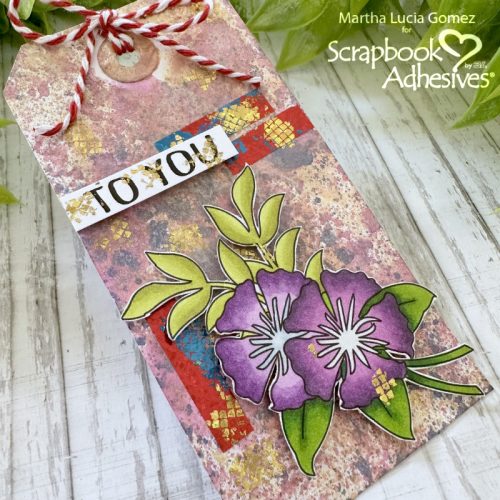
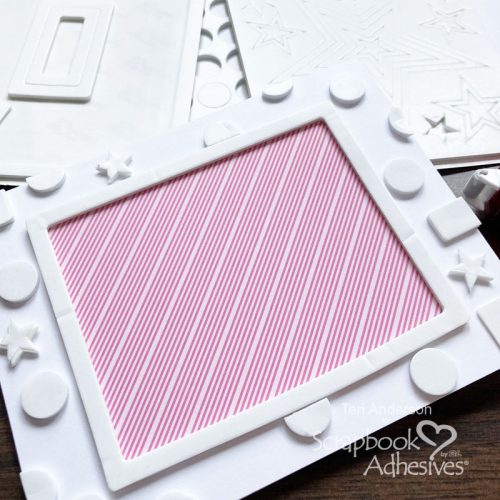
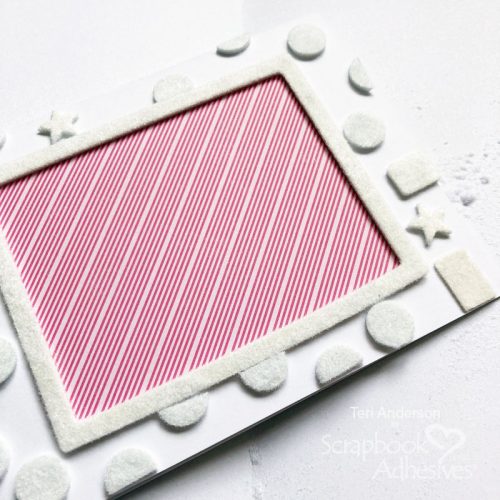
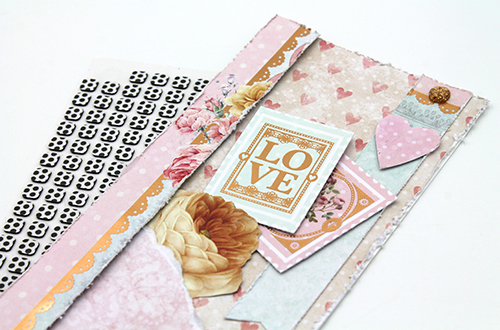
4. Now the card front is ready for stamps and stencils to be added. That’s the fun part!!
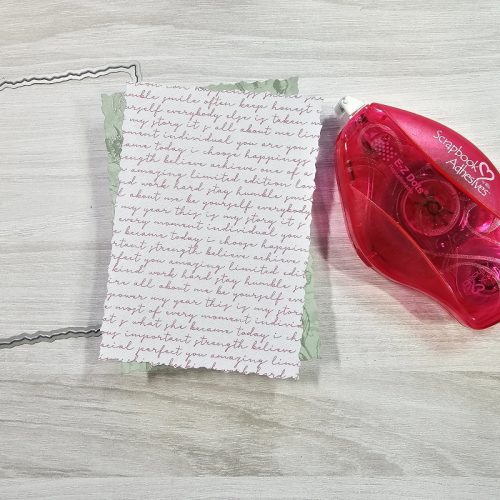
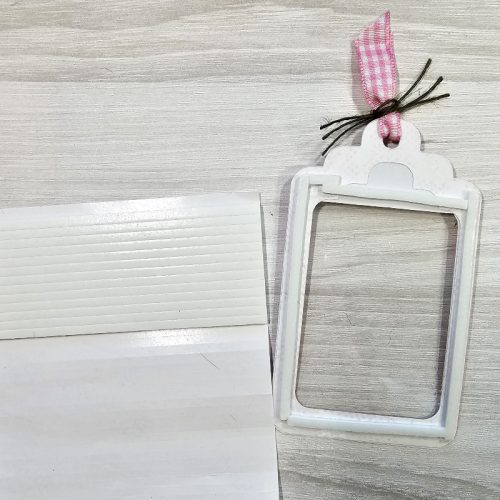
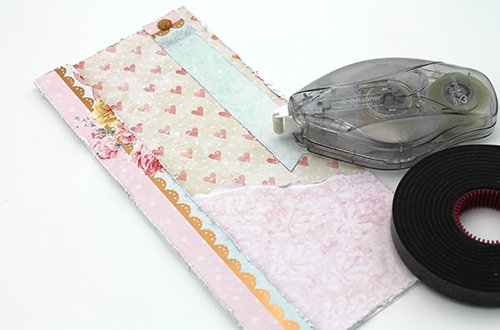
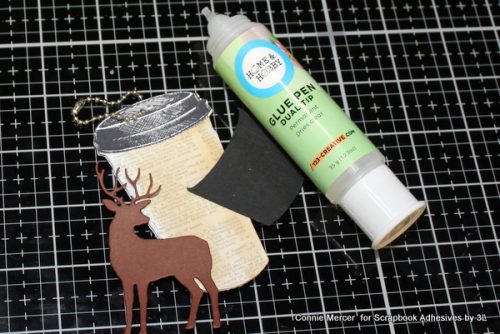
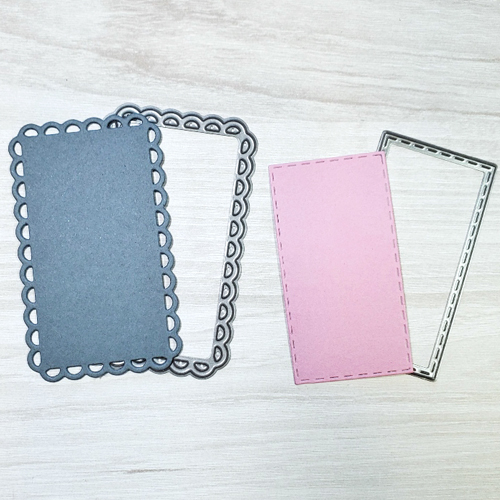
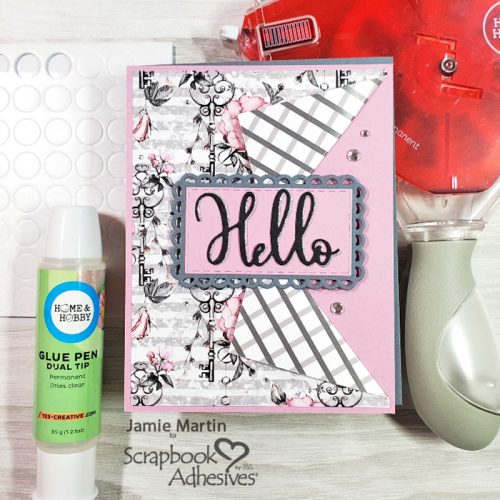
The next step is to add in the strips of ephemera with the Dual Tip Glue Pen and it works great!! Stamps and stencils were added. The sentiment was adhered with 3D Foam Strips.
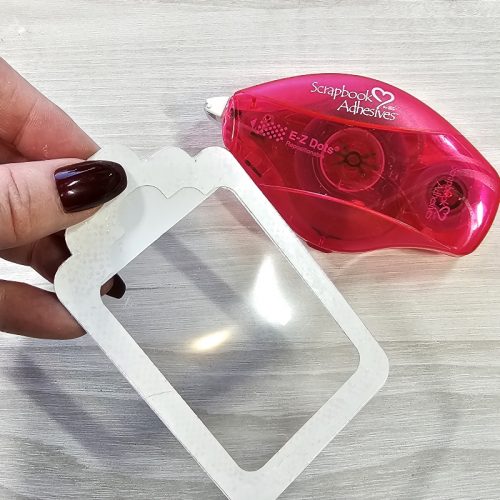
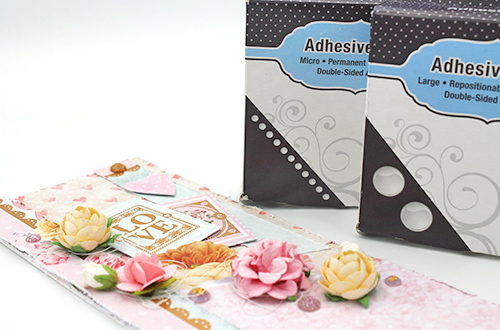
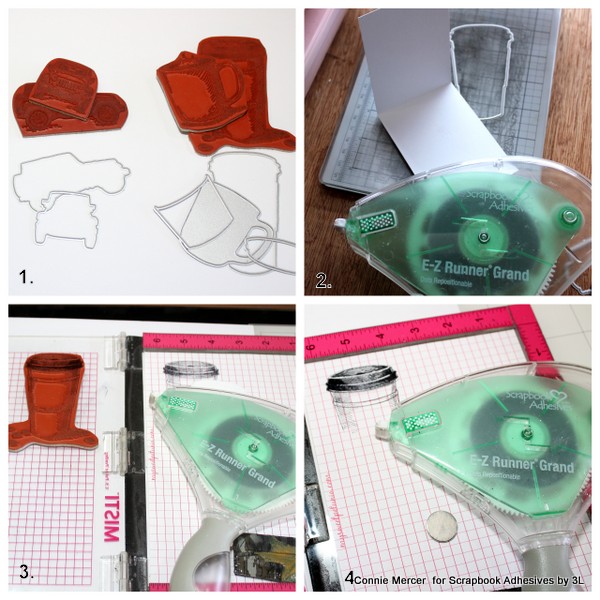
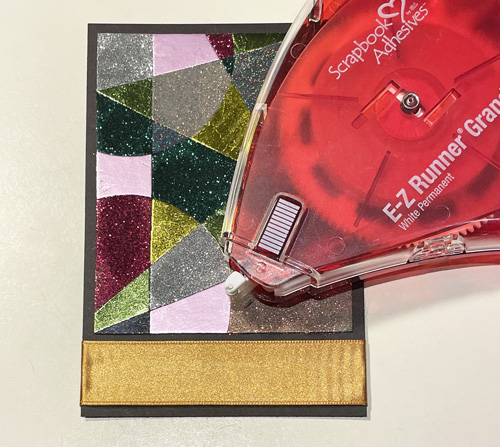
A combination of Crafty Foam Tape 108ft and E-Z Runner® Grand Refillable Dispenser was used to adhere the front panel to the card base.
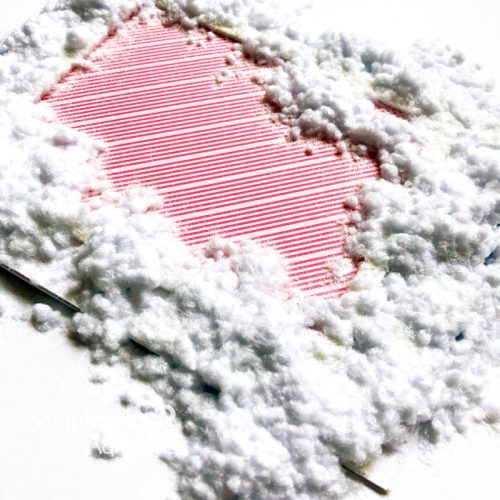
Designer’s Tip: Speckle the card front with acrylic white paint. Makes everything look better 🙂 :).
Thanks for stopping by!!!
Connie Mercer
Creative Time: 45 minutes
Skill Level: Intermediate
Materials Needed:
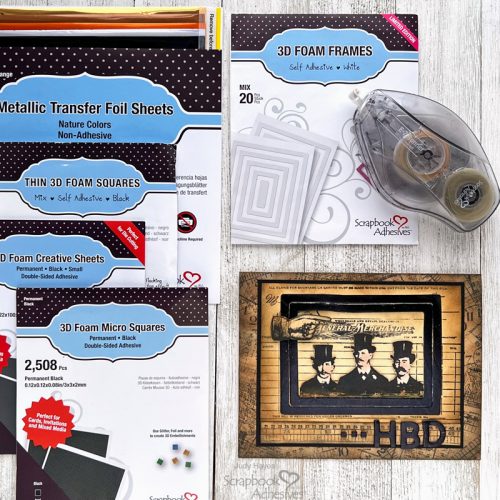
Scrapbook Adhesives by 3L®
Crafty Foam Tape 108′
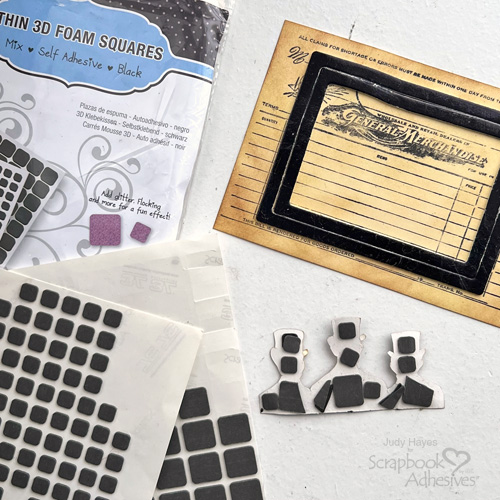
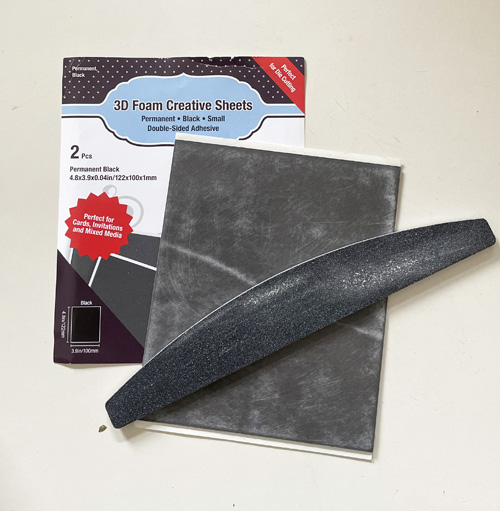
3D Foam Strips
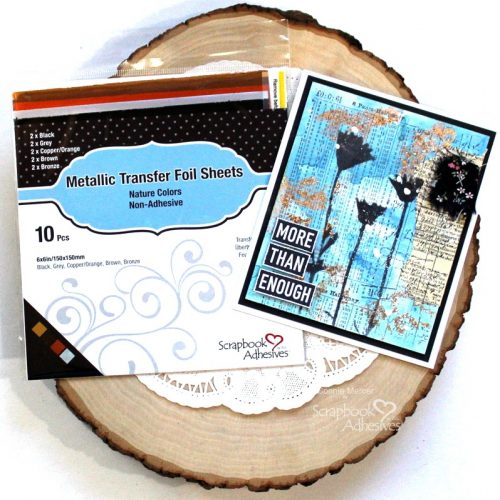
Metallic Foil Transfer Sheets/Nature Brown
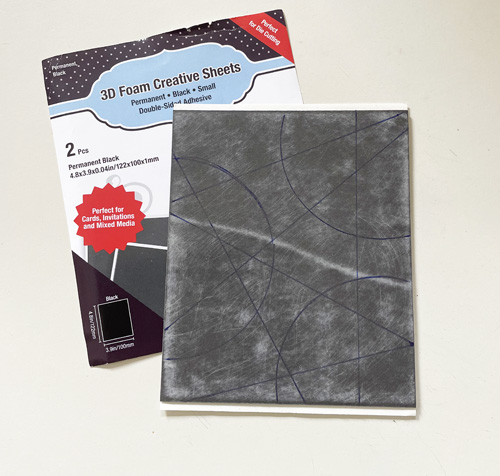
Adhesive Sheets 4×6
E-Z Runner Grand Refillable Dispenser
HomeHobby™ by 3L
Dual Tip Glue Pen
Other: Stamps & Stencils: Darkroom Door; White Acrylic Paint; Ephemera (dictionary page); Material Swatch
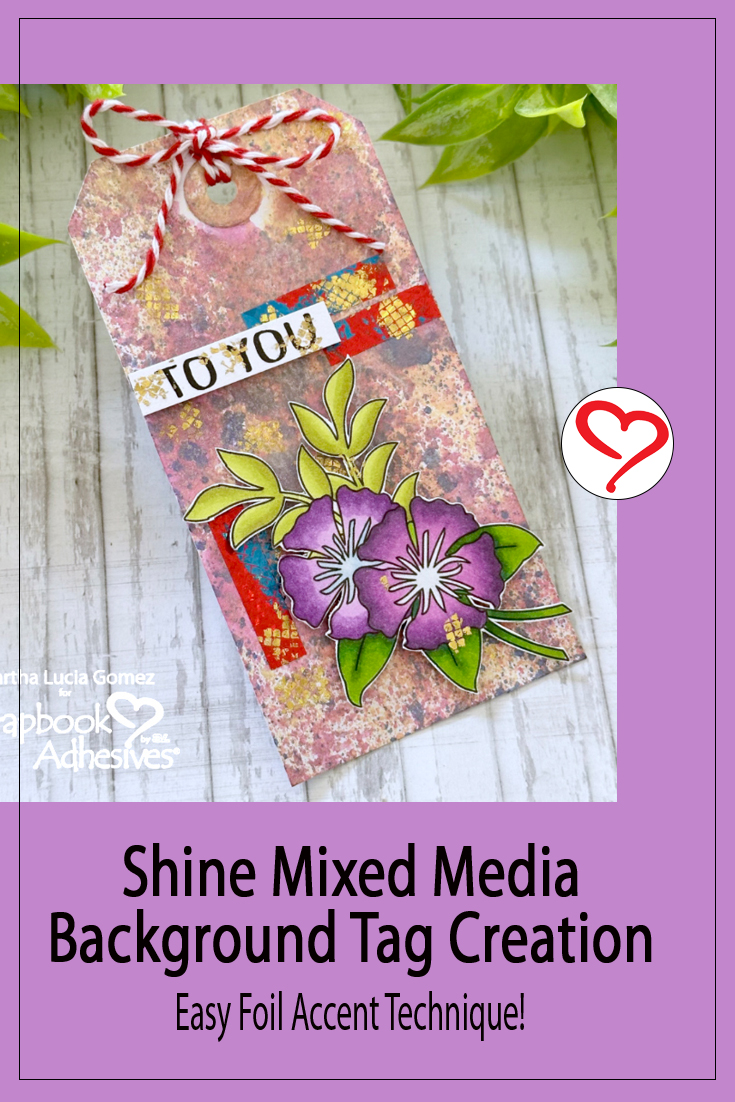
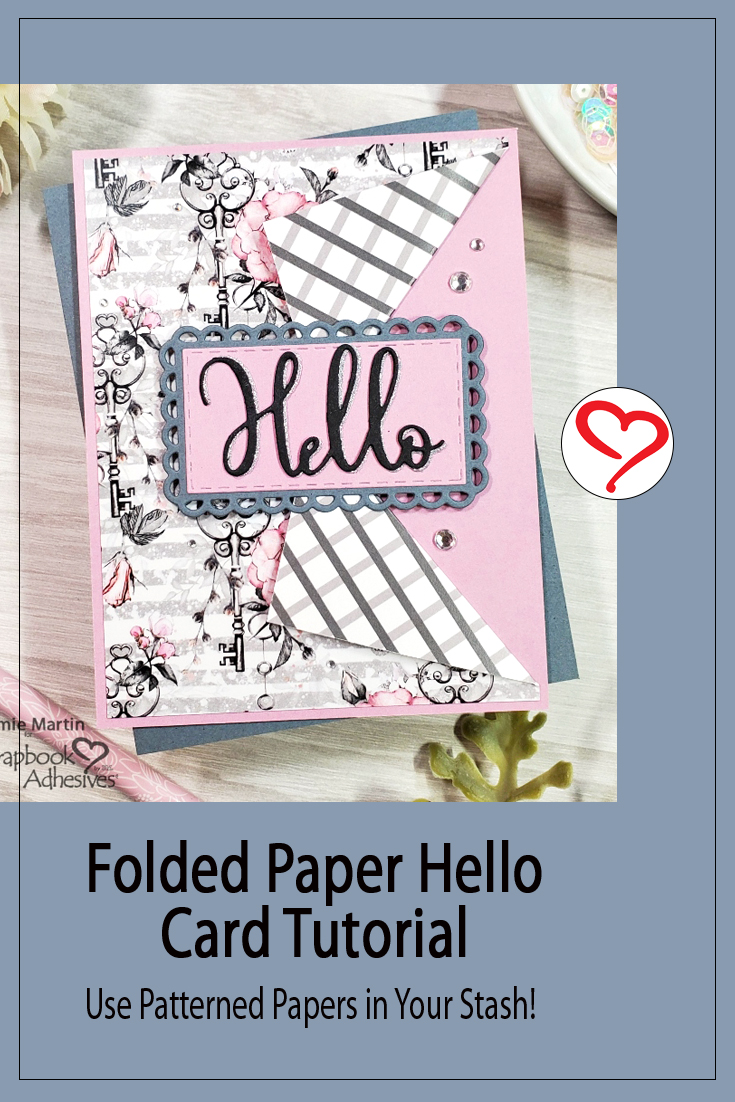
Save to Pinterest!
Visit our Website and Blog!
Sign up for our Newsletter so you never miss a contest or giveaway!