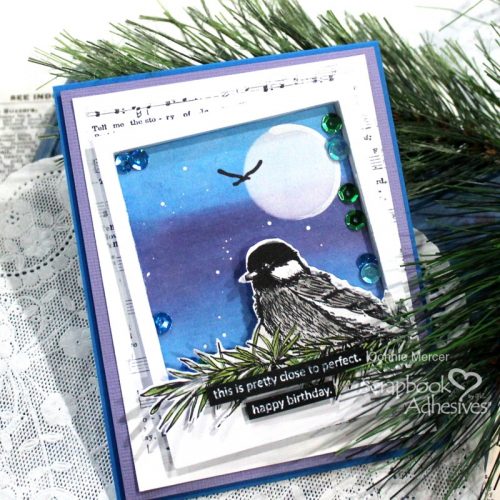
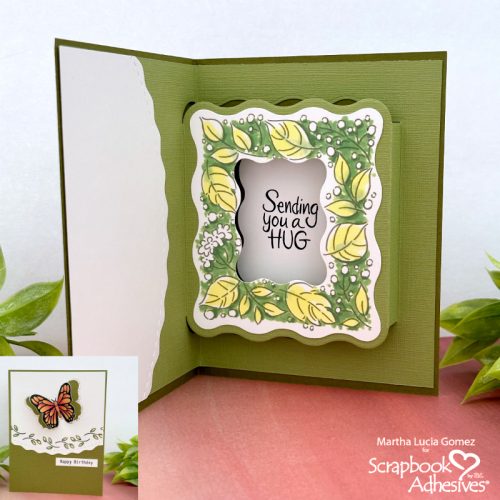
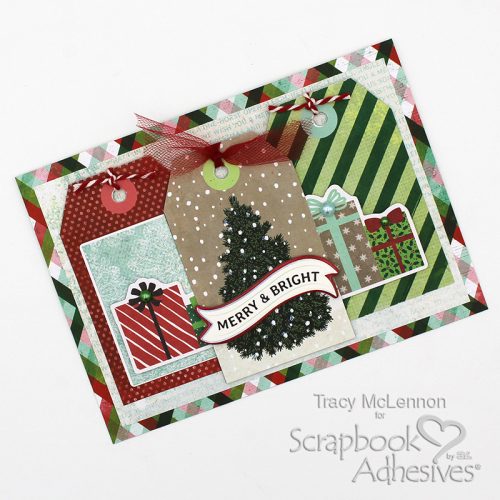
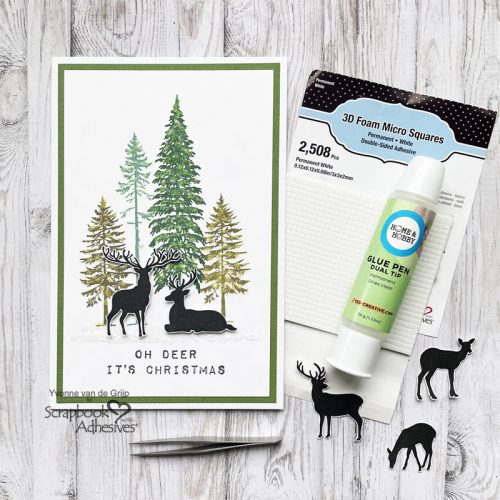
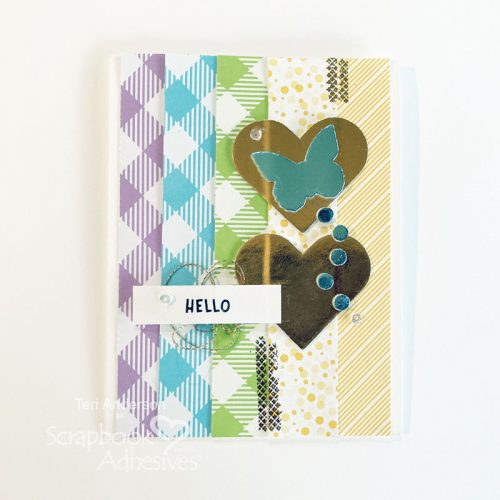
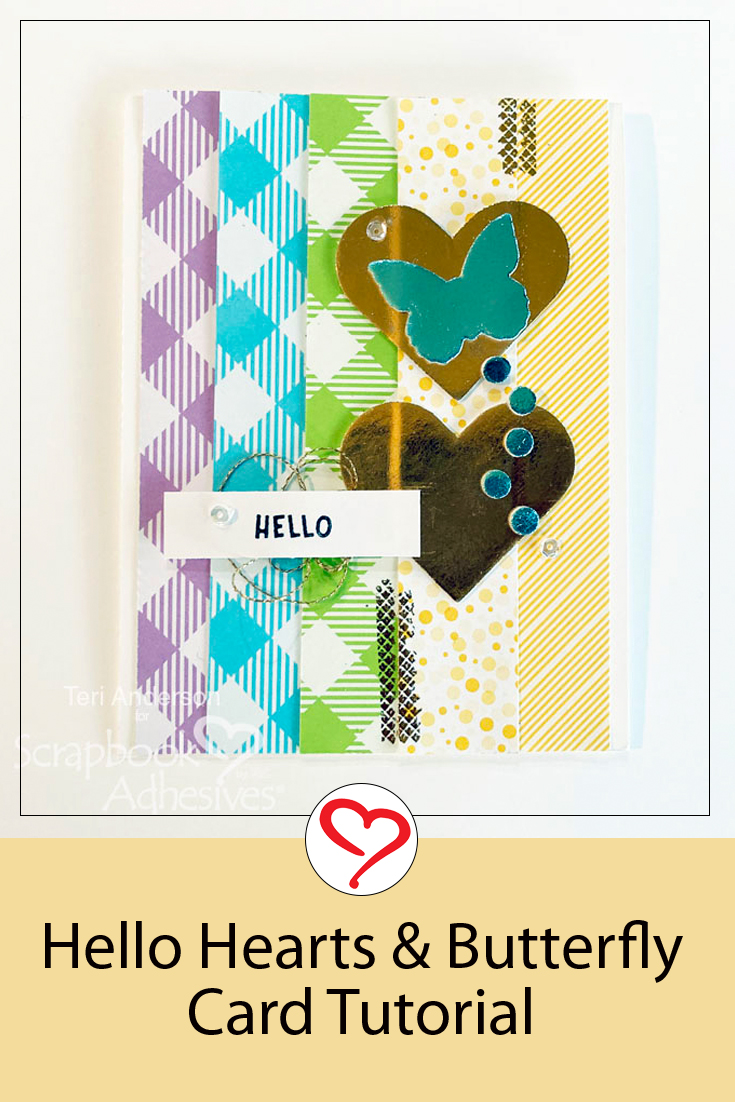
Hi, everyone! Like to add a bit of glitz with foil to your cards and scrapbook pages? Teri here to show you how to make a Hello Hearts and Butterfly card that combines foil with 3D Foam Shapes.
Create the Card Base and Add the Foam Shapes and Foil
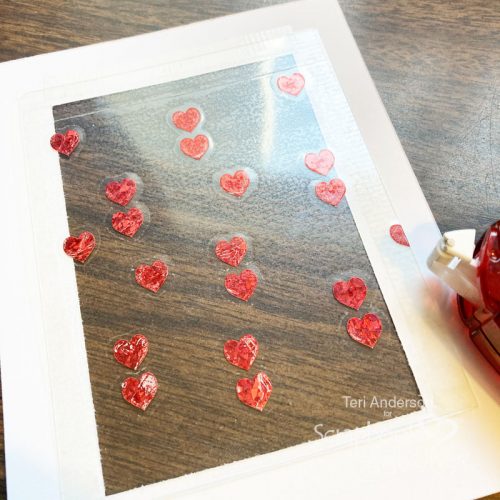
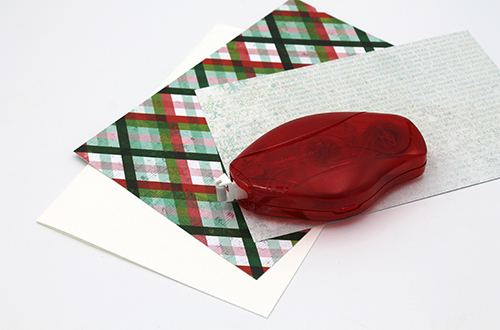
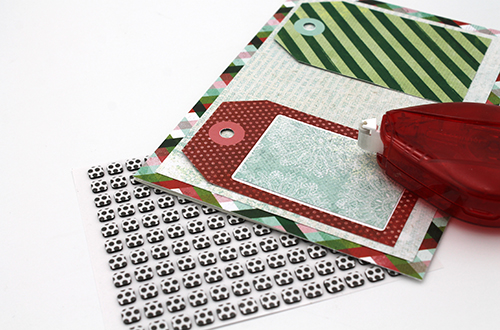
Start by creating a card base from cardstock and covering it with strips of patterned paper. You’ll also want to add two large 3D Foam Hearts to the card. Cover them with foil. Be sure to completely cover each heart.
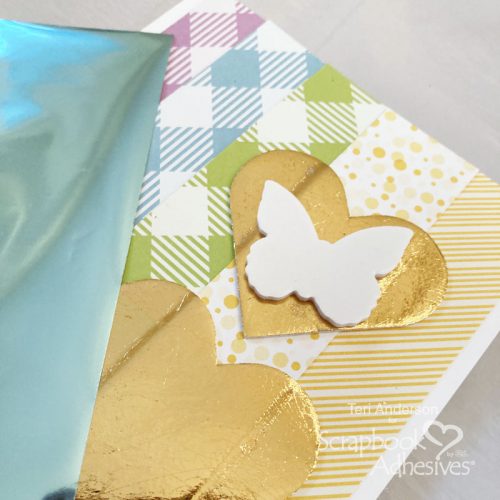
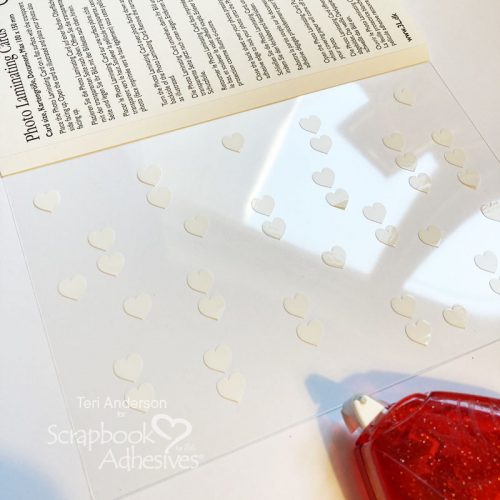
Add a 3D Foam Butterfly to the top of one of the hearts. Burnish a different color of foil onto the butterfly. Be sure to firmly rub the foil onto the shape before removing the sheet. If you miss a spot, just set the foil on it again and rub some more foil onto it.
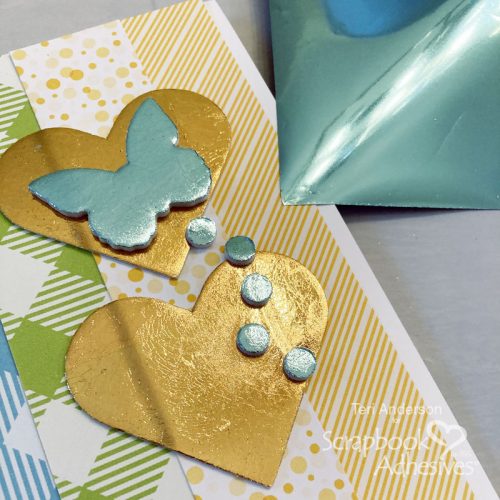
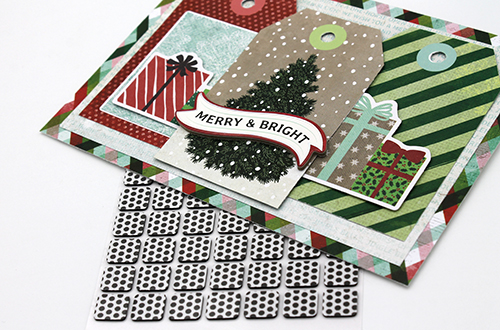
Add a few small 3D Foam Circles below the butterfly so it looks like it is flying away. Burnish foil onto them.

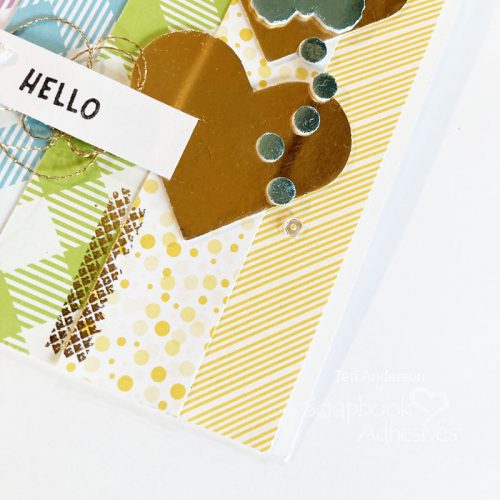
Bunch of a line of gold thread up and adhere it onto your card. You can use any adhesive you’ve got to do this. It will be covered up. Stamp a sentiment on a strip of cardstock. Adhere it onto the card and over thread with Crafty Foam Tape.
Complete the Card by Adding Some Extra Details
Add a few lines of adhesive onto the card’s background with a E-Z Runner® Petite Permanent Dots Refillable Dispenser and burnish foil onto them as well.
Complete the card by adding a few sequins onto it. You can use just a few sequins or a whole bunch of them. It’s completely up to you.

I hope you are inspired to make a card with 3D Foam Shapes and Foil Transfer Sheets. Layering shapes together and using multiple colors of foil with them is a fun way to create a unique look and add lots of dimensions.
Happy creating!
Teri Anderson
Creative Time: 60 Minutes
Skill Level: Intermediate
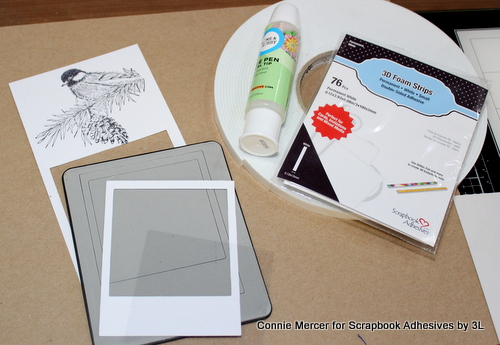
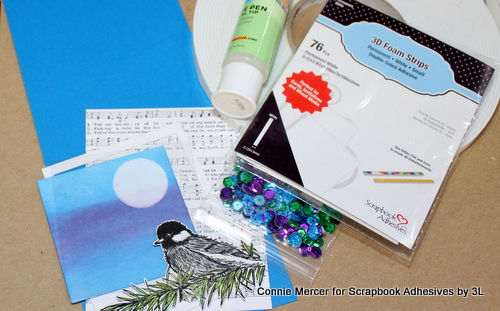
Materials Needed
Scrapbook Adhesives by 3L®
- E-Z Runner® Petite Permanent Dots Refillable Dispenser and E-Z Runner® Permanent Strips Refillable Dispenser
- Crafty Foam Tape White
- 3D Foam Hearts and 3D Foam Butterflies
- 3D Foam Circles White Mix
- Adhesive Dots Micro
- Metallic Transfer Foil Sheets Pastel Colors and Metallic Transfer Foil Sheets Nature Colors
Other
White Cardstock: Neenah Paper; Patterned Papers: Lawn Fawn; Stamps: Lawn Fawn (Pool Party Stamp Set); Black Ink Pad: Ranger Ink; Sequins: Cartwright’s Sequins; Gold Thread
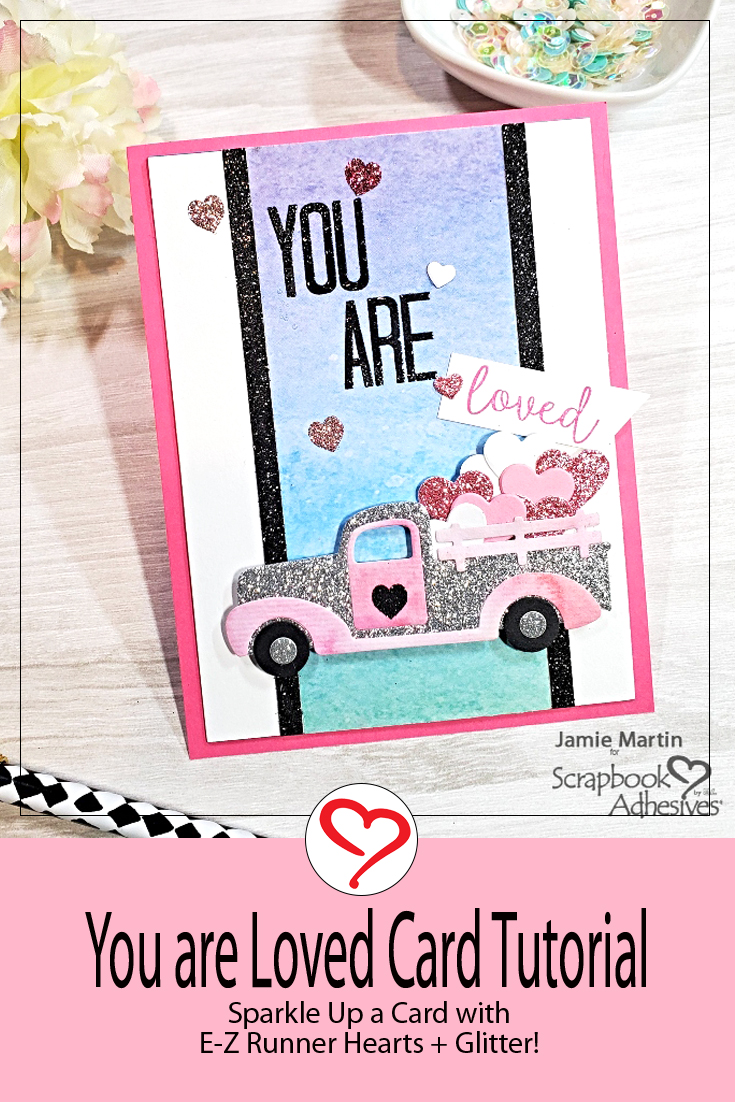
Save to Pinterest!
Visit our Website and Blog!
Sign up for our Newsletter so you never miss a contest or giveaway!