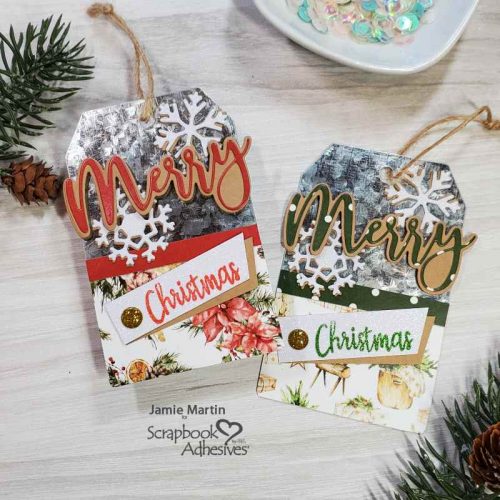
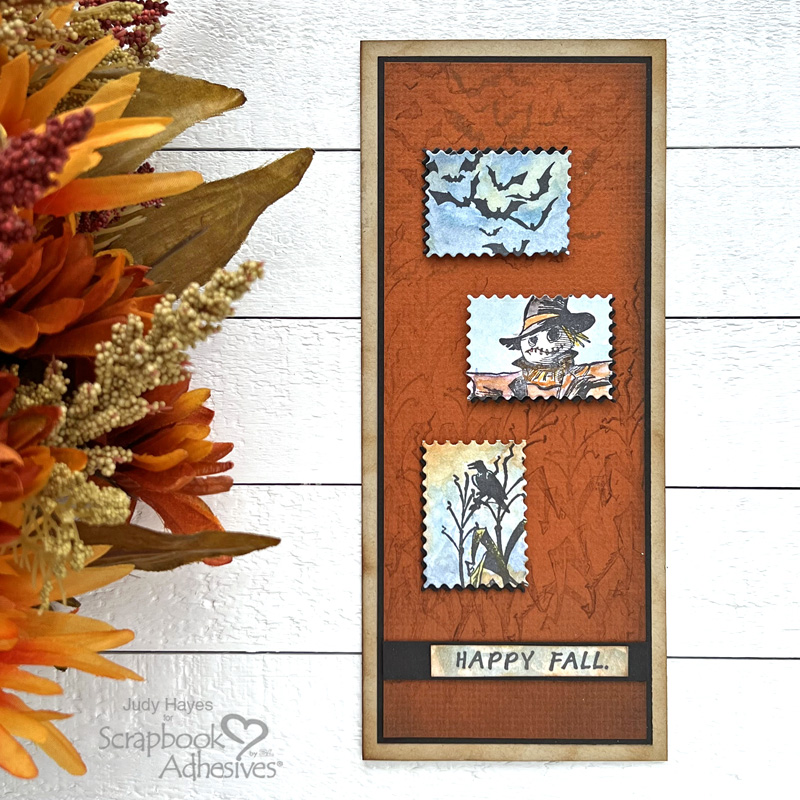
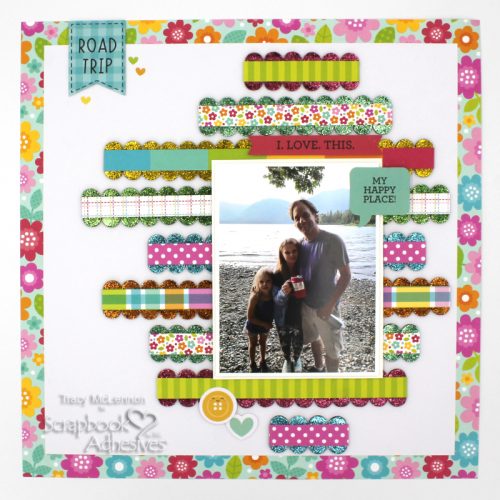
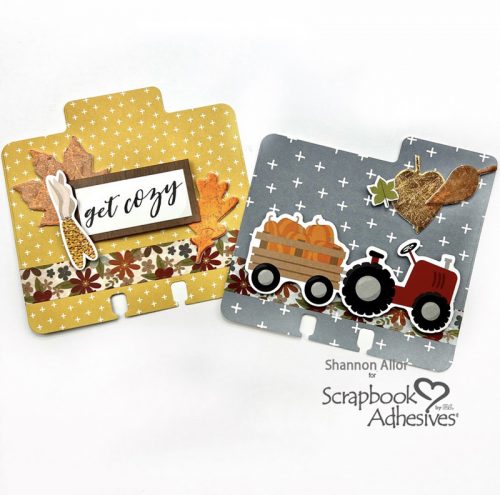
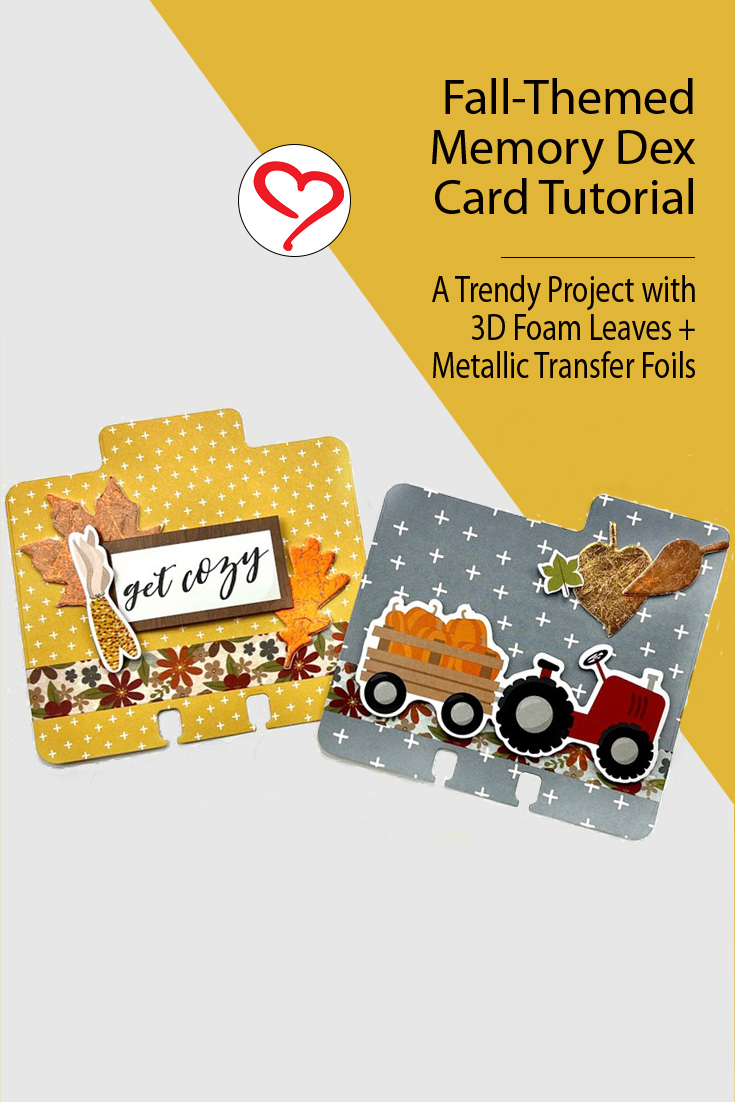
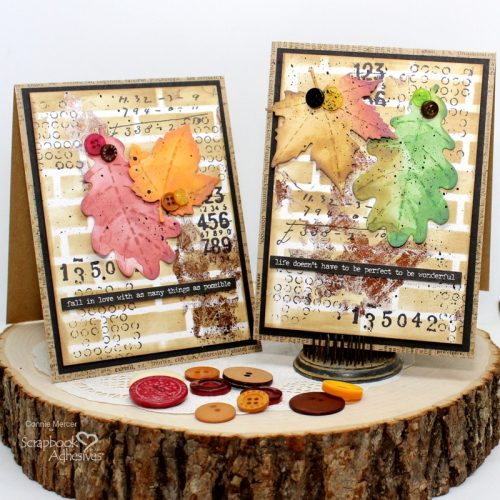
Hi, Connie here with a couple of fall-themed cards, using the Adhesive Sheets and the Metallic Foil Transfer Sheets, to make a unique mixed media style background for the cards.
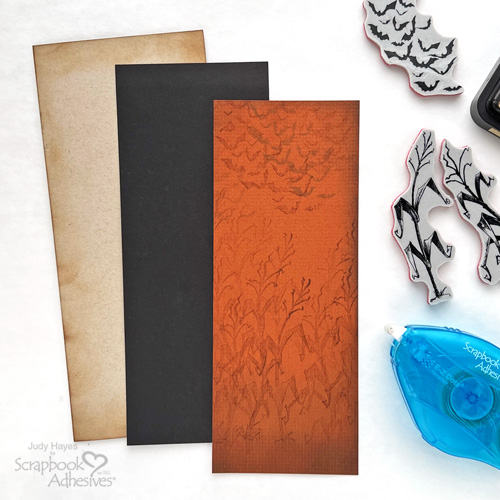
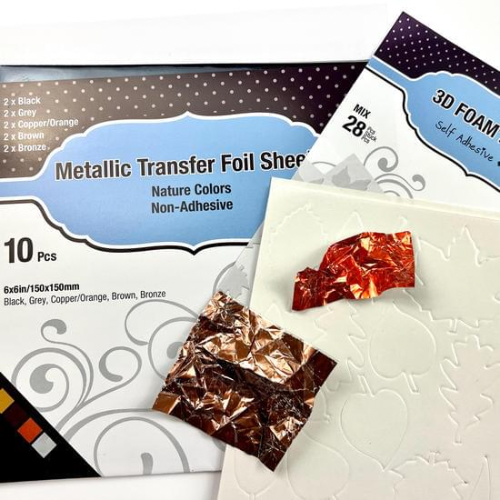
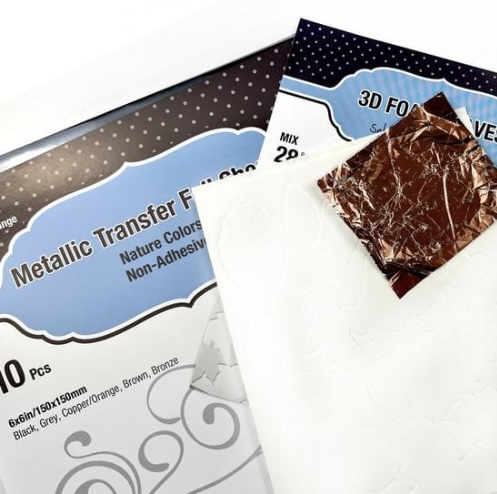
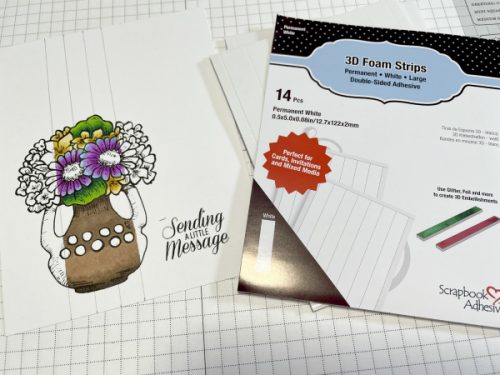
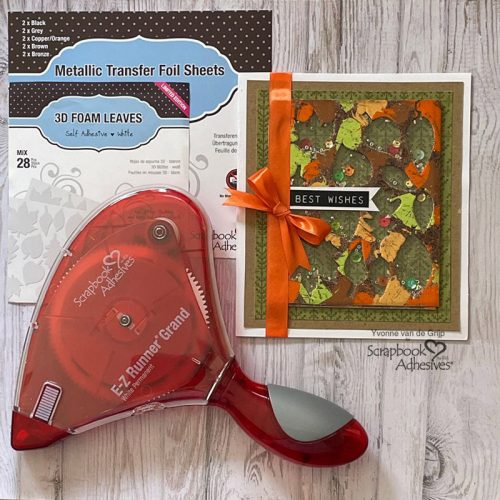
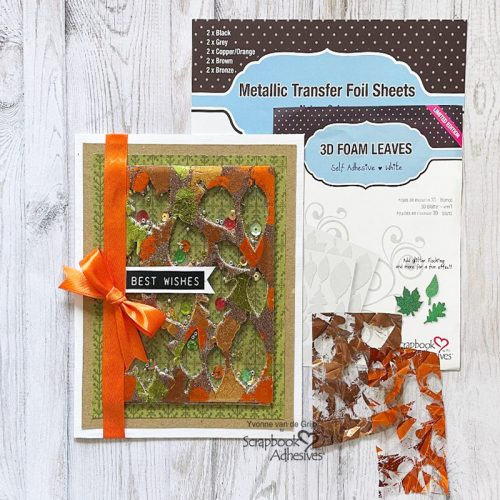
To start this project you will need to get a large stencil, ink, Adhesive Sheets 4 x 6in., Metallic Foil Transfer Sheets in Nature Colors, and white cardstock.
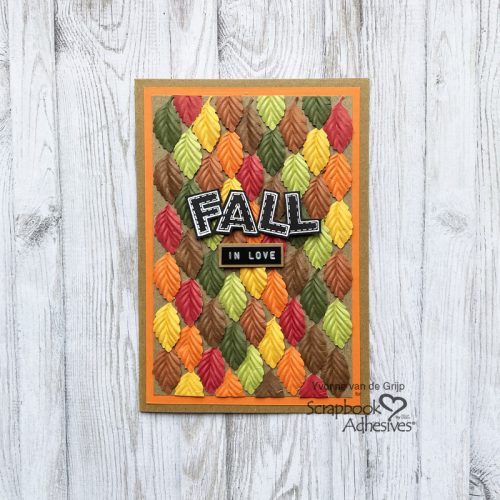
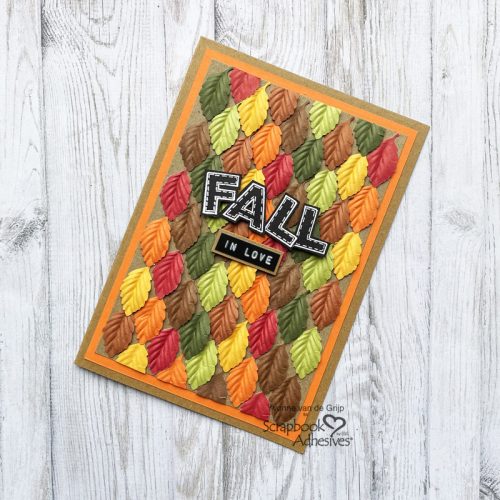
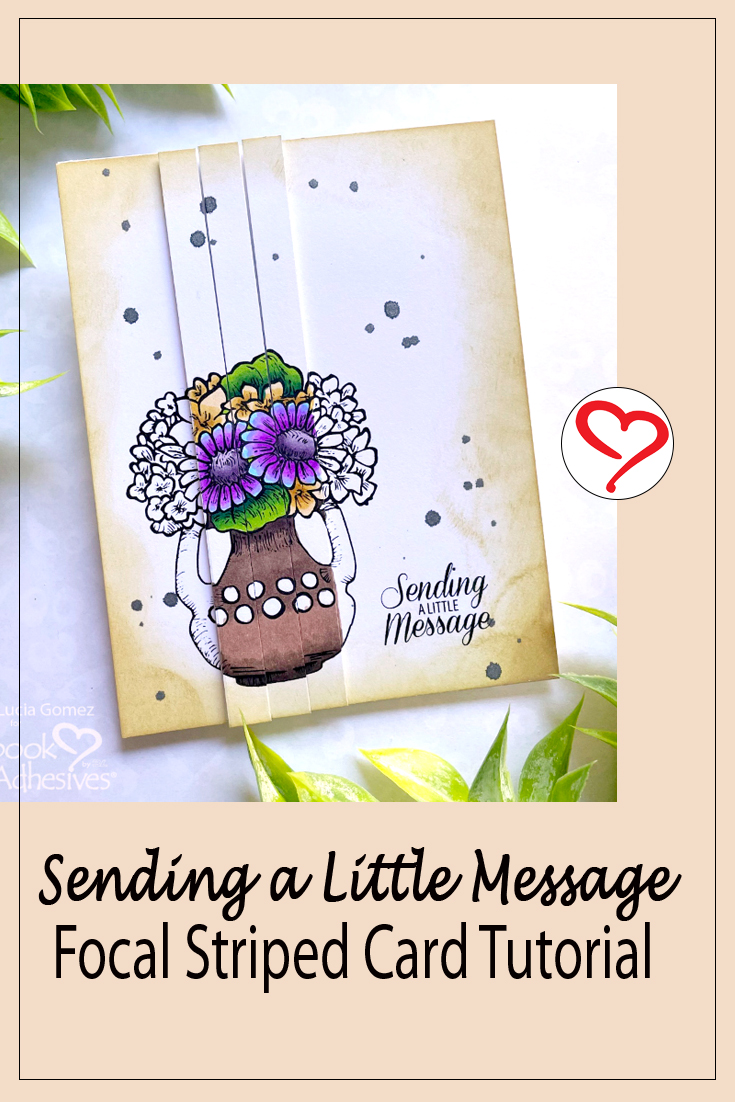
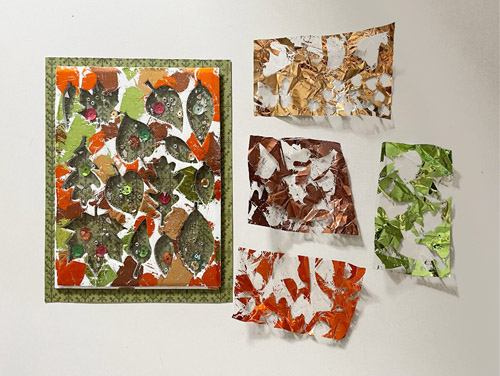
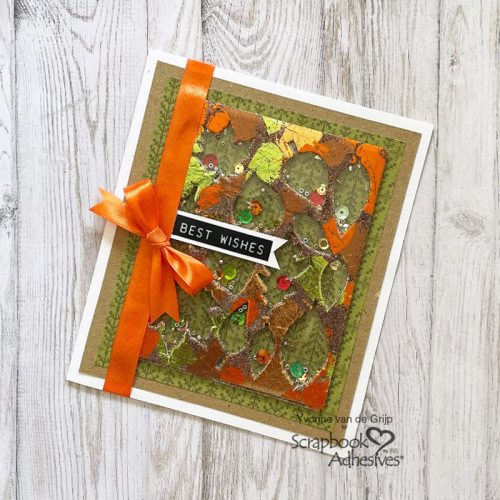
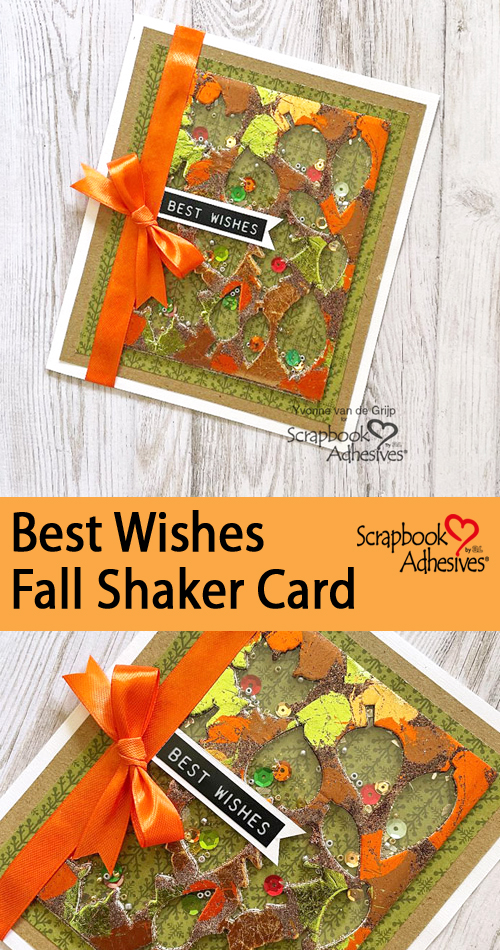
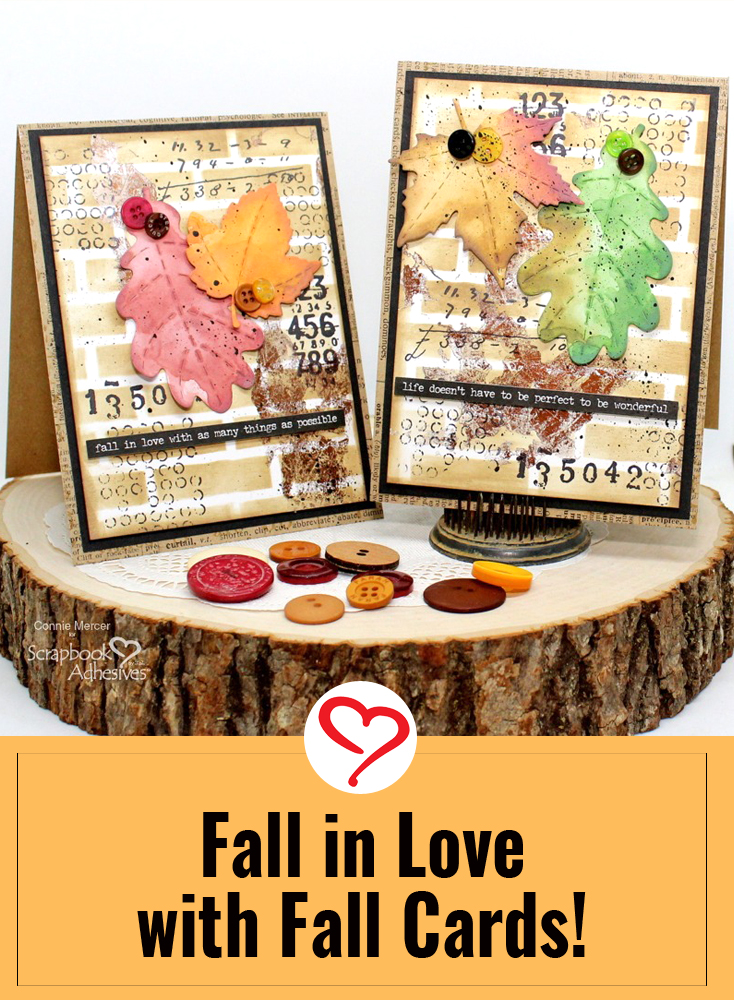
Fall Card Panel Background
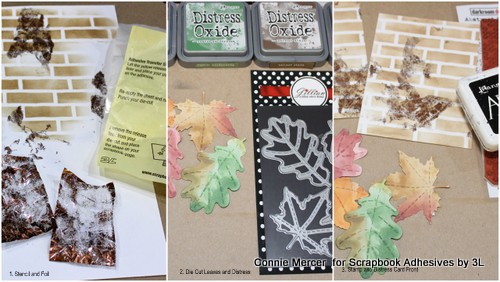
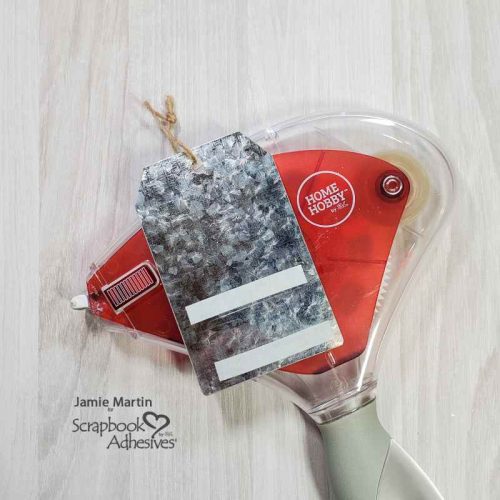
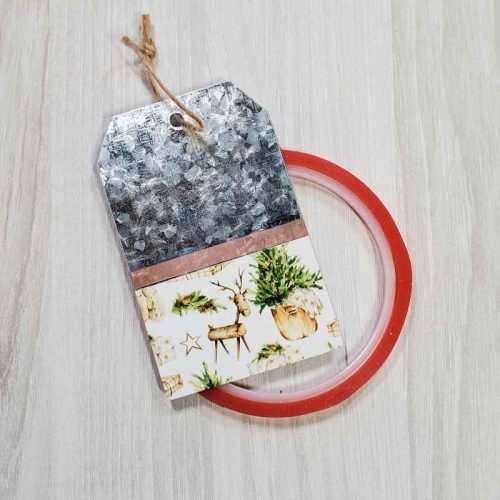
- 1. Stencil the pattern onto the white cardstock using brown ink. Dab the Adhesive Sheets 4 x 6in. in random spots on the card panel. Then cut the Bronze Foil sheet from the Metallic Foil Transfer Sheets in Nature Colors into 2″ squares. Crinkle the foil squares to distress them and apply it on top of the exposed adhesive spots (color side up) with a rounded end of a bone folder. Peel off and you’ll see a wonderful look! If there are any sticky spots, simply reapply the foil.
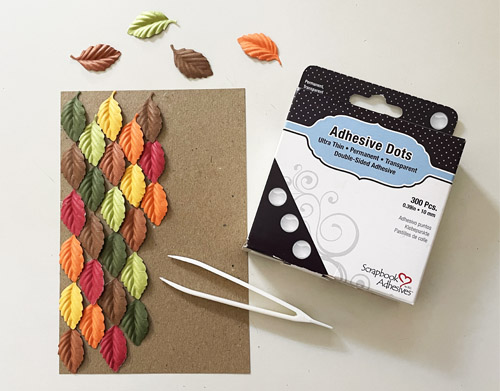
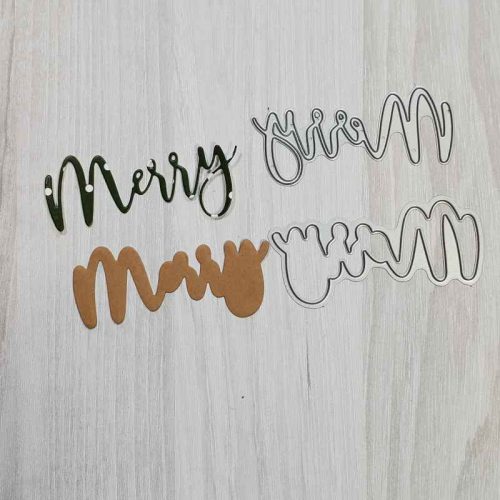
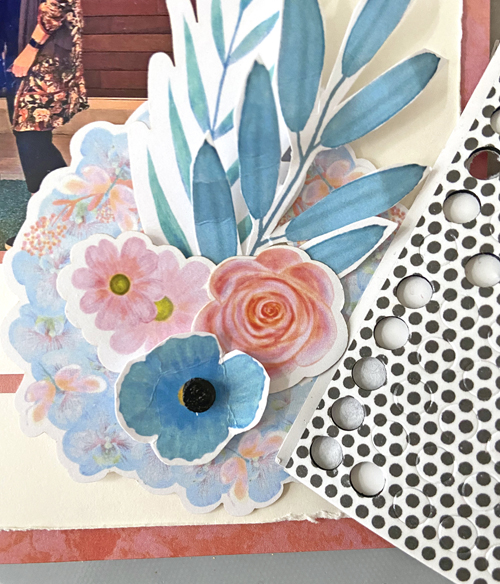
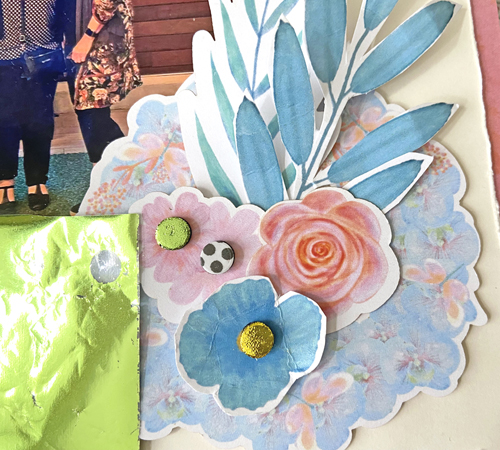
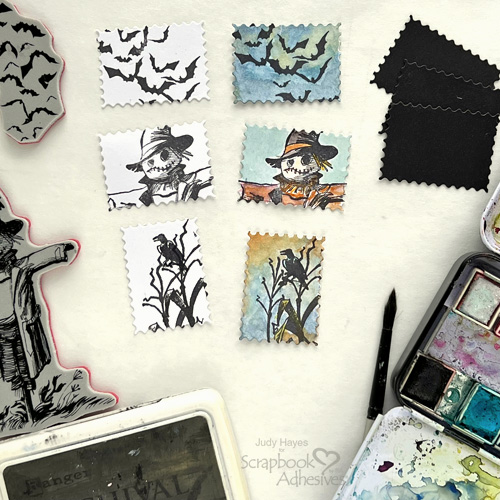
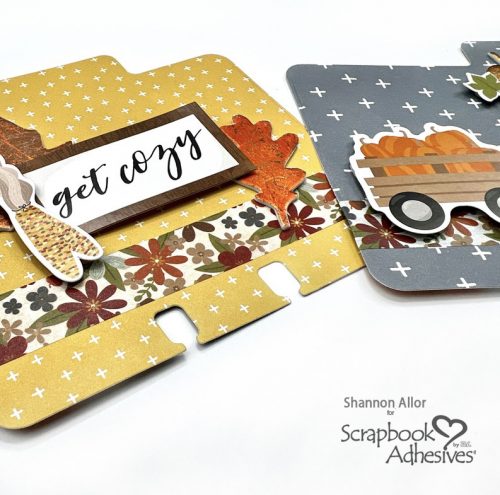
2. Die-cut the leaves and distress them using Distress Oxide ink or watercolors.
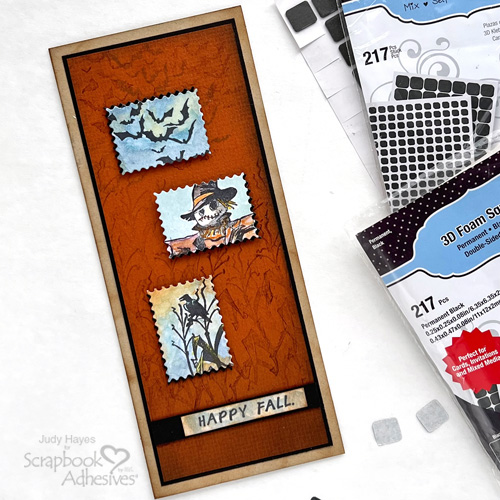
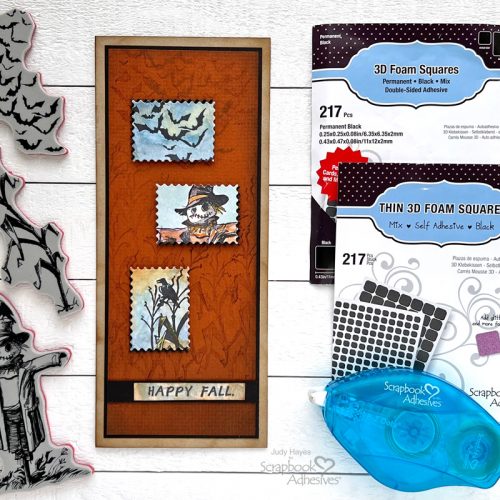
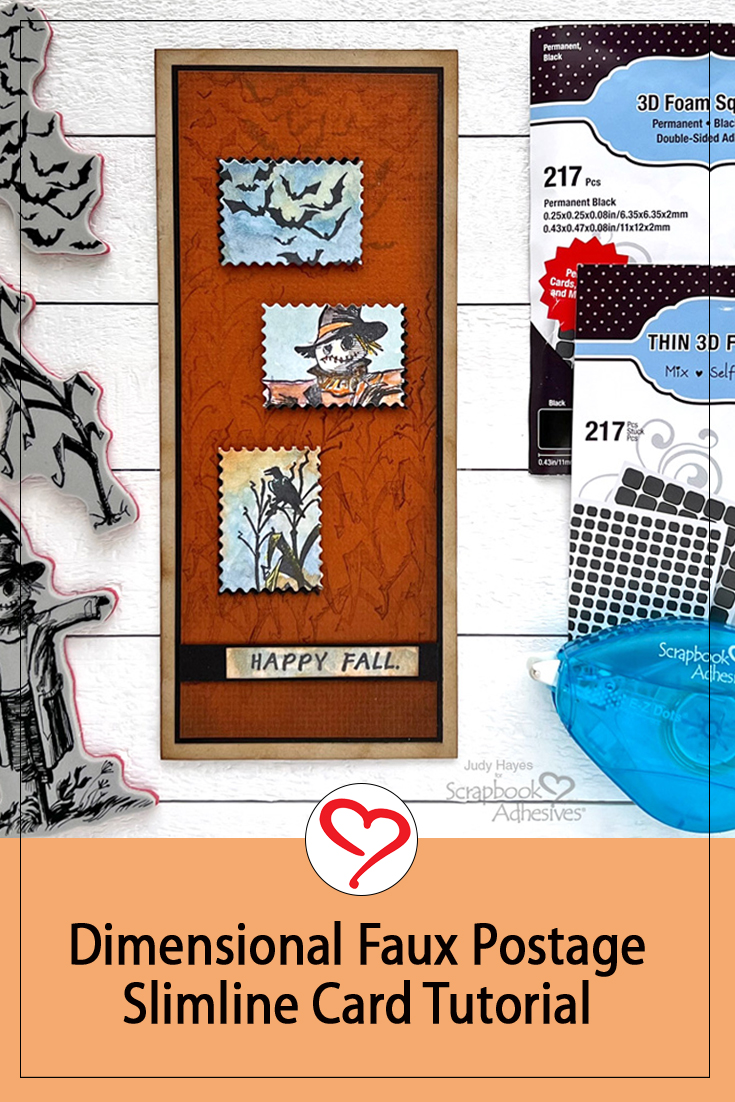
3. Add stamps to the card background for a trendy mixed media look.
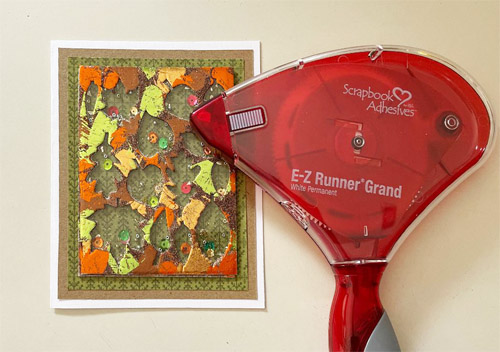
Assembling the Cards
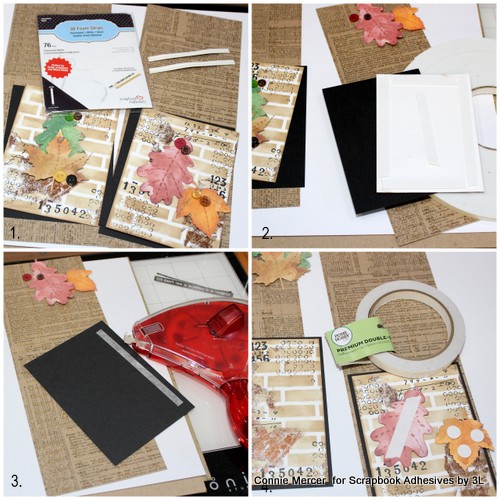
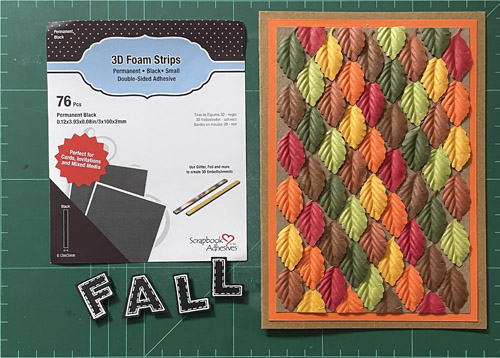
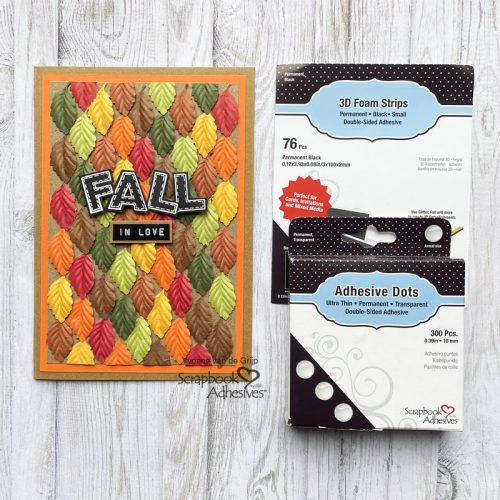
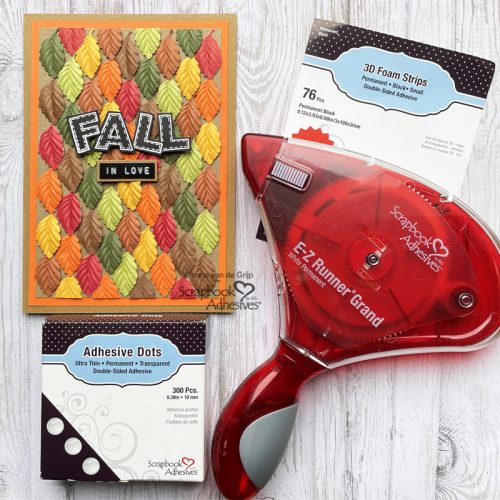
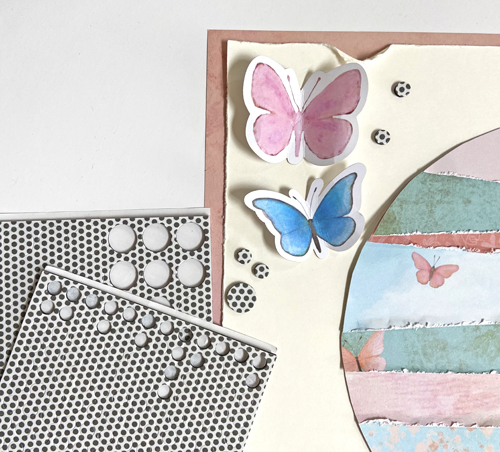
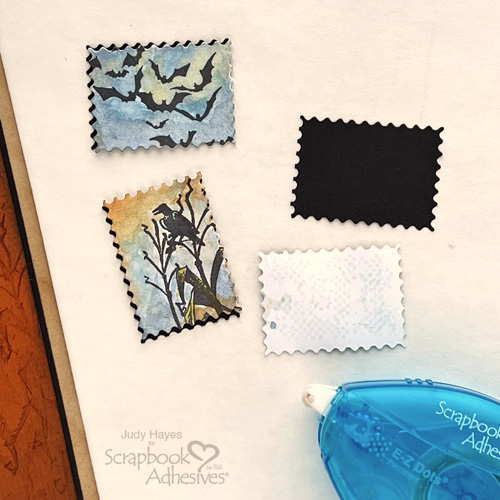
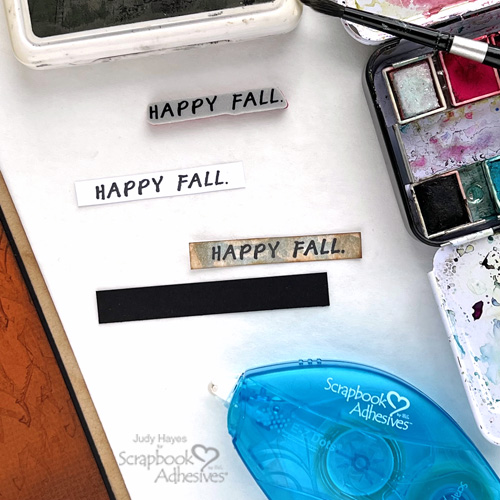
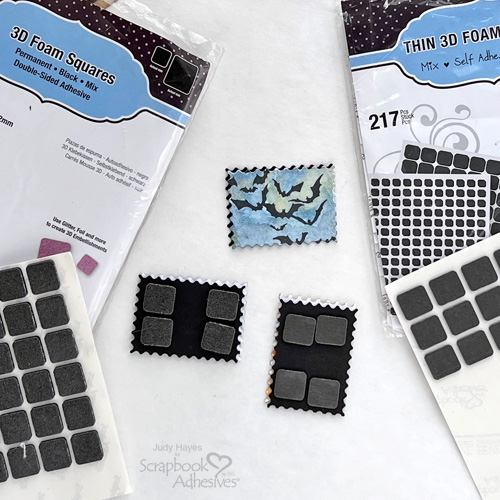
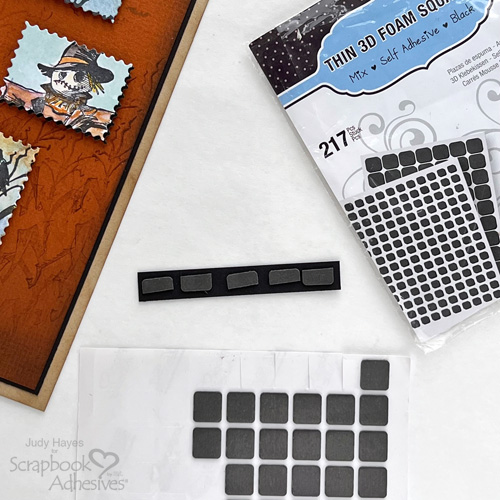
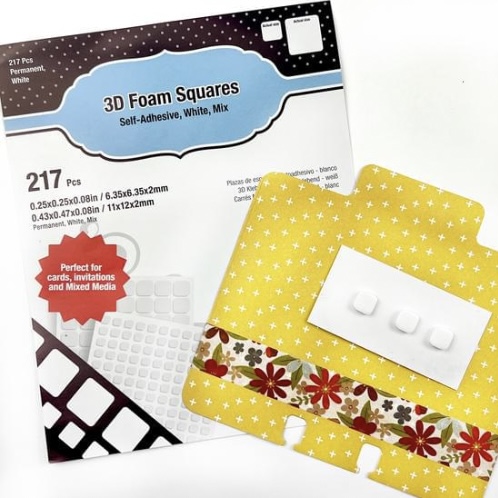
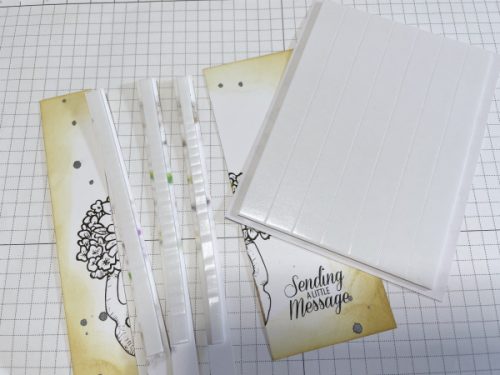
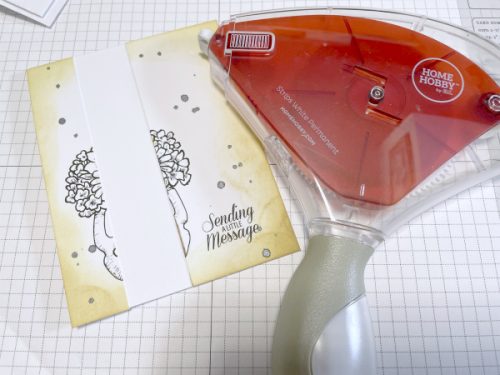
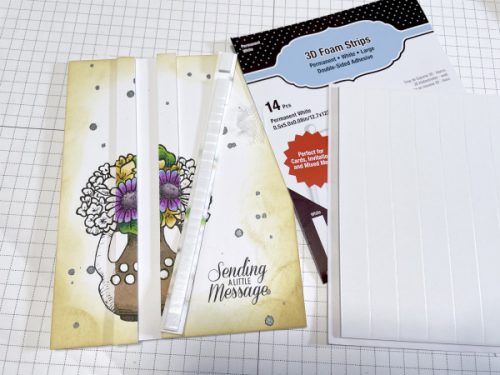
- 1. Apply the 3D Foam Strips to the sentiment word strips and set them aside.
2. Adhere the card front to black cardstock using Crafty Foam Tape 108′.
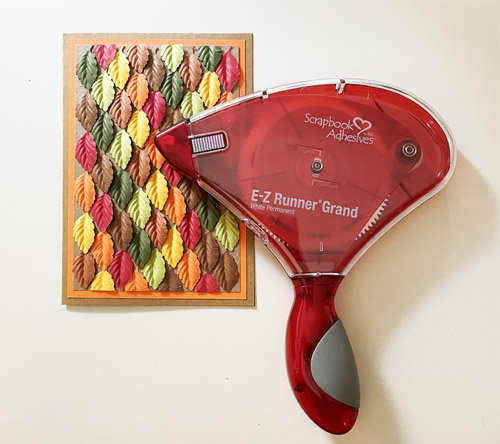
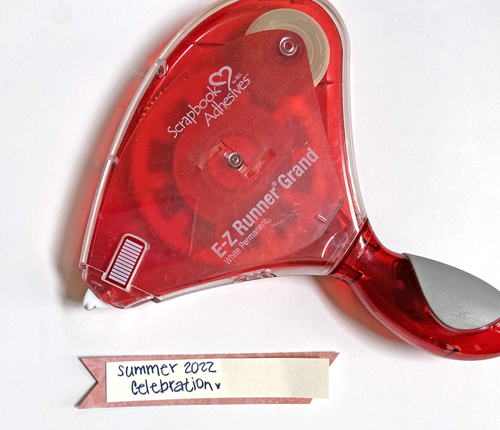
3. Place the card front to the card base using the E-Z Runner Grand Refillable Dispenser.
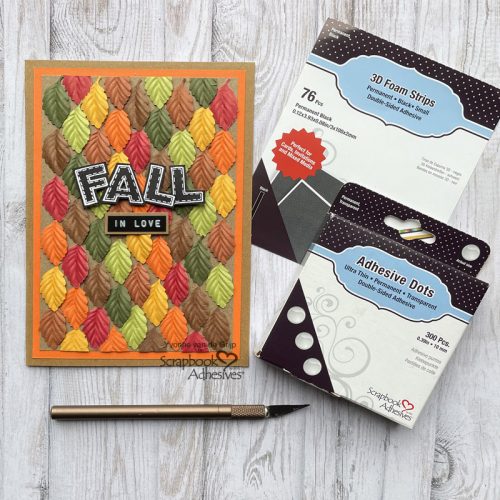
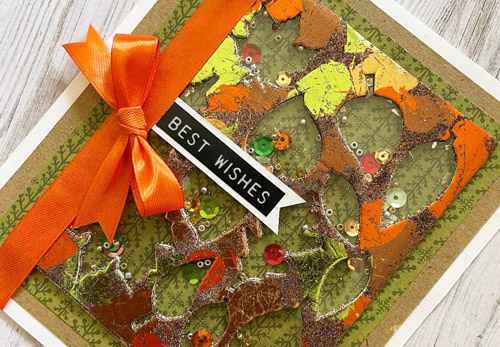
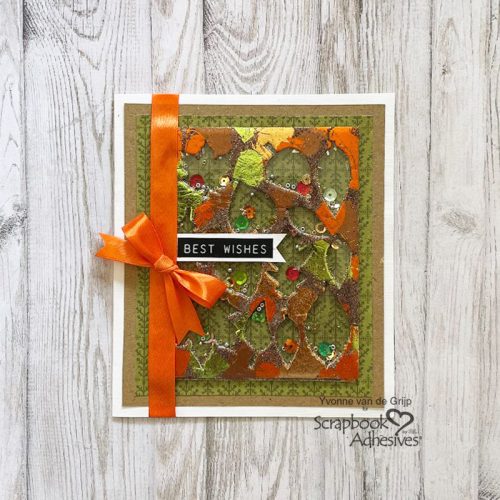
4. Attach the leaves with Premium Double-Sided Tape 1/2″ and 3D Foam White Circles Mix.
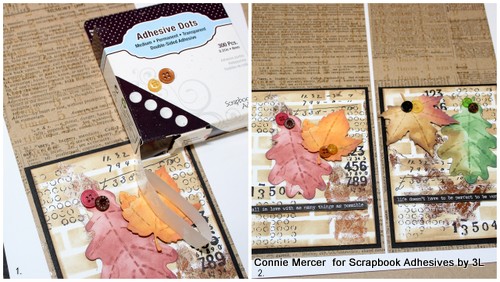
The buttons are attached using the Adhesive Dots Medium to the leaves. The sentiment word strips are added to the card front. Use black acrylic to speckle the finished card.
Skill Level: 60 mins.
Creative Time: Intermediate
Materials Needed:
Scrapbook Adhesives by 3L®
E-Z Runner® Grand Refillable Dispenser
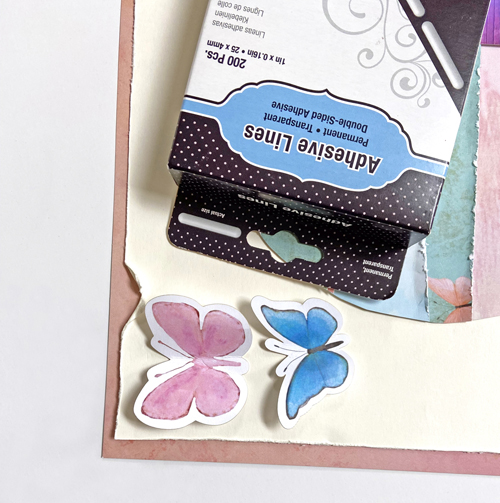
Adhesive Sheets 4 x 6in.
Metallic Foil Transfer Sheets in Nature Colors
3D Foam Strips
Crafty Foam Tape 108′
3D Foam White Circles Mix
Adhesive Dots Medium
HomeHobby™ by 3L
Premium Double-Sided Tape 1/2″
Other: Stamps: Darkroom Door; Stencil: Darkroom Door; Craft Dies: AJVD; Ink: Ranger Ink (Distress Oxide in Walnut Stain, Rustic Wilderness, Rusty Hinge and Aged Mahogany); White, Kraft and Black Cardstock; Bone Folder; Acrylic Black Paint; Buttons: Buttons Galore & More, Stickers: Tim Holtz: Small Talk
Save to Pinterest!
Visit our Website and Blog!
Sign up for our Newsletter so you never miss a contest or giveaway!