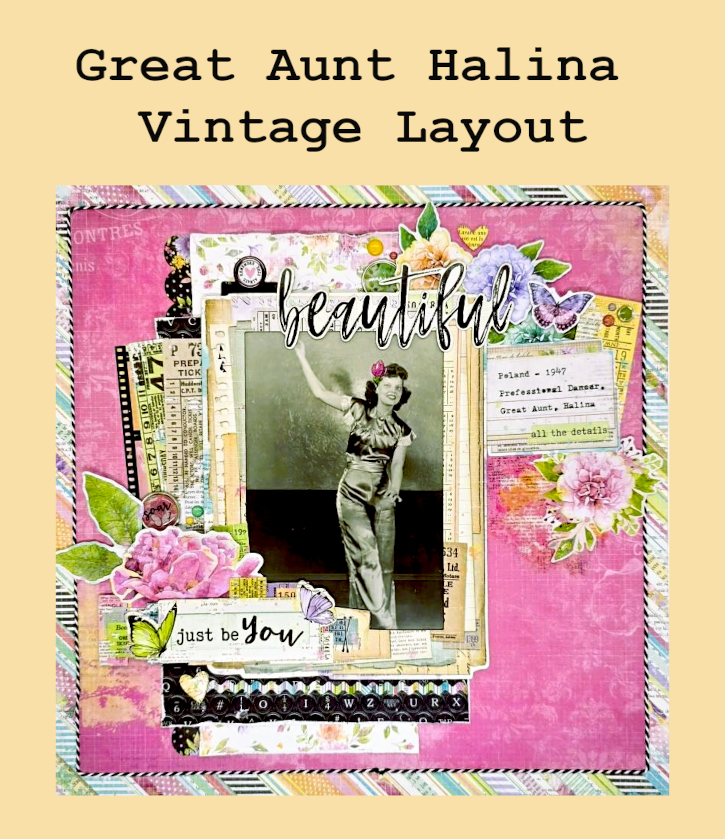
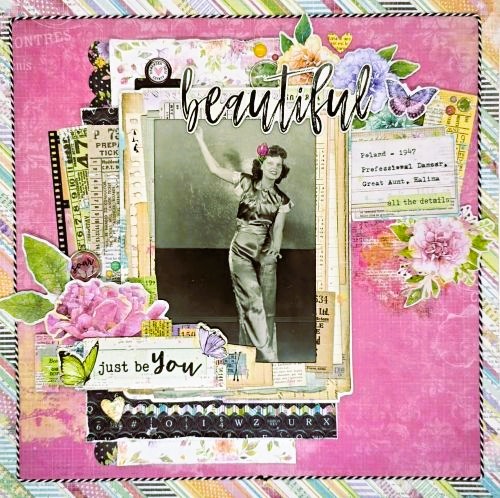
It’s Kristin here, today I’m sharing a 12×12 Great Aunt Halina Vintage Layout. This page features a treasured photo of my great aunt, Halina from Poland. The photo was taken during her years as a professional dancer in 1947. I wanted the design of the layout to feel vibrant, elegant, and full of movement.
Great Aunt Halina Vintage Layout Foundation
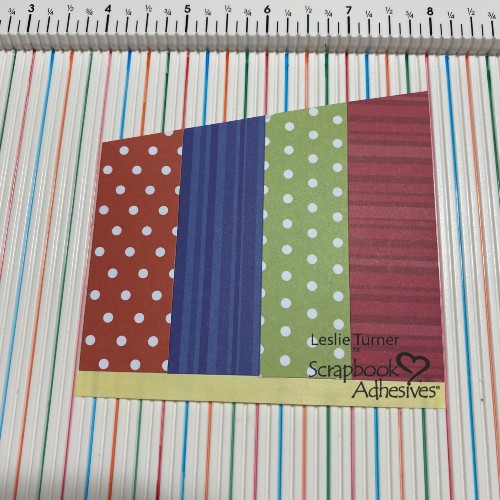
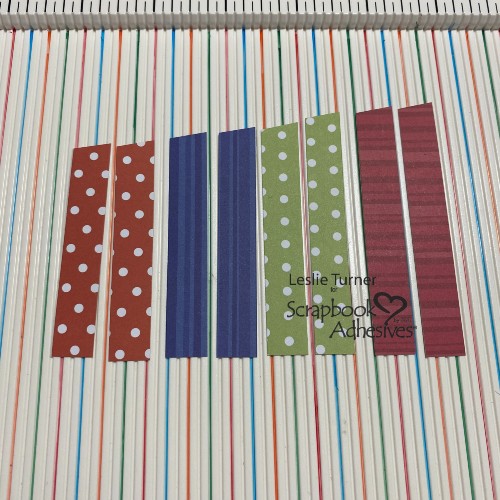
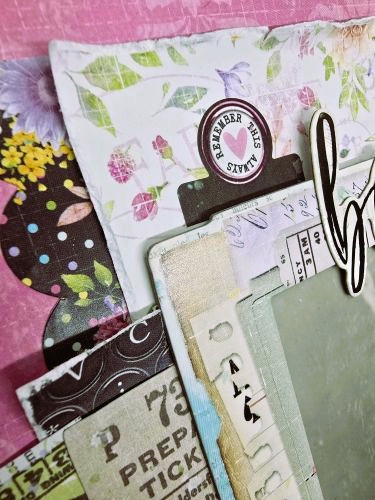
Select patterned papers with vibrant colors that worked well as a lively backdrop while still honoring the timeless photo of my great aunt, Halina. After layering several patterned papers behind the photo with Crafty Foam Tape White 108ft, I added a chipboard frame on top of the photo with Extreme Double-Sided Tape 1/4in. The raised elements create soft shadows and bring the layout to life. It also helped to frame my photo and draw attention to her graceful pose.
Floral Clusters
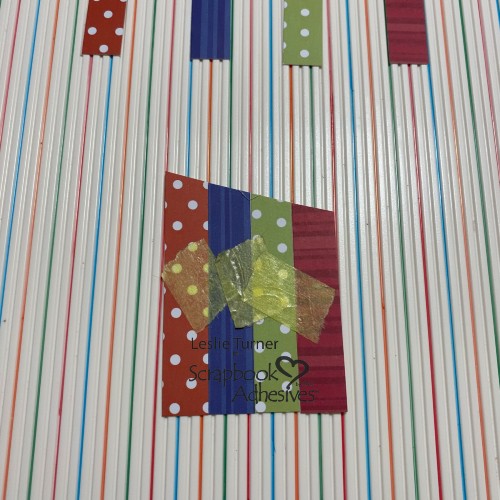
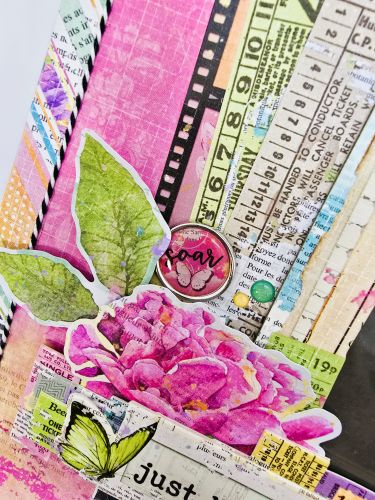
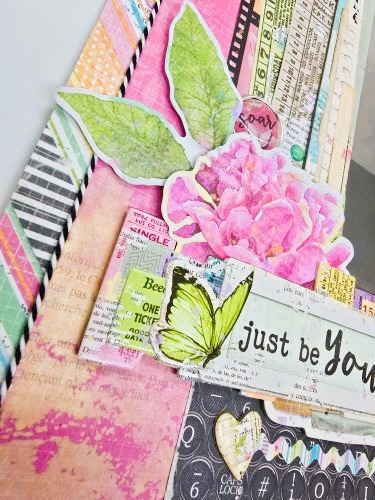
To create floral clusters around the photo, I tucked pieces along the sides and corners to guide the eye across the page. Some elements were adhered flat with my E-Z Runner® Grand Permanent Strips Refillable Dispenser, while others were popped up using 3D Foam Squares White Mix. This variation adds depth without making the layout feel heavy and bring a sense of movement. The vibrant colors add energy while keeping the image as the focal point.
Adding Dimensional Accents
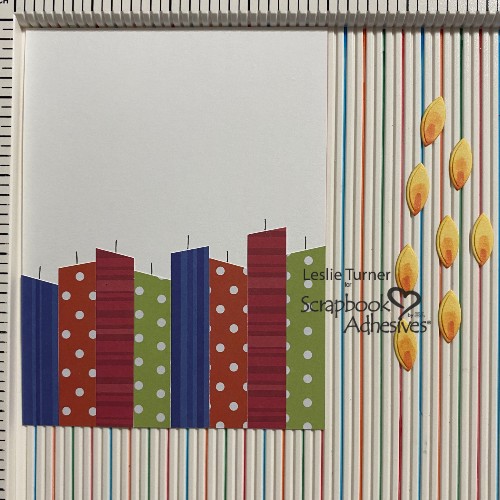
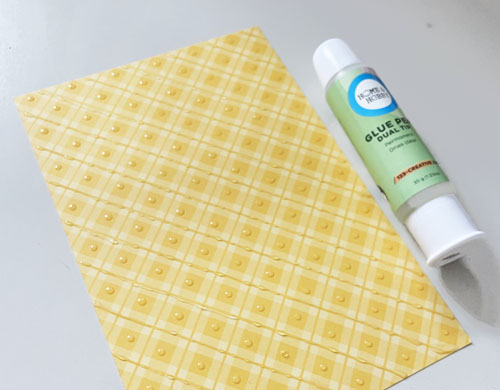
To add texture, I used black baker’s twine around the border of the layout and adhered it using Dual Tip Glue Pen. I love how the black & white breaks up the busy background where it meets the pink, solid patterned paper. Keeping the layout interesting and cohesive, I incorporated chipboard elements with the idea of using a mix of flat and raised adhesive.
Title and Finishing Touches
The “Beautiful” chipboard piece acts as the title and was positioned near the photo to anchor the design with Adhesive Lines. The black title complements the vibrant florals and highlights the subject of the page. Finally, add a few more foam adhesive pieces, enamel dots and brads to complete the layout.
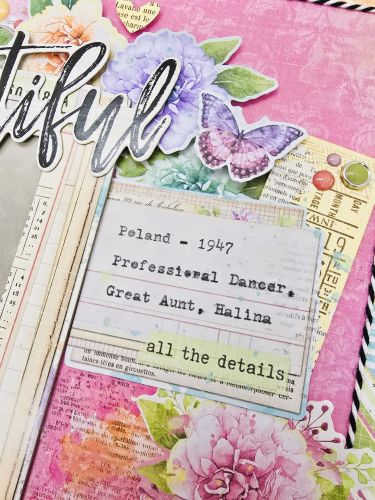
This layout celebrates a beautiful family memory. The vibrancy of the Simple Vintage Life in Bloom collection makes the finished page feel alive, elegant, and perfect for preserving this timeless photograph.
Happy scrapping & thank you for visiting!
Kristin Rizzo
Creative Time: 60 mins
Skill Level: Intermediate
Materials Needed:
Scrapbook Adhesives by 3L®
E-Z Runner® Grand Permanent Strips Refillable Dispenser, 3D Foam Squares White Mix, 3D Foam Squares Micro White, Crafty Foam Tape White 108ft., Adhesive Lines
HomeHobby™ by 3L
Extreme Double-Sided Tape 1/4in., Dual Tip Glue Pen
Other: Patterned Paper & Embellishments: Simple Stories (Simple Vintage Life in Bloom Collection)
Click Preferred Retailers List
Save to Pinterest!