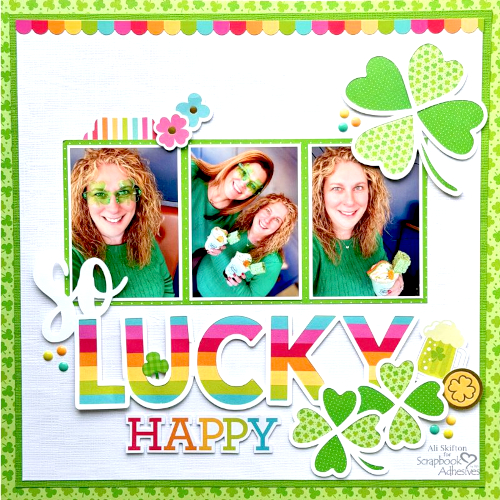
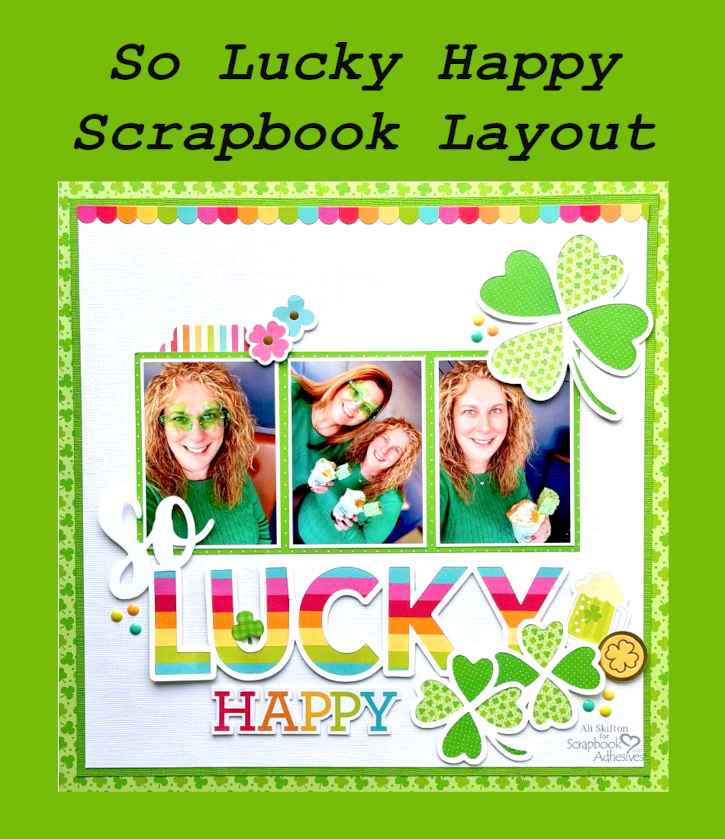
Hi friends! Ali here from FunAdventuresWithAli, and today I’m excited to share a festive So Lucky Happy Layout that celebrates one of my favorite spring holidays—St. Patrick’s Day! This page documents a fun outing with my friend Sheri, and it’s one of those memories that just makes me smile every time I look at the photos.
So Lucky Happy Story
Sheri and I decided to celebrate by heading out for a Shamrock Shake at a cute little café. It was such a fun treat! Not only was the shake delicious, but they decorated it in the most festive way. It came topped with a sour rainbow strip, a green Rice Krispie treat, and even a gold coin. It was such a creative and playful presentation, and of course we had to snap a few photos before enjoying it. These little outings always make for the best scrapbook memories.
So Lucky Cut File
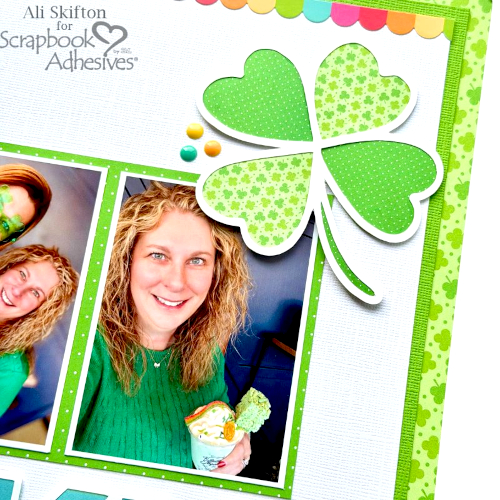
The focal point of this layout is a cute cut file that says “So Lucky.” I backed the main title with a piece of striped patterned paper to give it a bright and colorful base. For the shamrocks in the design, I used two different green patterned papers to add a little variety and dimension while still keeping the overall look cohesive. The adhesive I used for these steps is the E-Z Dots® Repositionable Dispenser. It does two things, hits the cut file (skipping over gaps) and papers can be pulled off to be repositioned again.
The Photo Placement
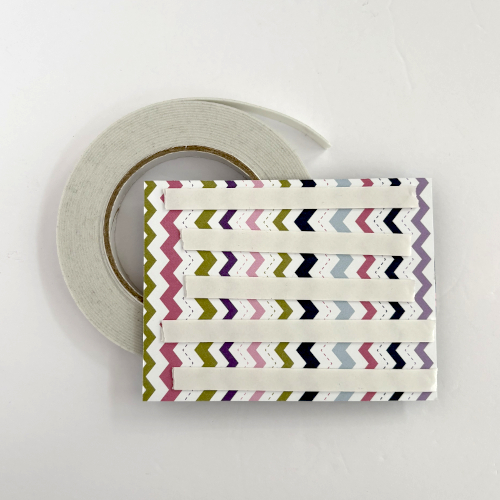
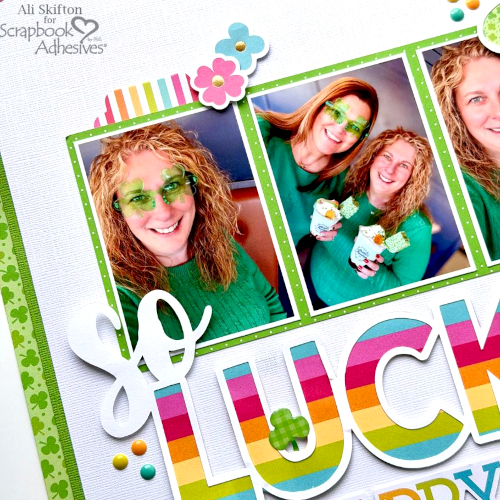
To highlight our photos, I created a collage using three pictures of Sheri and me dressed in our festive green outfits. And can we talk about those shamrock shades? They were too cute not to feature! To make the title stand out over the photo collage, I used my favorite Crafty Foam Tape White 108ft. The foam adhesive adds the perfect amount of dimension and really helps the title pop off the page.
Finishing Off the Page
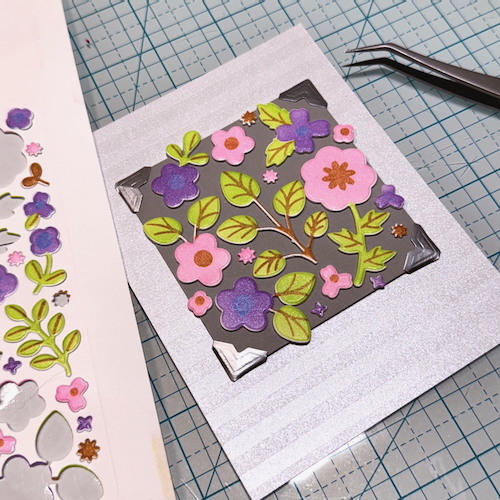
Add more pieces of Crafty Foam Tape White 108ft. behind the larger green shamrock in the upper right corner of the photos to stand out as an additional design element. Layering dimension throughout the page helps guide the eye and gives the layout a little extra interest.
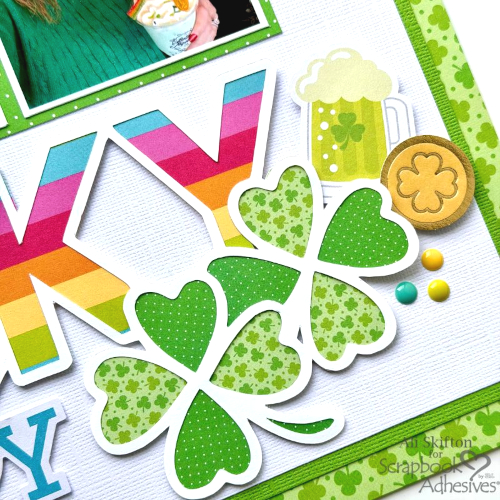
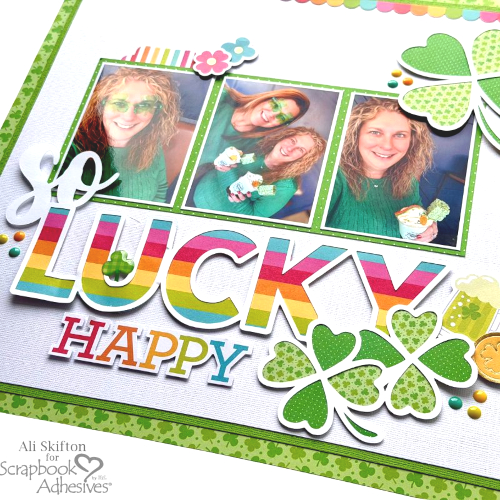
Use the 3D Foam Squares Micro White to pop up smaller elements such as the flowers, a green beer icon, a gold coin, and the word “Happy.” These elements helped me complete the title phrase “So Lucky Happy,” which perfectly sums up the feeling of the day.
Lastly, I sprinkled a few enamel dots around the page. Enamel dots add just the right amount of texture and color without overwhelming the design. They’re always one of my favorite finishing touches!
This layout makes a great project for beginner scrapbookers or anyone looking for a fun and quick page design. Using foam adhesives and layering a few simple embellishments can really elevate a layout without making it complicated. I hope everyone had a little good luck and enjoyed celebrating St. Patrick’s Day this year! It’s always fun to document these small moments and festive outings, especially when they include good friends, cute accessories, and yummy treats.
Thanks so much for stopping by and visiting the blog today!
Ali Skifton (FunAdventuresWithAli)
Creative Time: 90 minutes
Skill Level: Beginner
Materials Needed:
Scrapbook Adhesives by 3L®
E-Z Dots® Repositionable Dispenser
Crafty Power Tape Dispenser 81ft.
Other: Doodlebug Design
Save to Pinterest!
Visit our Website and Blog!
Sign up for our Newsletter so you never miss a contest or giveaway!