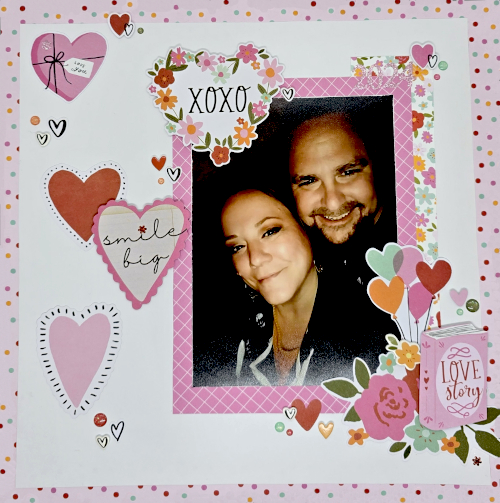
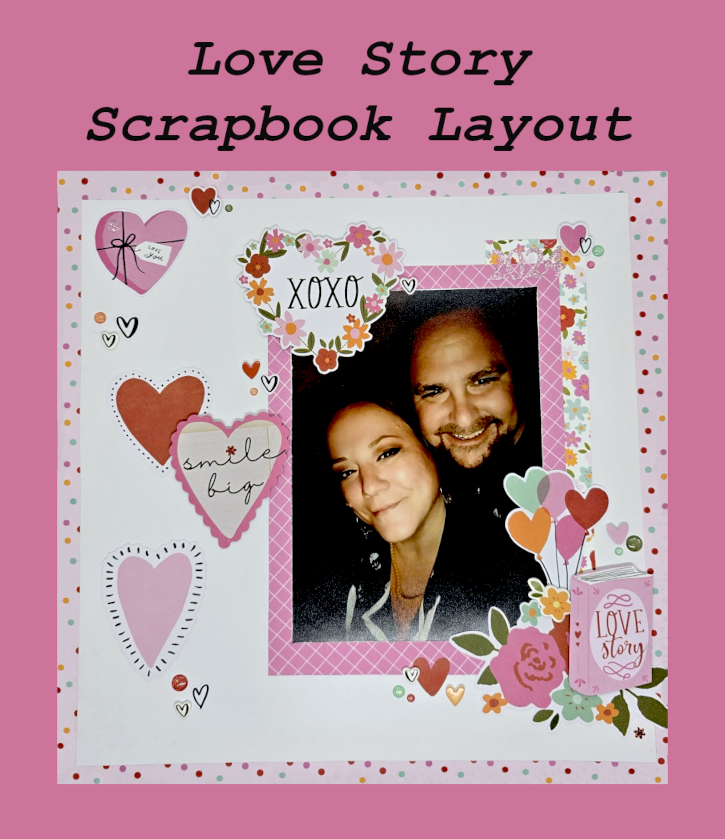
Hi friends! Kristin here to share a special 12×12 scrapbook layout titled “Love Story.” This page features a photo of my husband and me in a loving embrace. It’s one of those photos that instantly brings back all the feelings from that moment. When I create meaningful layouts like this, I focus on three things: layering, dimension, and durability. That’s why I reached for my favorite products from Scrapbook Adhesives by 3L.
Build the Love Story Foundation
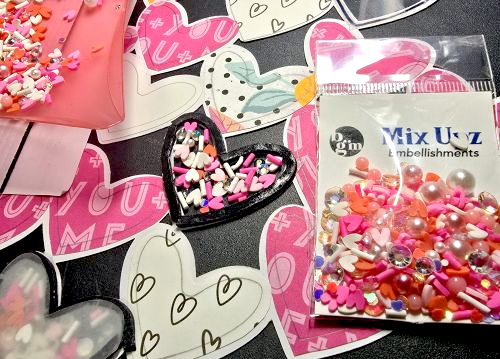
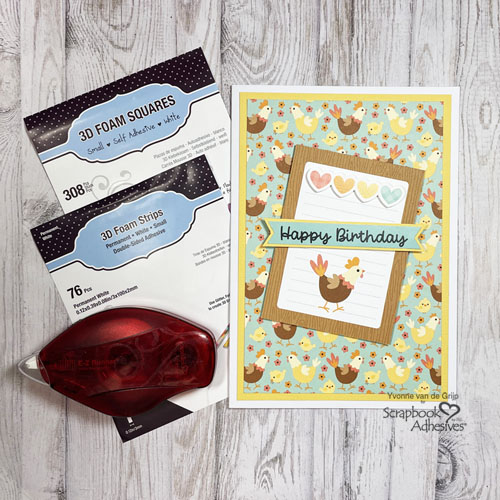
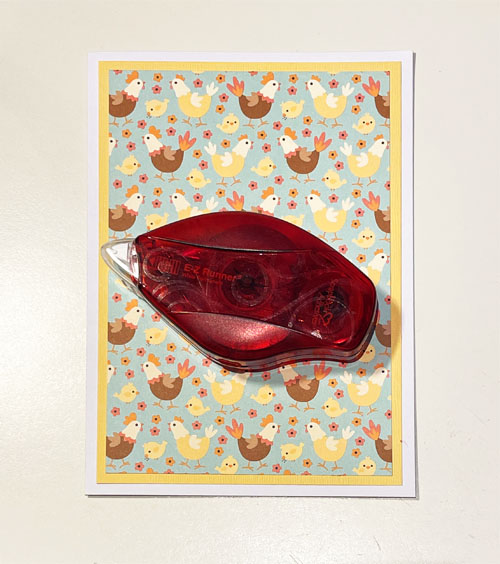
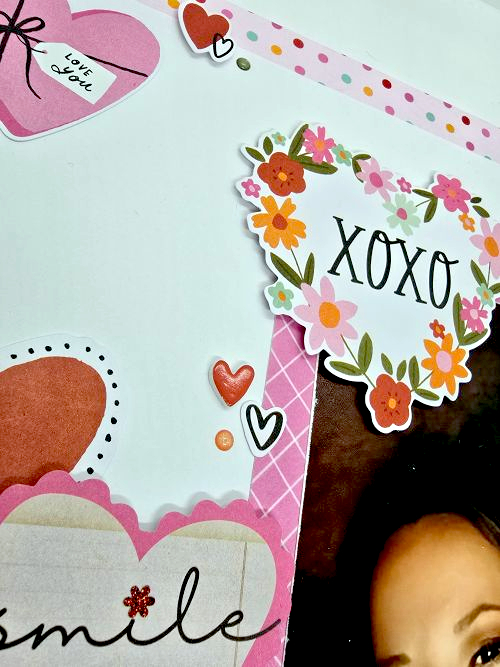
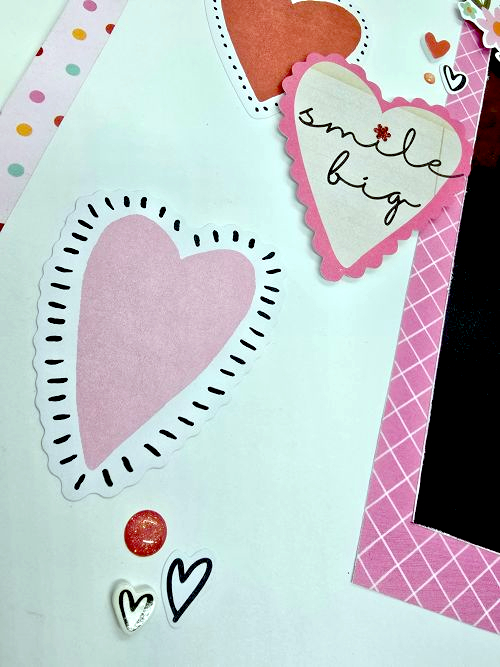
First, I chose papers and embellishments from the Simple Stories Heartstrings collection. The soft pinks and romantic florals were perfect for this theme. I layered patterned papers behind my photo using the E-Z Runner® Permanent Strips Refillable Dispenser. It glides smoothly, holds securely and keeps the paper flat without wrinkling. As a result, my base layers feel clean and polished.
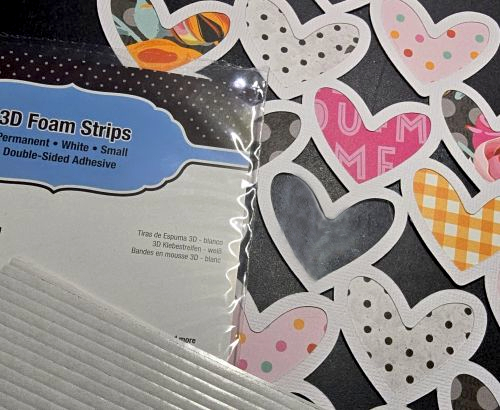
Adding Dimension with Foam Adhesive
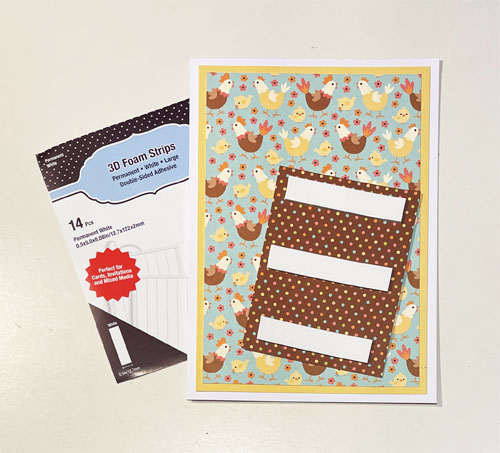
After building my base, I added depth. For dimension, I used a combination of the 3D Foam Squares White Mix and 3D Foam Strips to pop up the embellishments, hearts, and a few accents around the photo. This simple step makes a huge difference. The raised elements create soft shadows and natural movement across the page. Most importantly, the dimension draws your eye directly to the photo.

Mixing Old and New Supplies
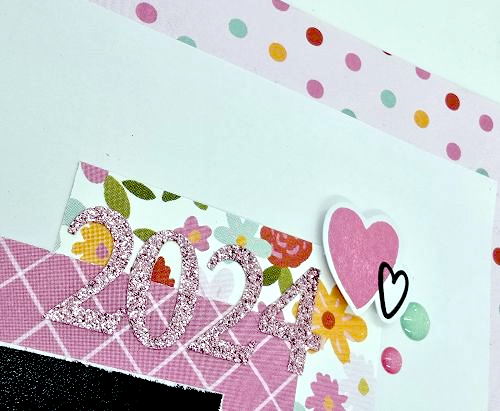
To add the year on the page, I used Making Memories Pink Glitter Paperie Rouge Alpha Stickers from 2008 on the upper right-hand corner. Yes — 2008! I love pulling older treasures from my stash and pairing them with newer collections. However, older stickers sometimes need reinforcement. Using the Dual Tip Glue Pen, I added adhesive to the backs of the numbers before placing them down. Now they are secure and ready to last for years.
Final Thoughts
This layout makes me smile every time I see it. It feels soft, romantic, and full of texture. Most importantly, it preserves a moment that means so much to us. If you haven’t used foam adhesive recently, now is a great time to try it.
Thank you so much for stopping by today. I hope this inspires you to document your own love story — and maybe even use a few stash treasures along the way.
Happy crafting!
Kristin Rizzo 💕
Creative Time: 60 mins
Skill Level: Beginner
Materials Needed:
Scrapbook Adhesives by 3L®
E-Z Runner® Permanent Strips Refillable Dispenser
HomeHobby™ by 3L
Other: Patterned Papers + Embellishments: Simple Stories (Heartstrings Collection); Alpha Stickers: Making Memories (Pink Glitter Paperie Rouge Stickers)
Click Preferred Retailers List
Save to Pinterest!
Visit our Website and Blog!
Sign up for our Newsletter so you never miss a contest or giveaway!