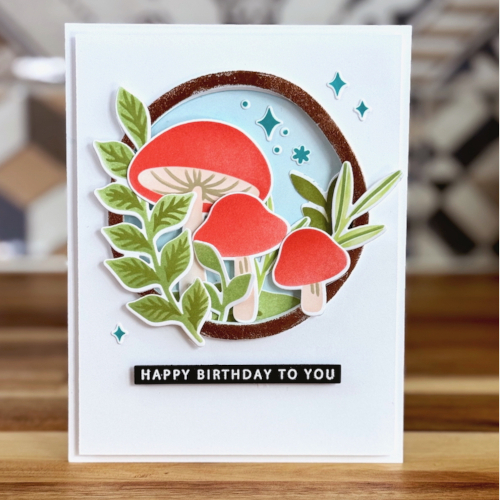
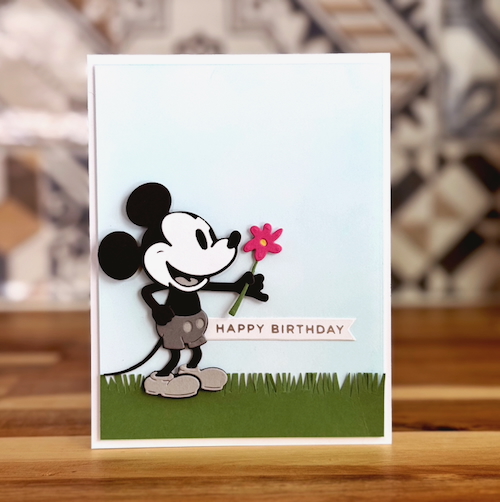
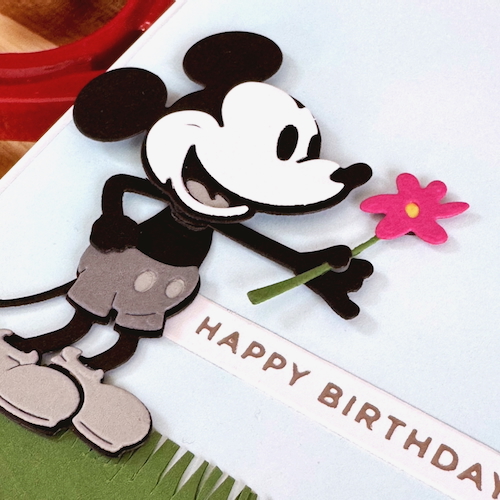
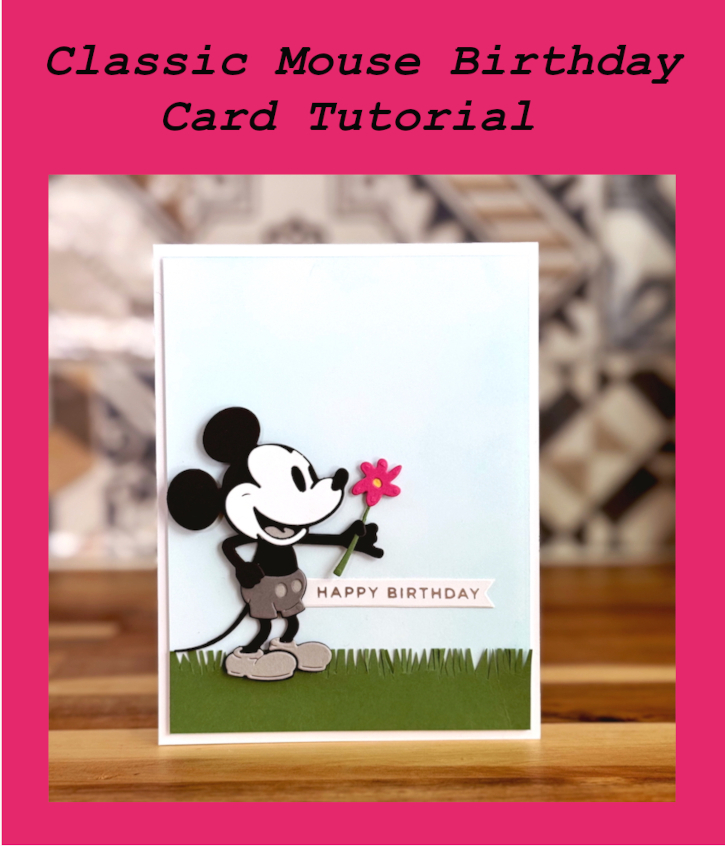
Hi, folks! This is Jingle here today sharing a super fun Classic Mouse Birthday Card featuring everyone’s favorite mouse! I chose to go with a greyscale color scheme for the Mickey to give it that truly classic look. Because the colors are so simple, I wanted to really make things stand out with layers of amazing dimension. That’s where I turned to my Scrapbook Adhesives by 3L foam adhesives collection to build Mickey in the best possible way!
Begin with the Classic Mouse Design
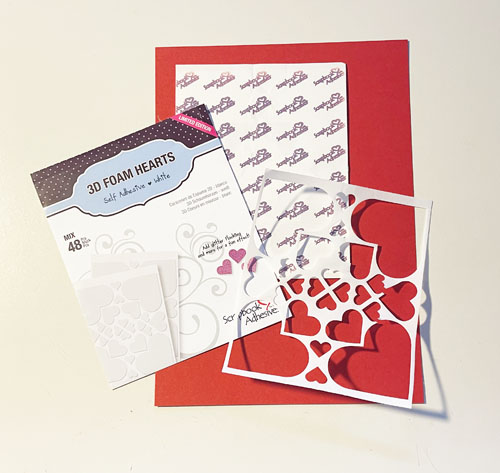
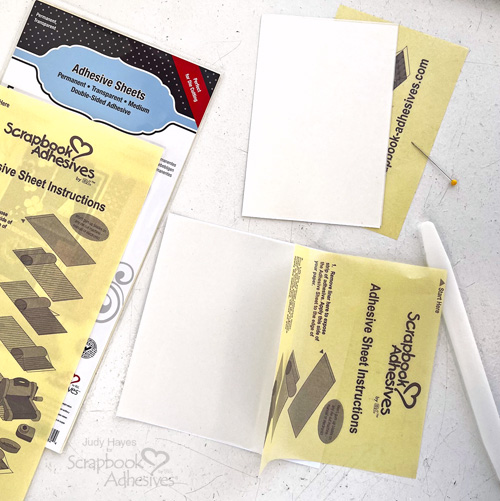
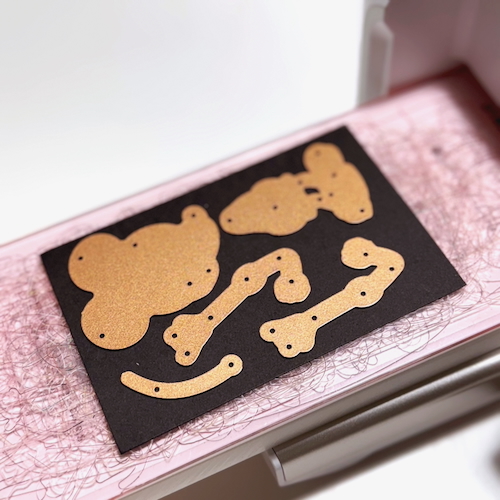
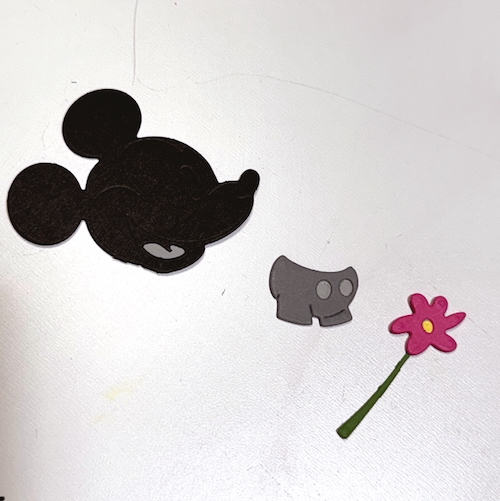
To create this card, begin by die cutting the pieces using your die cut machine. Designer’s Tip: Good quality cardstock is important when you are building depth and dimension, as it needs to hold up well. Now that our pieces are all cut, we will begin assembly.
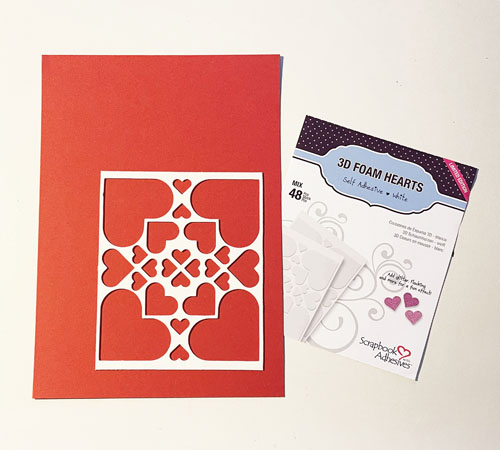
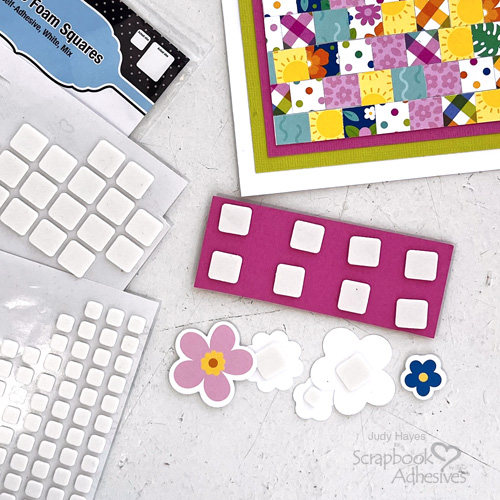
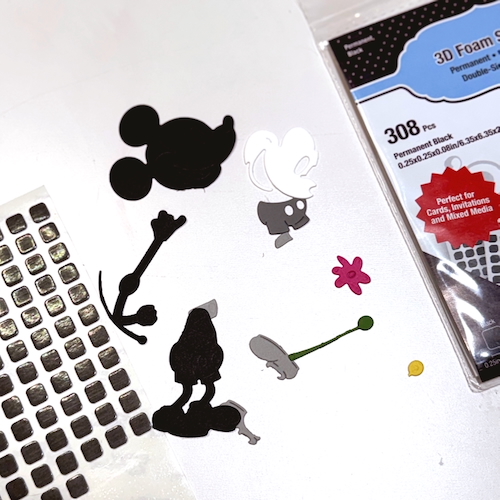
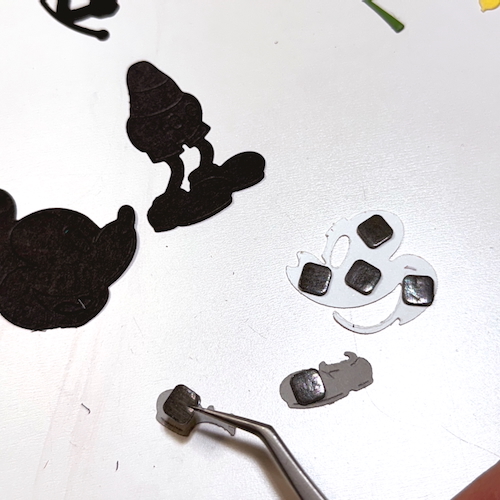
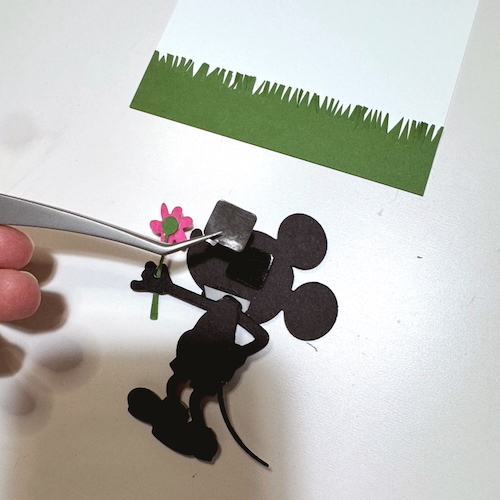
Determine which pieces will be popped up and which will be adhered. Since the piece are small, I decided to use the the 3D Foam Squares Black Small. Designer’s Tip: To pick up these small squares and place them on the small die-cut pieces, I find that tweezers work very well. They are also super handy for removing the backing paper!
For the other pieces, I use the smaller tip on the Dual Tip Glue Pen makes for quick and easy assembly with a great hold.
Working on a Background
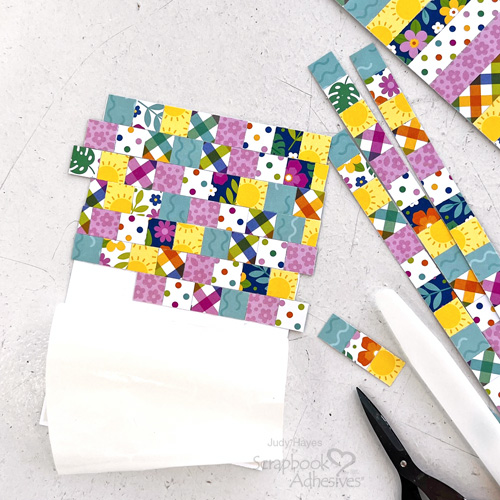
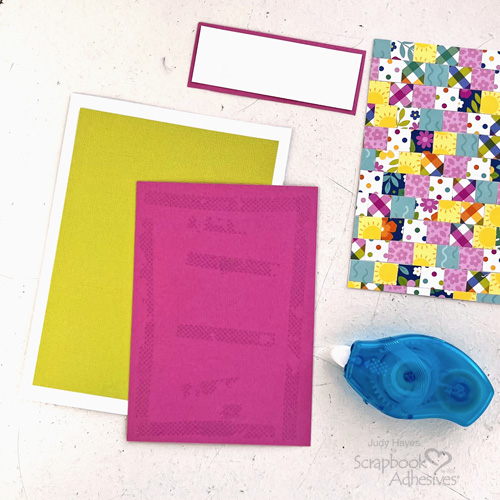
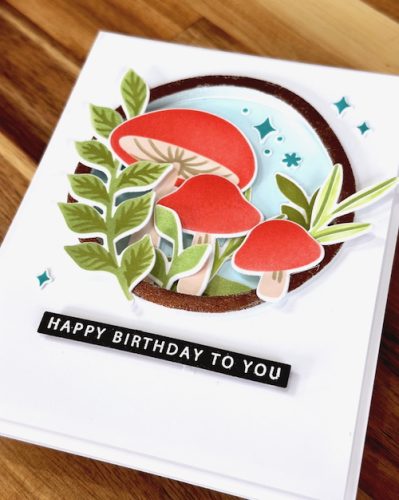
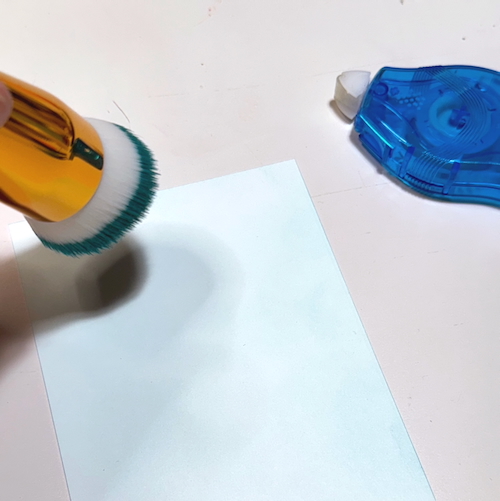
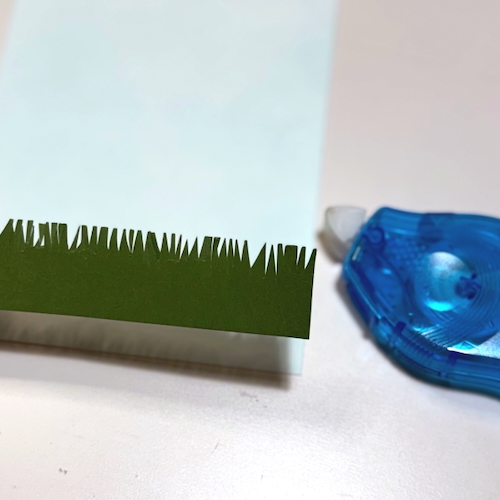
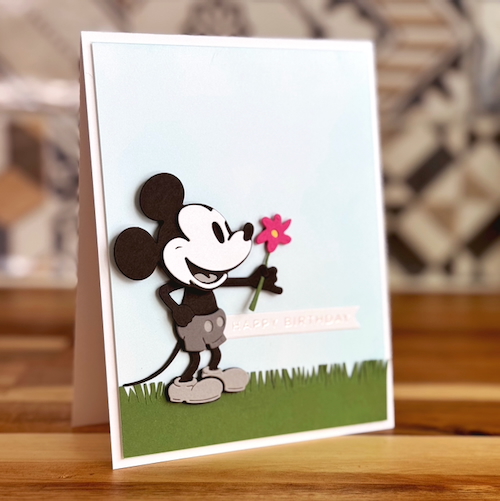
Let’s prepare our background. Ink blend a pale blue panel for a beautiful sky look. Cut a strip of green cardstock for the grass, and adhere it to the inked panel with the E-Z Runner® Petite Permanent Dots Refillable Dispenser. I love this one for smaller accents like this!
Add the Focal Point & Sentiment
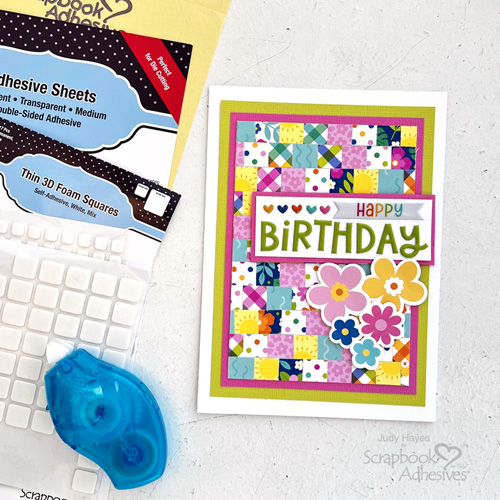
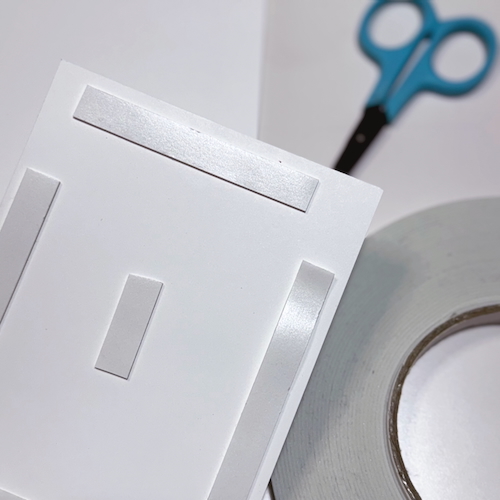
Again, using tweezers, adhere 3D Foam Squares Black Regular to the back of your assembled mouse. You can use a mix of the regular squares and the small ones to ensure you have full coverage. In some spots, you can double the adhesive to be sure it is even across the figure and will rest nicely on the card.
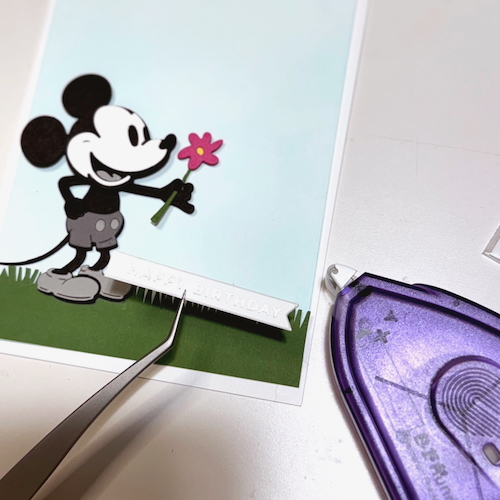
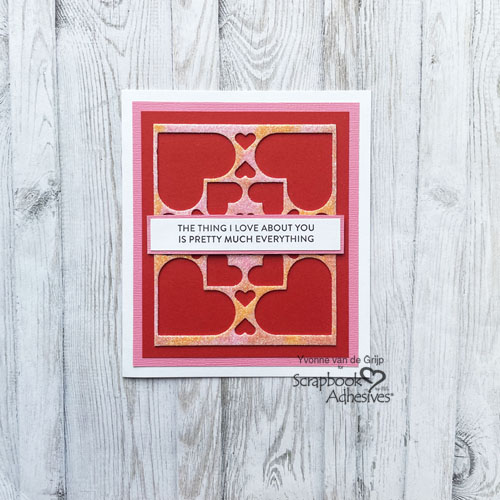
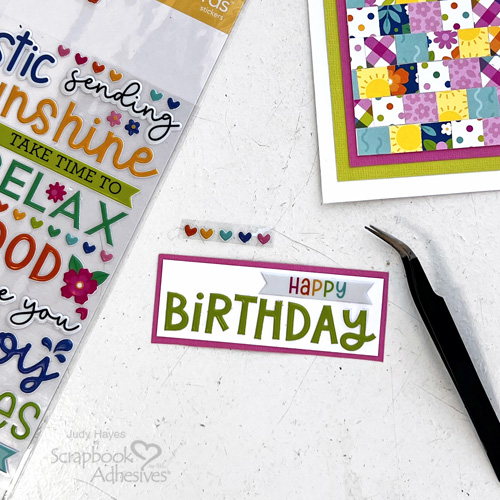
Attach the mouse to the card and then, using E-Z Runner® Permanent Fine Adhesive Dispenser, adhere a pre-printed sentiment to complete the design.
Assemble the Classic Mouse Card
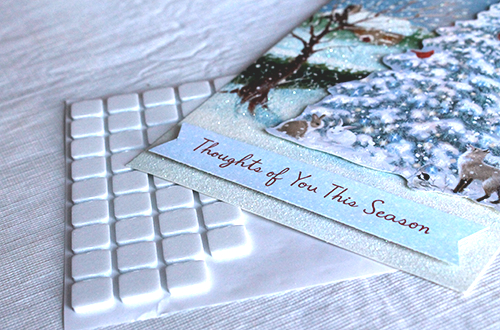
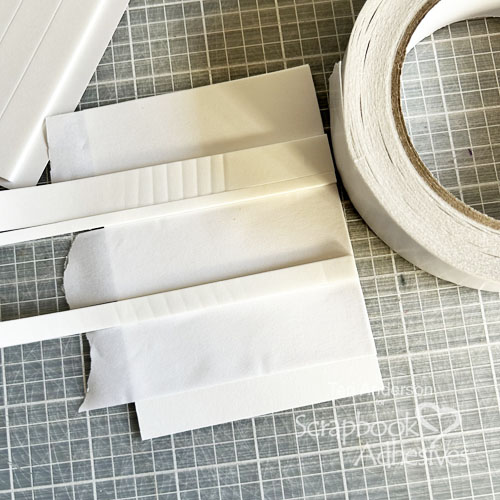
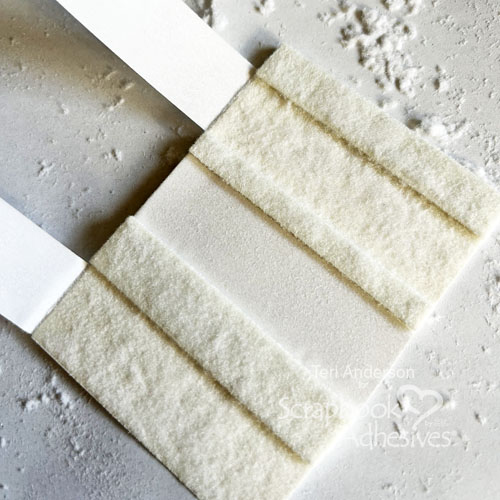
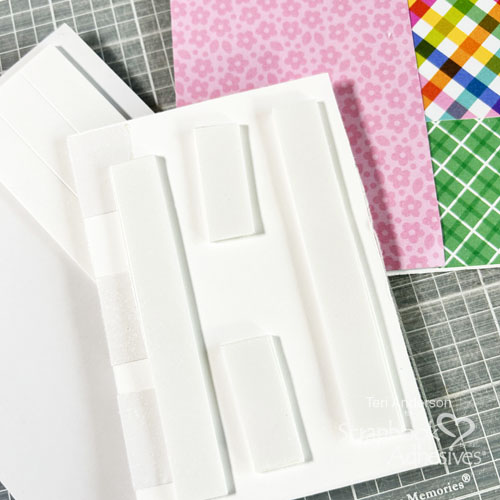
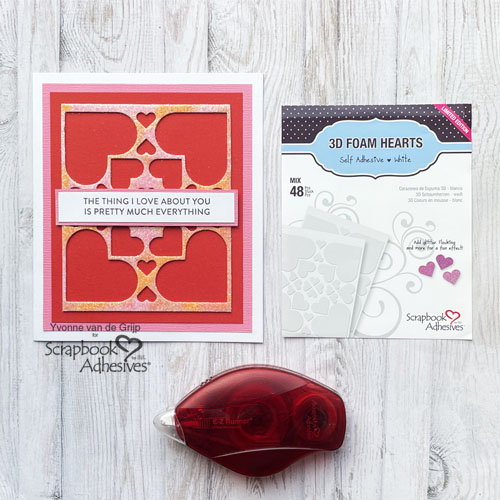
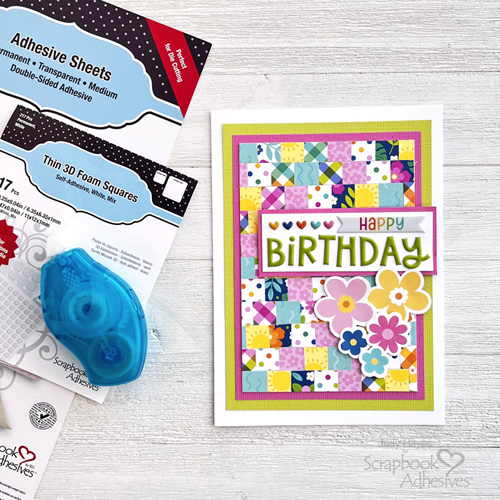
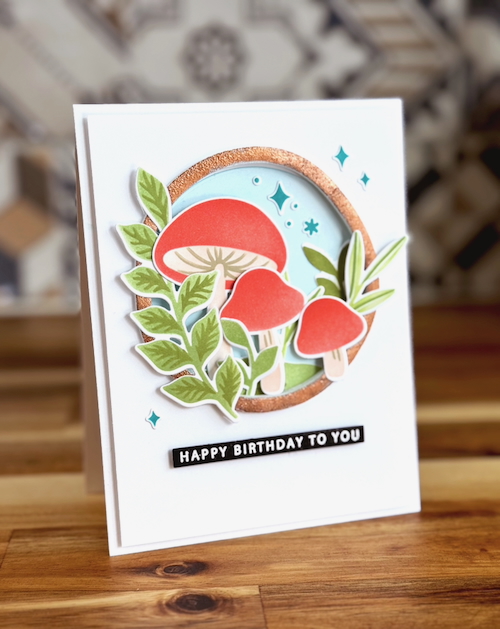
Finally, use the Crafty Foam Tape White 108ft to adhere your panel to the card base. This offers some additional rigidity and that extra bump to make this a super dimensional card!
Doesn’t that look so good?! I just love adding dimension to my die cut pieces!
Thanks so much for stopping by! I hope you create something that really POPS soon!
Jennifer Ingle (aka Jingle)
Creative Time: 30 mins
Skill Level: Intermediate
Materials Needed:
Scrapbook Adhesives by 3L®
E-Z Runner® Petite Permanent Dots Refillable Dispenser, E-Z Runner® Permanent Fine Adhesive Dispenser (aka Vellum Runner), 3D Foam Squares Black Regular, 3D Foam Squares Black Small, and Crafty Foam Tape White 108ft.
HomeHobby™ by 3L
Other: Craft Dies: Spellbinders (Steamboat Willy); White, Green, Black, Grey, Dark Grey Cardstock
Click Preferred Retailers List
Save to Pinterest!
Visit our Website and Blog!
Sign up for our Newsletter so you never miss a contest or giveaway!