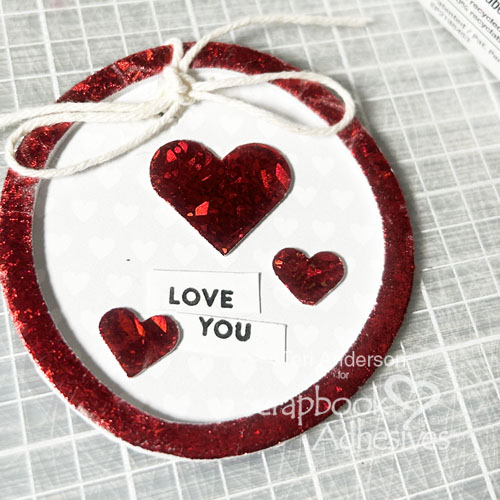
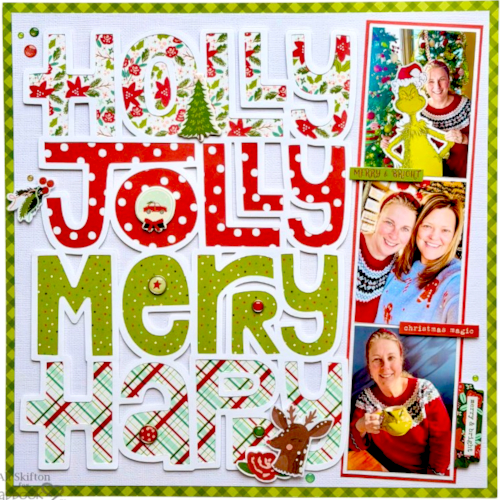
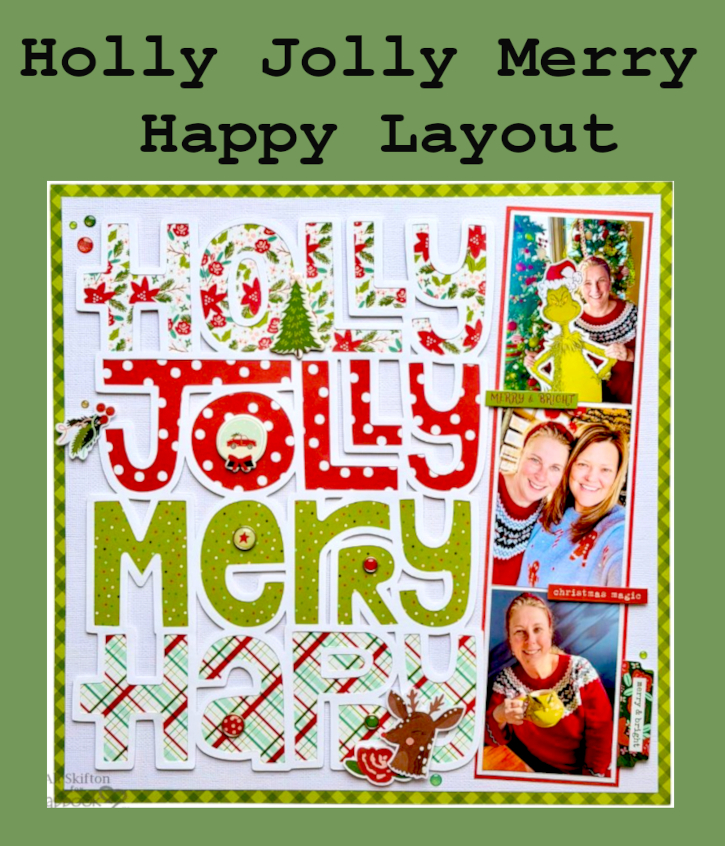
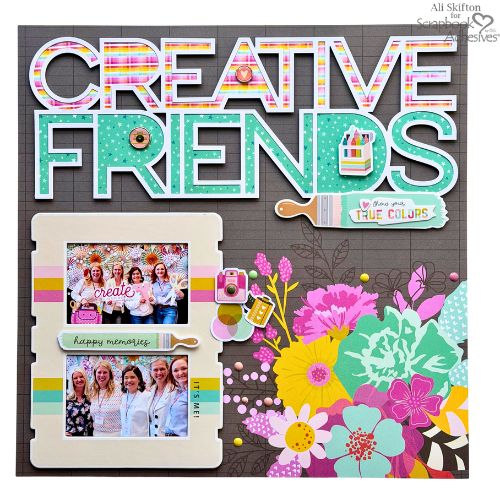
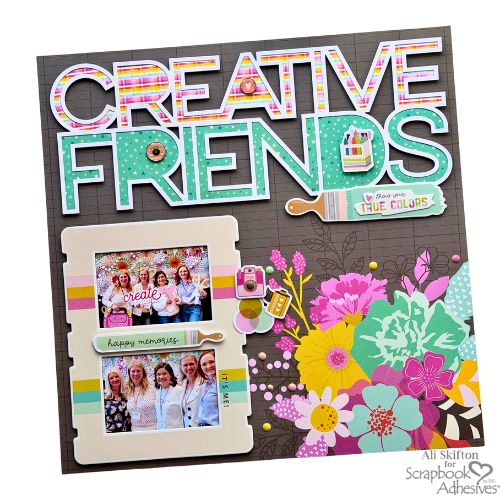
Hello my creative friends! 💕 Ali (FunAdventuresWithAli) with a fun and meaningful layout featuring me and my crafty friends. This page documents my time at Scrapbook & Cards Today Magazine’s Create & Inspire event in Canada.
Building the Creative Friends Background
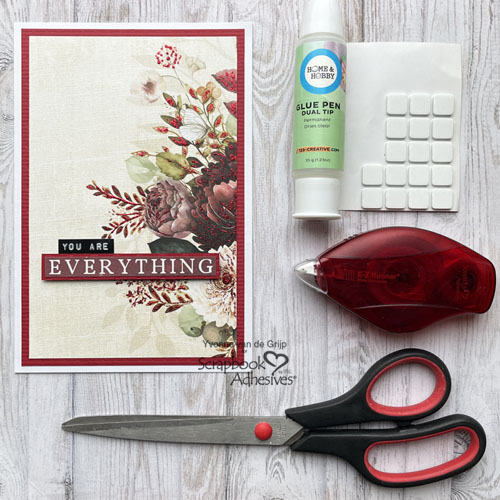
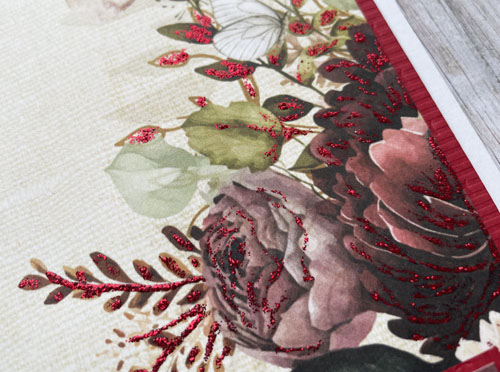
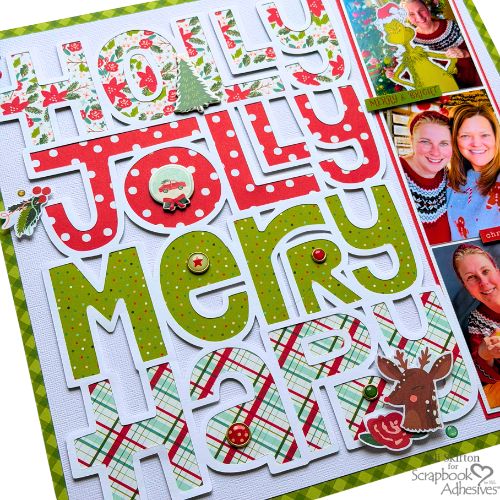
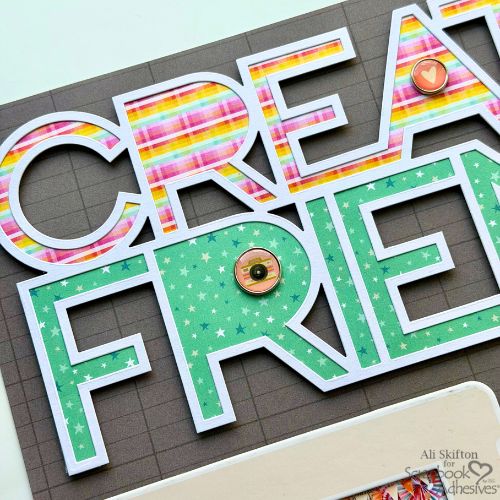
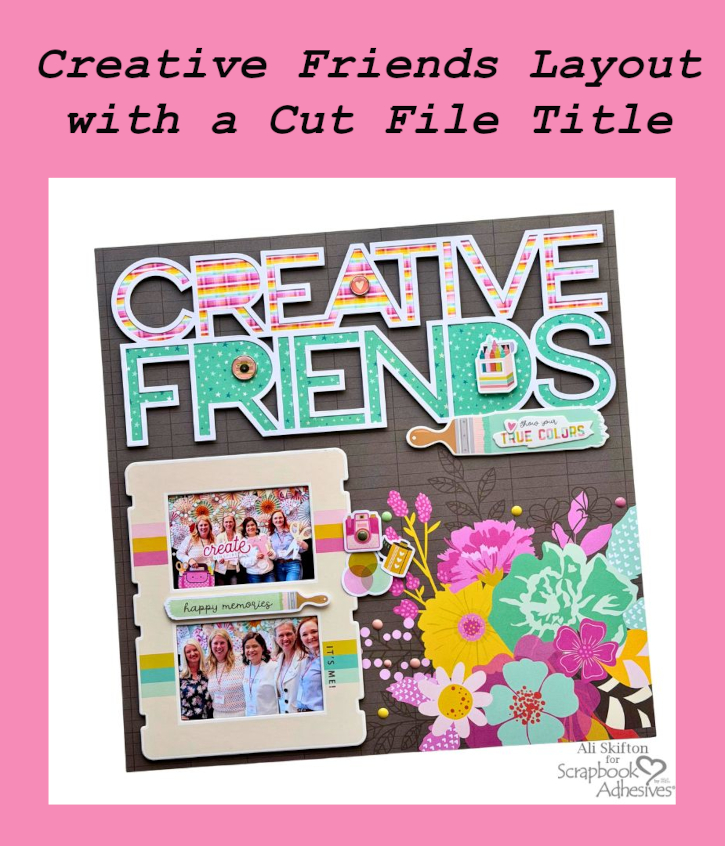
For this page, I used my favorite adhesive to attach the amazing title cut file along with the beautiful chipboard frame. I love how both elements pop right off that gorgeous floral background paper—it really brings the whole layout to life. To document my favorite memories from this trip, I used the True Colors collection from Simple Stories, which felt like the perfect match for all the creativity, color, and joy we experienced during the event.
Adding Dimension to Embellishments
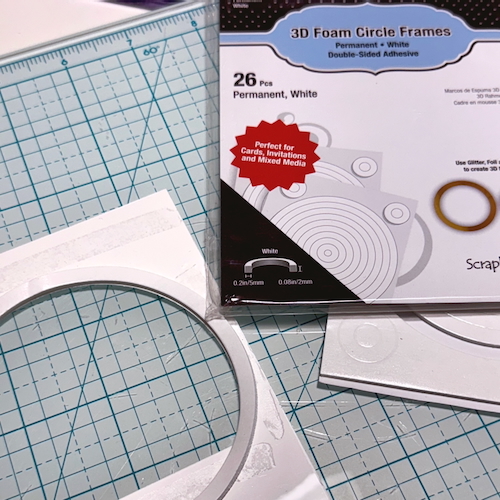
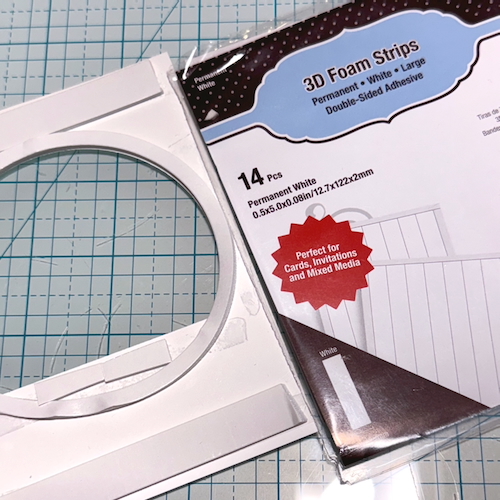
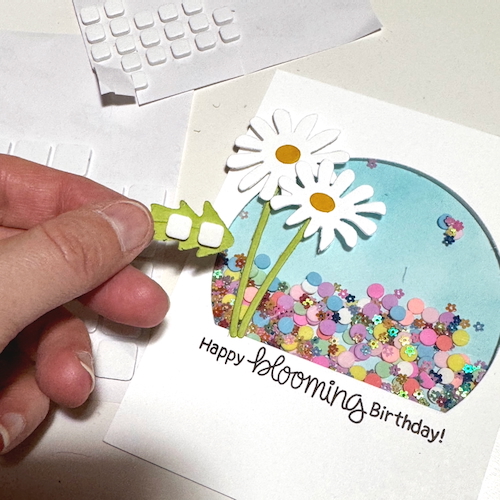
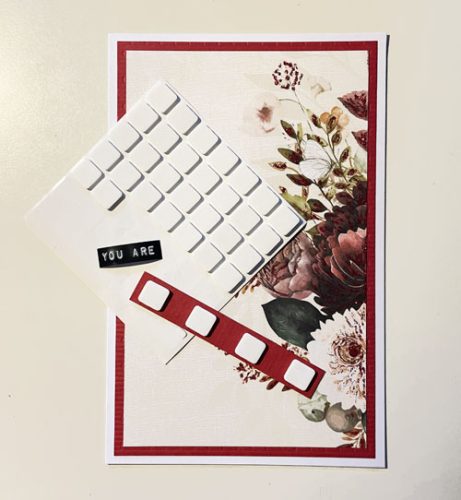
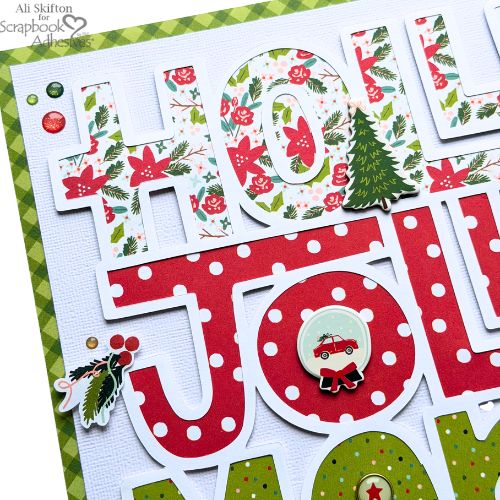
I backed the title cut file with two papers from the 6×8 paper pad and added 3D Foam Strips behind the skinny letters to give them some extra dimension. These 3D Foam Strips are such a game changer—no more struggling to cut regular foam tape in half to fit those narrow spaces! I also placed a 3D Foam Squares White Mix behind the box of crayon stickers before adhering it to the letter “D,” and added 3D Foam Strips behind that cute little paintbrush to give it some extra pop and personality.
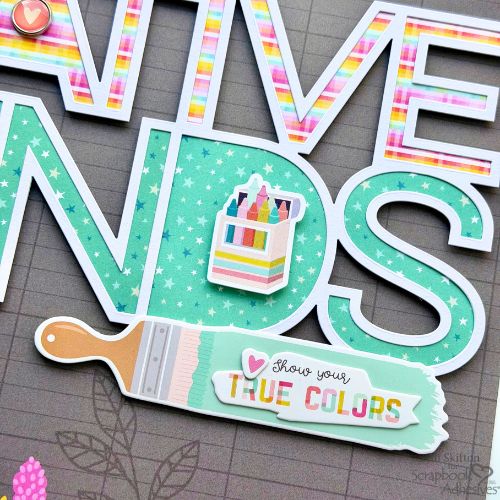
Photo Placement
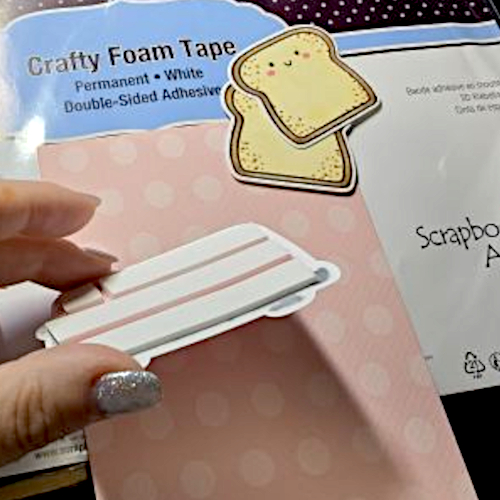
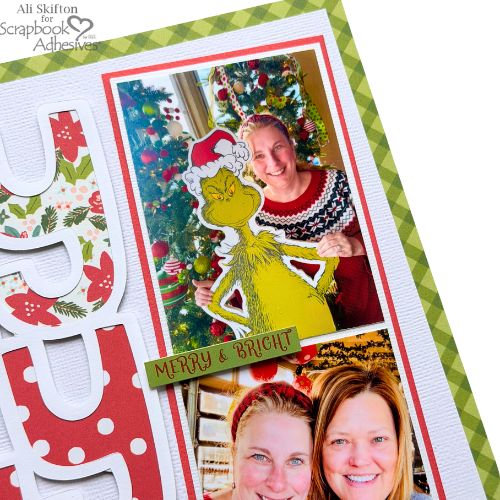
I printed two 3×4 photos and adhered them to the chipboard frame, then added Crafty Foam Tape White 13ft. behind the entire frame to lift the photos off the page. We were snapping fun pictures at the event when Catherine jumped right into the photos with us, and it still makes me smile. I just love our happy faces, and when I look at these photos I can still hear us laughing. Moments like these are exactly why I love documenting our crafty adventures.
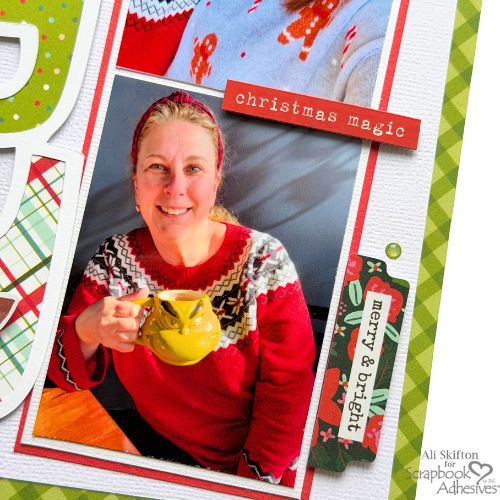
To finish off the page, I added a sweet paintbrush phrase using a 3D Foam Strips since it’s thin and narrow, placing it right on the frame. I also selected three stickers from the sticker book, applied baby powder to the backs, then added 3D Foam Squares White Mix so they would pop beautifully off the frame and add even more dimension to the layout.
Don’t forget to document those crafty events we attend—they are such a big part of who we are. We are collectors of moments, memories, and friendships, and I’m so grateful to have these captured forever. 💖
Stay crafty, my friends!
Thanks for visiting!
Ali Skifton (FunAdventuresWithAli)
Creative Time: 90 mins
Skill Level: Beginner
Materials Needed:
Scrapbook Adhesives by 3L®
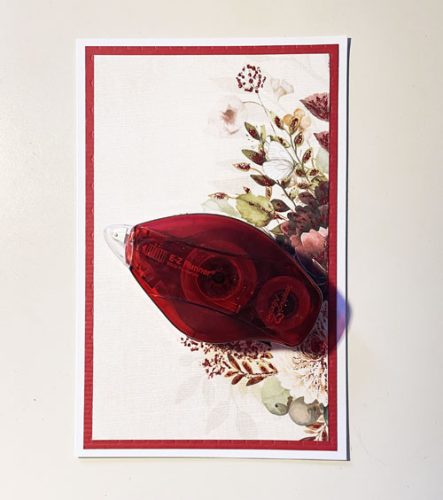
E-Z Runner® Grand Refillable Dispenser
Other: Simple Stories True Colors Collection
Save to Pinterest!
Visit our Website and Blog!
Sign up for our Newsletter so you never miss a contest or giveaway!