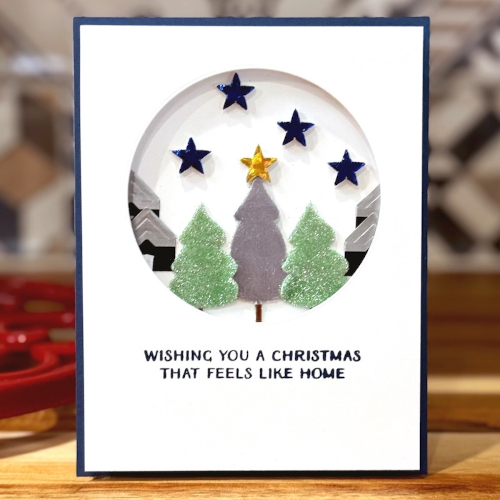
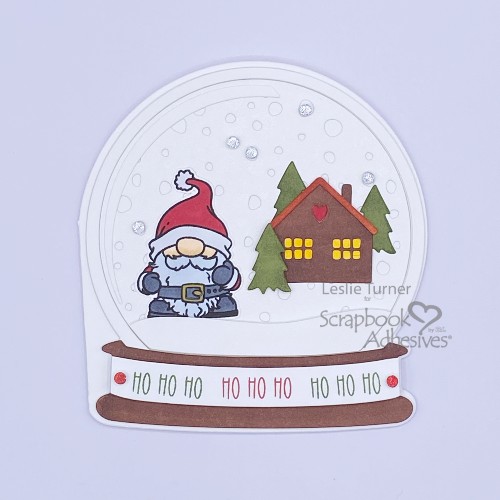
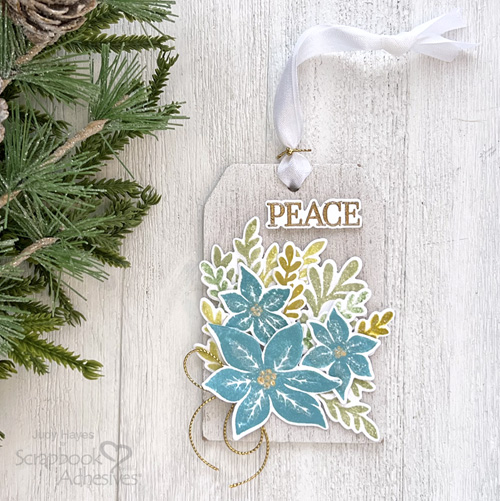
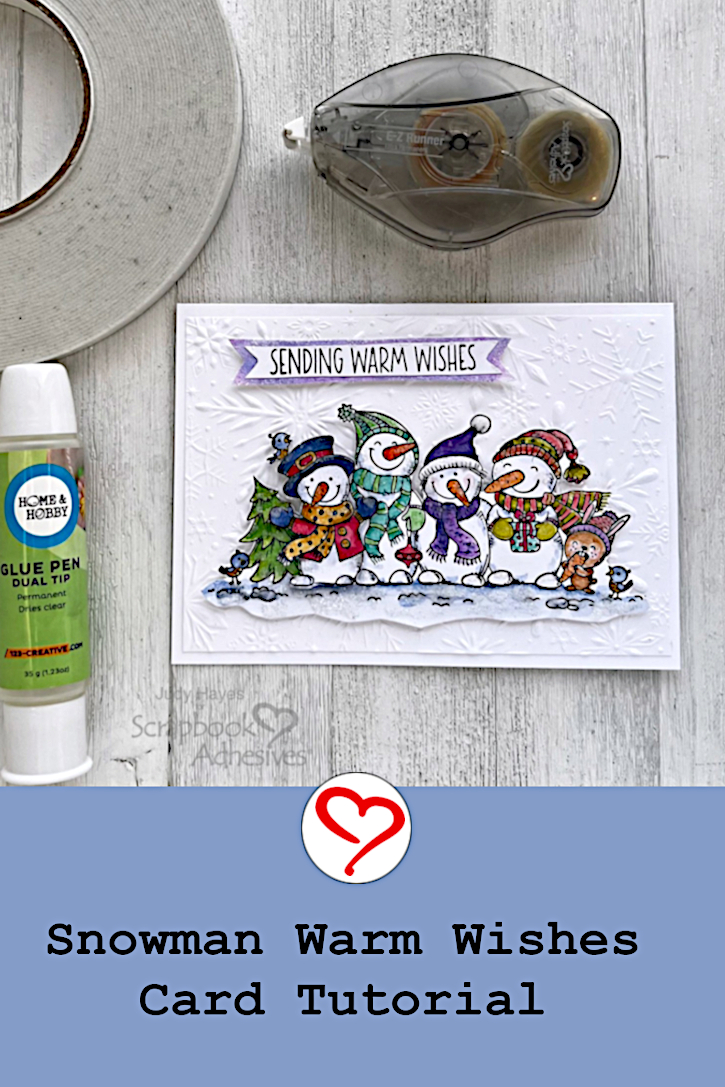
Hi, Judy here today! Here’s a fun Snowman Warm Wishes card to brighten someone’s cold winter day! These snowmen are fun to color and look great on an embossed snowflake background. A touch of glitter adds sparkle.

Card Base
From white cardstock, cut 9 x 6.25 inch rectangle, score and fold to make 4.5 x 6.25 inch card. Use snowflake embossing folder to emboss 4.25 x 5 inch white cardstock.
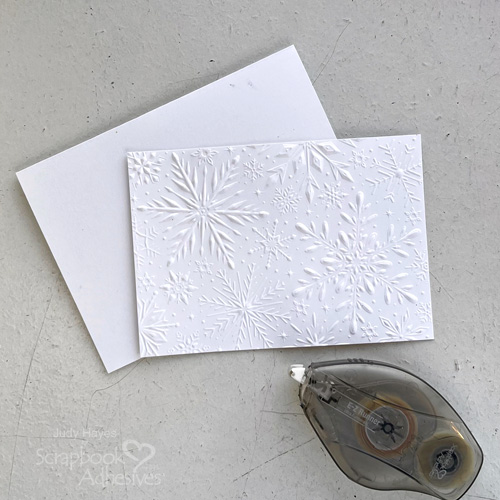
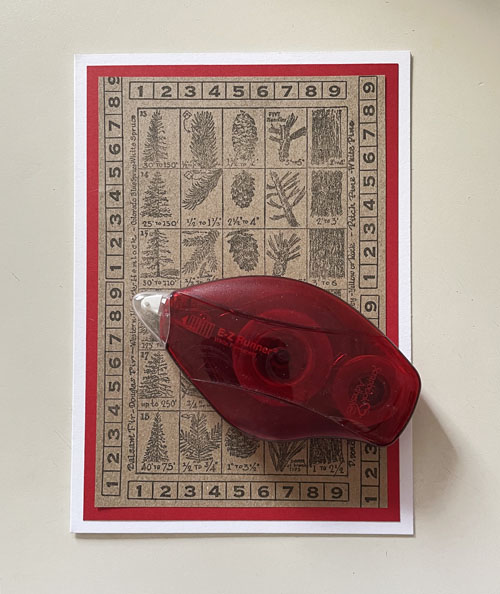
Apply adhesive to back of embossed snowflake panel with E-Z Runner® Ultra Strong Refillable Dispenser and fasten to card front.
Snowman Card Front
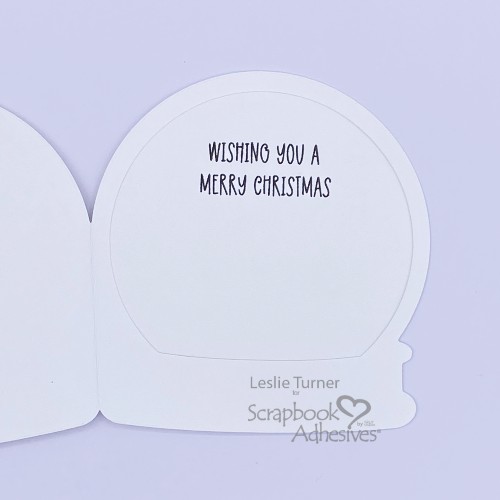
After stamping my greeting with black ink and white cardstock, I trimmed it to a sentiment strip with ribbon tails on each end. It was matted by a slightly larger and similar colored shape with the E-Z Runner® Ultra Strong Refillable Dispenser.
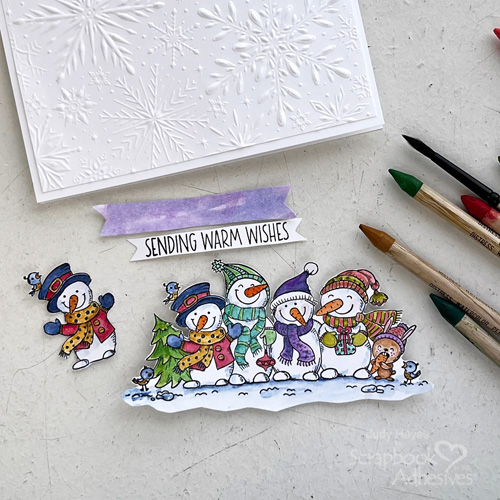
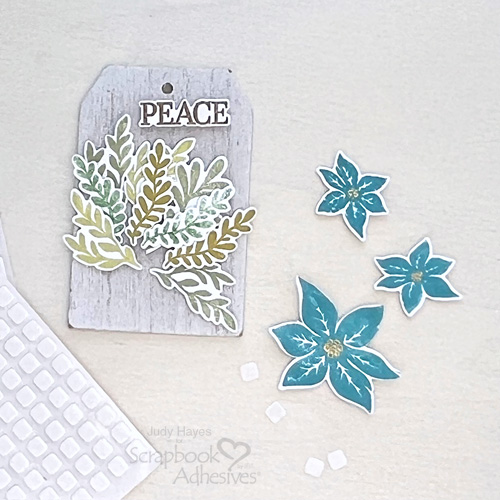
Stamp the snowman image twice with black ink and white cardstock. Watercolor them with the Distress Pencils. On the second stamped image, color the jacketed individual snowman. Fussy cut around snowmen group including snowy area at bottom and the individual snowman.
Assemble the Snowmen Warm Wishes Card
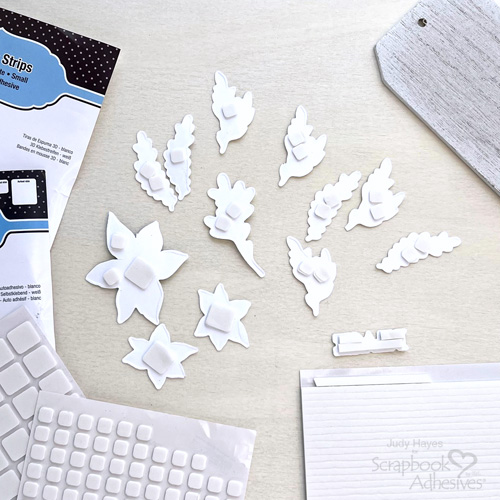
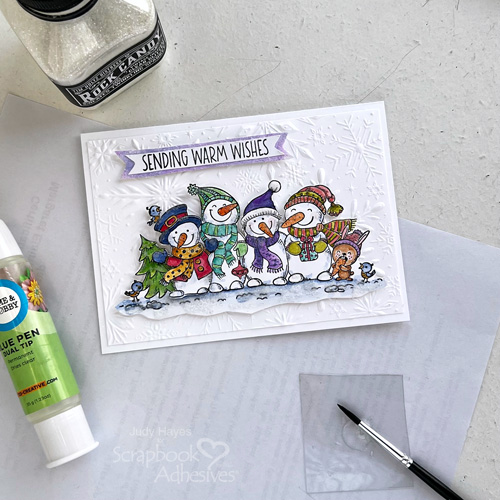
Place pieces of Crafty Foam Tape White 108ft on the back of the snowmen piece, peel off liners and secure it on the card. Add pieces of Crafty Foam Tape White 108ft on the back of the individual snowman, peel off liners and place it over same snowman.


Place piece of Crafty Foam Tape White 108ft on the back of the matted greeting, peel off the liner and adhere it to the card front.
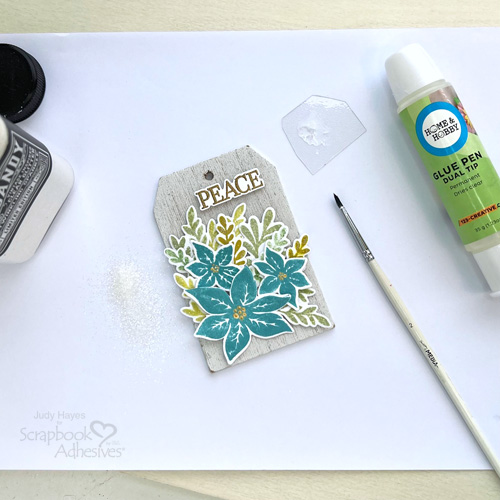
Add Sparkle with Glitter
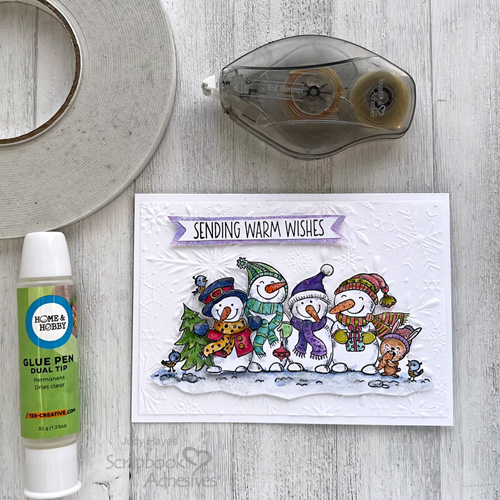
Squeeze out small amount of glue from Dual Tip Glue Pen on a scrap piece of plastic or non stick craft mat. Use a small brush to apply the glue along the snowmen feet, cover it with glitter, and shake off excess. Add glitter as desired to snowmen hats, bodies and carrot noses using same technique. Also brush glue along edges of greeting, cover with glitter and remove excess. Designer’s Note: Wash brush immediately to remove glue.
I hope you enjoyed my Snowman Warm Wishes card tutorial. Use some of these cardmaking ideas on your next card project! Keep warm!
Thanks for visiting!
Judy Hayes

Creative Time: 35 mins
Skill Level: Intermediate
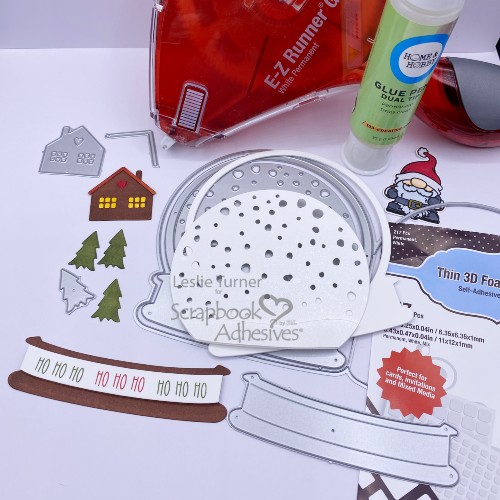
Materials Needed:
Scrapbook Adhesives by 3L®
E-Z Runner® Ultra Strong Refillable Dispenser
HomeHobby™ by 3L
Other: Stamp: Trinity Stamps (Freezin’ Family); Ink: Tsukineko (Versafine Onyx Black); Embossing Folder: Honey Bee Stamps (Snowflakes); Watercolor Pencils: Ranger Ink (Distress Watercolor Pencils Set 4); Glitter: Ranger Ink (Distress Rock Candy Glitter); White Cardstock
Click Preferred Retailers List
Save to Pinterest!
Visit our Website and Blog!
Sign up for our Newsletter so you never miss a contest or giveaway!