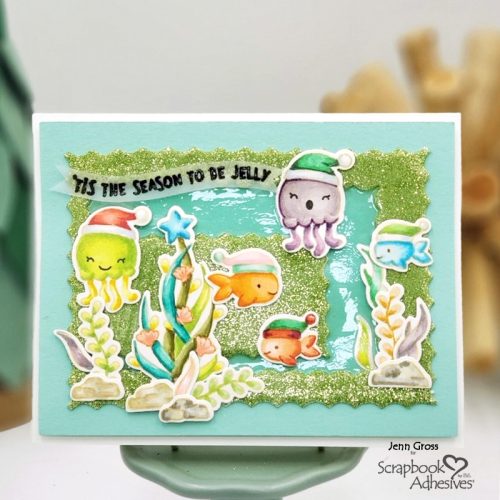
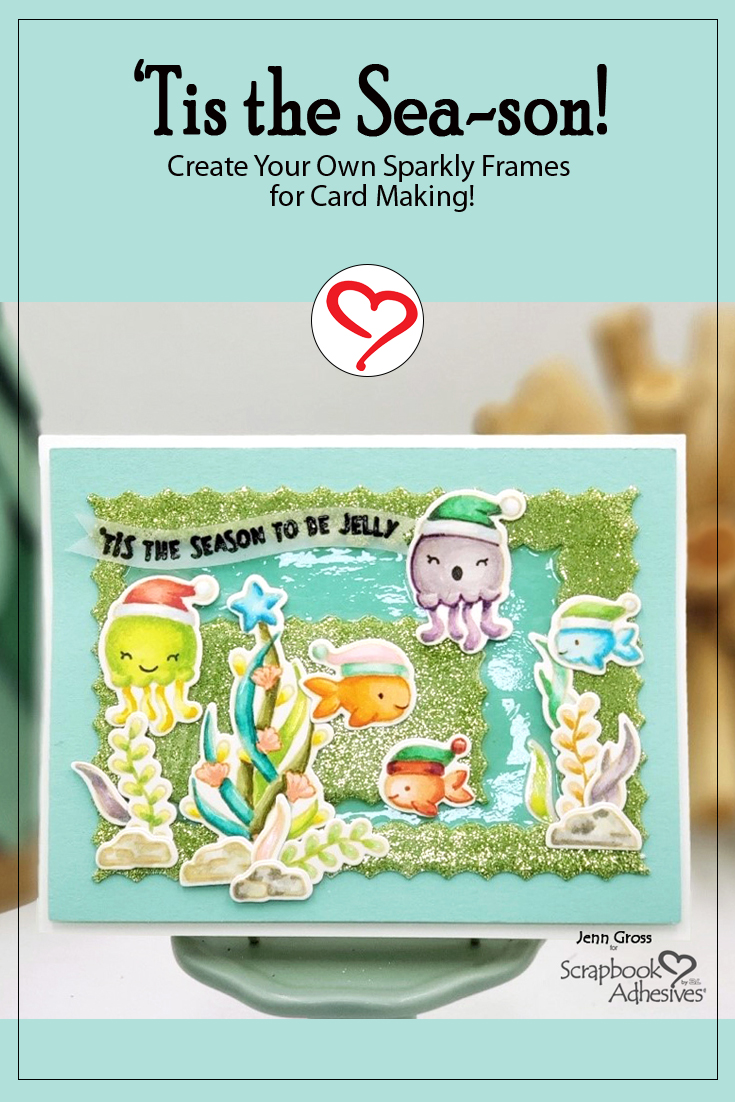
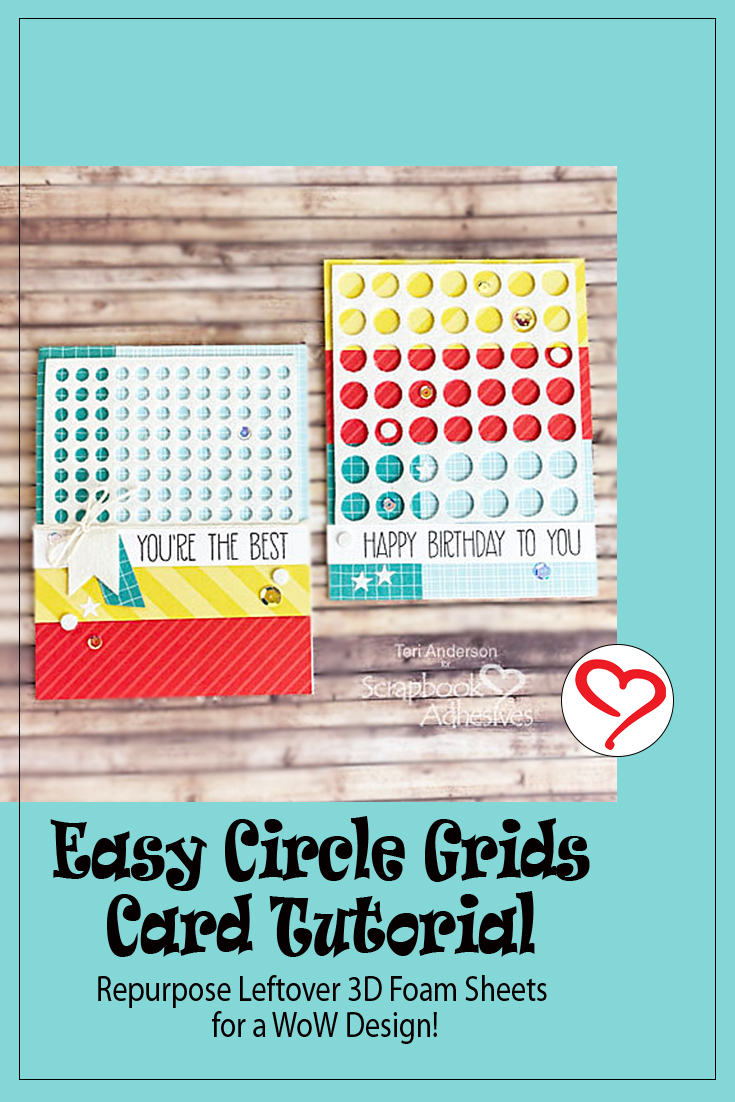
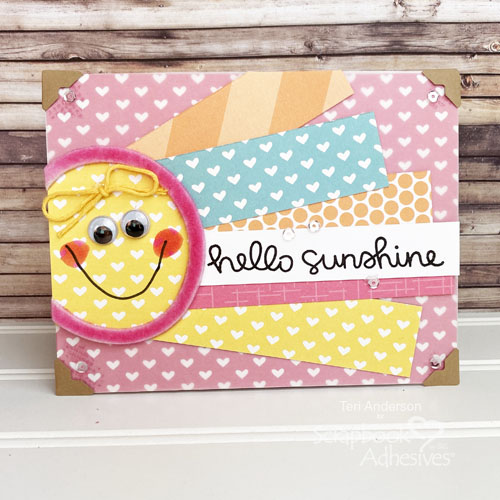
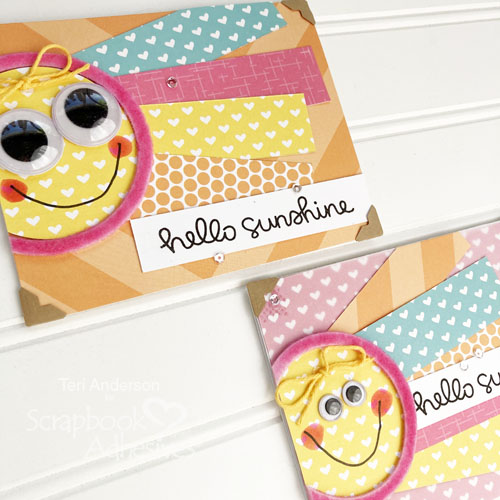
Hi, everyone! Things are heating up outside so why not make a few cards inspired by none other than the Sun! Teri here with a tutorial on how to make some Sunny Cards to send to all your favorite folks! Let’s get started 🙂
Sunny Cards with Sun and Ray Designs
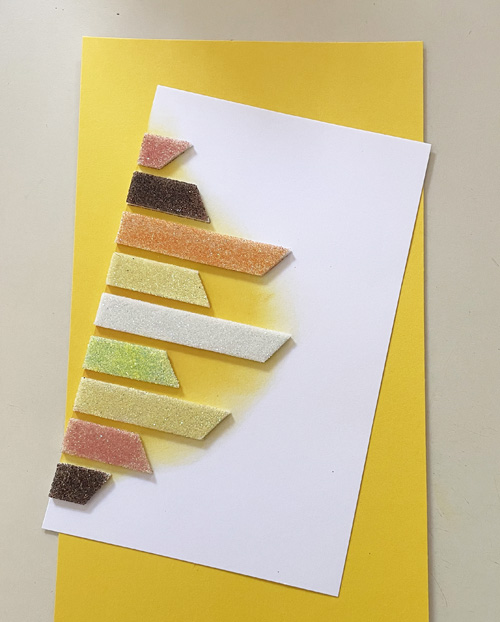
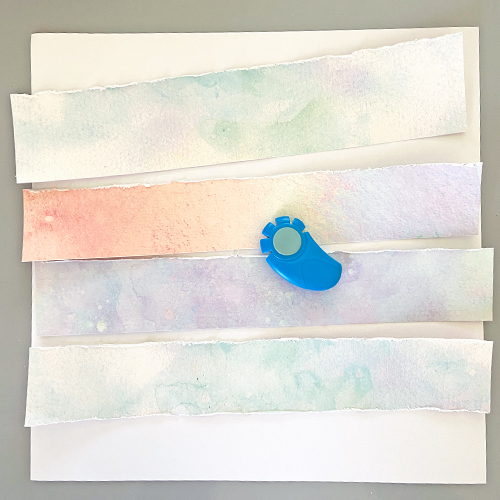
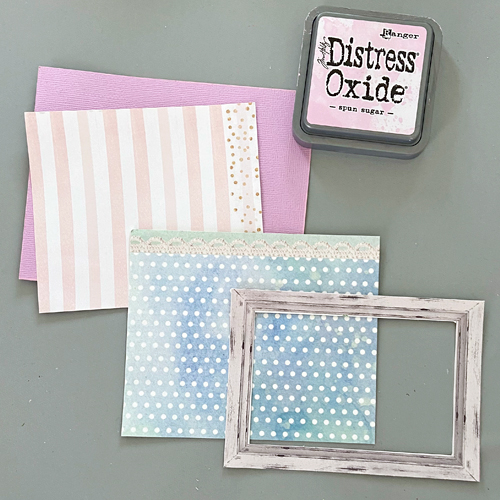
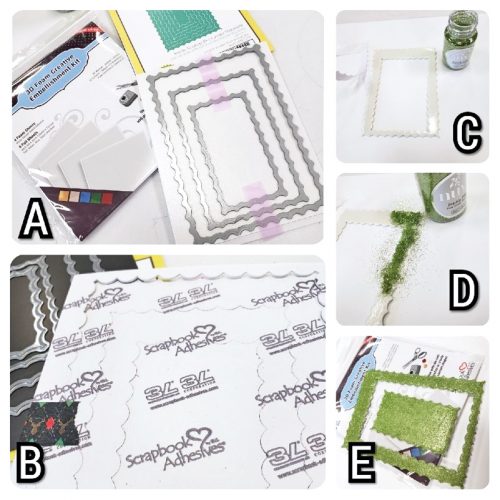
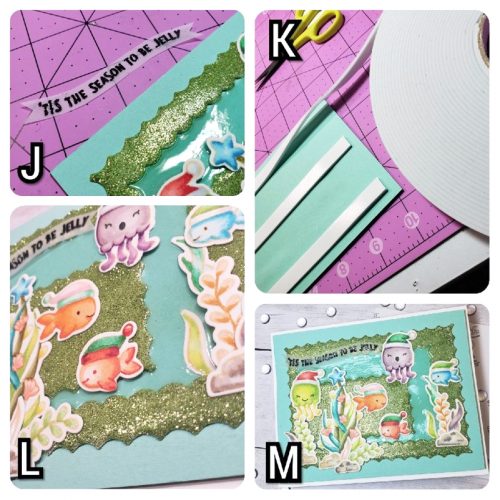
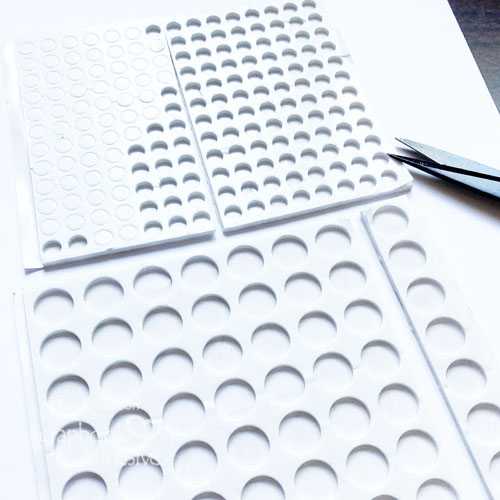
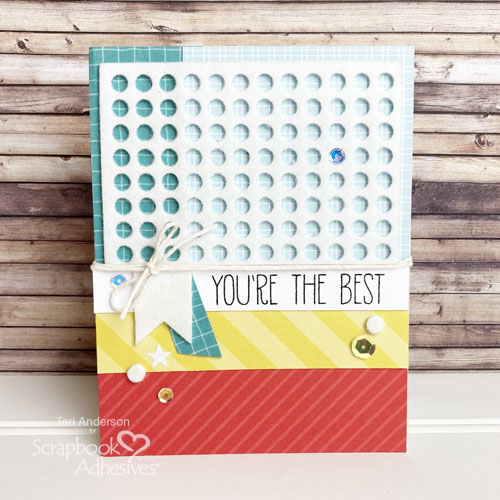
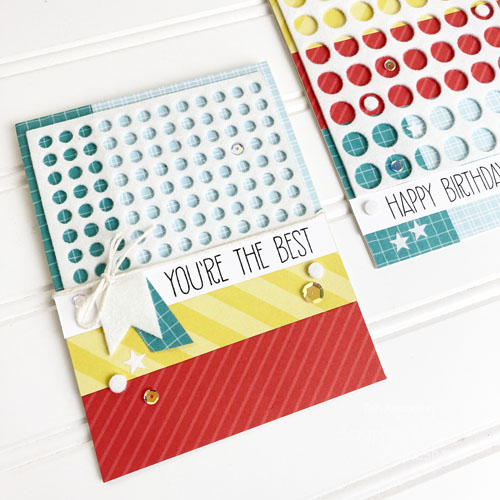
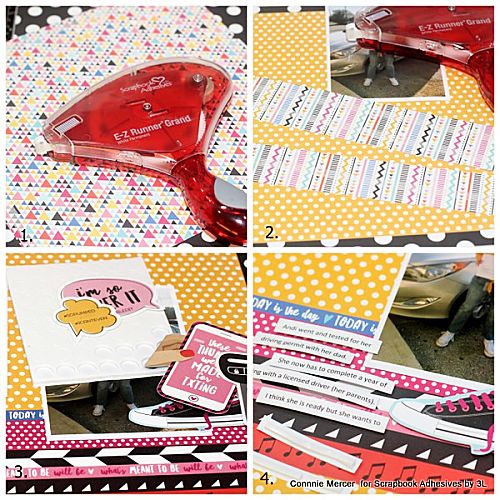
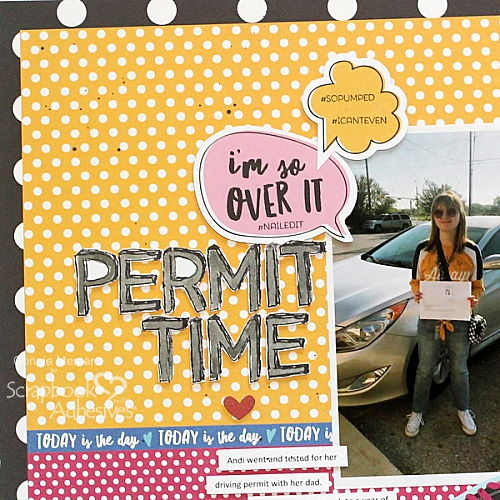
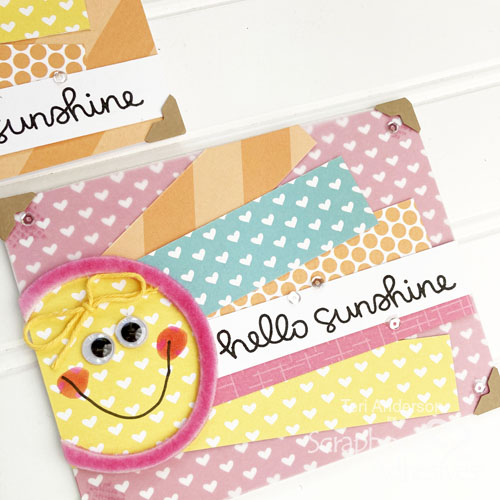
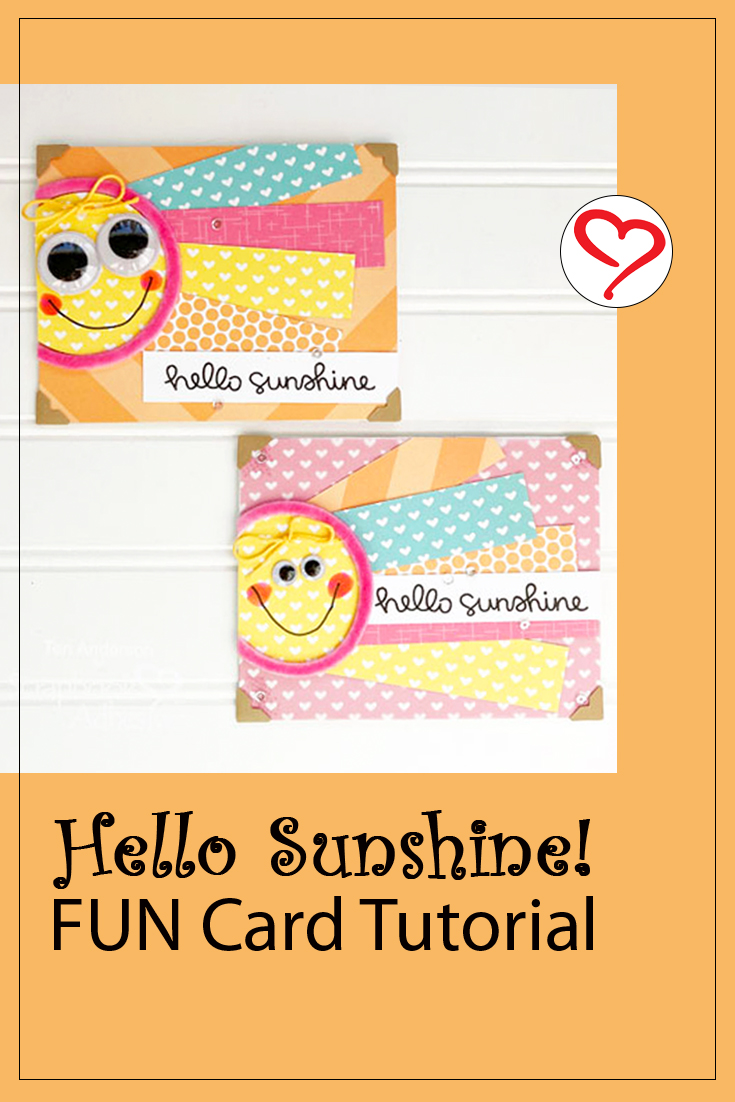
Start by cutting panel of patterned paper to fit on the front of a card. You’ll also want to cut several strips of patterned paper, which you’ll adhere to the paper panel.

Cut a circle from yellow patterned paper and mount it to the paper panel. Trim any excess paper hanging off the edge of your paper panel.
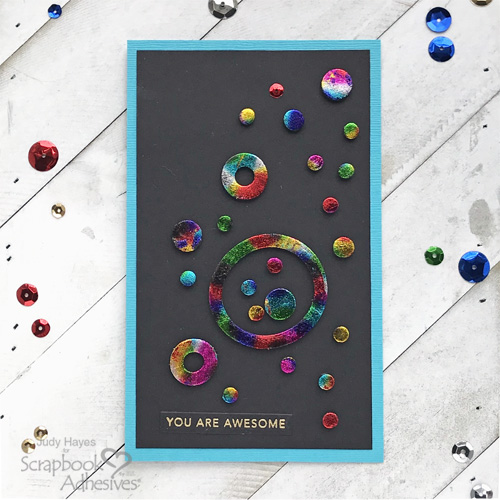
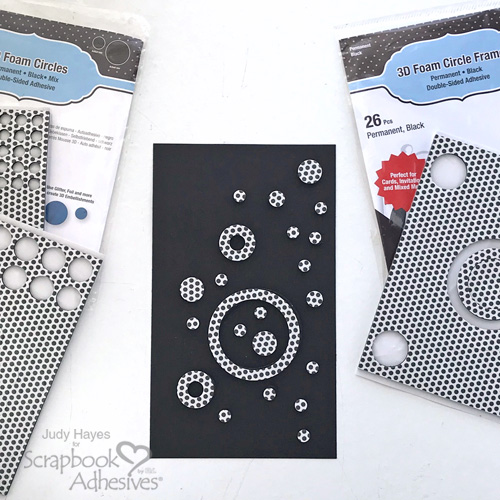
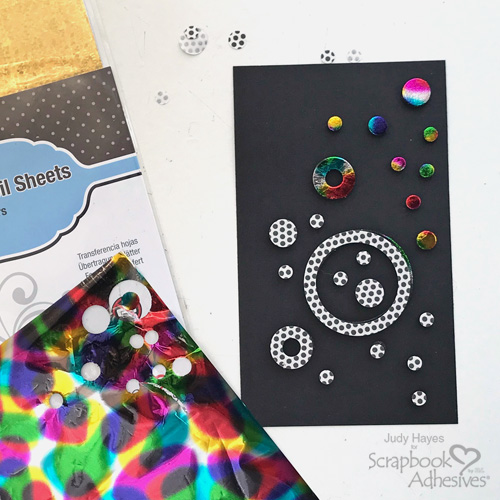
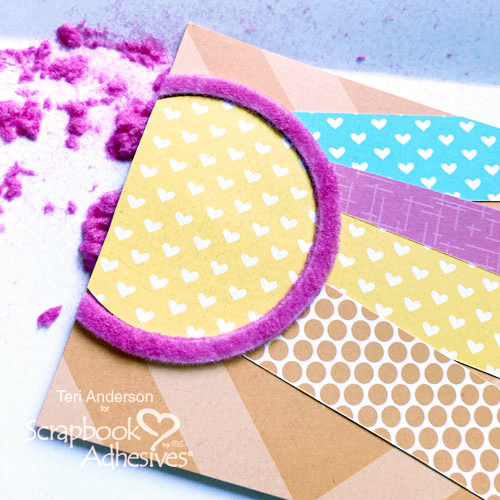
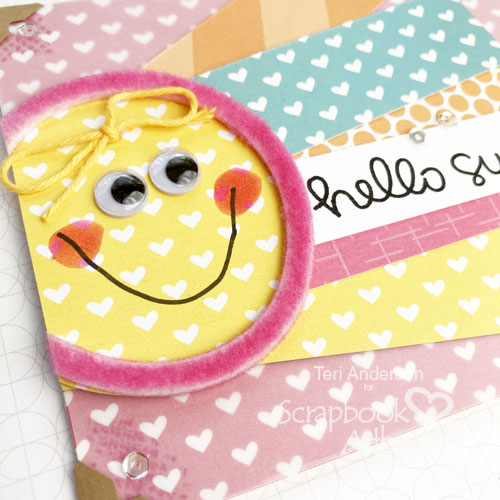
Place a 3D Foam Circle Frame onto the panel, over the circle. Use your scissors to cut away the excess. Apply flock to the circle. Use your fingers to really mash the flock onto the circle so that no sticky parts are left exposed.
Sunny Card Details
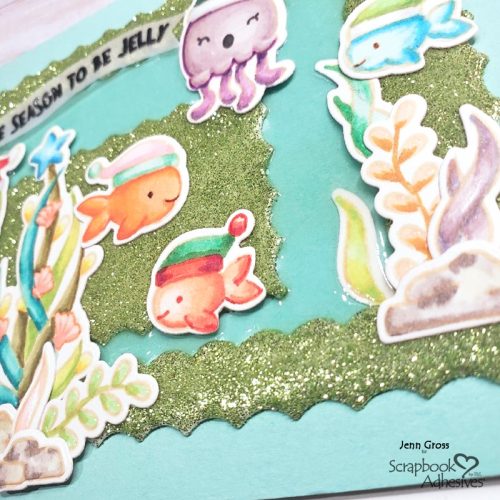
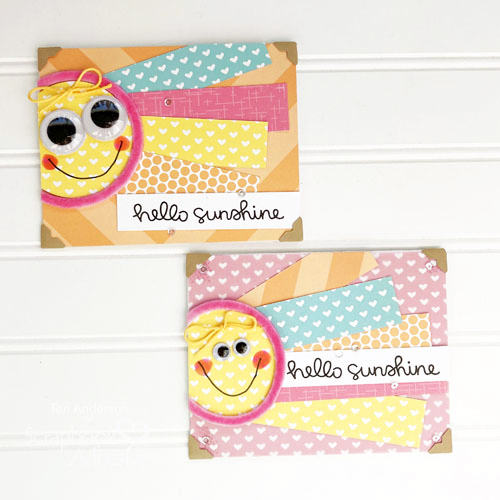
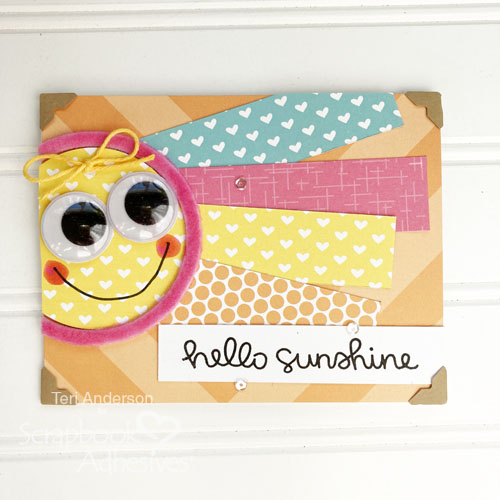
Add two wiggle eyes. Draw a mouth with a pen. Use a pink marker to draw circles for cheeks. Chalk would work as well! Add a bow made with twine or embroidery floss
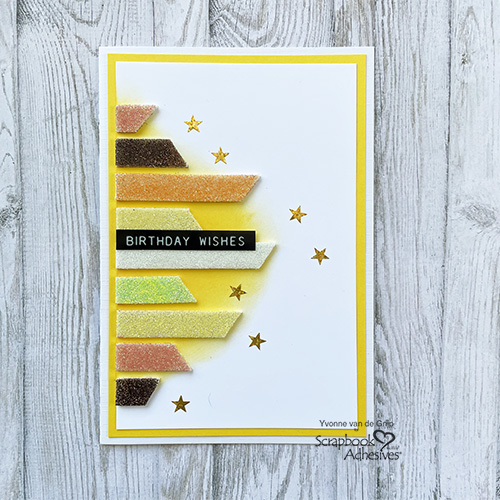
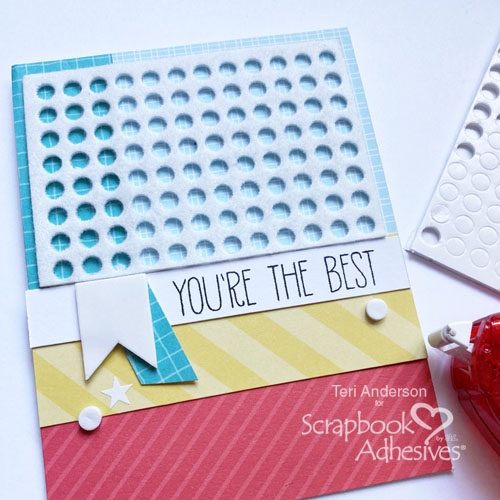
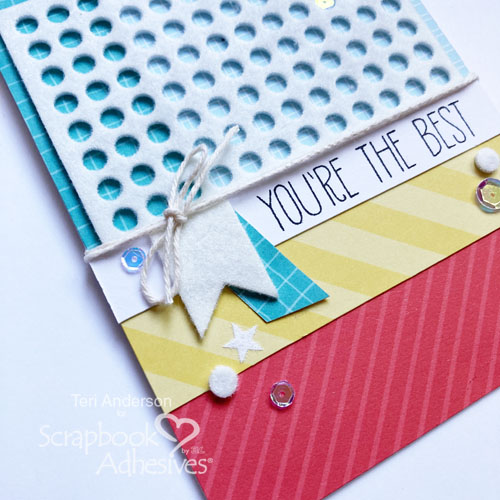
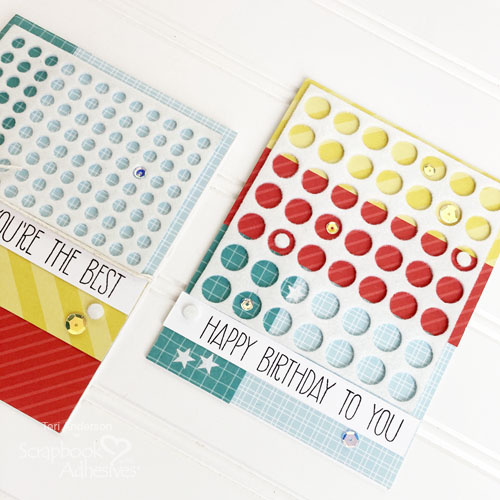
Complete the card by stamping a sentiment on cardstock and adding it to paper panel. You’ll also want to add a few sequins and a couple photo corners. Affix the panel to a card.

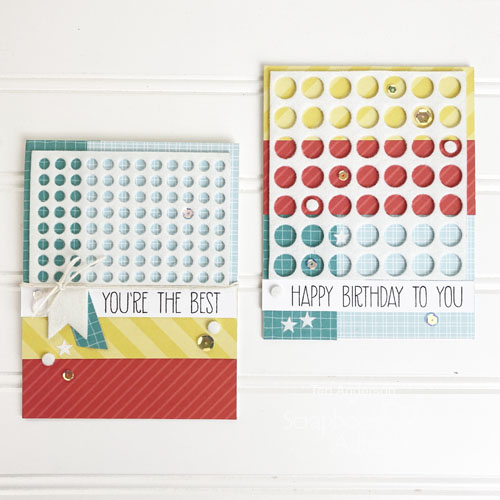
Tip on Using Busy Patterned Papers Combos
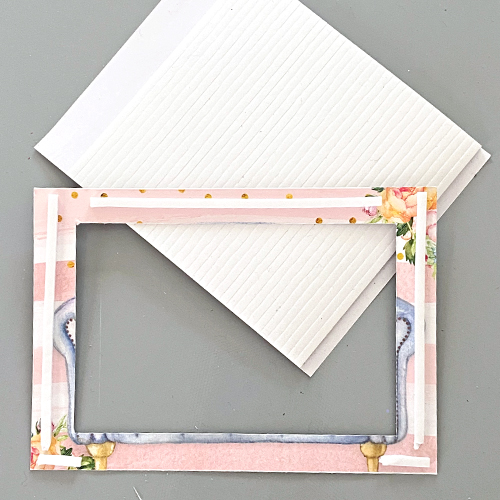
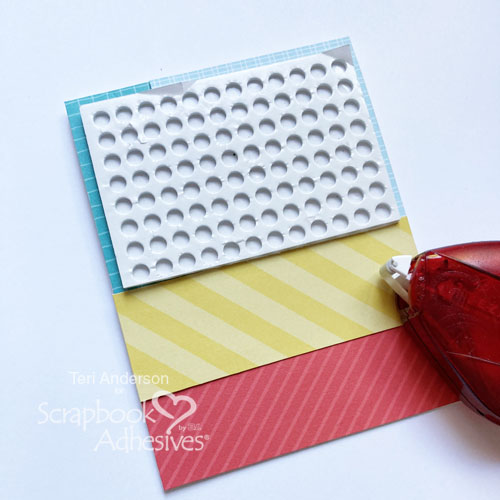
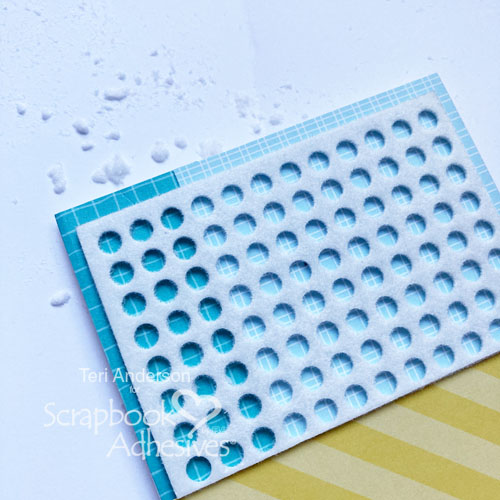
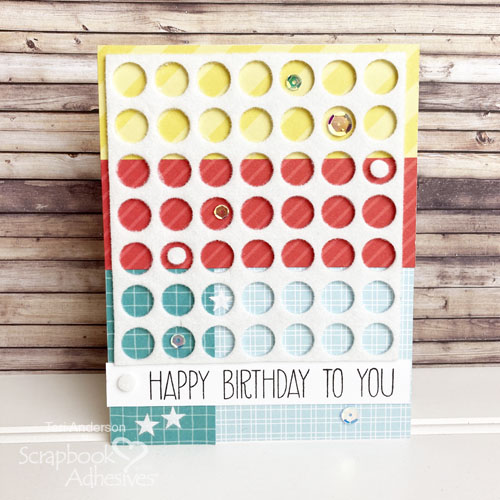
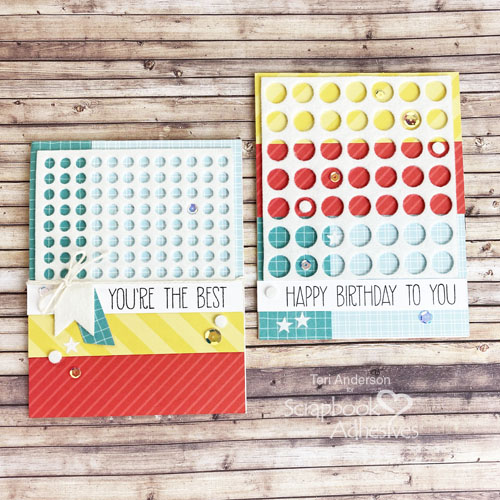
Want to use a piece of paper on your card’s background that clashes with your patterned paper strips? Here’s an easy fix for that! Cut a panel of vellum and mount into onto the background paper. The vellum is kinda, sorta… magical! It will soften the color of the background paper!
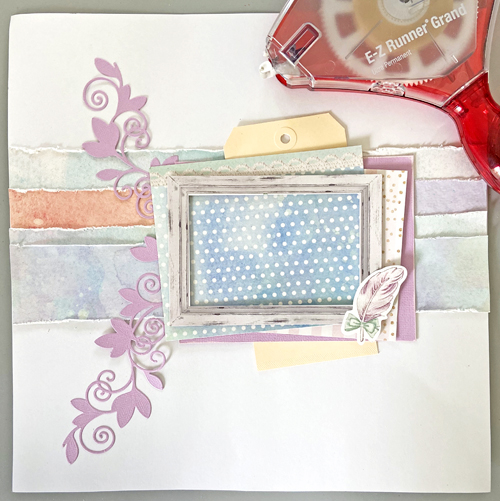
I used E-Z Runner® Petite Permanent Dots Refillable Dispenser to adhere the vellum to the panel since I didn’t have the E-Z Runner Permanent Fine (used to adhere vellum) in my stash. To hide my adhesive, I placed embellishment and paper strips over it but I like the dotted background that peeks behind them.
I hope this quick tutorial inspires you to make some cute Sunny Cards of your own!
Happy creating,
Teri Anderson
Creative Time: 45 Minutes
Skill Level: Beginner
Materials Needed
Scrapbook Adhesives by 3L®
- Adhesive Dots Micro
- Adhesive Dots Medium Ultra Thin
- 3D Foam Circle Frames White
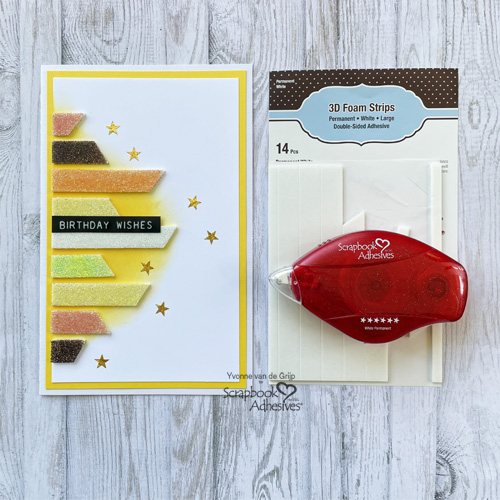
- E-Z Runner® Permanent Strips Refillable Dispenser
- E-Z Runner® Petite Permanent Dots Refillable Dispenser
- Creative Photo Corners Kraft
Other
White Cardstock and Vellum: Neenah Paper; Patterned Papers: Avery Elle; Stamps: Lawn Fawn (Hello Sunshine Stamp Set); Ink Pad: Ranger Ink; Sequins: Pretty Pink Posh; Pink Flock: Stampendous; Twine: The Twinery; Wiggle Eyes: Darice; Black Pen and Pink Marker: Copic
Save it to Pinterest!
Visit our Website and Blog!
Sign up for our Newsletter so you never miss a contest or giveaway!