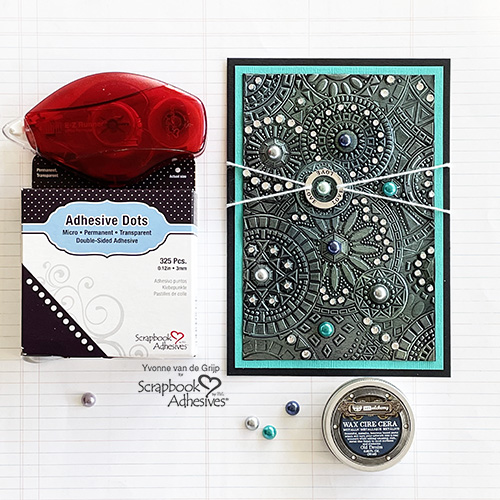
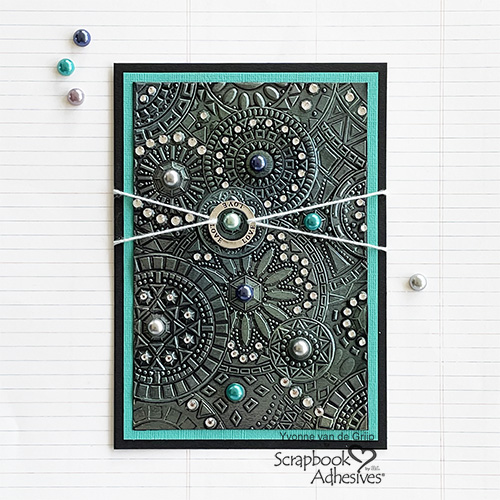
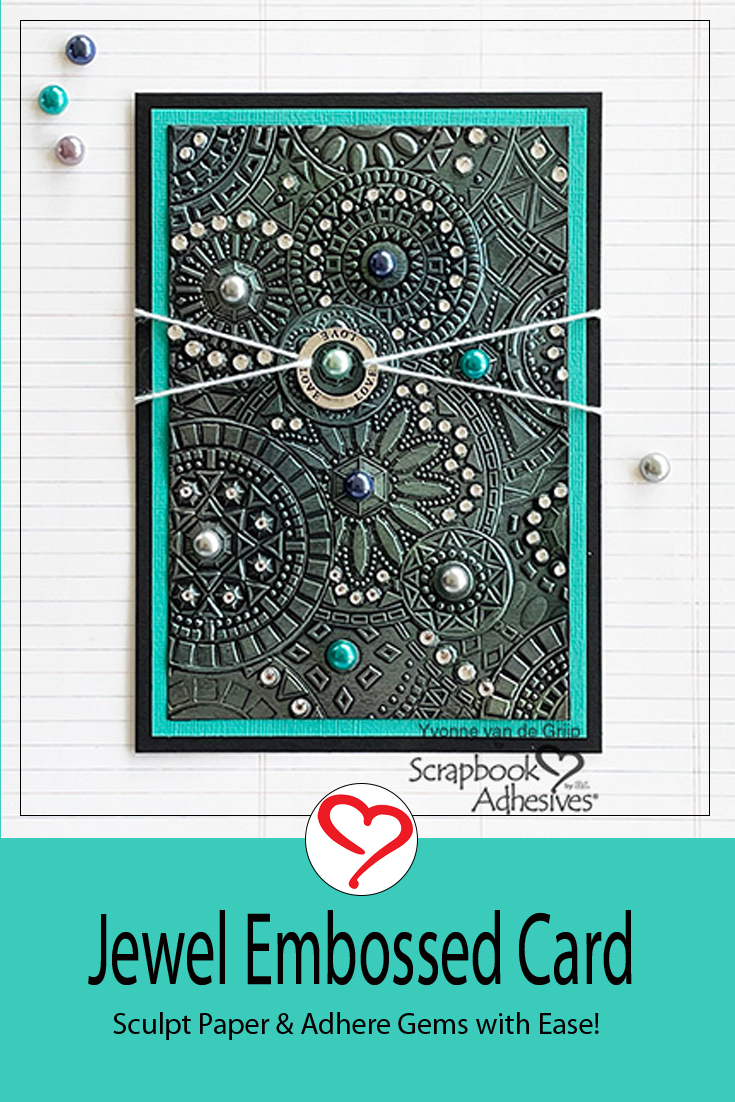
Hi everyone, Yvonne here with a gorgeous Embossed Jewel card. I have so many loose rhinestones and pearls. How to stick them to my textured card? With the Adhesive Dots Micro, and it was super easy! Join me and will show you how I make my stunning embossed Jewel card. Let’s get started!
The Embossed Jewel Card Panel
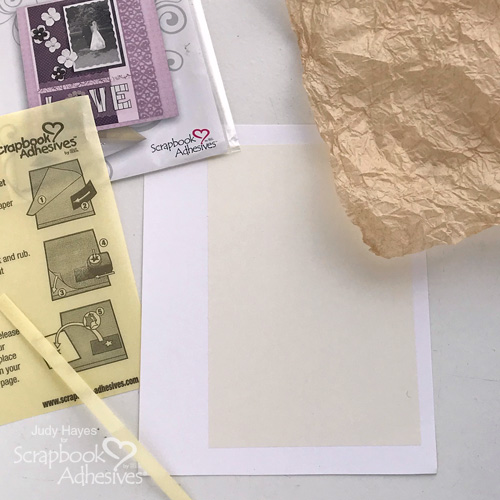
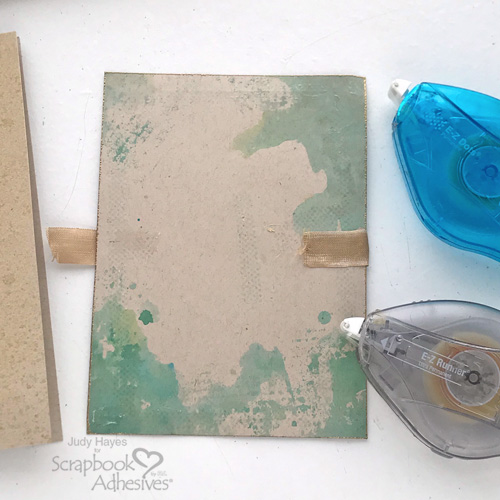
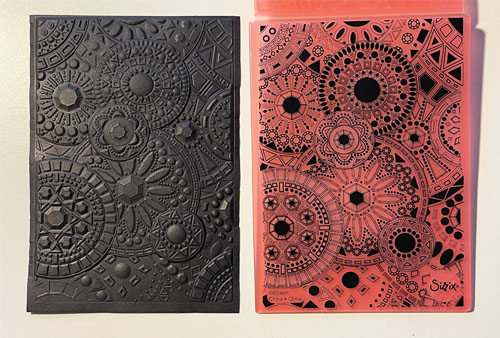
Start by trimming a piece of black cardstock to a rectangular size that fits the embossing folder. Now spray some water onto the black cardstock with a mister to moisten the cardstock a little bit. This way your cardstock will be more flexible and the embossed pattern will be even more detailed. And another big plus is that by moistening the cardstock i twill not tear as easy as when using dry cardstock. Okay, now place the (moistened) cardstock between the embossing folder and run through your die-cutting and embossing machine (using the sandwich as recommended by the manufaturer of your machine).
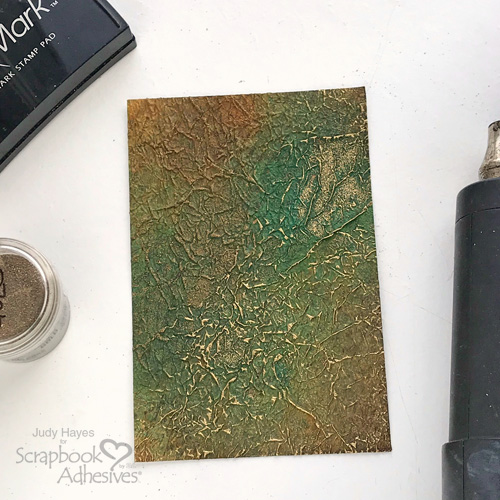
Then carefully open the embossing folder and take out the embossed paper. Let the cardstock dry. You could use a heat tool to speed up the drying process.
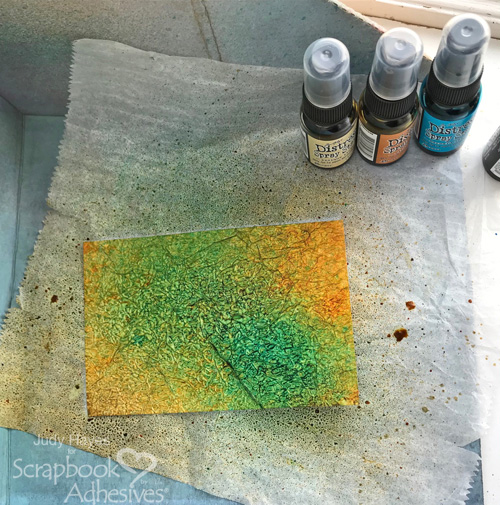
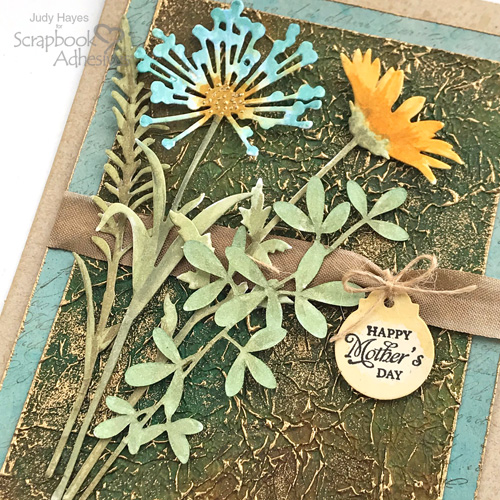
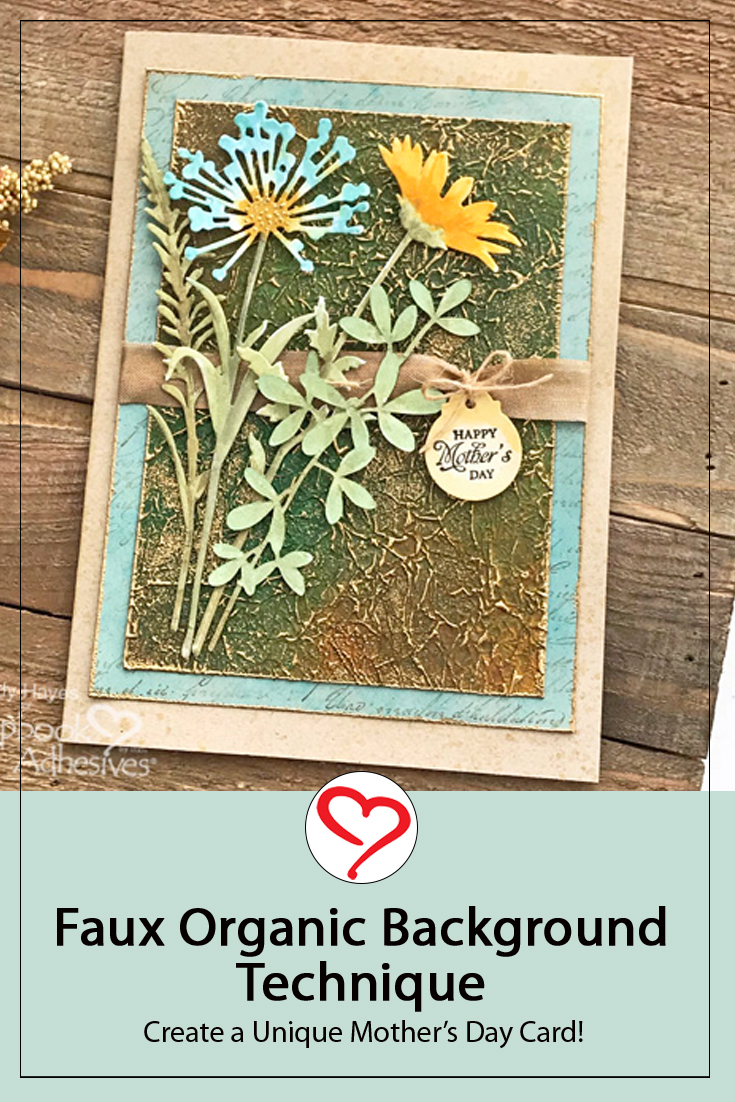
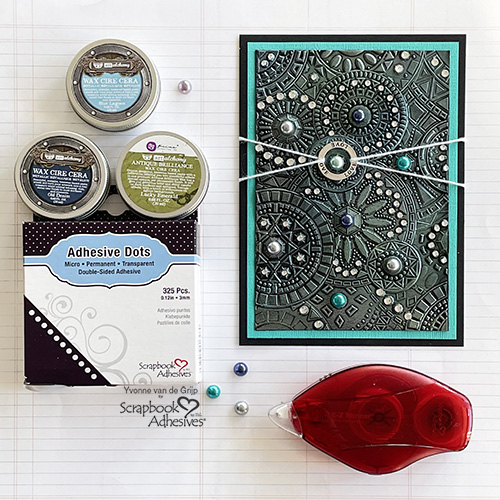
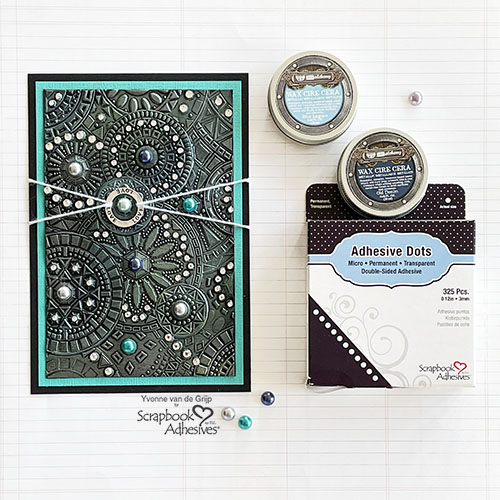
Next, to add the metallic color I used wax paste. Simply put a little on your finger tip and rub over the cardstock and you will see the magic happen. For my card I used several shades and colors wax paste.
By adding the metallic finish your Jewel card will look even more luxurious.
Jewel Embellishment
First of all it is important to know that no adhesive will stick to wax thoroughly. This is easy to solve by simply using an eraser. Now I like to use my tiny electric eraser, but if you don’t have one a small eraser like the ones on the back of a pencil will do perfectly too. Now use the eraser to remove the wax from the dots you would like to add a jewel onto. You know you have removed enough when the black cardstock appears again.
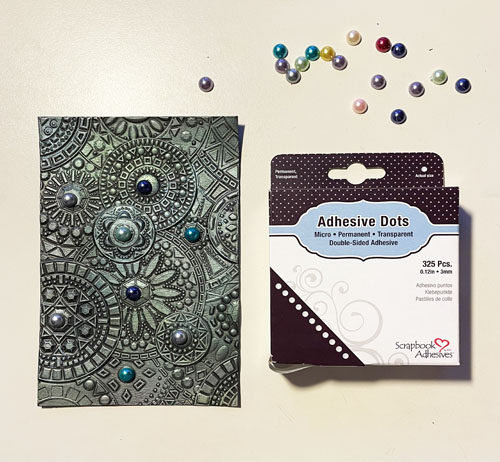
Now it’s time for the Jewel fun. Pick the rhinestones and pearls you want to use on your card and adhere an Adhesive Dots Micro to the back. Then remove the line rand adhere to the card (on the spots you removed the wax from).
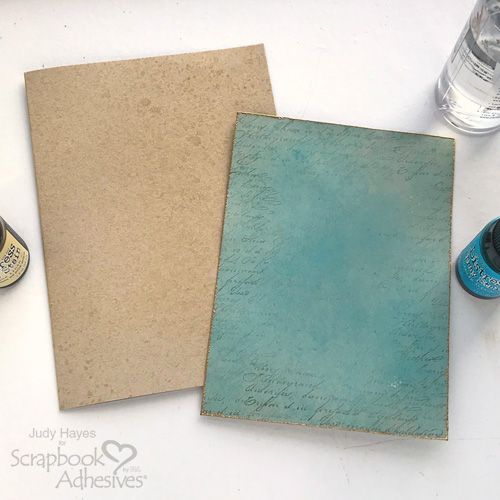
Layered Card Base
Adhhere the embossed top card panel onto a green piece of cardstock using the E-Z Runner® Permanent Strips Refillable Dispenser to adhere.
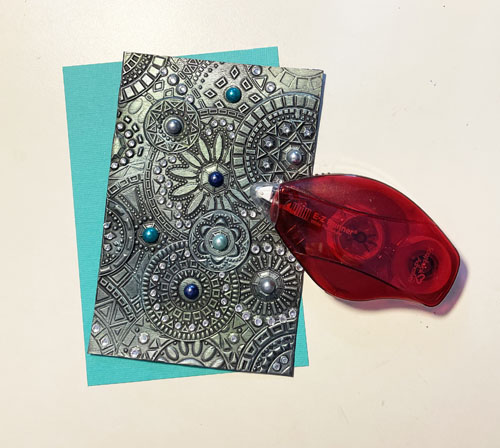
And then adhere onto a black card base, also using the E-Z Runner® Permanent Strips Refillable Dispenser.
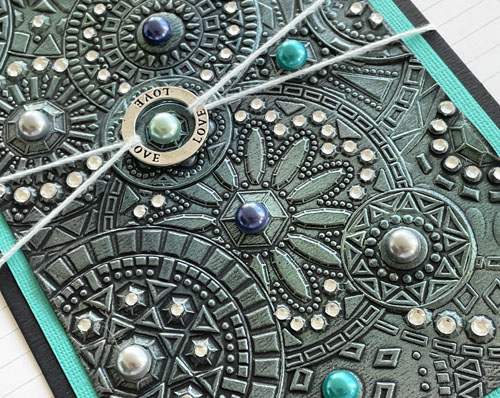
The Touches
For a finishing touch a added a metal love-finding ring. Simply use some twine to tie the embellishement ring to the Jewel Card and tie to the back of the card.
And voila…your Embossed Jewel card is ready to be sent to someone precious!
I hope you enjoyed this tutorial and wish you happy crafting
Yvonne van de Grijp
Creative Time: 30 minutes
Skill Level: Intermediate
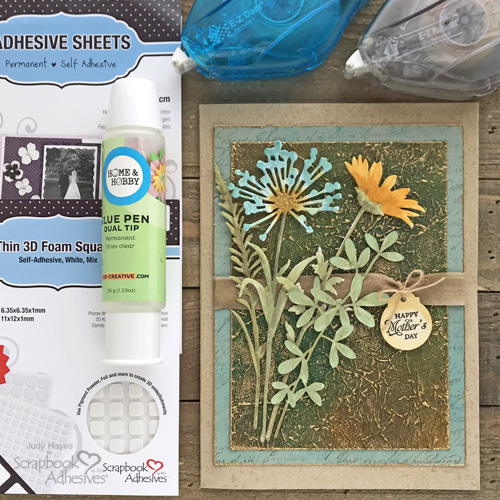
Materials needed:
Scrapbook Adhesives by 3L®
E-Z Runner® Permanent Strips Refillable Dispenser
Adhesive Dots Micro
Other
Cardstock (Black, Green); Embossing Folder (Sizzix 3-D Texture Fades – Mosaic Jems); Die-Cutting and Embossing Machine (Spellbinders® Paper Arts: Platinum 6 Machine); Wax Paste (Prima®Marketing: Finnabair Art Alchemy: Wax Cire Cera: Lucky Emerald, Blue Lagoon, Old Denim); Twin; Tweezers; Pearls and Rhinestones, Metal Love Finding; Paper Trimmer; Scissors
Save It to Pinterest!
Visit our Website and Blog!
Sign up for our Newsletter so you never miss a contest or giveaway!