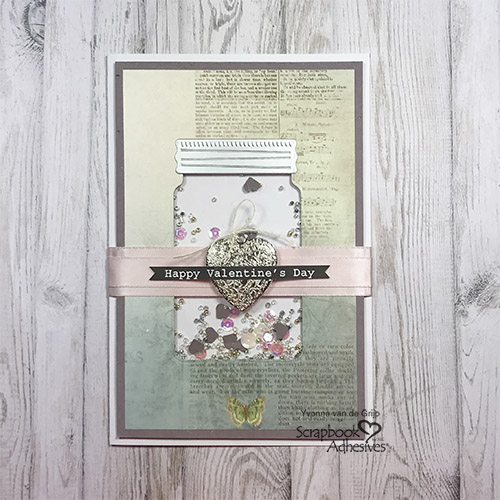
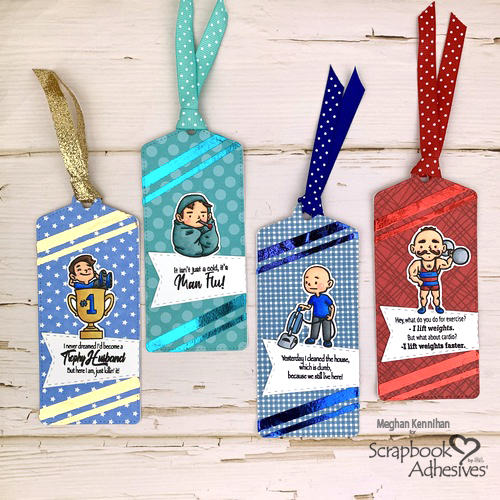
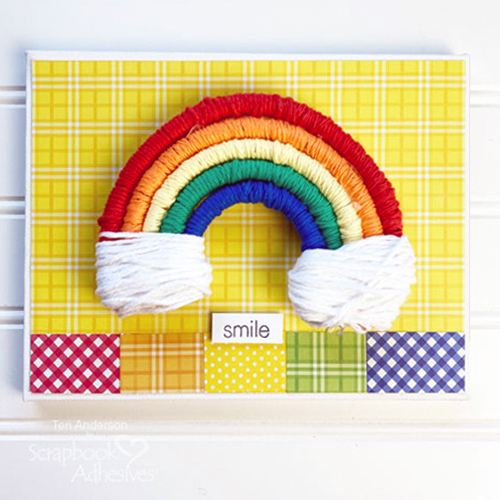
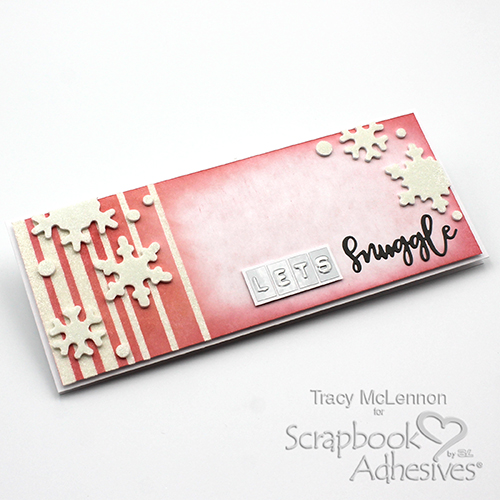
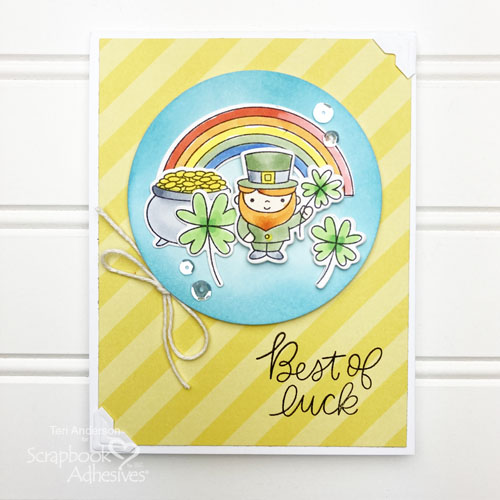
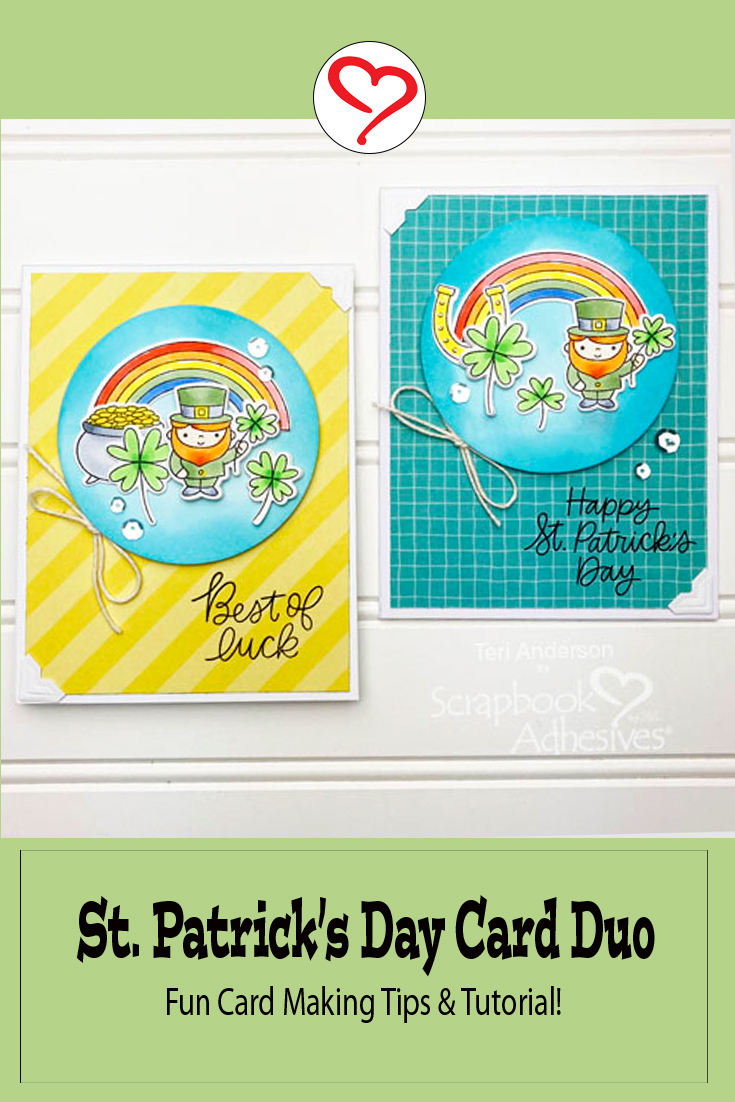
Hi, friends! Wanting to wish your friends and loved ones a little bit of luck this St. Patrick’s Day? Teri here with a Best of Luck St. Patrick’s Day card that is easy to make!
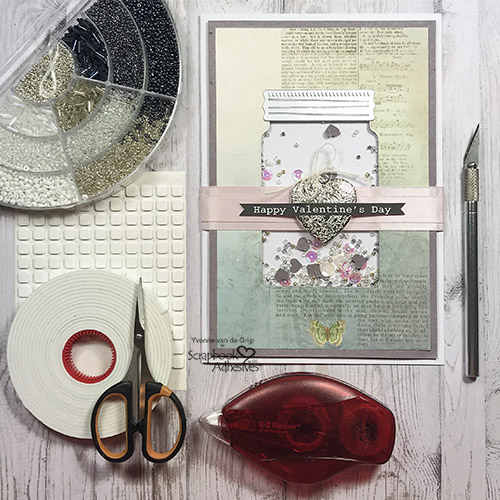
All you need to make a card like this is a St. Patrick’s Day themed stamp set and a few basic crafting supplies.
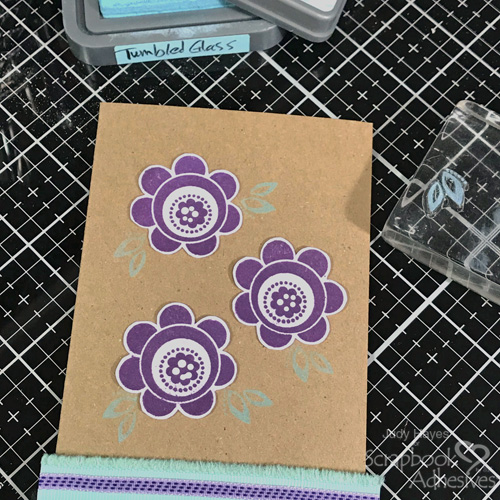
Stamp + Assemble a Best of Luck Card Scene
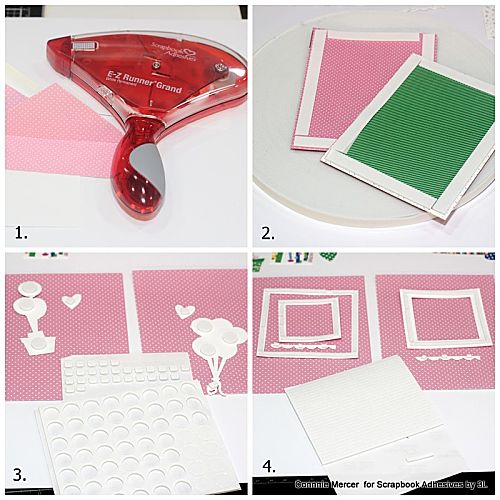
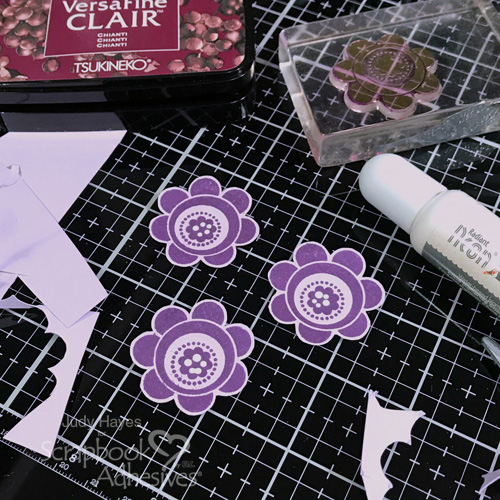
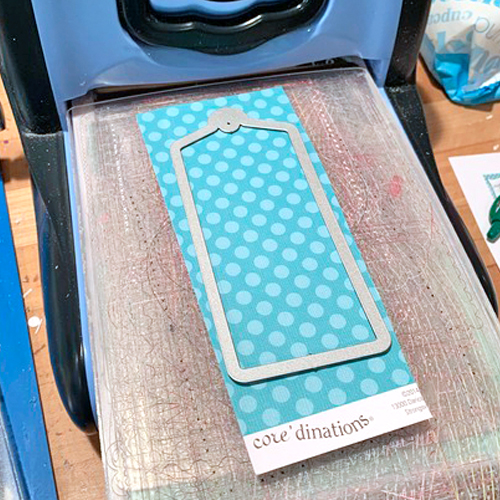
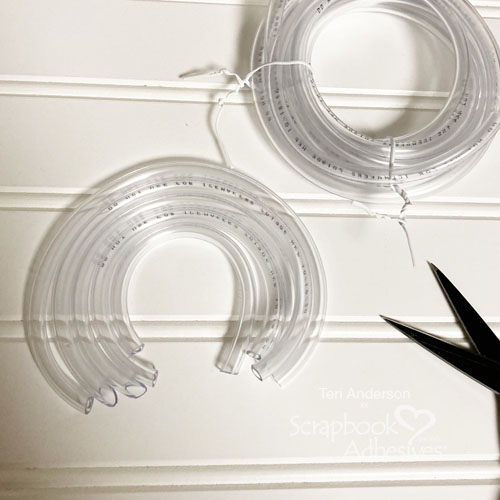
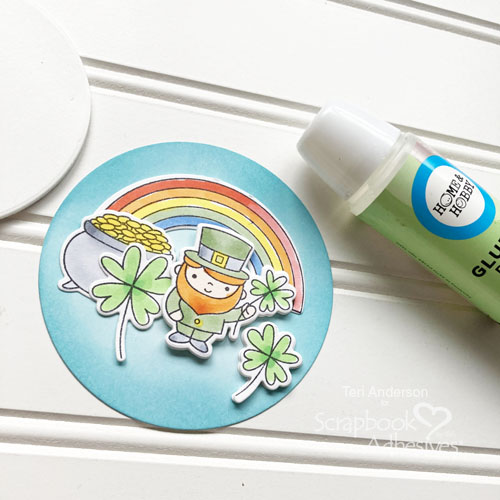
Start by stamping, coloring in and die-cutting a few St. Patrick’s Day themed images. Be sure to cut a few extra dies that you don’t stamp on. You’ll see why in a minute.
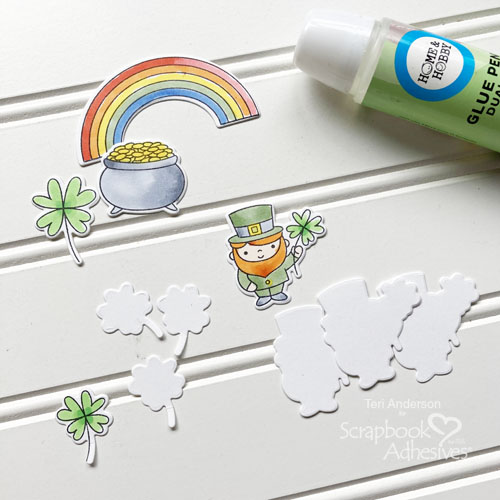
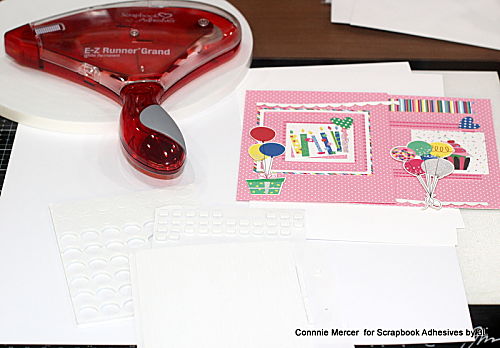
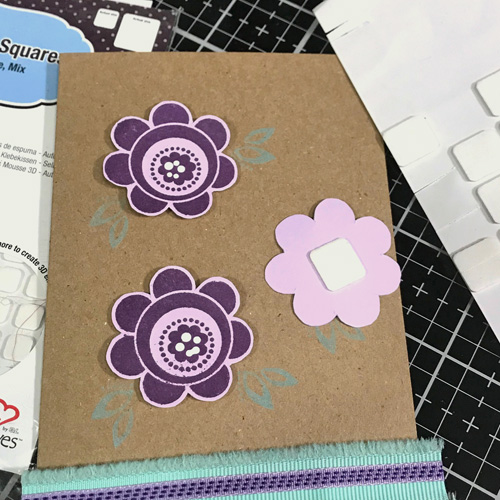
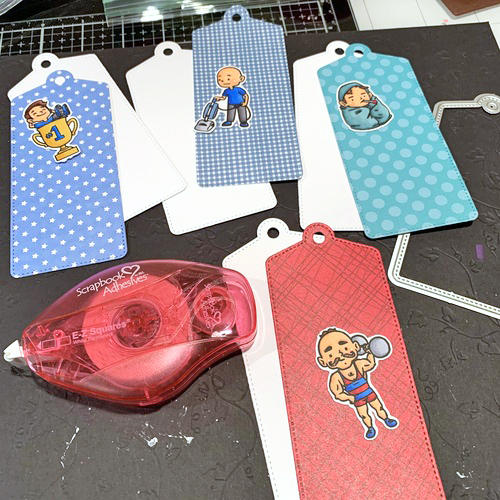
Stack and adhere together your stamped shapes that you cut the extra die-cuts of. This will give them a little extra pop and create the illusion that you stamped on a chipboard.
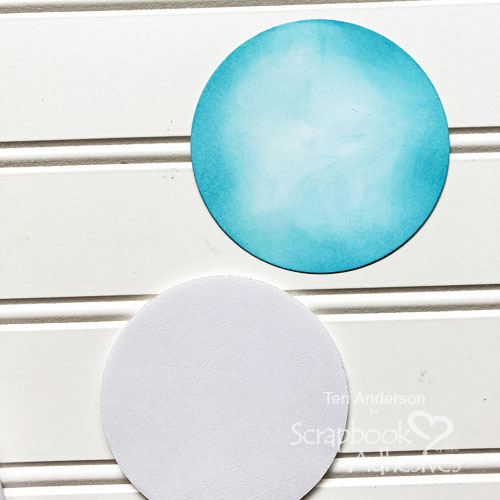
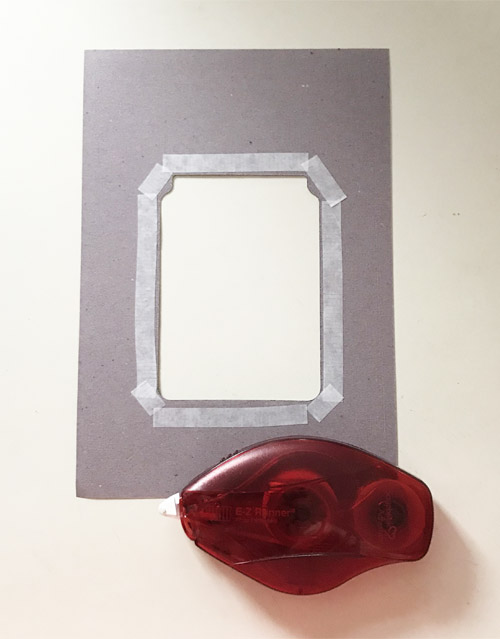
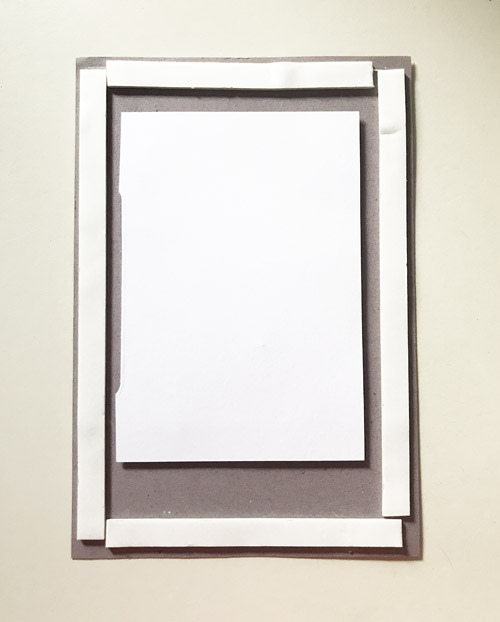
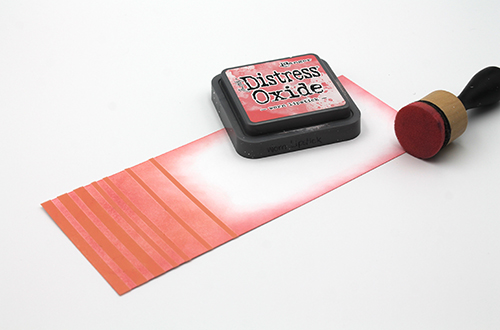
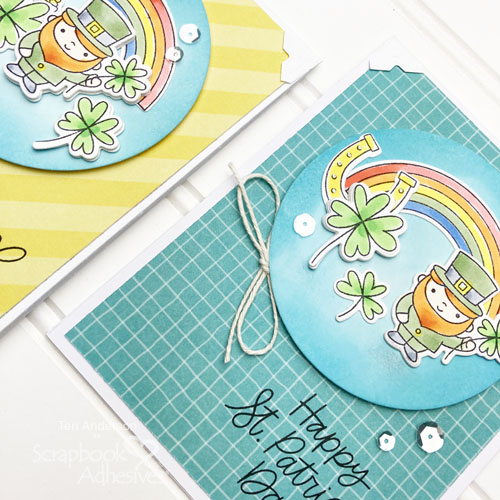
Cut a large circle from cardstock. Blend ink onto it. Cut a second circle that’s just a bit smaller from a 3D Foam Creative Sheet. Adhere your stamped images to your inked circle.
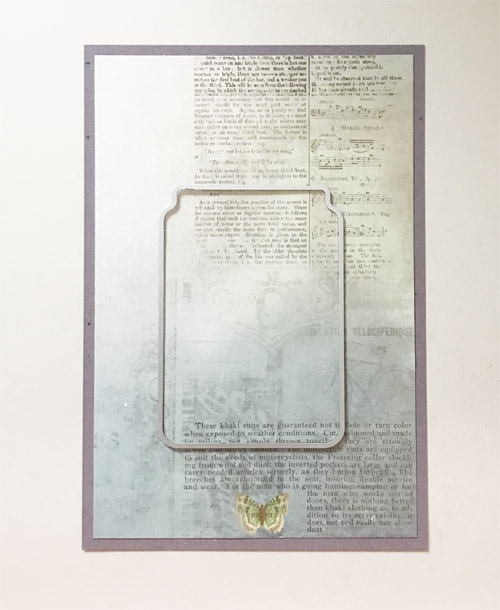
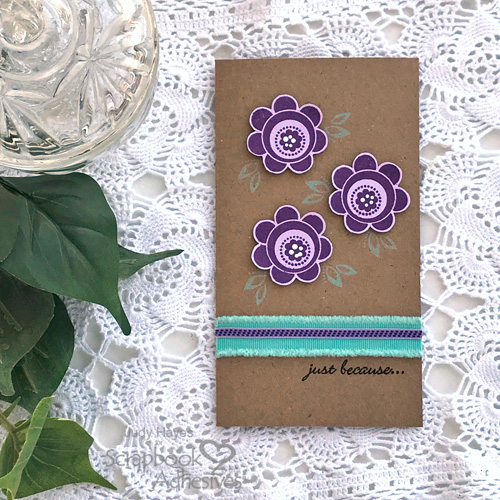
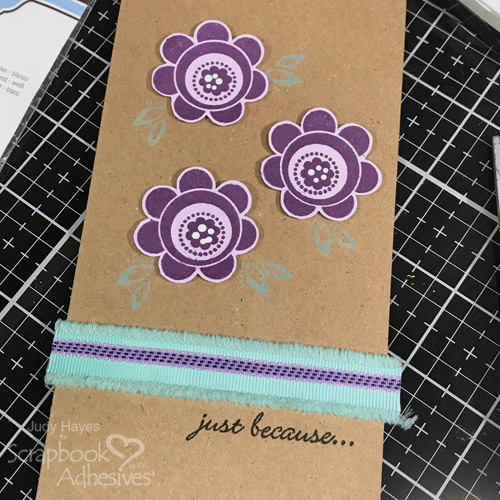
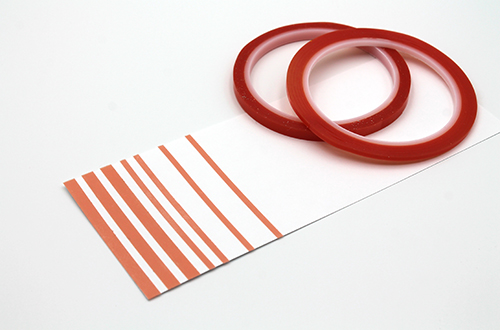
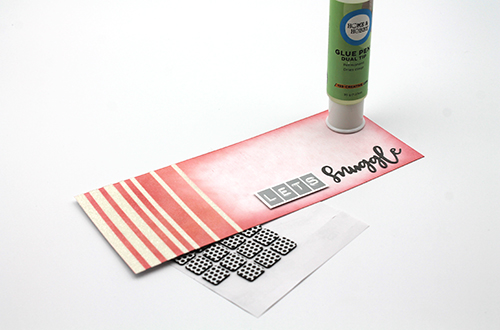
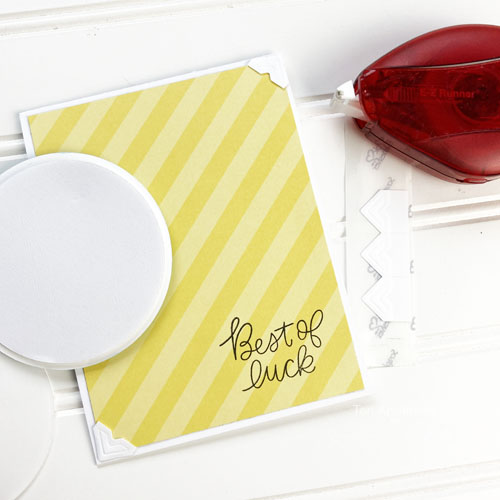
Cut a piece of patterned paper to fit on a card. Mount it onto a card. Add two photo corners to it. Stamp a sentiment in the corner.
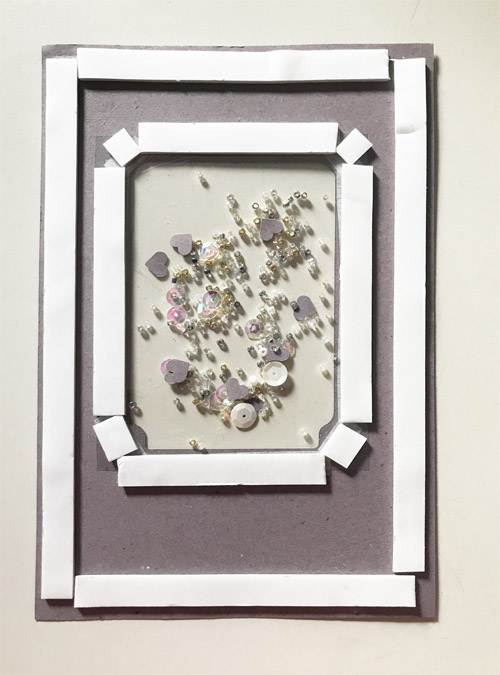
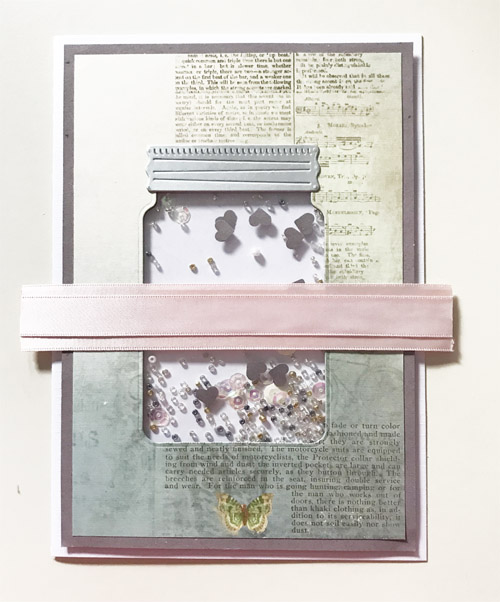
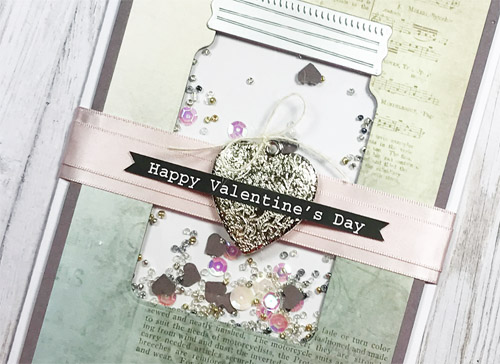
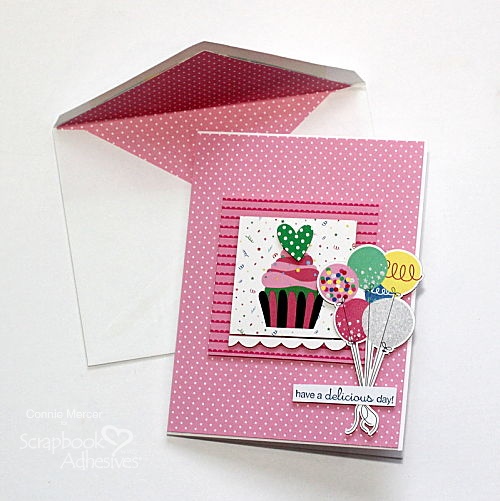
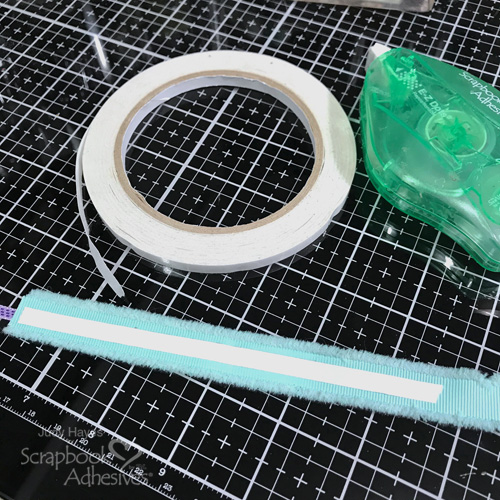
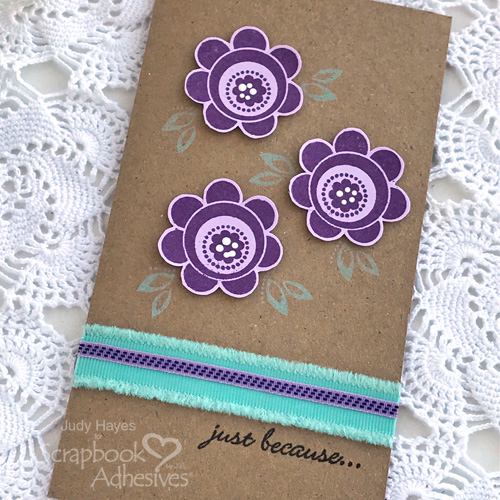
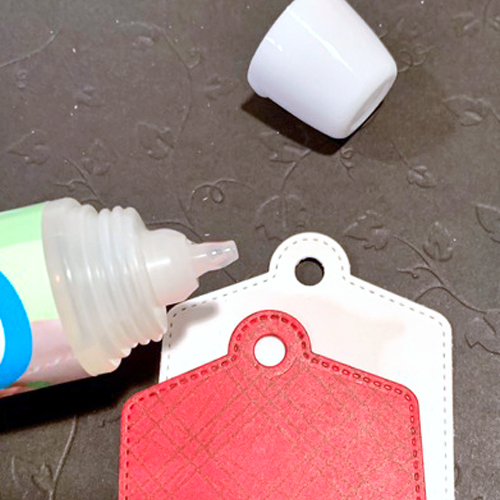
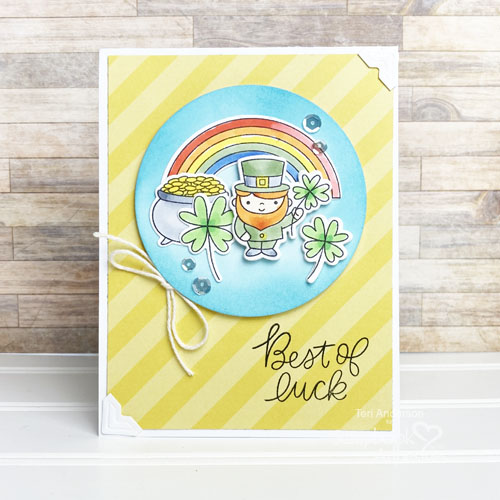
Affix your circle with your images and foam circle to your card. Wrap twine around your circle. Tie a bow. Use an Adhesive Dot to keep it from moving around. Complete your card with a few sequins or gems.

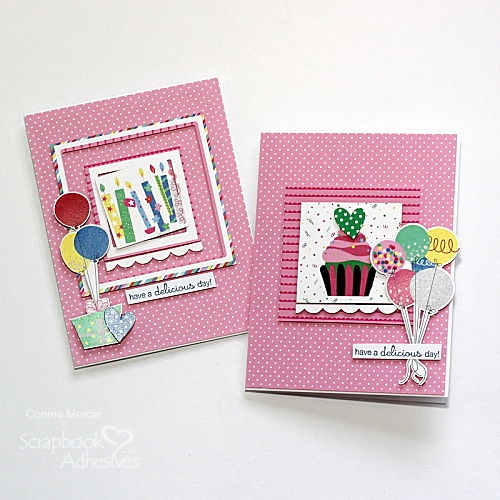
Slight Change in Style
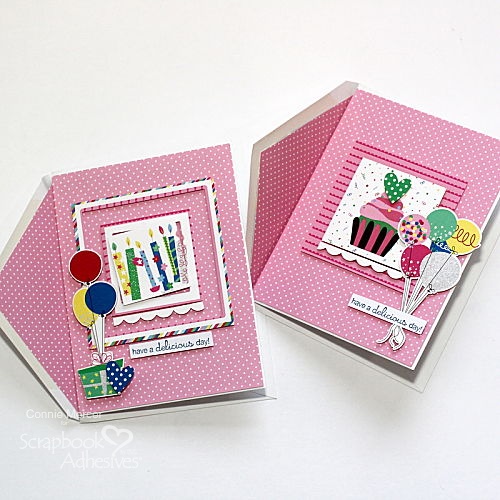
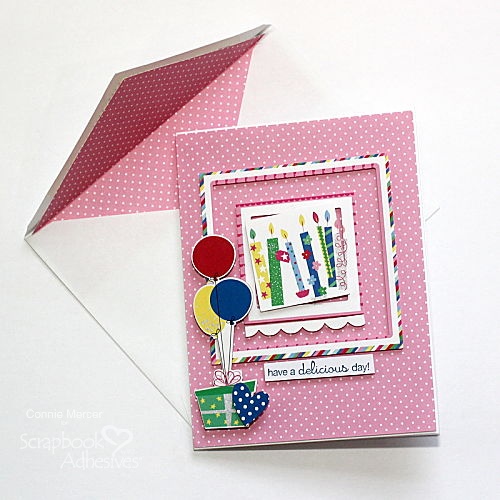
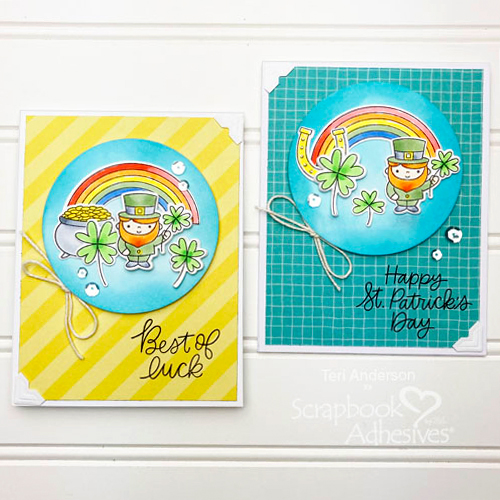
You can easily switch up this design. One way is to use different images. You can also shake up your design by arranging them differently.
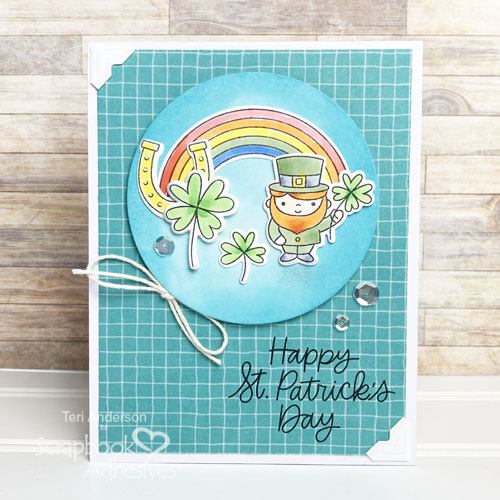
Another idea is to use a different patterned paper or cardstock on your card. I used blue paper rather than a yellow one.
The end result is two different but similar cards! Both are perfect cards to send to friends in honor of St. Patrick’s Day! I hope you are inspired to try your luck in making a card (or two) of your own!
Happy crafting!
Teri Anderson
Creative Time: 60 Minutes
Skill Level: Intermediate
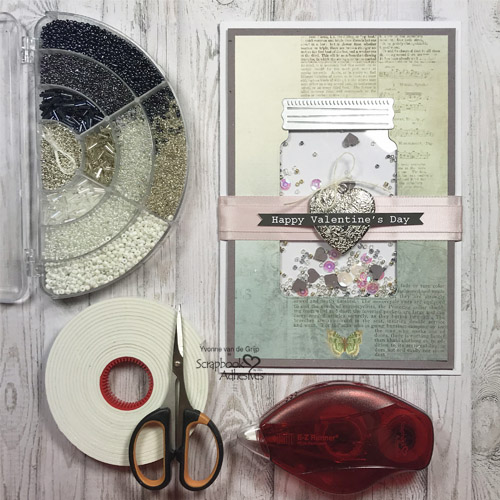
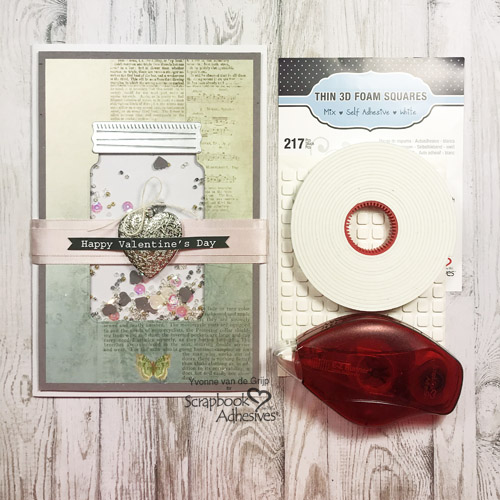
Materials Needed
Scrapbook Adhesives by 3L®
- Adhesive Dots Micro
- 3D Foam Creative Sheets Medium White
- E-Z Runner® Permanent Strips Refillable Dispenser
- Creative Photo Corners Mix Pack
HomeHobby™ by 3L
Other
White Cardstock: Neenah Paper; Patterned Papers: Photo Play Paper Co. (We Can Just Stay Home Collection); Stamps and Dies: Pretty Pink Posh (Best of Luck Stamp Set and Cutting Dies); Dies: Hero Arts (Circles) Sequins: Pretty Pink Posh; Black and Blue Ink Pads: Ranger Ink; Twine: The Twinery; Markers: Copic
Save it to Pinterest!
Visit our Website and Blog!
Sign up for our Newsletter so you never miss a contest or giveaway!