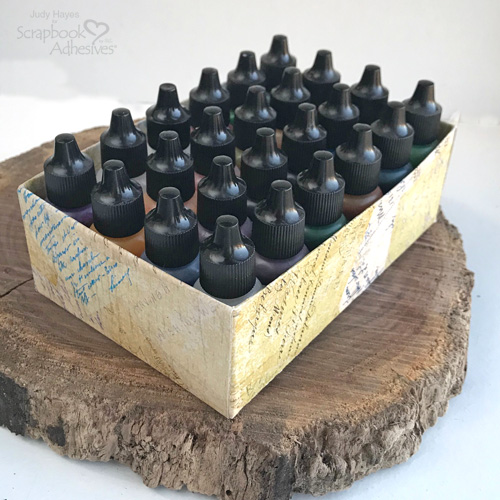
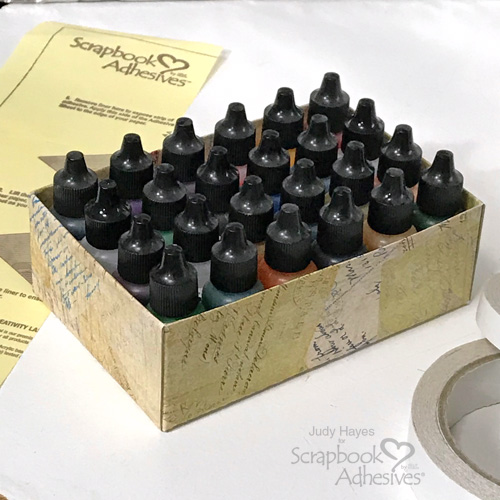
Hello crafty friends! Judy here and I’m sharing a DIY crafty organization box to keep some re-inkers in order to place in one of my craft drawers. Made from scratch, I think this would be useful for you too!
I had these bottles in a plastic box which were a little big and it took up more space than necessary. A crafter needs all the space possible in a craft room, right? Every time I opened the drawer some of the bottles fell over so it was time to make a custom box!
DIY Crafty Organization Box Steps
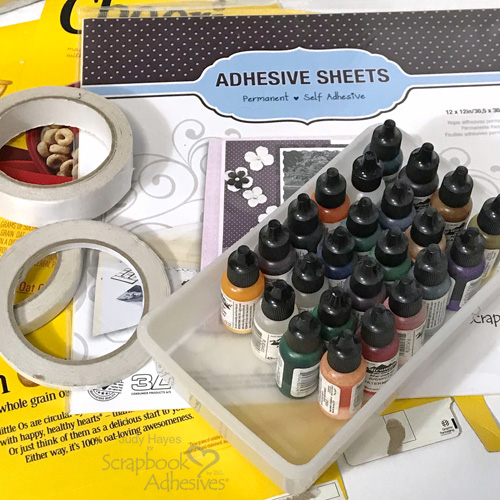
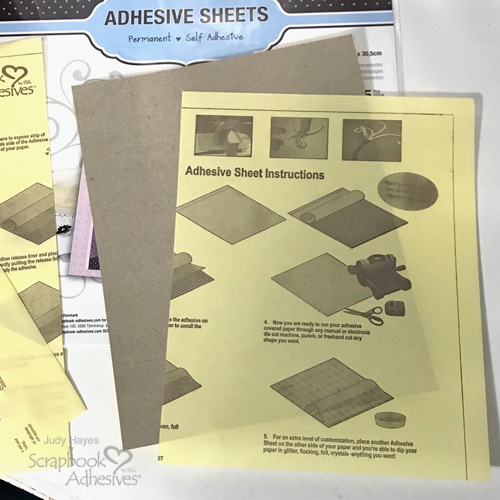
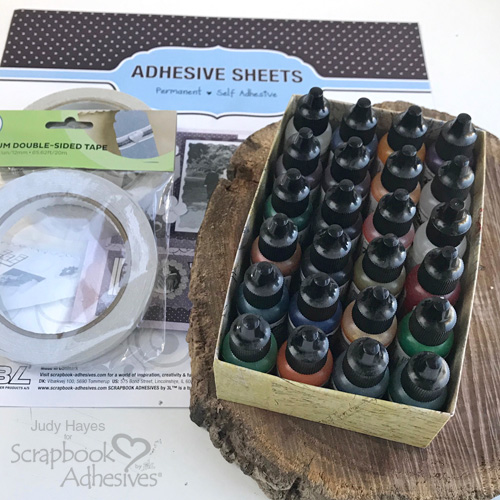
To make this box, I gathered my supplies of thin cereal box cardboard, lightweight patterned paper, Adhesive Sheets 12×12 inch and Premium Double-Sided Tape 1/2in, and Premium Double-Sided Tape 1in.
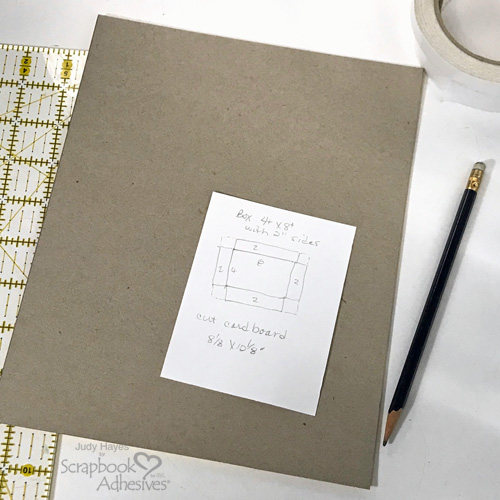
First, you need to determine the size of the box.
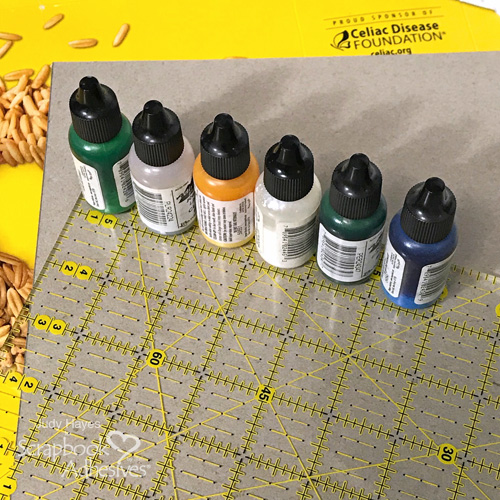
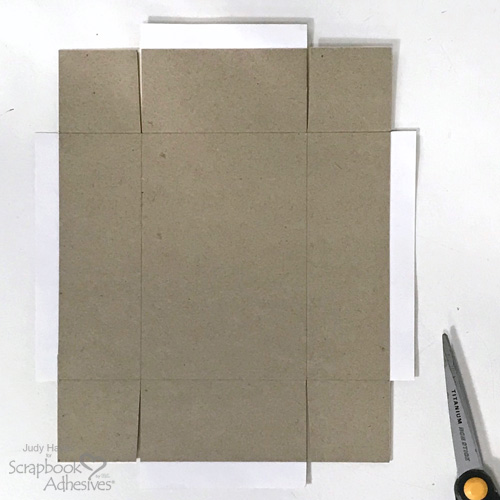
For my re-inkers, each bottle is about 1 inch wide. With 24 bottles, I decided to make the box about 4.125 x 6.125 inches with 2 inch sides. That allows a tiny bit of wiggle room. Cut a piece of cereal box to 8.125 x 10.125 inches. (2 + 4.125 + 2 = 8.125; 2 + 6.125 +2 = 10.125)
Next, cut a piece of Adhesive Sheets 12×12 inch to the same size. Apply it to the printed side of the cardboard. That’s the side to be covered with patterned paper.
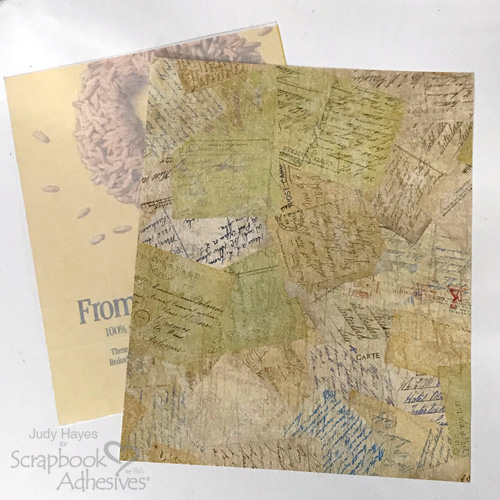
Using Patterned Paper
The patterned paper is cut 1.25 inches bigger on both length and width, 8.375 x 11.375 inches. That allows enough to fold over the box edges.
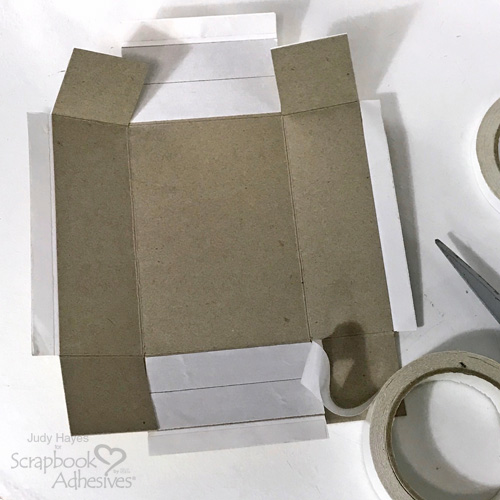
Score the cardboard 2 inches from all edges.
Remove liner from Adhesive Sheets on cardboard. Place adhesive side down centered on back of patterned paper. Lines can be drawn on back of patterned paper to help with placement.
Cut through cardboard and paper on score lines on each end as shown in photo. Cut again at an slight angle to outside of each cut making a narrow wedge cut. Trim off patterned paper at corners. Leave patterned paper extend at each end and each side.
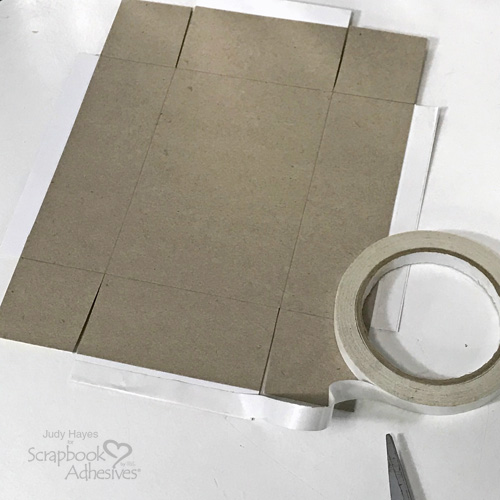
Apply Premium Double-Sided Tape 1/2in on back of patterned paper where it extends beyond cardboard.
Fold on all score lines and crease well.
Assemble the Box
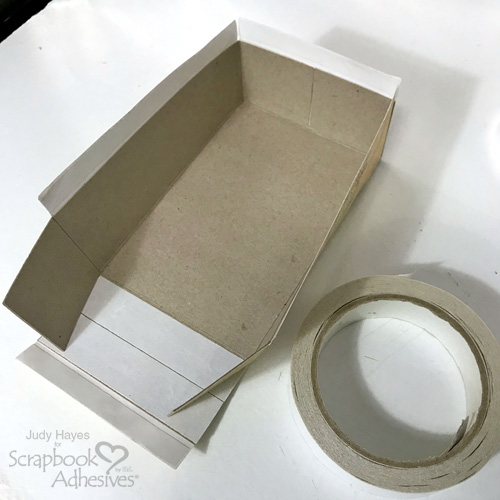
Apply Premium Double-Sided Tape 1in Permanent on cardboard ends. Rub to adhere tape well. This works for this size box since the flaps will meet and cover end of box.
Remove liner from Premium Double-Sided Tape 1in Permanent on one end. Fold flaps inside and press box end up against flaps. Repeat at other end.
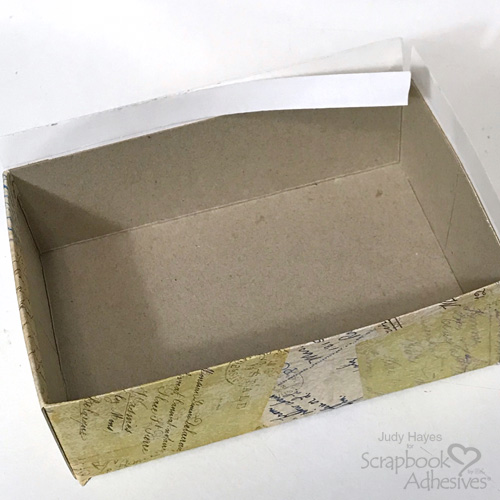
Remove liner from Premium Double-Sided Tape 1/2in from one patterned paper edge. Fold over box edge to inside and press well. Repeat for all box edges.
That finishes the box!
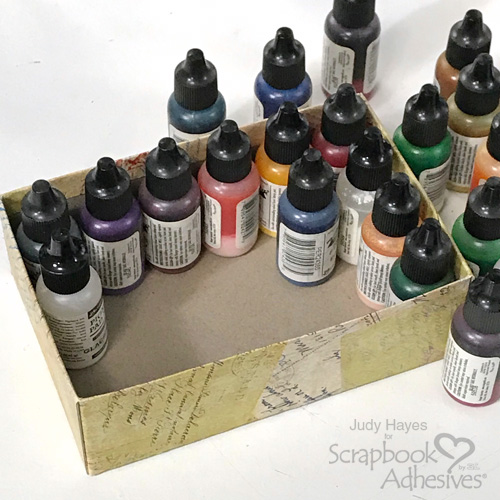
The re-inkers fit in it well! No more tipping over and there’s some extra space in the drawer where this box goes.
I often make boxes like this DIY Crafty Organization Box for my craft storage. I’ve used plastic boxes or baskets in the past. They often take more space than is needed. I like making custom sizes to fit my space.
I hope you’ve found some inspiration here today! Thanks for Visiting!
Judy Hayes
Creative Time: 30 Minutes
Skill Level: Beginner
Materials Needed
Scrapbook Adhesives by 3L®
HomeHobby™ by 3L
Other
The Paper Studio Lightweight Patterned Paper, cardboard (cereal box), Score tool, Scissors
Save It!
Visit our Website and Blog!
Sign up for our Newsletter so you never miss a contest or giveaway!