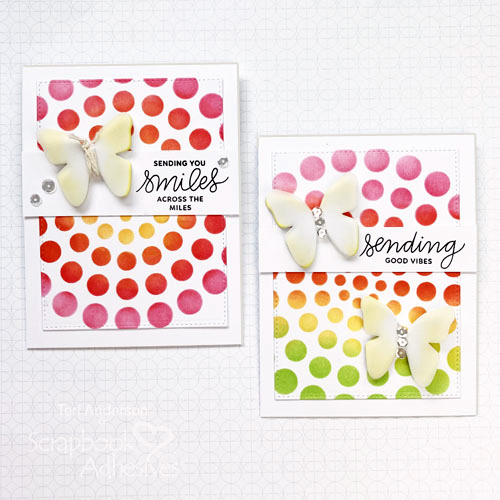
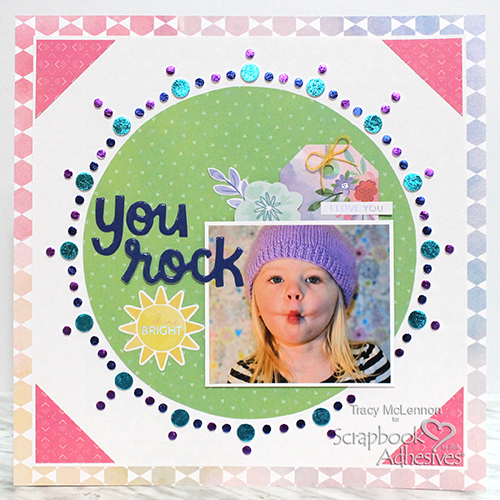
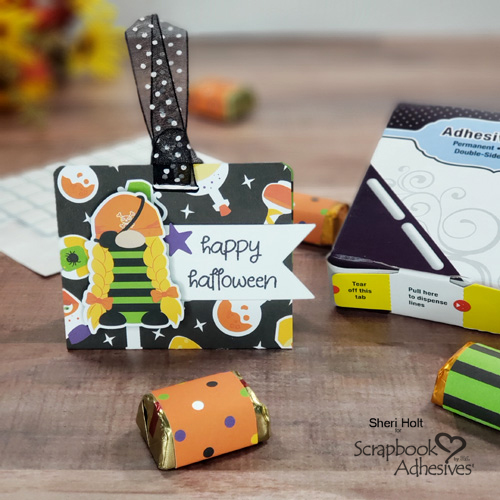
Hello! Sheri here, and today I have an adorable easy Halloween Nugget Treat Holder tutorial. These would make great little gifts for the office too. Halloween isn’t just for kids, right? Let me share how I created these!
Halloween Nugget Treat Holder Steps
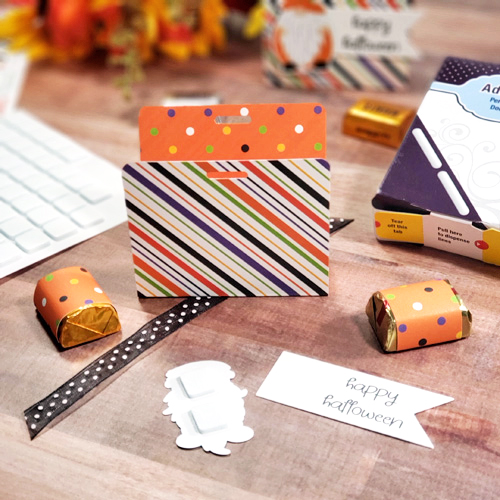
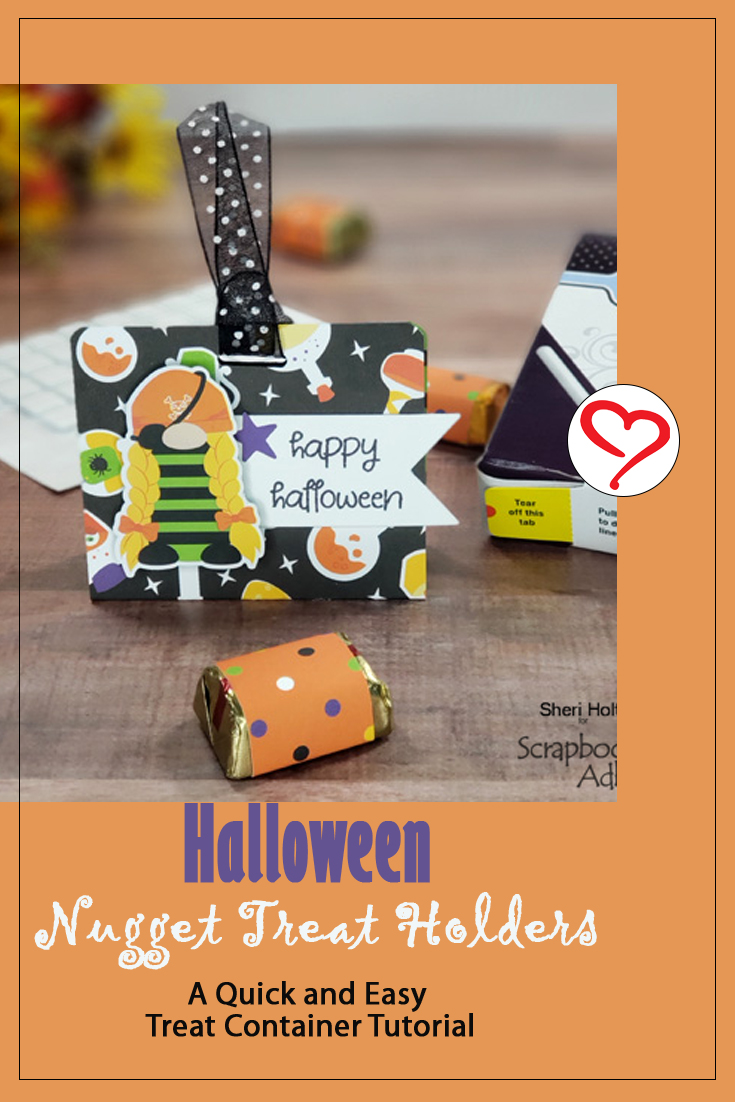
For each treat holder, you will need to cut a piece of 3” x 6” patterned cardstock for the base. Cut two strips of 1” x 3” cardstock to wrap your nuggets. FYI, one 12 x 12″ sheet of cardstock will make six treat holders.
With the 3 x 6-inch patterned cardstock base, score 2 1/2” and 3 1/3” on the long (6″) side. Fold to create a flat base. Round the corners and punched a hole for the ribbon.
Designer’s Tip: Make the ribbon opening fun with a shaped hole puncher or even staple the ribbon to the holder to close it.
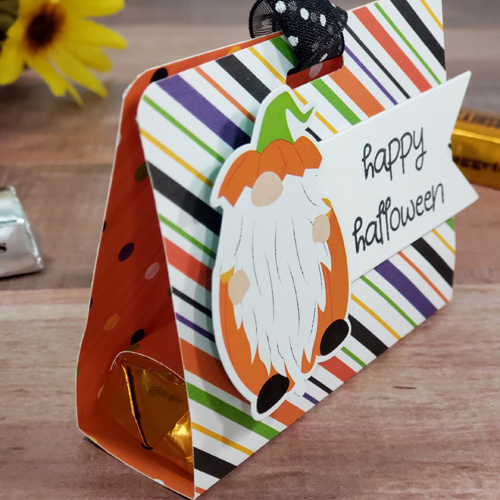
Wrap the 1″ x 3″ strip of patterned paper around each nugget. Seal the end with an Adhesive Line. I think they are my new favorite thing! These Adhesive Lines are the perfect size to fit the 1” wide strip. Also, the lines can be used to hold the candies in place on the base of the holder.
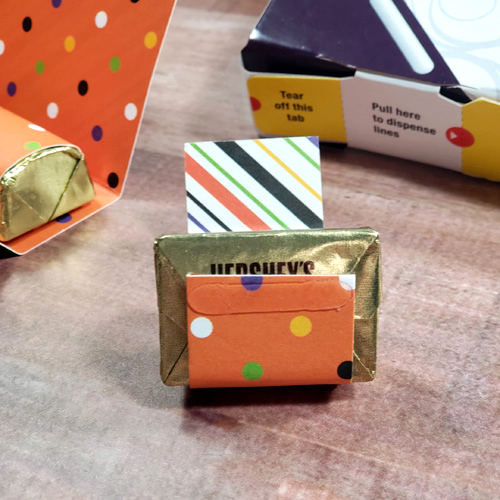
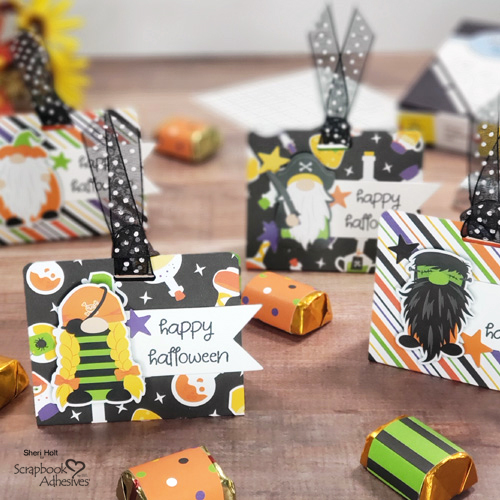
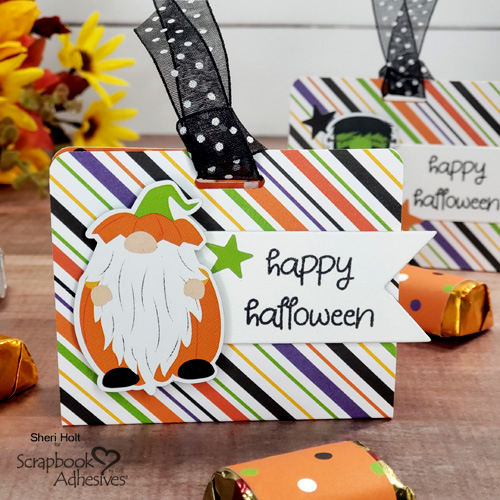
Lastly, attach a sentiment, ribbon, and your favorite character on the front with 3D Foam Squares for a fun dimension.
This project couldn’t be any easier – just add fun two-sided patterned papers like this Halloween collection!
Thanks for stopping by to check out my Nugget Treat Holders for Halloween!
Sheri Holt
Creative Time: 20 minutes
Skill Level: Beginner
Materials needed:
Scrapbook Adhesives by 3L®
3D Foam Squares White Mix
Adhesive Lines
Other
Patterned Paper and Clear Stamp: Photo Play Paper (Gnome for the Holidays Halloween Collection); Banner Die: Avery Elle (Dotted Die Banner); Black Ink: Tsukineko (Memento Ink in Tuxedo Black); Ribbon; Chocolate Nuggets Candy
Love It? Save It to Pinterest!
Visit our Website and Blog!
Sign up for our Newsletter so you never miss a contest or giveaway!