
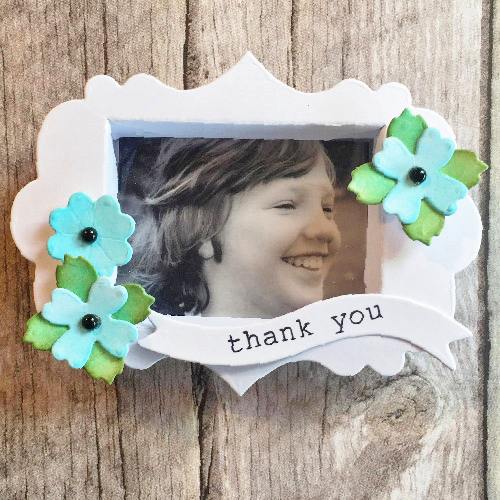
Christine here today with a Spring shadow box project. Spring is nearly here and I don’t need any excuse to make cute projects with flowers! Please take a look to see how this shadow box is easily made with Scrapbook Adhesives by 3L products. I’m also sharing a handy use for Self-Laminating Pouches.
Spring into Action
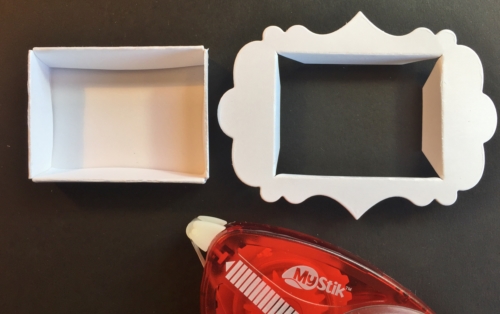
The shadow box is a die cut, once the sections are folded affix with MyStik® Permanent Strips. Because this adhesive is dispensed in little strips this makes it ideal to apply as little or as much as you need.
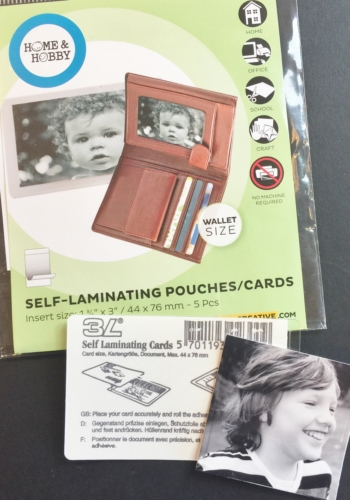
To personalize the shadow box I wanted to insert a photo but how to protect it from dust? Easy – use a Self-Laminating Pouch. I’ve used the Cards Wallet size, they are also available in a variety of sizes. Also because these are cold laminating you do not need a machine, just peel back, insert your photo/keepsake and smooth down – yes, that easy!
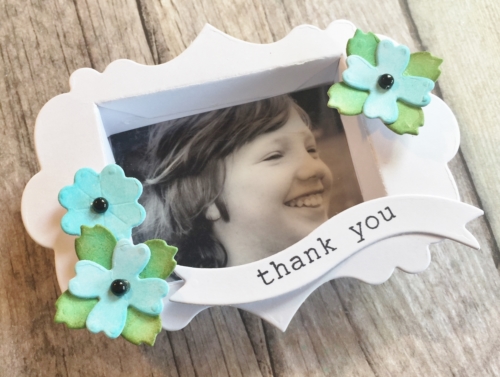
I affixed 3D Foam Squares White Regular to the reverse of the photo before inserting inside the shadow box. This gave it just the right amount of height and definition inside my shadow box.
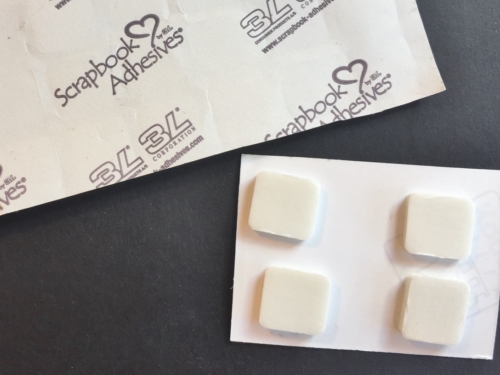
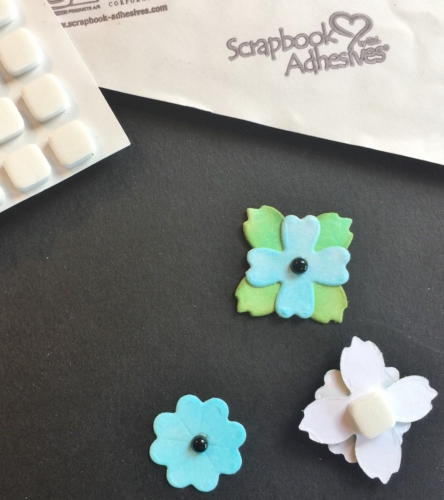
The 3D Foam Squares White Small are ideal for embellishments. It is possible to have both sizes of foam squares in one pack with 3D Foam Squares White Mix.
The finished project, you can attach this to a card, gift bag or create personalized table settings.
Be sure to check out all the super handy adhesives on the website. Thanks for stopping by!

Scrapbook Adhesives by 3L®:
MyStik® Permanent Strips
Self-Laminating Pouches – Cards Wallet
3D Foam Squares White Mix
HomeHobby by 3L®:
Self-Laminating Pouches – Cards Wallet
Others:
Dies: Spellbinders Paper Arts (Tiny Shadow Box)
White Cardstock, Distress Inks, Black Pearls, Sentiment Stamp
By Kitty Davies March 20, 2018 - 1:53 am
Thank you a lovely project . I did not know about the lamenating sheets.
By Christine Collins@btinternet.com March 20, 2018 - 3:02 am
A great project Christine, cold laminating sheets are a good idea. Love the foam pads, the best ones I’ve used.
Chris xx
By hazel young March 20, 2018 - 3:32 am
Beautiful shadow box project and a lovely photo of Elliott. Love the flowers too xx hazel
By Littlelamb March 20, 2018 - 5:03 am
Brilliant idea and lovely box frame. Thank you.
By Teresa Doyle March 20, 2018 - 10:58 am
This is so sweet Christine, Elliott is pretty cute too! I love these laminate pouches. I have been using them for various things for years and recently found a killer deal on them at our local Walmart for .50 cents a pack! (I bought them all!)
I love this idea and putting the foam squares behind for some dimension is a great idea, so sweet!
By Patricia Howarth March 20, 2018 - 3:15 pm
Hi Christine, This is so cute, a gorgeous frame box, and I love this piccie of Elliott, I remember his long hair, I loved it.
Lots of love from Patricia xx