
Good Morning! My name is Valerie, and I’m very excited because today I have my first post for the Scrapbook Adhesives by 3L® Design Team! When I found out a couple months ago that I had made it onto their team, I was absolutely thrilled! I have used their products since I began crafting years & years ago. Now I will get to share these great products with you! Today I have a birthday card featuring heat embossing with Adhesive Sheets.
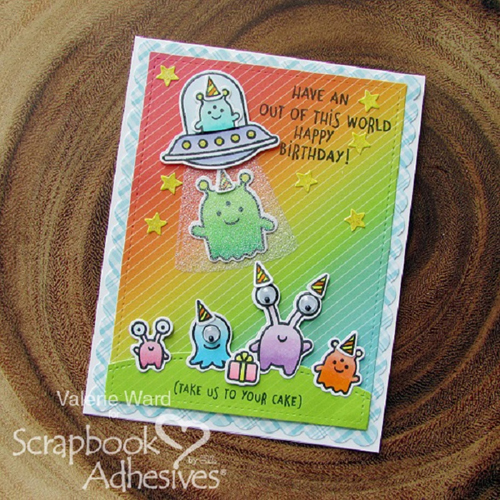
For my first project, I decided to make a fun Birthday Card. I really wanted to have some fun with the alien beaming out of the space ship, and I used Adhesive Sheets to do that (they come in 3 different sizes: 4×6, 6×12, & 12×12).
Using the Adhesive Sheets for Embossing
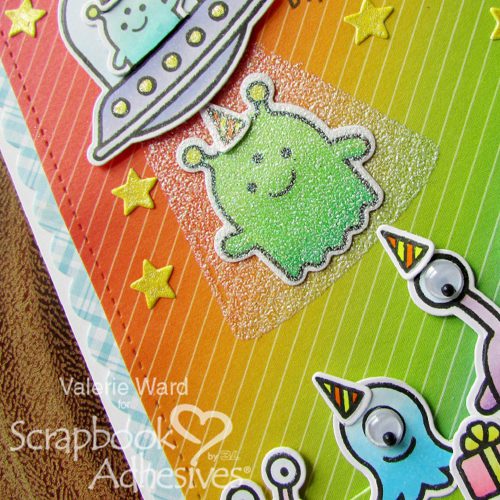
The light beam is a semi-transparent shape using just adhesive and embossing powder. First, I die cut the light beam shape from an Adhesive Sheet.
Then I prepped the paper for heat embossing by using my powder tool. Adhere the shape by removing one liner, adhere it to the paper, then peel off the top layer.
The revealed sticky permanent adhesive layer was dipped into the embossing powder. Edge to edge coverage means the entire shape will be covered with adhesive.
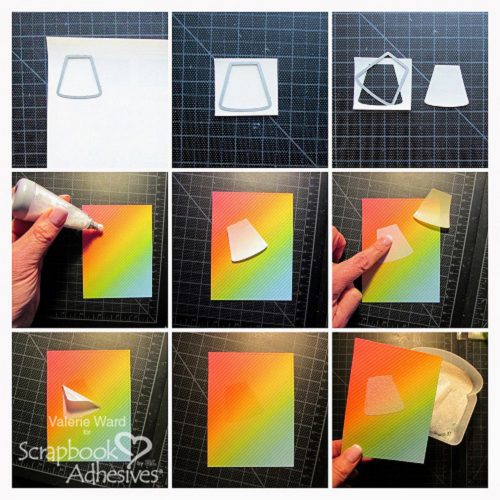
Now tap off the excess powder and melt the embossing powder with the heat tool.
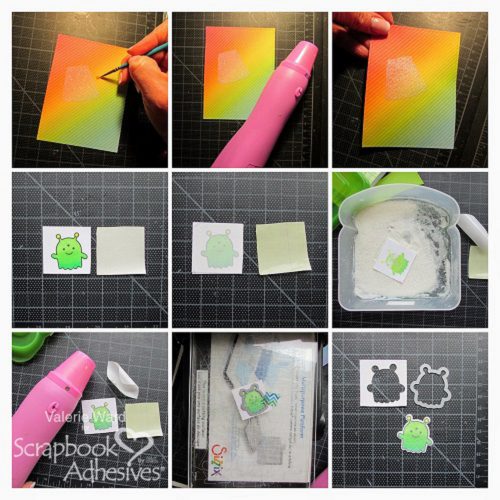
The next part of the project is the alien that will be in the beam coming from the spaceship! First, I stamped the image and colored it. Then cut a small piece of the Adhesive Sheet.
I peeled off the top layer and adhered it to the front of the image. Peel off the bottom layer to expose the adhesive and dip the sticky piece into the embossing powder.
After heat embossed the image, die-cut it.
Using the Adhesive Dots, 3D Foam Squares, & Dual Tip Glue Pen
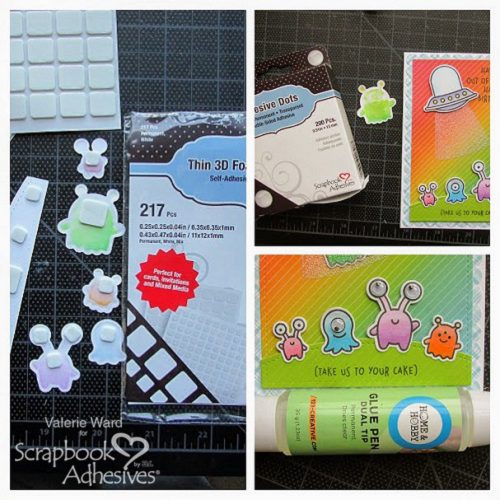
Using Adhesive Dots (I used the Adhesive Dots Large this time; they come in so many great sizes!), I adhered the image onto the section I had worked on first; it stuck perfectly.
The next step on this card was to apply Thin 3D Foam Squares to the backs of the pieces I wanted slightly raised. I also put little dots of glue onto the bottoms of the aliens using the Dual Tip Glue Pen so that the bottoms wouldn’t pull up off of the hill.
Using Permanent E-Z Dots® Permanent
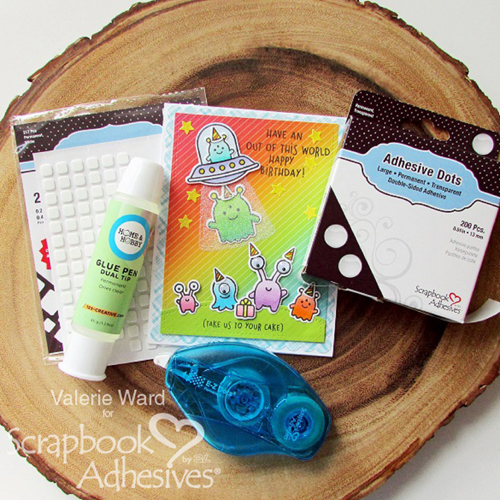
To adhere the larger panels, I used the E-Z Dots® Permanent runner. Here is the final card and most of the Scrapbook Adhesives by 3L products used (oops, I forgot to add the Adhesive Sheets!).
I just love how this scene turned out, especially the light beam coming from the space ship!

Hope you enjoyed this project; thank you for stopping by, and Happy Crafting!
Scrapbook Adhesives by 3L®:
HomeHobby by 3L®:
Other:
Stamp Sentiment, Etched Dies, Patterned Paper, Ranger Bridal embossing powder, Zig Gold Wink of Stella Pen, Pretty Pink Posh Large Silly Eyes
Find More Adhesive Sheet Embossing Projects Here:

By Terri Burson April 5, 2018 - 9:41 am
What a great “first” post, Valerie! Brilliant idea, using the adhesive sheet for embossing. I love the effect!
By Deborah S April 5, 2018 - 3:30 pm
What an awesome card thanks for the wonderful tutorial. Hope you have a great day ♡