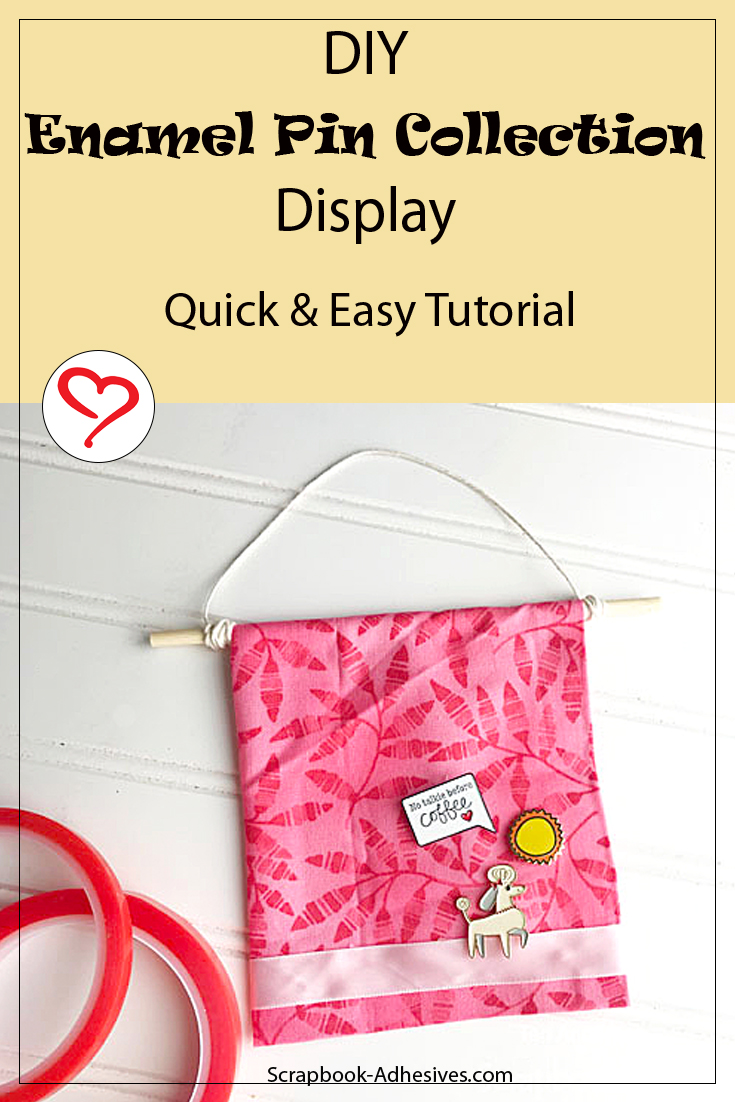
Hi, friends! Do you have a collection of enamel pins? Collecting these little pins is such a popular thing to do right now so I’m here today to show you a fun way to display all those pins you’ve amassed!
Making an Enamel Pin Display Base
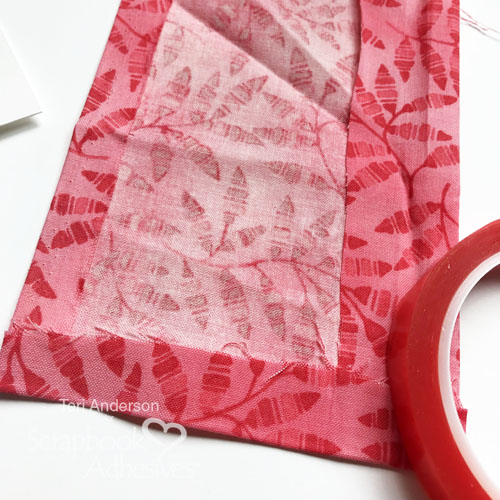
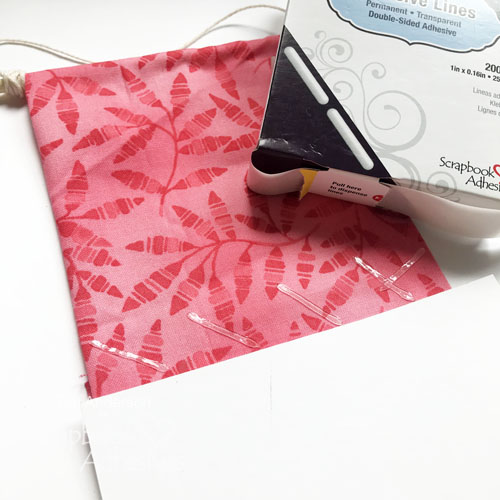
Start by cutting a small rectangle from a piece of scrap paper. The rectangle will serve as a guide as you put your enamel pin display together. It should be approximately the size you want your pin display to be. Then cut a piece of fabric a little larger than the guide.
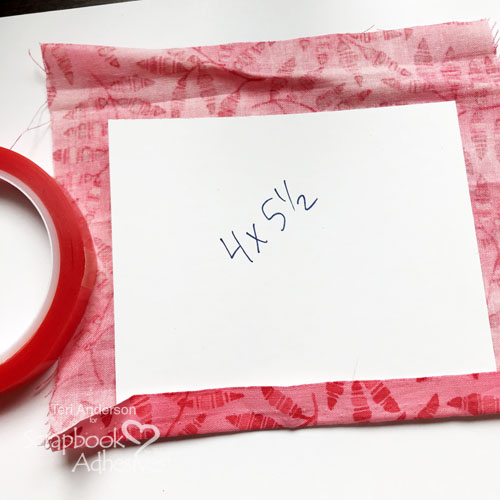
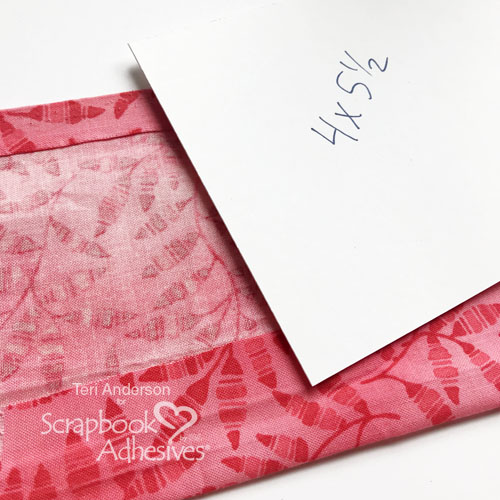
Set the guide on the backside of your fabric panel. Fold one side of the fabric along the guide. Apply a piece of Extreme Double-Sided Tape along the fold. Remove the liner and adhere the fold to the backside of the panel.
I find it is helpful when doing this to place the guide near the fold. Since this is a craft project where you are mostly eyeballing things, the guide is helpful for ensuring straight folds.
Now, you are going to going to do two more folds. Repeat the process of applying Extreme Double-Sided Tape along the folds and then adhering the folds to the backside of the fabric panel.
Adding the Hanger
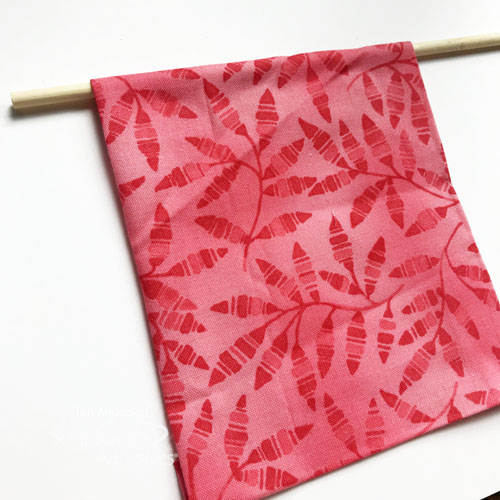
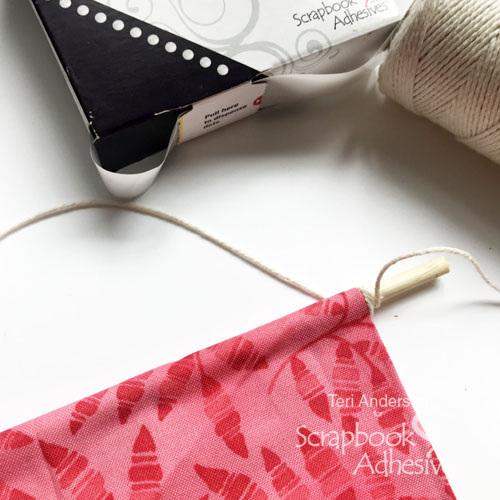
Now, we are going to work on the hanger. Take the last side of the fabric panel. Set a chopstick on it.
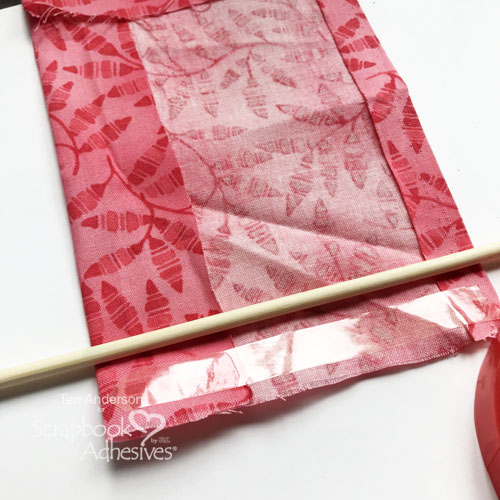
Apply a strip of Extreme Double-Sided Tape onto the fabric panel. Fold the fabric over the chopstick. You’ll end up with something like this.
By the way, your chopstick might be a little too long for your display. If your chopstick is indeed too long, simply cut it down with an old pair of scissors.
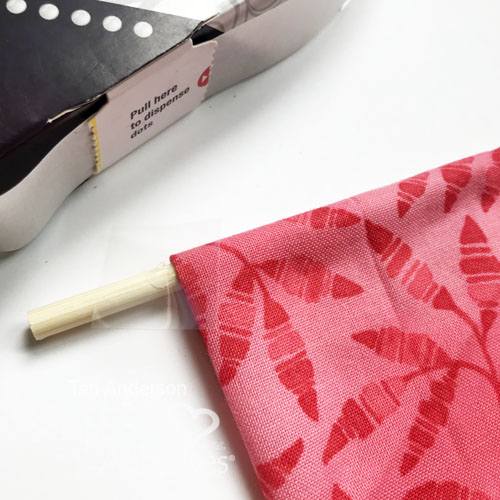
You want this display to hang on the wall so you are going to want to add some twine (or ribbon) to the chopstick. Take an Adhesive Dot and place it on one end of the chopstick, right next to the fabric banner. Tie your twine around the chopstick, covering up the dot. You’ll also want to place an Adhesive Dot on the other side of the chopstick as well and wrap the twine around it.
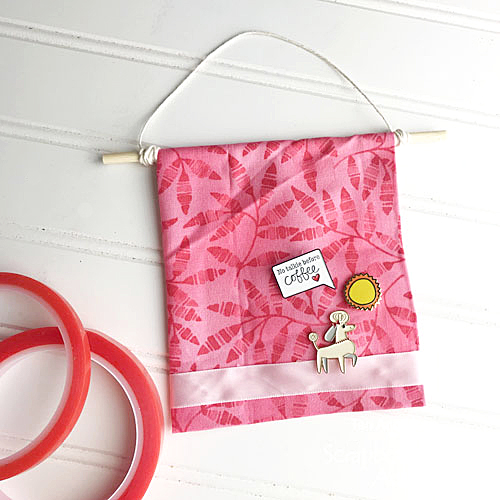
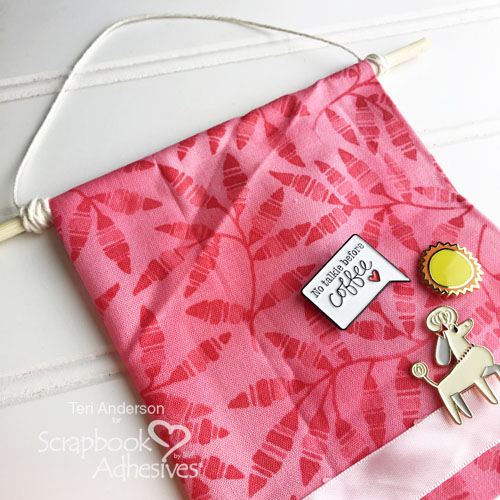
You can use your display like this or you can kick things up a notch by decorating it with a piece of ribbon. Apply several Adhesive Lines to your display and then set the ribbon on top of them.
Once you’ve added the ribbon, you can start adding pins to your display!
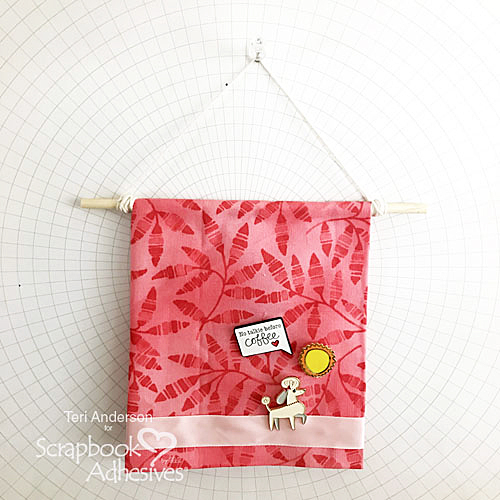
Consider hanging your display in your craft space at home, your cubicle at the office or anywhere you want to add a little extra pop of color and personality! Not enough room for all your pins? Simply make another display to hang next to it!
I’d love to how you display your enamel pins! Please share a link with me in the comments section!
Creative Time: 1 hour
Skill Level: Beginner
Materials Needed
Scrapbook Adhesives by 3L®
Adhesive Dots Micro
Adhesive Lines
HomeHobby by 3L®
Extreme Double-Sided Tape 1/4in
Extreme Double-Sided Tape 1/2in
Other
Cardstock from Neenah Paper; Twine from Whisker Graphics; Ribbon by Offray; Fabric; Chopstick; Enamel Pins
Pin It!