
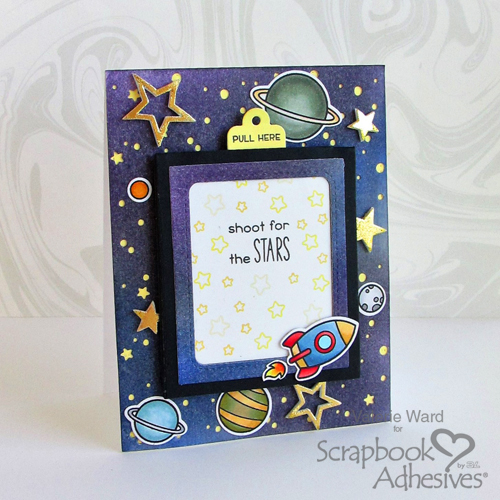
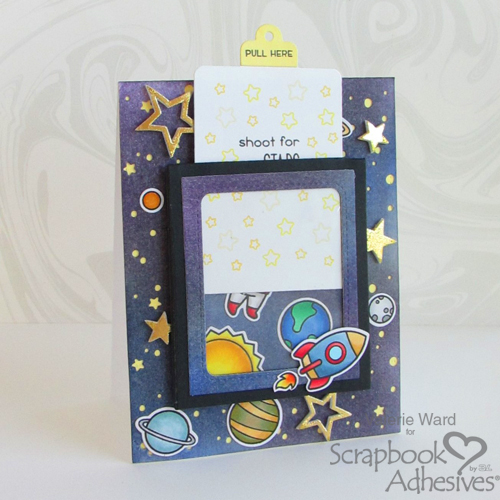
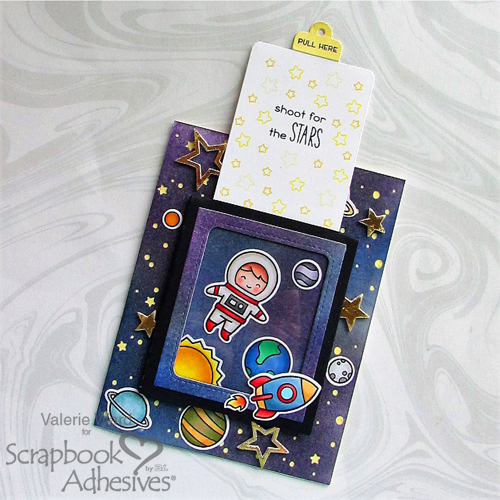
Hello Crafters! It’s Valerie here today, and I have a cute Shoot for the Stars interactive slider card that is perfect for congratulations, graduation, or a birthday! Here it is in action:
The Stars Scene Base
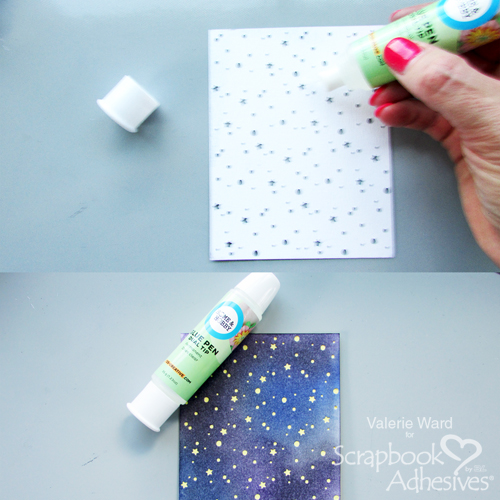
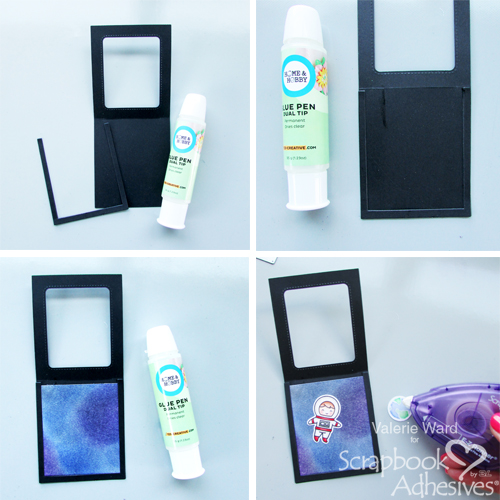
First, create your scene’s base: I used Distress Inks for this project. After I combined the colors and got them the way I liked them, I took my backdrop die and die cut the paper. Then I took my Dual Tip Glue Pen and applied the glue to the back of the paper, then adhered that piece to the yellow piece underneath it. (sorry for the blurry image!):
The Slider Details
This next section shows you how to create the fun interactive part – the slider! The first thing I like to do is get all the pieces that I’ll need die cut, and if anything needs to be glued, I get that done, also. This image shows the pieces needed, then the gluing of the u-shaped layers with my Dual Tip Glue Pen:
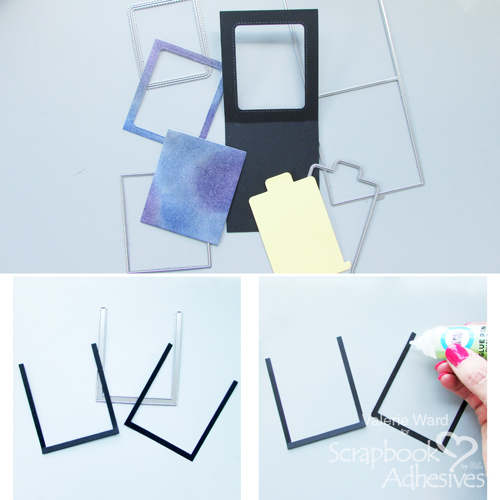
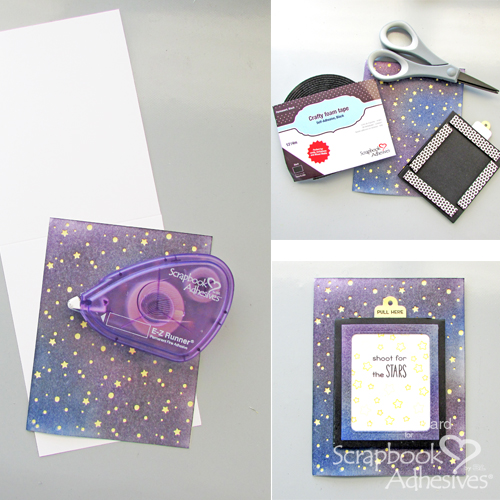
Here, I glued the double layered u-shaped pieces onto the slider unit with Dual Tip Glue Pen, then put my scene together using E-Z Runner Permanent Fine:
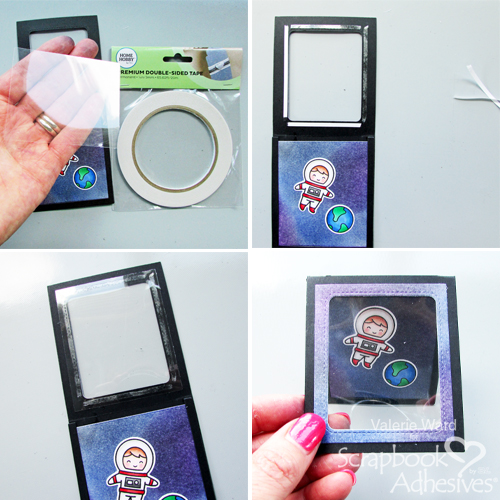
Now comes the applying of the clear window. First cut a piece of clear acetate. Then apply pieces of Premium Doube Sided Tape 1/8″ around the window opening on the back of the opening. Peel off the white backing and then apply the clear acetate. Fold the unit closed.
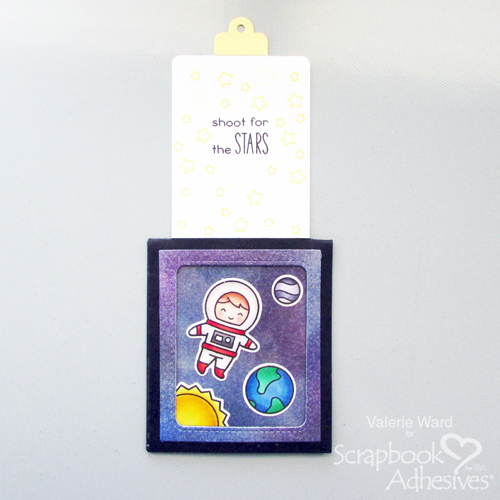
Die cut the piece that wil be pulled in and out of the window scene. I used my Dual Tip Glue Pen for gluing the yellow tab at the top. Put the sentiment piece through the die cut opening at the top and pull it all the way up. Then apply Premium Doube Sided Tape 1/8″ aroud the perimeter of the scene.
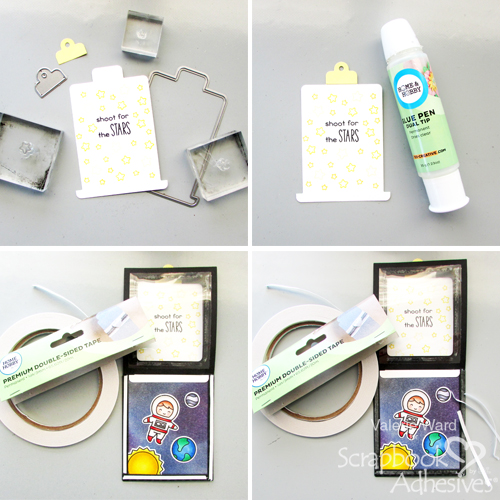
Fold down the unit in half, and make sure it is adhered tightly with the adhesive. Pull the tab up and down several times to make sure it slides easily:
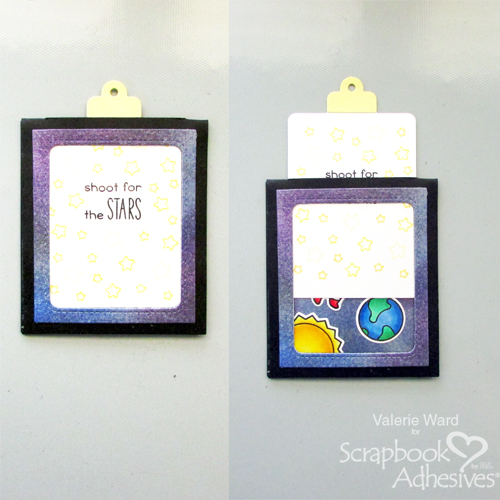
How cute and fun! You are now down with this interactive piece!
Attach Interactive Piece to Base
After you adhere the sky scene base to the card base with E-Z Runner Permanent Fine, now you need to attach the interactive piece to the card. I wanted to raise it up a little, so I used Crafty Foam Tape Black for that job:
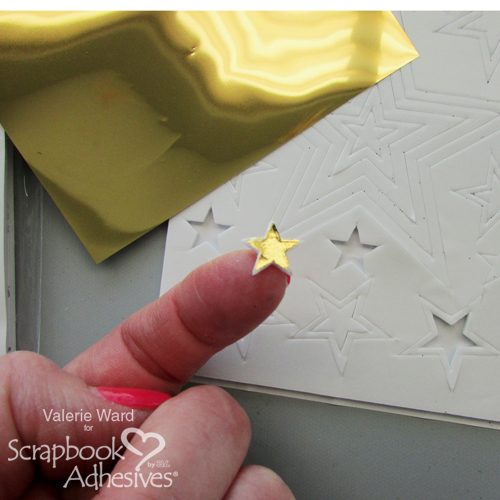
Gold Stars
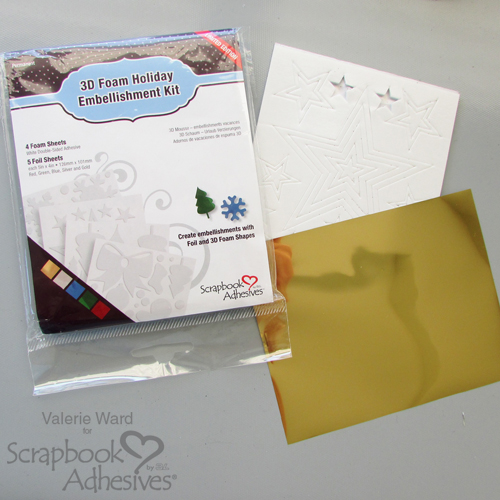
Now came the part I had never done before! I wanted to have gold stars on the background sky, so I pulled out my 3D Foam Holiday Embellishment Kit (3D Foam Stars). I used the gold liner piece:
It actually took me a couple times, but once I got the hang of it, I wanted to make a ton of these cute stars!
View How to Use 3D Foam Hearts and Other Shapes video below.
After I put as many gold stars as I wanted on the card, I applied the remaining pieces that I colored with my Copics, and the card was complete!
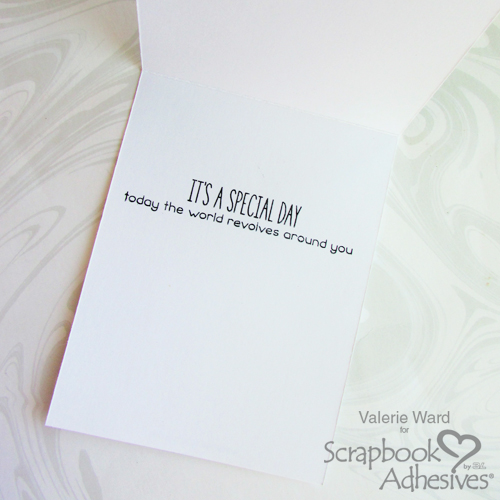
The sentiment inside:
I hope you enjoyed this tutorial. If you have any questions, comment below 🙂
Thank you for stopping by! Happy Crafting!
Valerie
- Creative Time: 60 minutes
- Skill Level: Intermediate
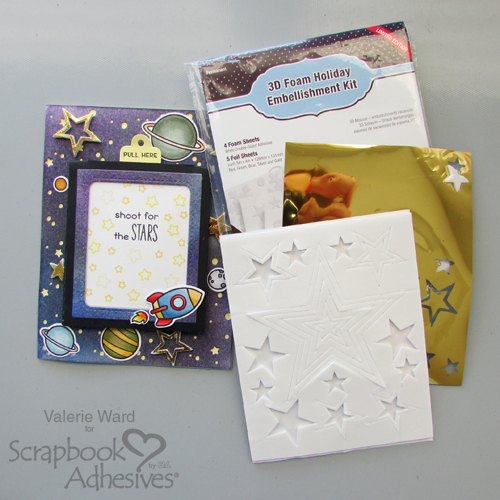
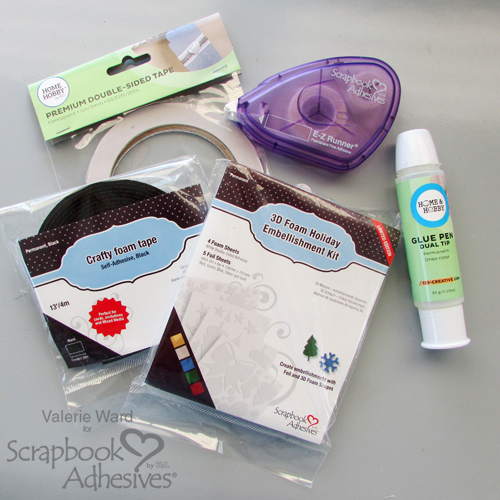
Materials Needed:
Scrapbook Adhesives by 3L®:
3D Foam Holiday Embellishment Kit
or 3D Foam Stars
Crafty Foam Tape Black
Premium Doube Sided Tape 1/8″
E-Z Runner Permanent Fine
HomeHobby by 3L®:
Dual Tip Glue Pen